Are you ready to enjoy a steady supply of ice without any hassle? Knowing how to turn on the ice maker in your Whirlpool side-by-side fridge is the first step to keeping your drinks cold and refreshing all day long.
Whether you’ve just installed your refrigerator or want to start using the ice maker after a break, this simple guide will walk you through every step. By the end, you’ll have your ice maker running smoothly, so you never have to worry about running out of ice again.
Keep reading to find out how easy it really is!
Locate The Ice Maker
Locating the ice maker in your Whirlpool side-by-side refrigerator is the first key step to getting it up and running. Knowing exactly where to look saves you time and prevents unnecessary frustration. Plus, it gives you confidence to handle other maintenance tasks in the future.
Check The Freezer Compartment
Start by opening the freezer door of your side-by-side unit. The ice maker is almost always installed inside the freezer, typically on one of the side walls or near the top. Look for a small, boxy component that might have a plastic cover or a metal frame.
Sometimes, the ice maker blends in with the freezer's interior, making it easy to miss. If you see an ice bin or a tray for collecting ice cubes, that’s a good clue you’re close. Can you spot any wires or a switch nearby? Those are often signs of the ice maker’s location.
Identify The Ice Maker Components
Once you locate the general area, identify the parts that make up the ice maker. Key components include the ice mold (where water freezes), the ejector arm (which pushes ice cubes out), and the water inlet valve (which supplies water).
- Ice Mold:A grid or tray that freezes water into cubes.
- Ejector Arm:A mechanical arm that spins to release ice into the bin.
- Water Inlet Valve:Controls water flow into the ice maker.
Knowing these parts helps you understand how the ice maker works and makes troubleshooting easier. Have you checked if the ejector arm is stuck or if the water valve is blocked? These small details can make a big difference in getting your ice maker running smoothly.
Credit: www.whirlpool.com
Prepare The Ice Maker
Preparing the ice maker is essential before turning it on. This step ensures the appliance works efficiently and produces clean, fresh ice. Take time to check the water connections and the filter condition. These simple checks help avoid common issues like no ice production or poor ice quality.
Ensure Water Supply Is Connected
Check that the water line is properly attached to the ice maker. The water supply must be turned on to allow water flow. Look for any kinks or leaks in the hose. A steady water supply is crucial for making ice consistently. Without water, the ice maker cannot function.
Inspect The Water Filter
Locate the water filter inside your refrigerator. Replace the filter if it is old or clogged. A clean filter improves water taste and ice quality. Follow the manufacturer’s instructions for filter replacement. Regular filter checks keep your ice fresh and safe to use.
Activate The Ice Maker
Activating the ice maker in a Whirlpool side-by-side refrigerator is simple. It ensures a steady supply of ice cubes for your drinks and daily needs. This process involves turning on the ice maker through the control panel or manually. Both methods help you start ice production quickly and efficiently.
Switch On Using The Control Panel
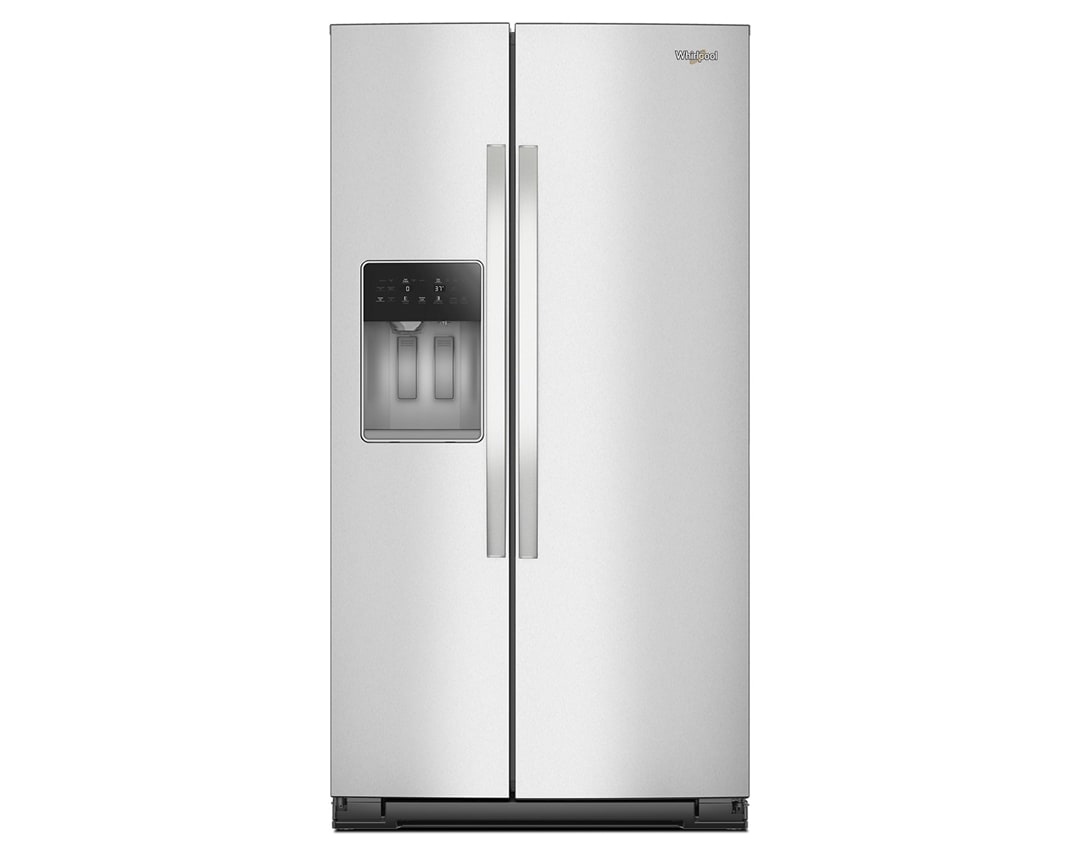
Many Whirlpool side-by-side models have a digital control panel. This panel controls the ice maker settings easily.
- Locate the control panel on the front or inside the fridge door.
- Find the ice maker button or icon.
- Press the button to turn the ice maker on.
- The indicator light will show the ice maker is active.
- Wait a few hours for the first batch of ice.
This method is quick and does not require opening the freezer compartment.
Manual Activation Steps
If your model lacks a control panel, activate the ice maker manually.
- Open the freezer door fully.
- Find the ice maker unit on the side wall or ceiling.
- Locate the on/off switch or lever on the ice maker.
- Flip the switch to the "On" position or push the lever down.
- Close the freezer door gently.
- Allow several hours for ice to form.
Manual activation is straightforward and works for older models.

Credit: www.whirlpool.ca
Troubleshoot Common Issues
Check if the ice maker switch is turned on and the freezer temperature is set correctly. Clear any ice blockages in the chute or tray. Ensure the water supply line is connected and working properly for ice production.
Troubleshooting your Whirlpool side-by-side ice maker can be a straightforward task if you know where to start. Common issues like no ice production or a jam can disrupt your day-to-day activities. But don't worry, addressing these issues can often be resolved with a few simple steps.
No Ice Production
If you find that your ice maker isn't producing ice, begin by checking the basics. Ensure that the ice maker is turned on and that the water supply line is open. Is your freezer set to the correct temperature? The ideal range is between 0°F and 5°F. A temperature outside this range can hinder ice production. Another factor could be the water filter. If it’s clogged or overdue for a change, it can stop the ice maker from working efficiently.
Ice Maker Jam Or Blockage
Ice maker jams are a common problem, often due to ice clumps blocking the dispenser. To fix this, carefully remove the ice bin and check for any blockages. Do you notice any unusual noises? This might be a sign of ice stuck in the chute or blades. Gently clear any visible obstructions with a soft tool to avoid damage. Regularly cleaning your ice maker can prevent future jams. Simply empty the ice bin, wash it with warm soapy water, and dry it thoroughly before placing it back. These simple checks and adjustments can often get your Whirlpool side-by-side ice maker back to optimal performance. Have you tried these tips before? Let us know which solution worked for you.
Maintain Your Ice Maker
Maintaining your Whirlpool side by side ice maker keeps it working well. Clean parts and fresh water help make clear, tasty ice. Simple care prevents clogs and breaks. Spend a little time regularly to avoid big problems later.
Regular Cleaning Tips
- Turn off the ice maker before cleaning.
- Remove ice bin and wash it with warm, soapy water.
- Rinse parts well to avoid soap taste in ice.
- Use a soft cloth to wipe inside the ice maker area.
- Clean ice maker parts gently to avoid damage.
- Dry all parts completely before putting them back.
- Run the ice maker empty for one cycle after cleaning.
Replacing Water Filters
Change the water filter every six months or as needed. A clean filter improves water taste and ice quality. Follow these steps:
- Locate the filter, usually inside the fridge or at the base.
- Turn off the water supply to the fridge.
- Remove the old filter by twisting or pulling it out.
- Insert the new filter firmly until it clicks in place.
- Turn the water supply back on.
- Run water through the dispenser to clear air and particles.
- Reset the filter indicator light if your model has one.

Credit: www.us-appliance.com
Frequently Asked Questions
How Do I Turn On The Ice Maker In Whirlpool Side-by-side?
To turn on the ice maker, locate the switch inside the freezer compartment. Flip it to the “On” position. Ensure the water supply is connected and the freezer temperature is set below 10°F (-12°C) for optimal ice production.
Where Is The Ice Maker Control Switch Located?
The ice maker control switch is typically inside the freezer on the right side wall. It may be a toggle or a push-button switch. Refer to your Whirlpool model’s manual for exact location if you cannot find it.
Why Is My Whirlpool Ice Maker Not Producing Ice?
Check if the ice maker is turned on and water supply is connected. Also, verify the freezer temperature is below 10°F. If these are correct, the ice maker may need cleaning or service.
How Long Does It Take For Ice Maker To Start Making Ice?
After turning on, the ice maker usually takes 24 hours to produce the first batch of ice. Full ice production may take 3 days depending on usage and temperature settings.
Conclusion
Turning on your Whirlpool side-by-side ice maker is simple and quick. Just follow the steps carefully for the best results. Keep the water supply connected and the ice maker switch on. Regular checks help avoid common problems. Enjoy fresh ice anytime without hassle.
This small task makes your fridge work better. Stay comfortable with cold drinks whenever you want. Easy to do. Worth the effort.