Is your Whirlpool refrigerator’s ice maker not working like it used to? Replacing it yourself might seem tricky, but with the right steps, you can fix it quickly and save money.
Imagine having fresh ice again without waiting for a technician. In this guide, you’ll discover simple, clear instructions that make the process easy, even if you’re not a repair expert. Keep reading to get your ice maker running smoothly and enjoy cold, refreshing ice whenever you want.
Tools And Materials Needed
Replacing the ice maker in your Whirlpool refrigerator requires some basic tools and materials. Having everything ready makes the job easier and faster. You do not need many items, but each one is important.
Using the right tools helps you avoid damage and ensures a proper fit. The materials you need include the new ice maker part and some supplies for a clean installation.
Essential Tools For The Replacement
- Phillips head screwdriver – for removing screws
- Flathead screwdriver – to pry open panels gently
- Nut driver or socket wrench – to loosen bolts
- Needle-nose pliers – to disconnect wires or clips
- Flashlight – for better visibility inside the fridge
- Towel or small container – to catch water drips
Materials Required
- Replacement ice maker unit compatible with Whirlpool models
- Electrical tape – for securing wire connections
- Cleaning cloth – to wipe away dust or water
- Optional: Gloves – to protect your hands

Credit: www.searshomeservices.com
Safety Tips Before Starting
Replacing the ice maker in a Whirlpool refrigerator needs care and attention. Safety is very important before you start. Take some time to prepare yourself and your workspace. This helps avoid accidents and damage to your appliance.
Follow simple safety tips to protect yourself and your refrigerator. Small precautions can save time and money later.
Turn Off The Power Supply
Unplug the refrigerator from the electrical outlet. This stops any electric shock risks. Never work on the ice maker while the power is on.
Shut Off The Water Supply
Close the water valve connected to the fridge. This prevents water leaks or flooding. Keep a towel nearby for any small spills.
Wear Protective Gear
Use gloves to protect your hands from sharp edges. Safety glasses can shield your eyes from debris. Dress comfortably but avoid loose clothes.
Clear The Work Area
Remove items around the fridge for easy access. Ensure enough light to see all parts clearly. A clean space helps prevent trips and falls.
Read The User Manual
Check the Whirlpool manual for your model’s specific instructions. Follow the manufacturer’s safety warnings carefully. This guides you through safe and correct steps.
Locating The Ice Maker
Finding the ice maker in your Whirlpool refrigerator is the first step toward replacing it. Knowing exactly where to look saves you time and frustration. The ice maker is usually tucked away in a spot that’s easy to overlook.
Check Inside The Freezer Compartment
The ice maker is often located on the upper side of the freezer. Open the freezer door and look to the left or right wall near the back. You might see a small assembly with a metal arm or a plastic mold where ice cubes form.
Sometimes, it’s covered by a plastic panel that you’ll need to remove. Don’t worry about breaking anything—these panels are designed to come off with gentle prying. Have a flashlight handy to get a clear view.
Look For The Water Line Connection
The ice maker needs water to produce ice, so tracing the water line can help you pinpoint its location. Follow the small tube that delivers water inside the freezer. It usually leads directly to the ice maker unit.
If you’re unsure where the water line is, check the back of the refrigerator or inside the freezer near the back wall. You might see a thin plastic tube or a copper line connected to the ice maker assembly.
Consult The User Manual Or Model Diagram
If visual searching doesn’t work, your Whirlpool refrigerator’s user manual is a great resource. It often includes diagrams showing the exact location of the ice maker. Manuals are usually available online if you don’t have a physical copy.
Knowing your model number is key here. You can find it on a sticker inside the fridge or on the door frame. This number helps you access the right diagram to avoid confusion and ensure you’re looking in the right place.
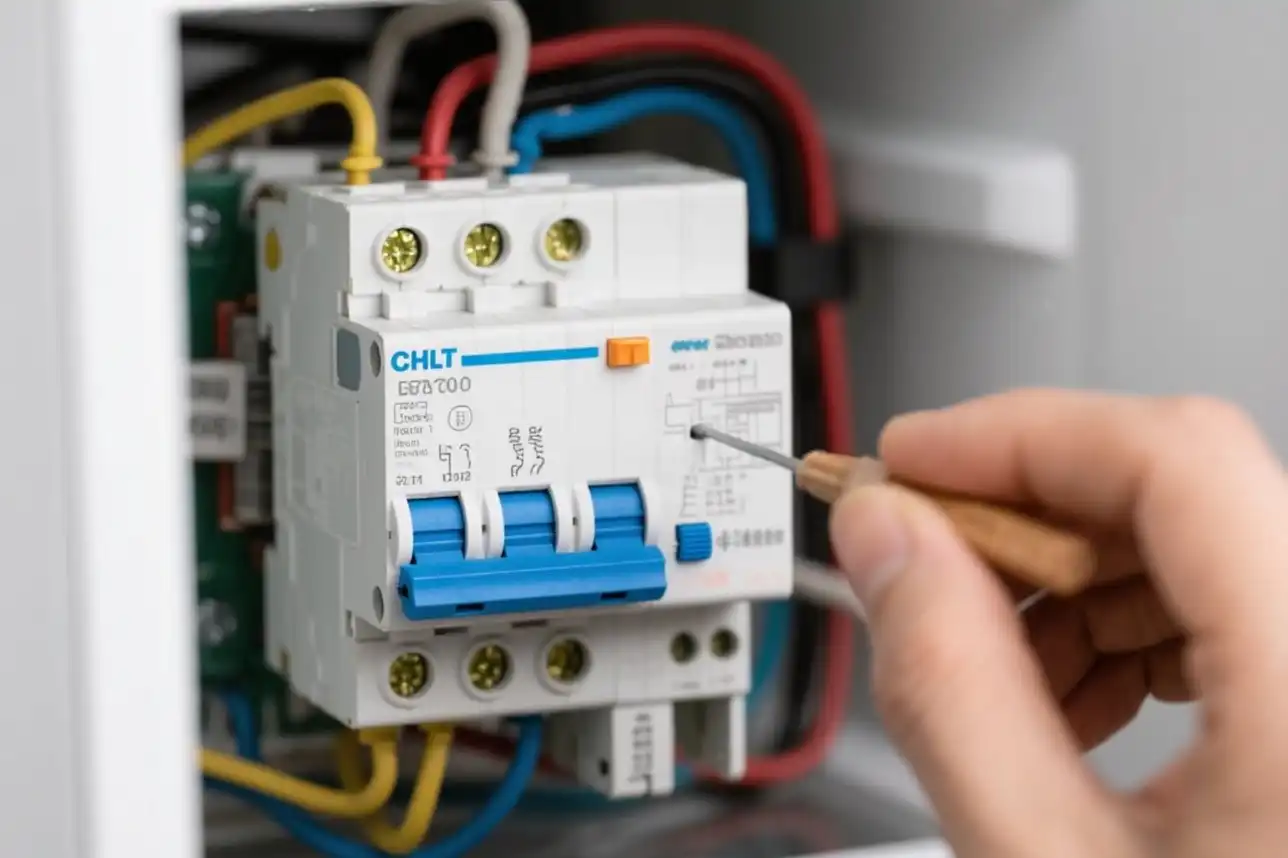
Disconnecting The Power And Water
Start by unplugging the refrigerator to cut off electrical power. Turn off the water supply to avoid leaks during ice maker replacement.
Replacing an ice maker in a Whirlpool refrigerator might seem daunting at first, but breaking it down into manageable steps can make the process far less intimidating. One critical step is disconnecting the power and water supply before you begin. This ensures your safety and prevents any damage to your appliance. Imagine a scenario where water gushes out because you forgot to turn off the supply—what a mess that would create! To avoid such mishaps, let's focus on the crucial task of safely disconnecting both power and water.
Turn Off The Refrigerator
First, locate the power cord of your Whirlpool refrigerator. It’s usually at the back, so you might need to slide the fridge away from the wall slightly. Once you spot it, unplug the cord from the electrical outlet. This simple action prevents any risk of electric shock as you work on the ice maker.
Shut Off The Water Supply
Find the water supply valve, which is often located behind the refrigerator or under the kitchen sink. Turn the valve clockwise to stop the flow of water. This step is essential to prevent leaks or spills that could lead to water damage.
Check For Residual Water
Even after shutting off the water supply, there might be some residual water left in the line. Carefully disconnect the water line from the refrigerator and have a small bucket or towel handy to catch any remaining water. This extra precaution keeps your kitchen floor dry and your stress levels low. Taking these steps ensures that you're ready to safely proceed with replacing your ice maker. What other precautions do you think might be necessary for such a task? Engaging with the process thoughtfully prepares you for a seamless and successful replacement.
Removing The Old Ice Maker
Removing the old ice maker is the first step in replacing it. Take your time and work carefully to avoid damage. Disconnect power to the refrigerator to stay safe. Gather basic tools like a screwdriver before you begin.
Follow clear steps to detach the ice maker from the fridge. Each part must be handled gently for an easy replacement. Understanding how each component connects helps a lot.
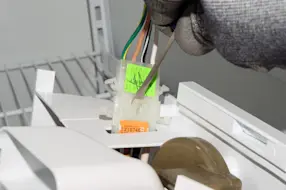
Disconnecting Wiring Harness
Find the wiring harness connected to the ice maker. Gently press the tab to release the connector. Pull the plug straight out without forcing it.
Keep track of the wires for easier reconnection later. Avoid pulling on the wires themselves to prevent damage.
Detaching Mounting Screws
Locate the screws holding the ice maker in place. Use a screwdriver to remove each one carefully. Keep the screws safe for reinstalling the new unit.
Once screws are out, the ice maker should be loose. Pull it out slowly to avoid hitting other parts.
Removing Water Line
Find the water line connected to the ice maker. Use a towel to catch any water that may drip. Carefully disconnect the water line from the ice maker.
Check for any clips or fittings holding the line in place. Removing the line cleanly prevents leaks during replacement.
Preparing The New Ice Maker
Preparing the new ice maker is a key part of replacing it in your Whirlpool refrigerator. This step ensures the ice maker fits well and works correctly. Taking time here avoids problems later.
Start by checking the new ice maker’s model number. It should match the one you removed. Using the wrong model can cause fitting issues or malfunction.
Next, gather all tools and parts needed for installation. Having everything ready speeds up the process and reduces mistakes.
Inspect the new ice maker for any damage. Look for cracks, broken wires, or loose parts. A damaged unit won’t work properly and may cause leaks.
Unpack And Inspect The Ice Maker
- Remove all packaging carefully
- Check for visible damage or defects
- Confirm all parts and screws are included
Match The Model Number
- Find the model number on the old ice maker
- Compare it with the new unit’s label
- Ensure compatibility with your refrigerator model
Prepare The Mounting Area
- Clean the ice maker slot inside the fridge
- Remove dust, dirt, and any leftover debris
- Check the water line connection for leaks
Gather Required Tools And Parts
- Screwdriver (usually Phillips head)
- Socket wrench set
- New ice maker screws and connectors
Installing The New Ice Maker
Installing the new ice maker in your Whirlpool refrigerator is a straightforward process. It requires careful handling to ensure all connections are secure. Follow these key steps to set up your ice maker properly and avoid leaks or malfunctions.
Connecting Water Line
Start by attaching the water line to the new ice maker. Make sure the water valve is off to prevent leaks. Push the water line firmly into the inlet valve on the ice maker. Secure it with a clip or nut, depending on your model. Check that the connection is tight but avoid over-tightening.
Attaching Mounting Screws
Align the ice maker with the mounting bracket inside the freezer. Hold it steady and insert the mounting screws into the holes. Tighten the screws evenly to keep the ice maker level. Use a screwdriver that fits well to avoid stripping the screws. Do not overtighten, as this can damage the plastic parts.
Connecting Wiring Harness
Locate the wiring harness connector on the ice maker and the refrigerator. Firmly plug the connector into the ice maker socket. It should click into place. Check the wires for any damage before connecting. Secure any loose wires with clips or ties to prevent them from catching on the door or shelves.

Credit: www.youtube.com
Testing The Ice Maker
Testing the ice maker is a crucial step after installing a new unit in your Whirlpool refrigerator. It confirms whether the replacement is working properly and helps you avoid future frustrations. Skipping this step might leave you guessing if the ice maker is the real issue or if something else needs attention.
Checking Power And Water Supply
First, ensure your ice maker is getting power. Look for any indicator lights on the unit or listen for a soft humming sound. Without power, your ice maker won’t start, so double-check the plug and circuit breaker.
Next, verify the water supply line is connected and turned on. No water means no ice, so make sure the valve is open and water flows freely to the ice maker.
Running A Test Cycle
Most Whirlpool ice makers have a test button or a way to manually start an ice-making cycle. Press this button to see if the unit begins the process.
Watch closely to see if the ice tray fills with water and then freezes. This step can take some time, so be patient. If nothing happens, recheck your installation and connections.
Inspecting Ice Quality And Quantity
Once the ice maker produces ice, check the cubes. Are they clear and solid or cloudy and soft? Poor quality ice often signals a problem with water filtration or temperature.
Also, observe how many cubes are made in an hour. Too few cubes may mean the ice maker isn’t cycling correctly or the freezer temperature is too high.
Troubleshooting Common Problems
- Ice maker doesn’t start: Recheck electrical connections and test button.
- No water in ice tray: Inspect water line for kinks or blockages.
- Ice cubes stuck or misshapen: Clean the ice mold and ensure proper freezer temperature (0°F or -18°C).
Have you ever installed a replacement part and then realized the problem was elsewhere? Testing your ice maker thoroughly saves you time and frustration.
Troubleshooting Common Issues
Common issues with Whirlpool refrigerator ice makers often include clogs, leaks, or no ice production. Checking water supply and resetting the unit usually helps fix problems quickly. Replacing the ice maker requires careful removal and installation to ensure proper function.
Replacing an ice maker in a Whirlpool refrigerator can be daunting. Before tackling the replacement, it's wise to troubleshoot common issues. This can save time and effort. Below are some frequent ice maker problems and their solutions.
Ice Maker Not Making Ice
An ice maker may stop producing ice for several reasons. First, ensure the ice maker is turned on. Check the control panel for the ice maker setting. If it's off, switch it on. Also, inspect the water supply line. It should be connected securely to the refrigerator. Sometimes, a clogged filter can impede ice production. Replace the filter if it's clogged. Finally, verify the freezer temperature. It should be set between 0 to 5 degrees Fahrenheit.
Leaking Water
Water leakage from the ice maker can be troublesome. Begin by examining the water supply line. It should be firmly attached and free from damage. If the connection is loose, tighten it. Next, inspect the ice maker assembly. If parts are broken or cracked, they might cause leaks. Consider replacing damaged components. Check the level of the refrigerator. An uneven fridge can cause water to spill over. Adjust the leveling feet if necessary.
Error Codes
Error codes can indicate specific problems. Consult the refrigerator's manual for code meanings. Common codes relate to temperature issues or faulty parts. Reset the refrigerator by unplugging it for a few minutes. Then plug it back in. This may clear the code. If the error persists, inspect the ice maker components. Look for signs of wear or damage. Replacing faulty parts might resolve the issue. For persistent errors, contacting Whirlpool support may be necessary.
Credit: www.searspartsdirect.com
Frequently Asked Questions
How Do I Know If My Whirlpool Ice Maker Needs Replacement?
If your ice maker stops producing ice or makes strange noises, it may need replacement. Also, check for leaks or ice jams regularly.
What Tools Are Needed To Replace A Whirlpool Ice Maker?
You will need a screwdriver, pliers, and possibly a socket wrench to remove and install the ice maker. Always unplug the refrigerator first.
How Long Does It Take To Replace A Whirlpool Ice Maker?
Replacing the ice maker usually takes 20 to 40 minutes, depending on your skill level and model familiarity.
Can I Replace The Ice Maker Myself Safely?
Yes, you can. Just unplug the refrigerator, follow instructions carefully, and handle components gently to avoid damage.
Conclusion
Replacing the ice maker in your Whirlpool refrigerator can save time and money. Follow each step carefully to avoid mistakes. Take your time, and use the right tools. Test the new ice maker before closing the fridge. A working ice maker keeps your drinks cold and refreshing.
Simple repairs like this help your appliance last longer. Stay patient, and you will do it right. You can enjoy fresh ice without waiting for service calls. Keep your fridge running smoothly with small fixes like these.