Is your Whirlpool refrigerator not tasting as fresh as it used to? The secret might be hiding in your water filter.
Replacing your filter regularly is key to keeping your water clean and your fridge running smoothly. But if you’ve never done it before, the process can seem tricky. Don’t worry—you’re about to learn a simple, step-by-step way to replace your Whirlpool refrigerator filter quickly and easily.
Keep reading, and you’ll save money, avoid hassle, and enjoy fresh water every day.
Identify Your Filter Type
Identifying the correct filter type for your Whirlpool refrigerator is essential before replacement. Filters vary by model and location. Choosing the right filter ensures clean water and fresh ice. Start by checking your refrigerator’s model number. Then locate the filter position inside your fridge. This process saves time and avoids buying the wrong filter.
Check Model Number
The model number is key to finding the right filter. It is usually on a sticker inside the fridge or freezer door. Sometimes it is on the side wall or near the door frame. Note the full model number carefully. Use this number to search for compatible filters online or in-store. It matches the filter design and size perfectly.
Locate Filter Position
Whirlpool refrigerators have filters in different spots. Common locations include:
- Upper right corner of the fridge interior
- Bottom grille near the floor
- Inside the fresh food compartment
Open the fridge door and look for a small cover or housing unit. The filter often twists or pulls out easily. Knowing the exact position helps you remove the old filter without damage. It also guides you in fitting the new one correctly.
Gather Necessary Tools
Before you replace the filter in your Whirlpool refrigerator, gathering the right tools is essential. Having everything ready saves time and avoids frustration. It also helps you complete the task smoothly without interruptions.
List Required Items
- Replacement filter:Make sure it matches your refrigerator model exactly.
- Owner’s manual:Handy for specific instructions related to your model.
- Clean cloth or paper towels:Useful for wiping any spills or drips.
- Gloves:Optional, but can keep your hands clean and provide better grip.
- Small bowl or container:To catch any water that might leak during the process.
Missing even one of these items can slow you down. Have you ever started a project only to realize you forgot a crucial tool? Avoid that by checking your supplies twice.
Safety Precautions
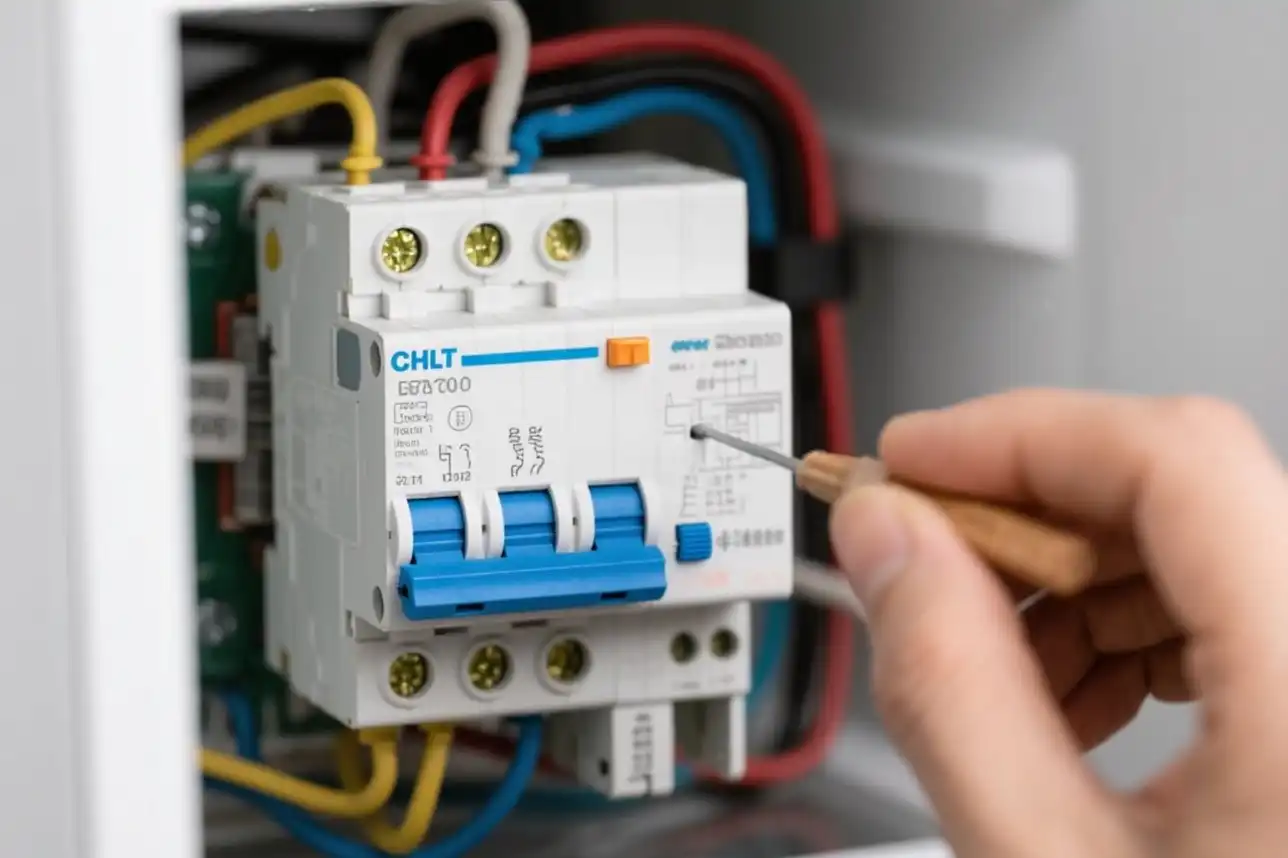
Safety should be your top priority. Always unplug your refrigerator or turn off the power from the circuit breaker before you start. This prevents any electrical accidents while you’re working inside the appliance.
Wear gloves to protect your hands from sharp edges or cold water. If your fridge has an ice maker, be extra cautious as water lines might be pressurized. Taking these simple steps can keep you safe and make the job easier.
Remove The Old Filter
Removing the old filter from your Whirlpool refrigerator is a simple task. It keeps your water clean and your fridge running well. This part guides you through the easy steps to take out the old filter safely. Follow the instructions carefully to avoid damage and ensure a smooth filter change.
Access Filter Housing
Locate the filter housing inside the fridge. It is usually at the top right or bottom grille. Open the door and look for a small cover or panel. Gently pull or press the cover to open it. The filter housing holds the water filter securely in place.
Twist And Pull Out Filter
Grip the old filter firmly. Turn it counterclockwise about a quarter turn. You will feel the filter loosen. Pull the filter straight out from the housing. Be careful to keep it level to avoid water spills. Dispose of the old filter properly.
Prepare New Filter
Getting your new Whirlpool refrigerator filter ready is a key part of the replacement process. Taking the right steps before installing ensures your fridge runs smoothly and your water stays fresh. Let’s look at how to prepare your new filter properly.
Unpack Filter
Start by carefully removing the new filter from its packaging. Check for any protective covers or caps on the filter’s ends and remove them. These seals keep the filter clean during shipping but must come off before installation.
Inspect the filter for any visible damage or defects. A quick look can save you from installing a faulty filter that might cause leaks or poor water flow. Have you ever installed a filter only to find it didn’t fit right? This simple check helps you avoid that frustration.
Flush Filter If Needed
Some Whirlpool filters require flushing before use to clear out any loose carbon particles. Flushing is easy—you just run water through the filter for a few minutes.
Check the instructions that came with your new filter to see if flushing is recommended. If it is, run cold water through the filter into a container until the water runs clear, usually about 3 to 5 minutes. This step improves water taste and prevents clogging in your fridge’s water system.
Skipping this might cause cloudy water or black specks, which can be alarming but harmless. Have you noticed odd water taste right after installing a filter? Flushing helps fix that quickly.
Install The New Filter
Installing the new filter in your Whirlpool refrigerator is a straightforward task that ensures clean, fresh water and ice. Paying attention to details during installation prevents leaks and maintains the appliance’s efficiency. Let’s look at how to properly align, insert, and secure your new filter.
Align And Insert Filter
Start by matching the new filter’s shape with the slot inside the filter housing. You’ll notice grooves or arrows on the filter that help guide proper placement.
Hold the filter firmly and gently push it into the slot until it fits snugly. Avoid forcing it, as this could damage the filter or the housing.
Secure In Place
Once inserted, rotate the filter clockwise to lock it securely. You should feel a click or resistance indicating the filter is locked in place.
Double-check by giving the filter a slight tug; it should stay firmly in position without moving. This step is crucial to prevent water leaks and ensure the filter works correctly.
Have you ever skipped this part and ended up with a leak? Taking a few extra seconds to secure the filter properly saves you from a messy and costly cleanup.

Credit: www.youtube.com
Reset Filter Indicator
The filter indicator on a Whirlpool refrigerator shows when the water filter needs changing. After replacing the filter, the indicator light stays on until you reset it. Resetting the filter indicator helps keep track of water filter life and ensures clean water. This step is quick and simple.
Locate Reset Button
The reset button is usually near the display panel. Look for a button labeled "Reset," "Filter Reset," or a small icon of a water droplet. It may be on the refrigerator’s control panel or inside the fridge door. Check your user manual if you cannot find it.
Follow Reset Procedure
- Press and hold the reset button for 3 to 5 seconds.
- Watch for the filter indicator light to blink or turn off.
- Release the button once the light changes.
- If the light does not reset, try pressing the button again or refer to the manual.
After resetting, the indicator will track your new filter’s lifespan. This step helps maintain fresh, clean water and ice from your fridge.
Test The Water Flow
Test the water flow to ensure the new filter works properly. Run water through the dispenser for a few minutes. This clears air and impurities from the system, ensuring fresh, clean water.
Testing the water flow after replacing the filter in your Whirlpool refrigerator is a crucial step to ensure everything is working perfectly. A new filter can sometimes contain air and carbon particles, which could affect the water quality. Testing the water flow helps to confirm that the installation was successful and that your water is clean and fresh.
Flush Water System
Begin by flushing the water system. This involves running water through the dispenser for approximately 5 minutes or about 3 gallons. Why is this important? It helps to remove any air pockets and carbon particles from the new filter, ensuring you have clear and clean water. Keep a large container handy to collect the flushed water. You might notice sputtering or spurts at first, but this is normal. Continue until the water flows smoothly.
Check For Leaks
After flushing, check for leaks around the filter area. Inspect the connections to ensure they are secure and free from drips. A small leak might not seem like much, but over time, it can cause bigger issues. Place a paper towel under the filter area to easily detect any moisture. If you spot any leaks, double-check that the filter is correctly seated and tightened. Testing the water flow isn't just about ensuring functionality; it's about peace of mind. Wouldn't you feel more confident knowing the water you drink is as clean as it can be?

Credit: www.searshomeservices.com
Maintenance Tips
Keeping your Whirlpool refrigerator’s filter clean is key to maintaining fresh water and ice quality. Proper filter maintenance not only improves taste but also extends your appliance’s lifespan. Let’s dive into how you can spot the right time to replace it and recognize warning signs of a clogged filter.
When To Replace Filter
Whirlpool recommends replacing the filter every six months to ensure optimal performance. However, your water usage and quality can affect this timeline. If your household uses a lot of water daily, consider checking the filter more often.
Another tip: mark the date on your calendar or set a phone reminder when you replace the filter. This simple habit prevents forgetting and helps maintain consistent water quality. Have you ever noticed a drop in water flow before realizing your filter was overdue for a change?
Signs Of Clogged Filter
A clogged filter often causes slow water flow or weak ice production. If your water tastes strange or has a strange odor, it could be a warning sign. These changes mean contaminants are no longer being effectively removed.
Watch for visible signs too. Cloudy or discolored water is a clear indicator the filter isn’t doing its job. Don’t ignore these symptoms—waiting too long can strain your refrigerator’s water system and lead to costly repairs.

Credit: www.youtube.com
Frequently Asked Questions
How Often Should I Replace My Whirlpool Fridge Filter?
Replace the filter every 6 months or when water flow decreases. Frequent replacement ensures clean water and better taste. Check your model’s manual for specific recommendations.
What Tools Do I Need To Replace The Filter?
No special tools are needed. Simply twist and pull out the old filter. Push in the new filter until it clicks securely.
How Do I Reset The Filter Indicator Light?
Press and hold the reset button for 3 seconds after replacing the filter. This clears the indicator and tracks your new filter’s lifespan.
Can I Use Non-whirlpool Filters Safely?
Using non-Whirlpool filters may void warranty and affect water quality. Always choose certified filters compatible with your refrigerator model.
Conclusion
Replacing a Whirlpool refrigerator filter keeps water clean and fresh. It takes just a few simple steps. Regular changes help your fridge work well. Clean filters improve taste and remove impurities. Follow the guide carefully for best results. Check your filter every six months or as needed.
Doing this saves money and avoids problems later. Keep your family’s water safe and healthy. Simple maintenance can make a big difference. Try it yourself and enjoy clearer, better-tasting water today.