Have you ever wanted to create your own personalized ceramic mug? Painting a ceramic mug is easier than you think, and it’s a fun way to add a unique touch to your kitchen or make a special gift for someone you care about.
Imagine sipping your morning coffee from a mug that you designed yourself—doesn’t that feel exciting? In this guide, you’ll discover simple steps, useful tips, and insider tricks that will help you turn a plain mug into a beautiful piece of art.
Ready to unleash your creativity? Keep reading, and let’s get started!
Choosing The Right Materials
Choosing the right materials is the foundation of painting a ceramic mug that lasts and looks fantastic. Picking the perfect mug, the right paint, and the proper tools can make your creative process smoother and your final product more durable. Let’s look at what you need to consider before you start painting.
Selecting Ceramic Mugs
Not all ceramic mugs are created equal for painting. Look for mugs with a smooth, non-porous surface. Glossy finishes tend to hold paint better and give you a clean, sharp design.
Think about the mug’s shape too. Flat areas are easier to decorate, while curved or textured mugs might challenge your brush control. Have you ever struggled with paint running on a highly curved surface? Choosing the right mug can save you from that frustration.
Types Of Paints For Ceramics
Choosing the right paint is crucial for durability and appearance. Acrylic paints designed for ceramics are popular because they’re easy to use and come in many colors.
For a longer-lasting finish, consider specialized ceramic or porcelain paints that require baking. These paints become dishwasher-safe after curing in the oven. Did you know some paints even offer a glossy or matte finish? That choice impacts the mug’s final look significantly.
Essential Painting Tools
Having the right tools makes your painting process more enjoyable and your design cleaner. Basic supplies include fine and medium paintbrushes, sponges for blending, and paint palettes for mixing colors.
Don’t forget about cleaning supplies like rubbing alcohol to prep your mug’s surface and sealants to protect your design. Small details like a steady hand brush can make all the difference. What tools do you find indispensable when crafting your artwork?
Preparing The Mug Surface
Preparing the mug surface is a key step before painting. It helps the paint stick well and last longer. A clean, smooth, and primed surface makes your design look sharp and professional. Follow these steps carefully for the best results.
Cleaning And Drying
Start by washing the mug with warm water and soap. This removes dust, oils, and dirt from the surface. Use a soft sponge to avoid scratches. Rinse the mug thoroughly to remove all soap residue. Dry the mug completely with a clean cloth. Let it air dry for a while to ensure no moisture remains.
Sanding For Better Adhesion
Lightly sand the mug’s surface with fine-grit sandpaper. This creates tiny rough spots for the paint to grip. Sand gently to avoid damaging the mug. Focus on the areas you want to paint. After sanding, wipe off the dust with a damp cloth. Allow the mug to dry fully before moving on.
Priming The Surface
Apply a thin coat of primer made for ceramics or glass. Primer improves paint adhesion and increases durability. Use a small brush or sponge to cover the surface evenly. Let the primer dry completely as per instructions. Once dry, your mug is ready for painting.
Basic Painting Techniques
Mastering basic painting techniques can transform a plain ceramic mug into a personalized masterpiece. These foundational skills help you control the paint, create textures, and add style. Whether you want simple designs or complex effects, starting with the right techniques makes all the difference.
Brush Strokes And Patterns
Your choice of brush strokes sets the mood for your mug’s design. Thin, precise strokes create fine details, while broad, sweeping strokes cover larger areas quickly. Experiment with different brushes—flat, round, or fan-shaped—to see how each changes the texture and pattern.
Try mixing strokes to add depth. For example, short dabs paired with long lines can give a natural, hand-painted look. Don’t hesitate to practice on paper before moving to your mug to get comfortable with the flow of your brush.
Using Stencils And Tape
Stencils and tape help you achieve sharp, clean shapes without freehand struggles. You can buy ready-made stencils or create your own from cardstock. Place the stencil firmly on the mug, then paint inside the cutouts for consistent designs.
Masking tape is perfect for creating straight lines and geometric patterns. Press the tape down firmly to avoid paint bleeding underneath. Once the paint dries, remove the tape carefully to reveal crisp edges that look professional.
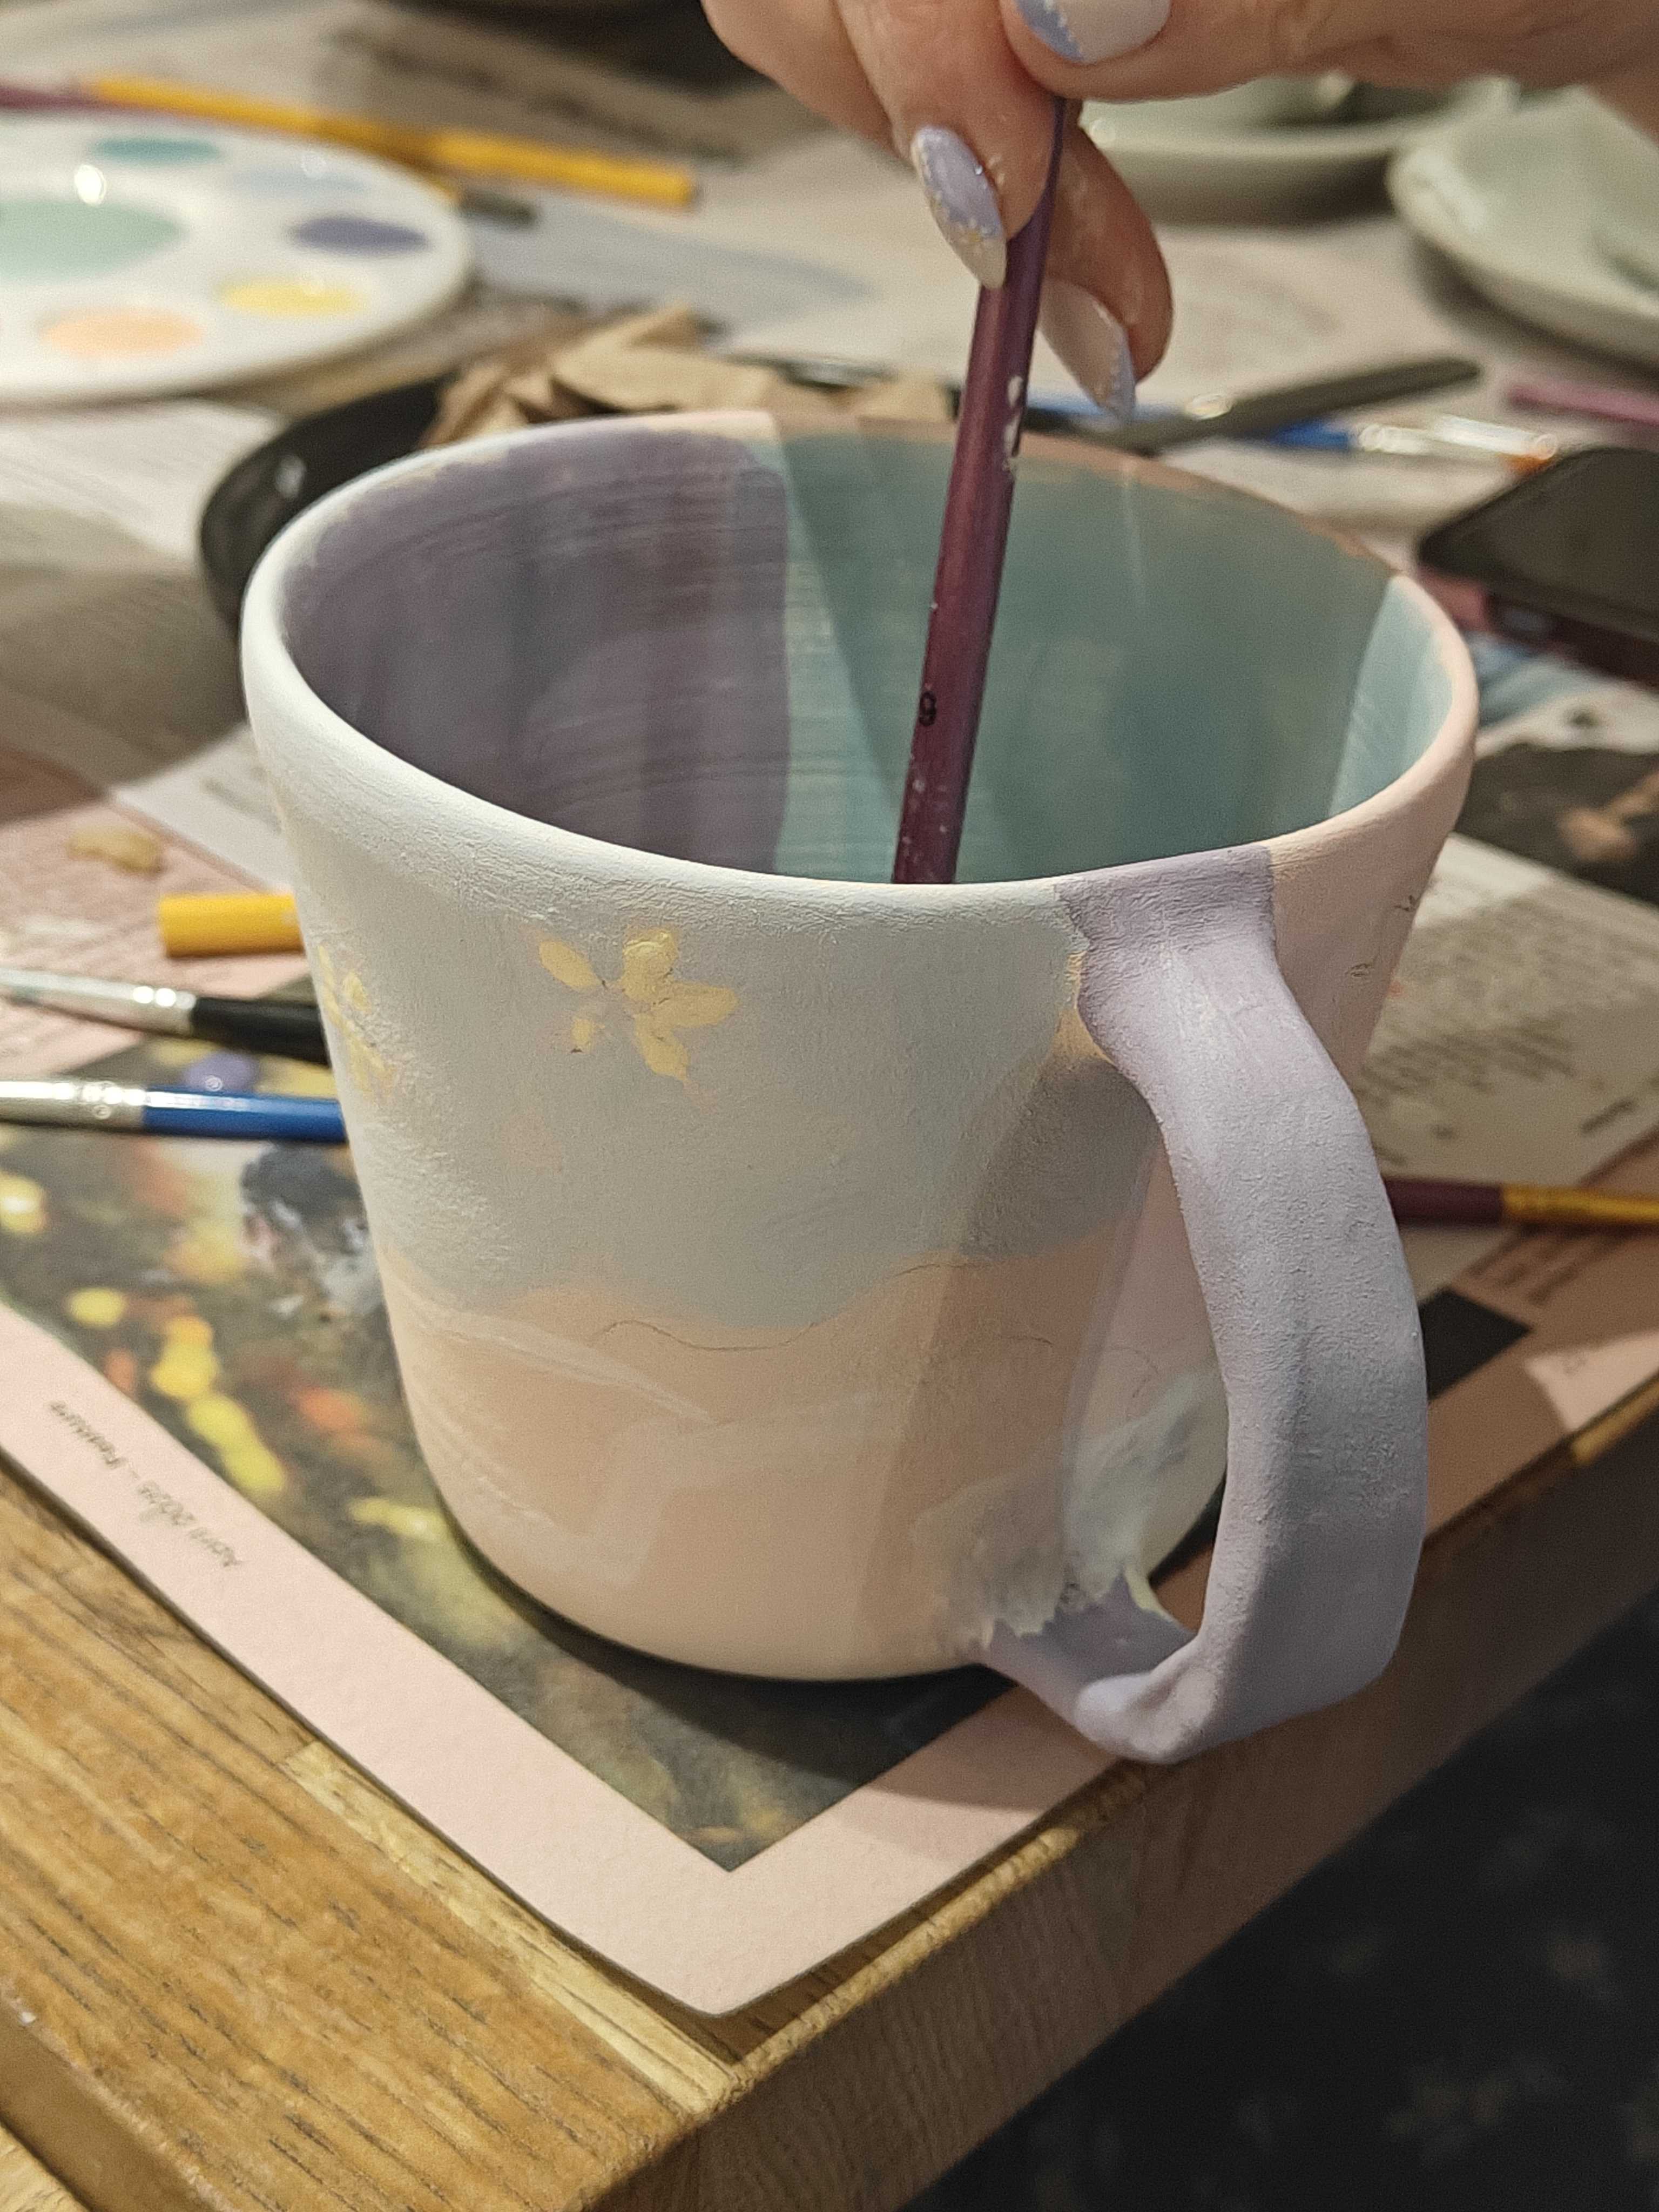
Creating Gradient Effects
Gradients add a smooth color transition that makes your mug stand out. Start by applying two or more colors side by side on your brush, then blend them directly on the mug’s surface. Use a damp brush to soften the edges between colors for a seamless fade.
Try a sponge for a different gradient texture. Dab the sponge lightly in overlapping motions to layer colors gradually. Have you noticed how subtle shifts in color can change the entire feel of your design? Playing with gradients encourages creativity and patience.

Credit: upcyclemystuff.com
Design Ideas For Beginners
Starting with simple designs makes painting ceramic mugs fun and stress-free. Choose easy patterns that build confidence and let creativity flow. These ideas fit beginners well and help create charming mugs.
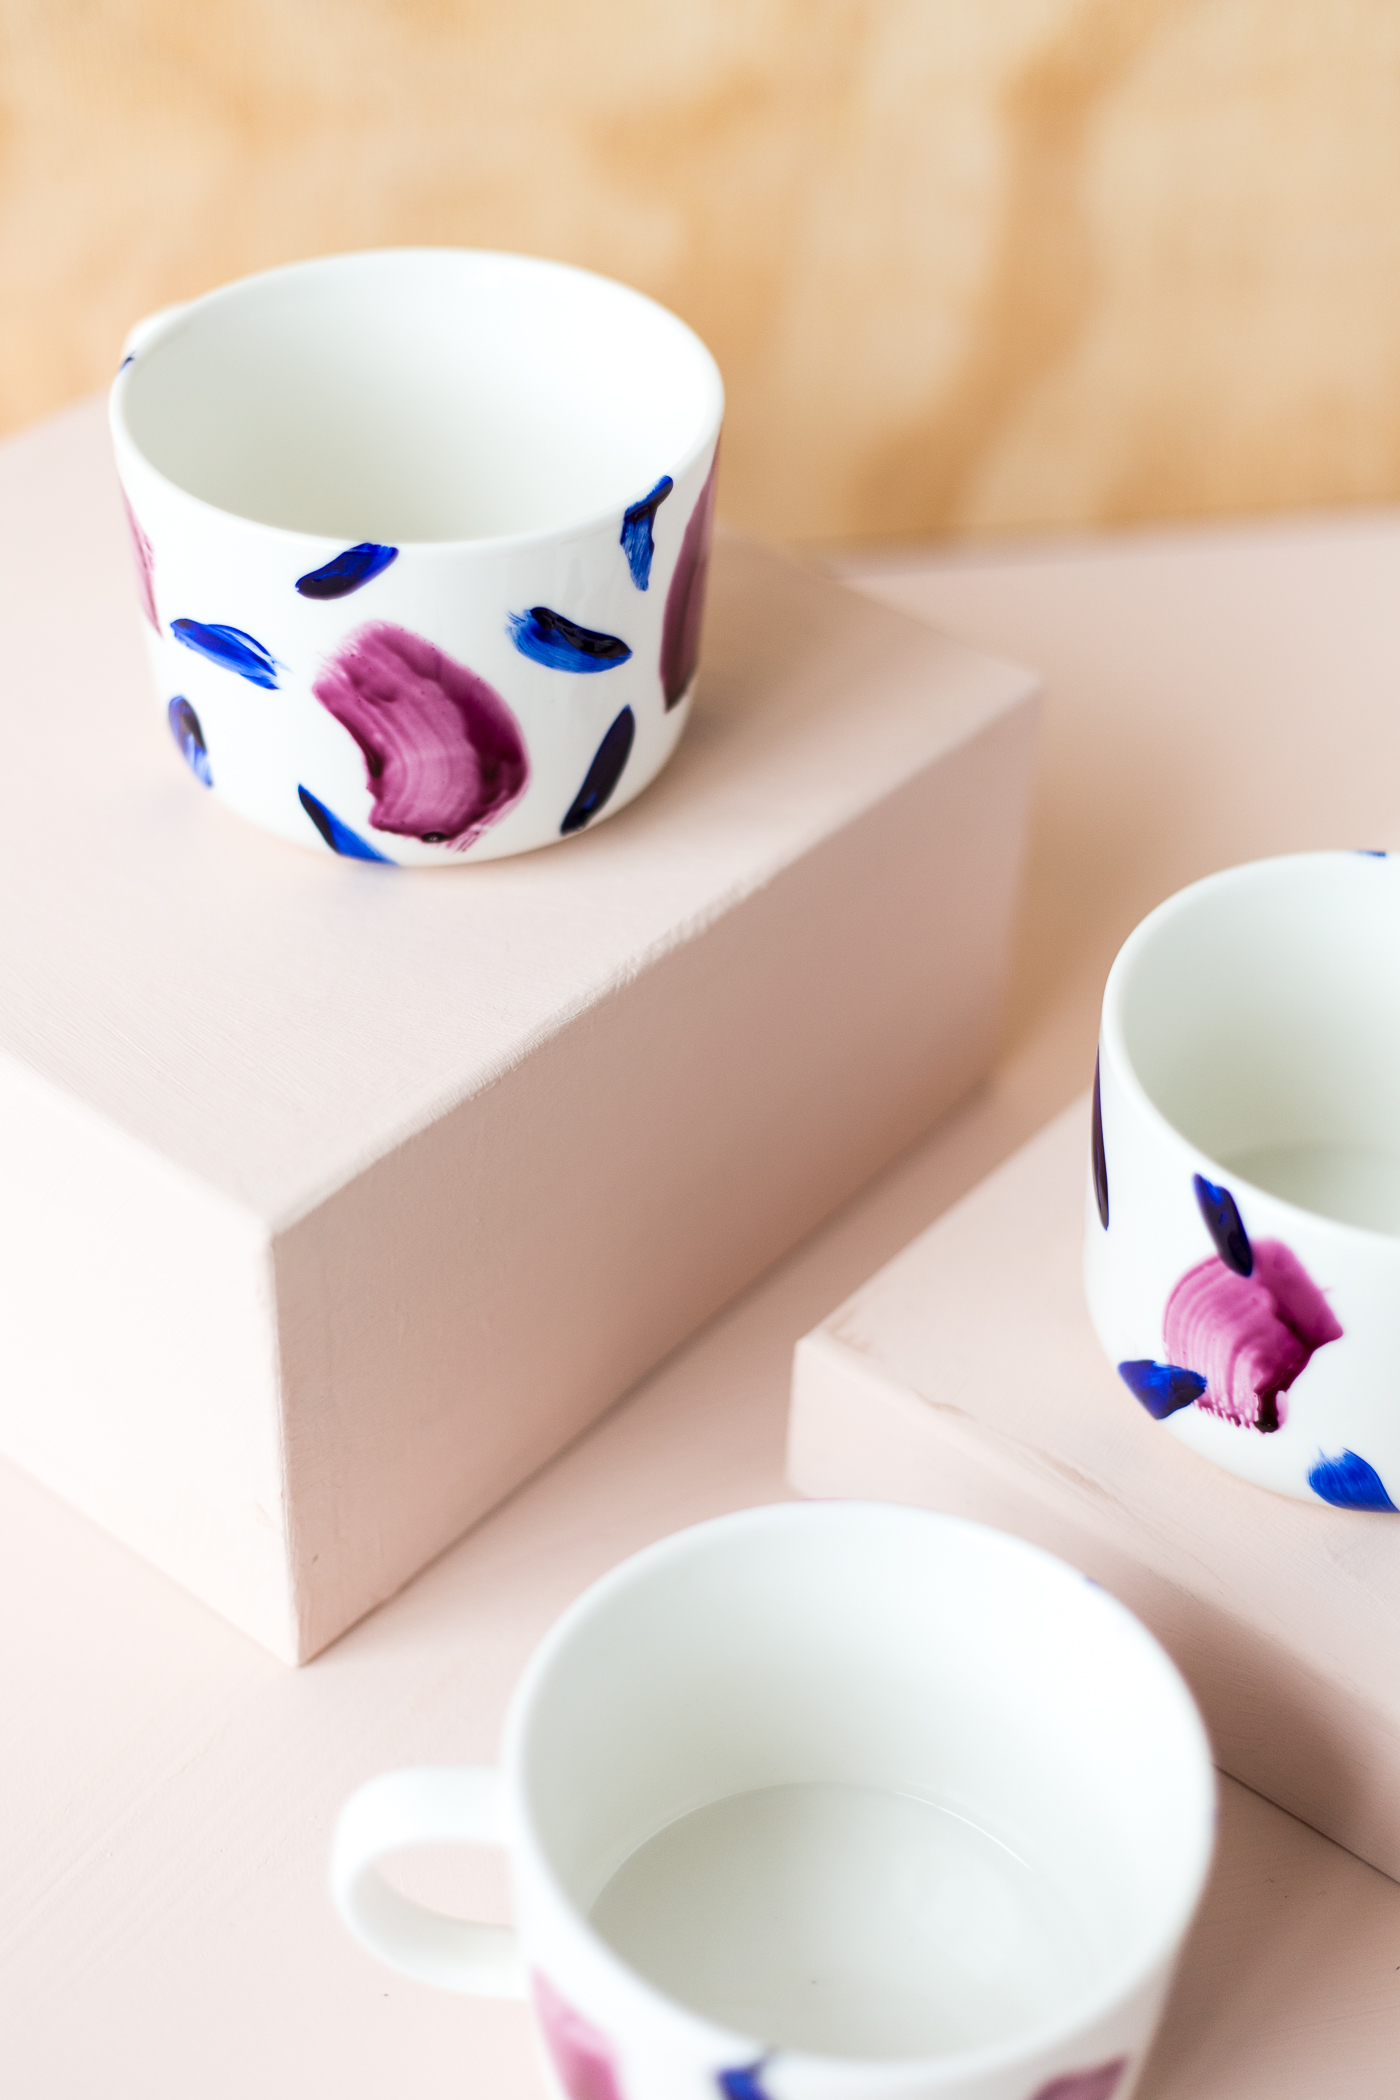
Simple Shapes And Lines
Basic shapes and lines offer a clean, modern look. Circles, squares, and triangles work great. Use dots, stripes, or zigzags to add interest. These designs are quick to paint and look stylish.
- Polka dots in different colors
- Thin vertical or horizontal stripes
- Simple geometric shapes like triangles
- Wavy or zigzag lines around the mug
Floral And Nature Motifs
Nature-inspired designs bring freshness to your mug. Small flowers, leaves, or branches are easy to paint. Soft colors make these patterns gentle and lovely. Ideal for a cozy, natural vibe.
- Single flower on one side
- Leaf patterns around the rim
- Simple vines wrapping the mug
- Sun or cloud shapes for a playful touch
Personalized Text And Quotes
Adding words makes mugs special and unique. Choose short quotes or names for a personal touch. Use clear, bold letters for easy reading. Combine text with small icons for charm.
- Your name or initials
- Favorite short quote or saying
- Simple words like “Love” or “Smile”
- Hearts or stars beside the text
Drying And Curing Methods
After painting your ceramic mug, the drying and curing phase is crucial to ensure your design lasts and looks vibrant. How you let your paint set affects its durability and finish. Let’s look at some effective ways to dry and cure your mug so it’s ready for everyday use.
Air Drying Tips
Air drying is the simplest way to let your paint set. Place your mug in a dust-free area and avoid touching the painted surface. Depending on the paint type, drying can take anywhere from a few hours to a full day.
To speed up the process, keep the room well-ventilated but avoid direct sunlight, which can cause colors to fade. Have you noticed how some paints feel sticky even after hours? That’s a sign you need more time or a different curing method.
Oven Baking For Durability
Baking your mug in the oven can make the paint more durable and dishwasher-safe. Preheat your oven to the temperature recommended on your paint’s packaging—usually around 300°F (150°C).
Place the mug on a baking sheet and bake for the suggested time, often 30 minutes. Let it cool completely inside the oven to prevent sudden temperature changes that could crack the paint or the mug itself.
If you skip the cooling step, have you seen how your design sometimes bubbles or peels? That’s why patience is key here. Oven baking creates a stronger bond between the paint and ceramic surface.
Sealing Your Design
Sealing adds an extra layer of protection to your artwork. Use a clear ceramic sealer spray or brush-on glaze suitable for your paint type. This step helps protect against scratches and water damage.
Apply the sealer in thin, even coats and let each coat dry fully before adding the next. Remember, sealing isn’t always required but is highly recommended if you want your mug to withstand regular use.
Have you ever had a painted mug where the design faded after a few washes? A proper sealant could be the difference between a lasting masterpiece and a quick disappointment.
Care And Maintenance
Proper care and maintenance keep your painted ceramic mug beautiful for a long time. Simple steps protect the paint and preserve your design's vibrancy. Avoid harsh treatment and clean your mug with care. Small efforts help your artwork last through many uses.
Hand Washing Guidelines
Always wash your painted mug by hand. Use warm water and mild soap to clean it gently. Avoid scrubbing the painted areas hard. Soft sponges or cloths work best. Rinse well and dry with a soft towel. Do not put your mug in the dishwasher. The high heat and strong detergents can damage the paint.
Avoiding Damage
Keep your mug away from extreme temperatures. Do not microwave painted mugs unless the paint is labeled microwave-safe. Avoid dropping or banging your mug on hard surfaces. Store it carefully to prevent chips or scratches. Handle your mug gently to keep the design intact.
Touching Up Designs
Small chips or scratches can be fixed easily. Use ceramic paint or markers made for mugs. Clean the area before applying new paint. Follow the product instructions for drying and sealing. Re-seal with a clear ceramic sealer for extra protection. This keeps your design looking fresh and new.
Troubleshooting Common Issues
Facing issues while painting a ceramic mug? Ensure the mug is clean and grease-free before starting. Use appropriate ceramic paints and let each layer dry completely to avoid smudges.
Troubleshooting common issues when painting a ceramic mug can transform your craft from an ordinary hobby into a satisfying art. Mistakes happen, but each one is an opportunity to learn. Let's tackle some frequent painting hiccups to ensure your mug turns out just how you envisioned.
Fixing Paint Chips
Paint chips can be frustrating, especially after putting in so much effort. They often occur due to insufficient priming or using the wrong type of paint. To fix them, gently sand the chipped area with fine-grit sandpaper until smooth. After sanding, clean the area with a damp cloth to remove dust. Use a small brush to carefully repaint the chipped section, blending it with the surrounding paint. Once dry, apply a clear sealant to protect your work and prevent future chipping.
Dealing With Smudges
Smudges can appear if the paint is accidentally touched before it's dry. To avoid this, set your mug in a safe spot and allow ample drying time. If you already have smudges, don't worry—there's a fix. Lightly dampen a cotton swab with rubbing alcohol and gently rub the smudge until it fades. Be careful not to press too hard, as it might remove more paint than desired. Once corrected, let it dry fully before adding another layer of paint if needed.
Repainting Techniques
Repainting can seem daunting, but it's a chance to perfect your design. Start by sanding the entire mug to create a smooth base. This helps the new paint adhere better. Wipe down the mug with a damp cloth to remove sanding residue. Choose high-quality ceramic paint and apply thin, even coats. Patience is key—allow each layer to dry completely before adding the next. This method ensures vibrant colors and a polished finish. Have you ever salvaged a project that seemed beyond repair? Remember, every painting issue is just a step towards mastering your craft. With these troubleshooting tips, your ceramic mug will be a masterpiece in no time.
Credit: www.dca.org.uk
Credit: fallfordiy.com
Frequently Asked Questions
How Do I Prepare A Ceramic Mug For Painting?
Clean the mug thoroughly with soap and water. Dry it completely. Lightly sand the surface to help paint adhere better. Avoid using oily or greasy cleaners that may affect paint bonding.
What Types Of Paint Work Best On Ceramic Mugs?
Use acrylic enamel or oil-based paints designed for ceramics. These paints are durable and dishwasher-safe after curing. Avoid regular acrylics, as they may chip or fade quickly on mugs.
How Long Should Painted Mugs Cure Before Use?
Allow the paint to dry for at least 24 hours. Then bake the mug in the oven at 350°F (175°C) for 30 minutes. This process sets the paint, making it more durable and dishwasher-safe.
Can I Make My Painted Ceramic Mug Dishwasher Safe?
Yes, baking the painted mug at 350°F for 30 minutes cures the paint. This step makes the design more resistant to washing and everyday use. Hand washing is still recommended for longer-lasting results.
Conclusion
Painting a ceramic mug is a fun and creative project. You only need a few supplies and some patience. Take your time to apply the paint carefully. Let the paint dry completely before using your mug. Personal designs make your mug special and unique.
Practice helps you improve your painting skills. Enjoy the process and make something you love. This simple craft can brighten your day or be a great gift. Try different colors and patterns to find your style. Keep your mug safe, and it will last long.