If you love poached eggs but dread the time and effort it takes to make them, you’re about to discover a game-changer. Imagine enjoying a perfectly poached egg in just minutes, right from your microwave oven.
No mess, no waiting by the stove, and no special skills needed. You’ll learn exactly how to microwave a poached egg quickly and easily. Keep reading, and you’ll never look at breakfast the same way again.
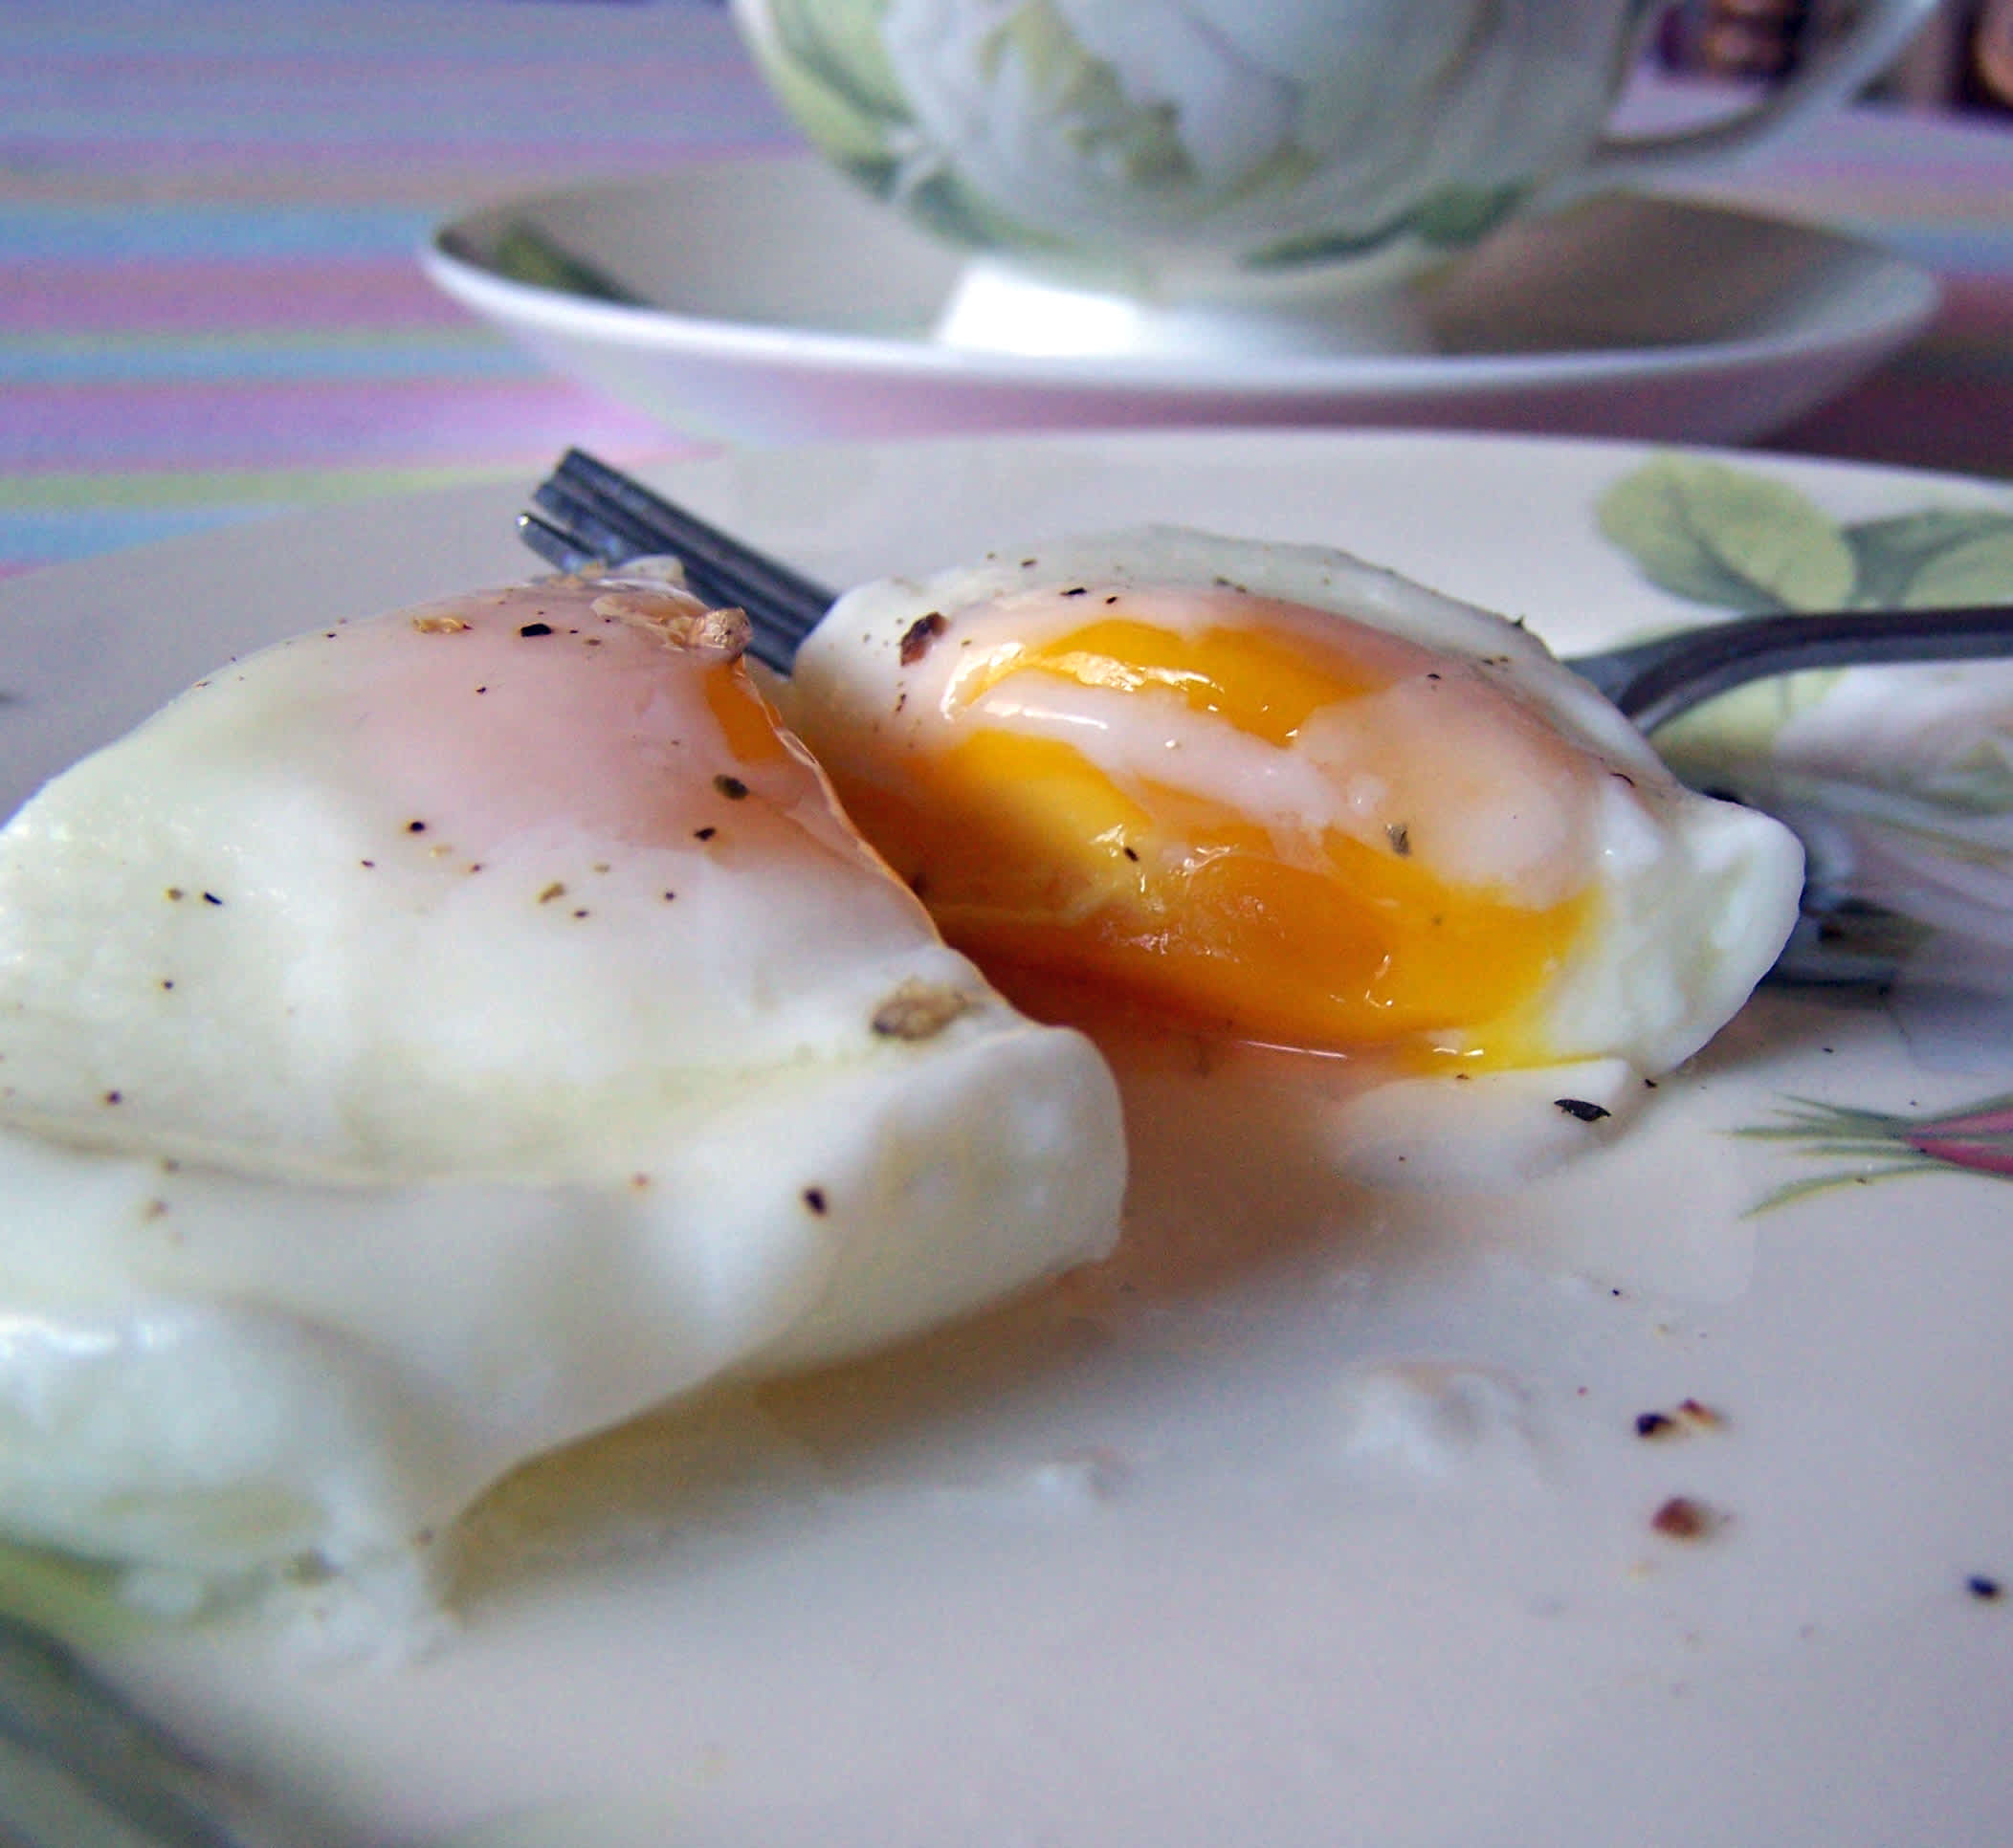
Credit: www.food.com
Choosing The Right Tools
Choosing the right tools is key to poaching an egg in the microwave successfully. The right equipment ensures the egg cooks evenly and safely. It also helps keep your kitchen mess-free and your egg looking perfect.
Microwave-safe Containers
Select a container that can handle microwave heat without cracking or melting. Glass bowls or ceramic ramekins work best. Avoid metal or plastic that is not labeled microwave-safe. The container should be deep enough to hold water and the egg comfortably. This helps the egg cook evenly and prevents spills.
Essential Accessories
Use a microwave-safe lid or microwave-safe plate to cover the container. This traps steam and cooks the egg gently. A small, microwave-safe dish or cup can help separate the egg from the shell easily. A slotted spoon is handy for lifting the poached egg without breaking it. A timer or microwave with a built-in timer helps avoid overcooking.
Preparing The Egg
Preparing the egg correctly is crucial to making a perfect poached egg in the microwave. It sets the foundation for a smooth cooking process and ensures the egg holds together well. Small details in this stage can make a big difference in your final result.
Cracking The Egg Properly
Start by cracking the egg gently on a flat surface instead of the edge of a bowl. This helps avoid shell fragments and keeps the yolk intact.
Open the shell carefully into a small bowl or cup first. This way, you can check for any shell pieces or a broken yolk before cooking.
Have you ever ended up with bits of shell in your microwave dish? Taking this extra moment to crack it properly saves you from that annoying surprise.
Adding Water And Vinegar
Use a microwave-safe bowl and add about 1/2 cup of water for each egg. The water helps cook the egg evenly and prevents it from drying out.
Adding a teaspoon of vinegar to the water helps the egg white firm up quickly. This keeps the poached egg neat and compact instead of spreading thin.
Don’t worry, the vinegar won’t affect the taste much, but it plays a key role in getting that perfect texture. Have you tried poaching without vinegar? You might notice the whites get a bit wispy.
Microwaving Steps
Microwaving a poached egg is quick and simple. Knowing the right steps helps you get soft, tender eggs every time. It’s important to control power and timing to avoid overcooking or undercooking.
Follow these microwaving steps for the best results. Each step ensures your poached egg is cooked just right, with a runny yolk and firm whites.
Setting The Power Level
Use medium or 50% power on your microwave. High power cooks too fast and may cause the egg to burst. Medium power lets the egg cook gently and evenly.
Place the egg in a microwave-safe bowl with water. Cover the bowl with a microwave-safe lid or plate to keep steam inside.
Timing For Perfect Doneness
Cook the egg for 45 seconds to 1 minute. Check the egg after 45 seconds. If the white is still clear, microwave for 10-15 seconds more.
Adjust timing based on your microwave's strength. Short bursts of time prevent overcooking. The yolk should stay soft and creamy.
Post-cooking Tips
Let the poached egg rest for a minute after microwaving to finish cooking evenly. Gently cover it with a paper towel to avoid splatters. Use a spoon to check the yolk’s firmness before serving.
After successfully microwaving a poached egg, it's important to follow a few post-cooking tips to ensure the best results. These steps will help you achieve a perfectly cooked egg every time. Let's dive into what you should do right after your egg is done cooking.
Checking The Egg
Once your egg has cooked, carefully examine it to ensure it's done to your liking. The yolk should be slightly soft, while the white should be fully cooked. If you find the yolk too runny, you can microwave it for an additional 10-15 seconds. Don't hesitate to repeat this process until you achieve the desired consistency. It's all about finding the perfect balance for your taste. Remember, microwaves can vary, so your cooking time might differ slightly.
Removing Safely
Removing a hot poached egg from the microwave requires caution. Use a spoon to gently lift the egg out of the water. Be mindful of any hot steam that might escape as you do this. Once removed, place the egg on a paper towel to absorb excess moisture. This not only ensures a better texture but also prevents the egg from becoming soggy. Did you know that a dry poached egg pairs perfectly with a toasted slice of bread? Give it a try next time! These post-cooking tips are simple yet crucial steps in your poached egg journey. What other tips have you found useful when cooking eggs in the microwave?
Common Mistakes To Avoid
Microwaving a poached egg is quick and simple but requires care. Many beginners make avoidable errors that spoil the texture or cause safety issues. Knowing these common mistakes helps create perfect poached eggs every time. Pay attention to cooking times and preparation steps. Small errors can lead to overcooked eggs or even dangerous microwave accidents.
Overcooking Issues
Overcooking is the top mistake in microwaving poached eggs. Eggs cook fast in microwaves, so timing is key. Too long makes the yolk hard and the white rubbery. The egg loses its smooth texture and taste.
Use short cooking bursts of 20 to 30 seconds. Check the egg after each burst. Stop cooking as soon as the white is set but the yolk is still soft. This method avoids tough eggs.
Preventing Explosions
Microwaves can cause eggs to explode if not prepared correctly. Steam builds inside the yolk and white during cooking. The pressure can burst the egg, making a mess and risking burns.
To prevent explosions:
- Prick the yolk gently with a toothpick or fork before cooking.
- Cover the bowl with a microwave-safe lid or plate to trap steam.
- Use a bowl with enough water to fully submerge the egg.
- Cook in short intervals and check often.
These steps release steam safely and keep your microwave clean.
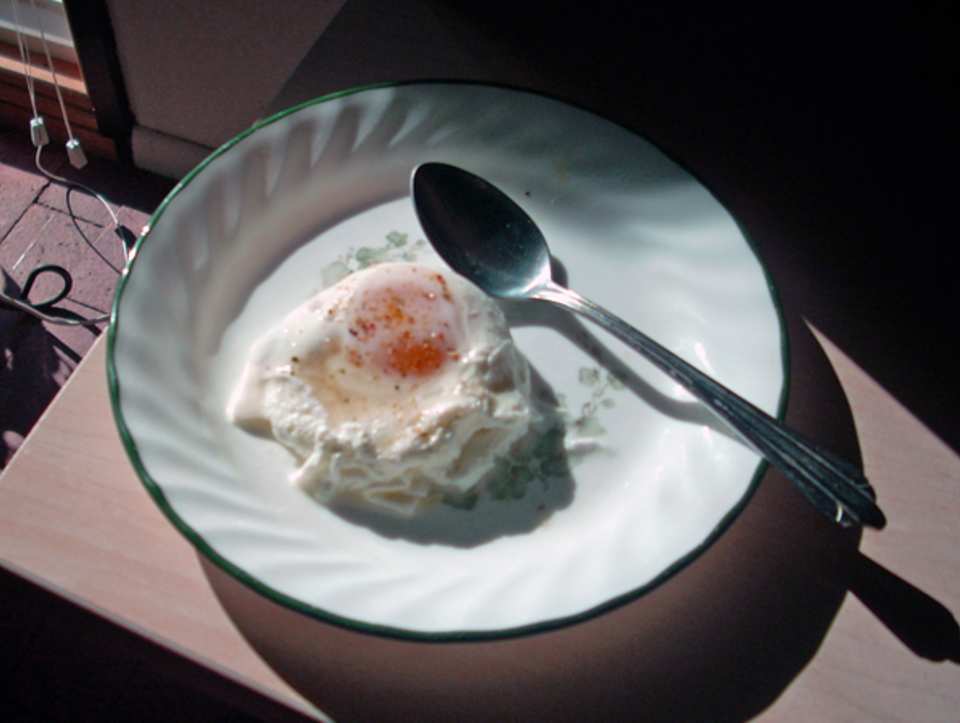
Credit: www.food.com
Serving Suggestions
Serving a poached egg straight from the microwave can be simple yet satisfying. Enhancing its flavor with the right touches creates a delightful meal. This section shares easy ideas to improve taste and presentation.
Simple Seasonings
Start with salt and pepper to bring out the egg's natural taste.
- A pinch of smoked paprika adds a mild, smoky flavor.
- Chopped fresh herbs like parsley or chives give freshness.
- A sprinkle of chili flakes adds a gentle heat.
- Drizzle a little olive oil or melted butter for richness.
- Lemon zest brightens the flavor with a citrus touch.
Pairing Ideas
Combine the poached egg with simple foods for a balanced meal.
- Toast or crusty bread makes a perfect base.
- Avocado slices add creaminess and healthy fats.
- Fresh salad greens offer crunch and freshness.
- Steamed vegetables create a light, nutritious side.
- Top a bowl of rice or quinoa with the egg for protein.
- Serve over sautéed spinach or mushrooms for earthiness.
Troubleshooting
Microwaving a poached egg is quick but can sometimes be tricky. Troubleshooting helps solve common issues. This section covers simple fixes to get your poached egg just right. Small adjustments can improve texture and cooking time.
Undercooked Egg Fixes
Undercooked eggs need more time but don’t overcook. Try microwaving in short bursts of 10 seconds. Stir gently between bursts to spread heat evenly. Cover the egg with a microwave-safe lid to trap steam. This speeds cooking and prevents drying out. Use medium power to avoid tough edges. Check the egg after each burst until firm but soft.
Handling Runny Whites
Runny egg whites mean the egg isn’t fully cooked. Let the egg rest covered for 30 seconds after microwaving. The heat will continue cooking it gently. If whites stay runny, microwave in 5-second intervals at medium power. Use a fork to lightly stir whites before cooking to promote even cooking. Ensure the egg is fully submerged in water for better results.
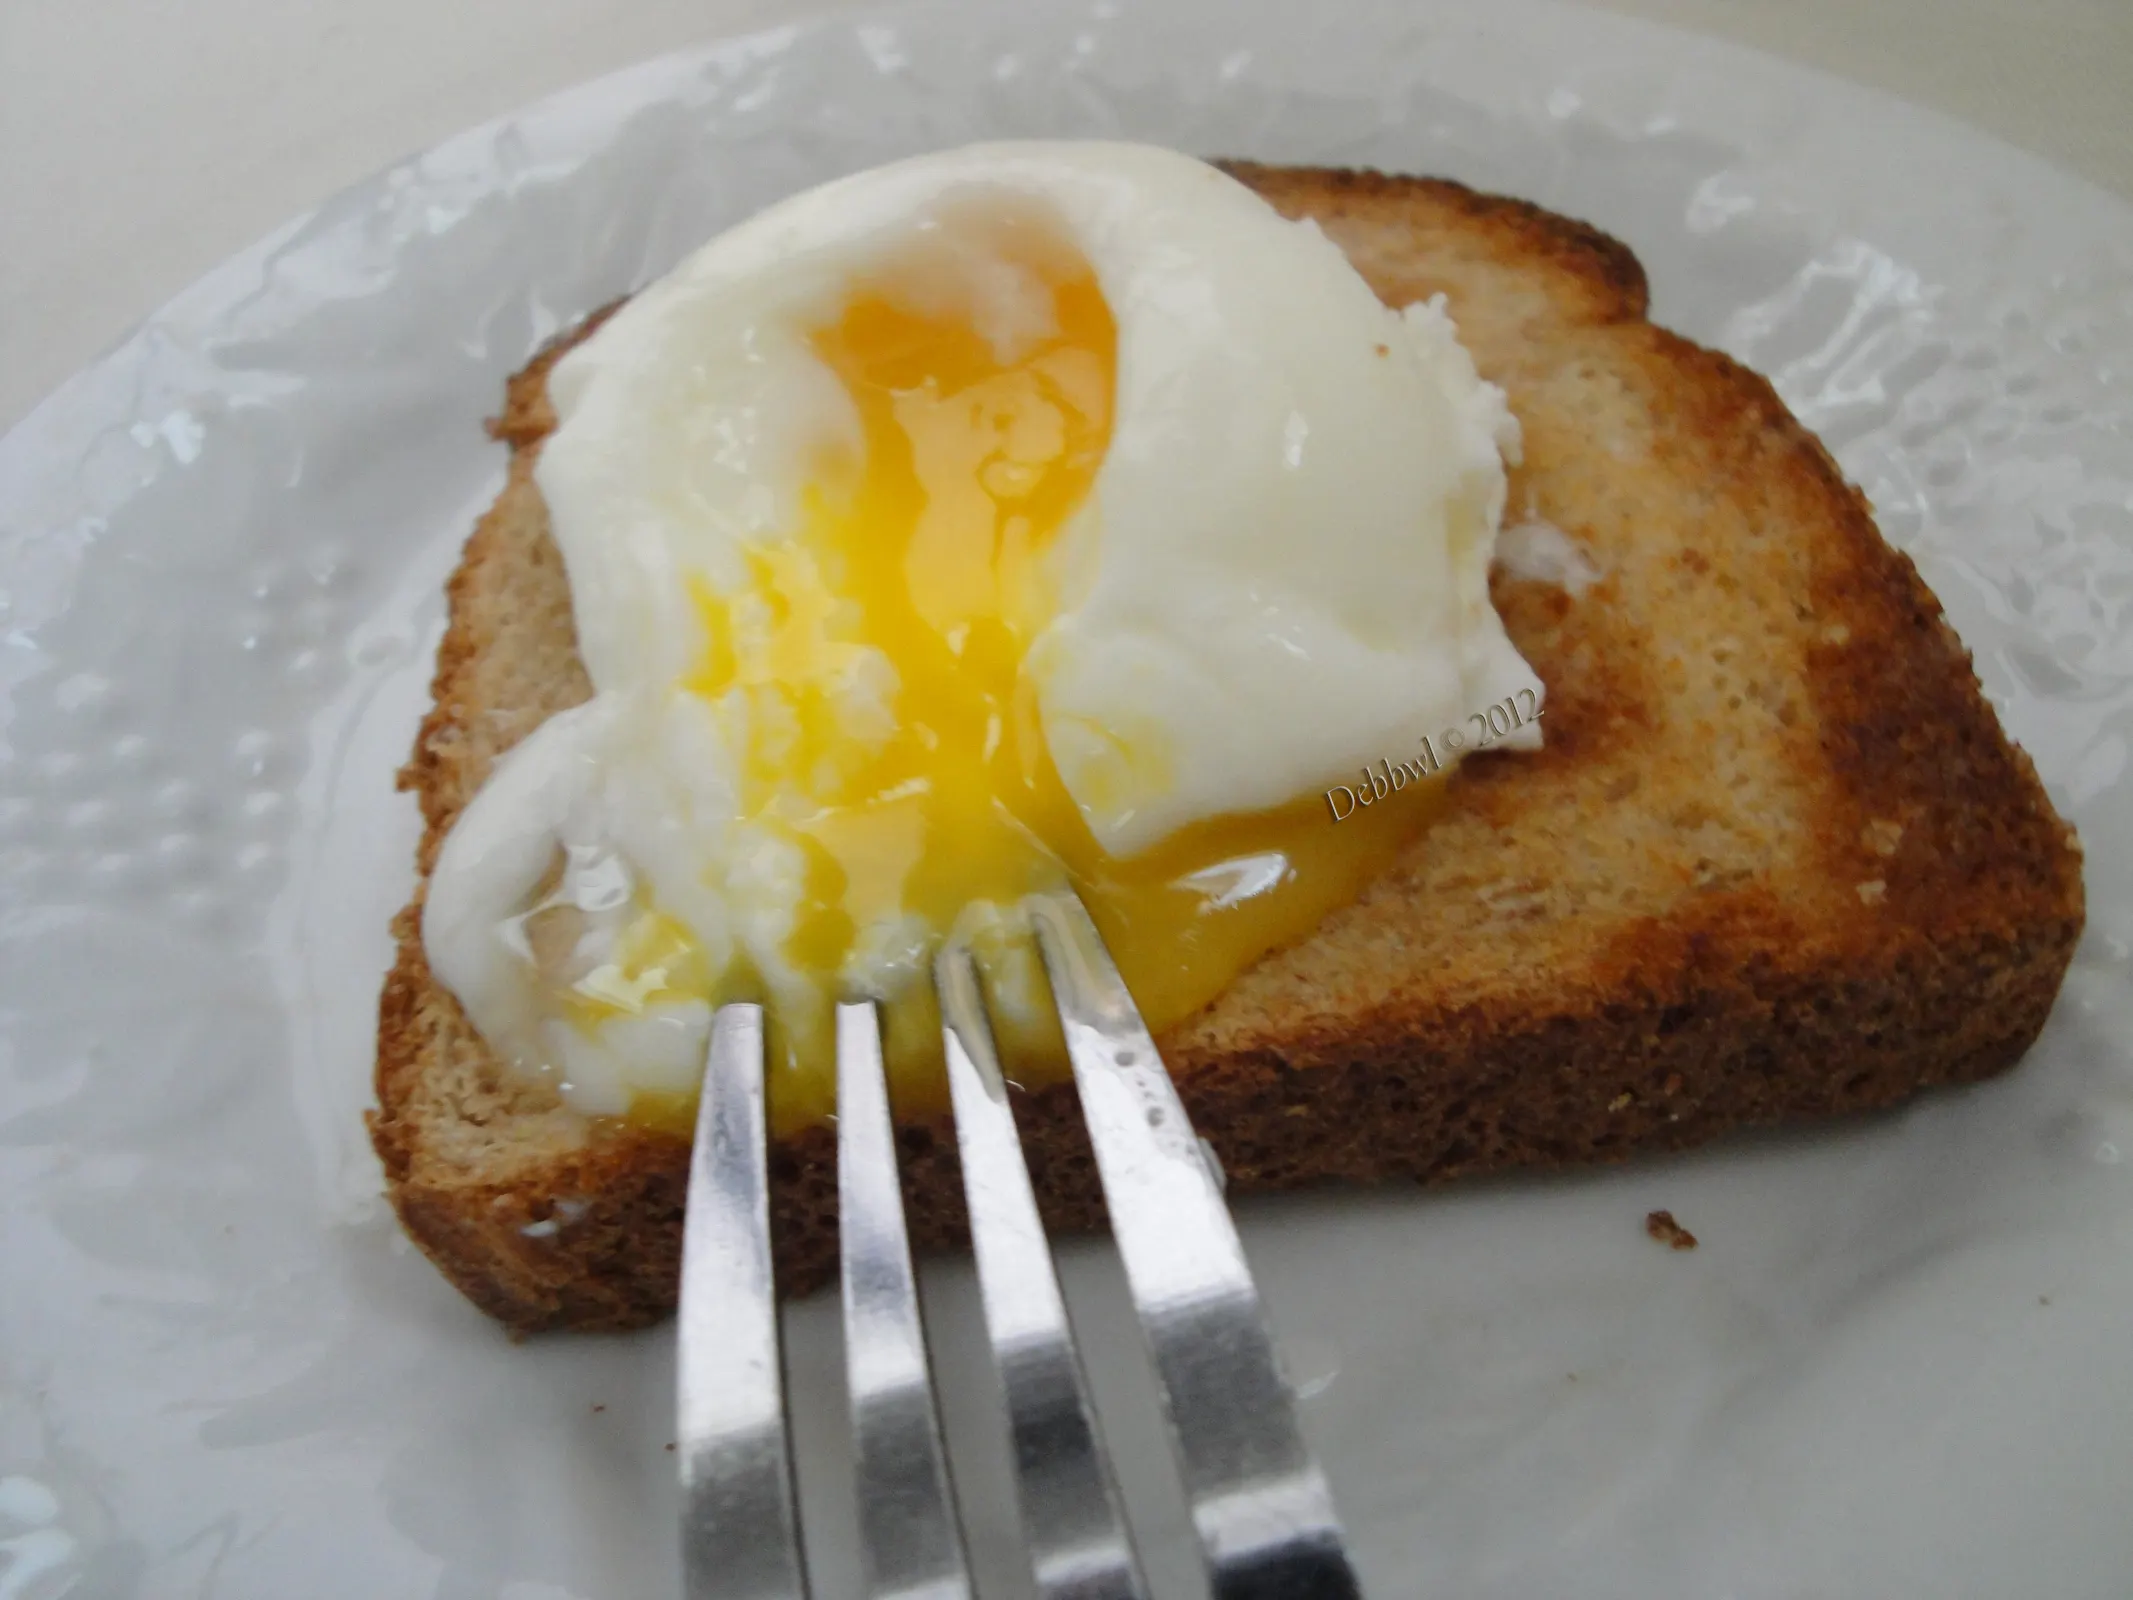
Credit: www.food.com
Frequently Asked Questions
How Long To Microwave A Poached Egg?
Microwave a poached egg for about 45 to 60 seconds. Cooking time varies by microwave wattage. Check the egg after 45 seconds to avoid overcooking.
Can You Microwave A Poached Egg Without A Container?
No, always use a microwave-safe container with water. This ensures even cooking and prevents the egg from drying out or exploding.
What’s The Best Water Level For Poaching Eggs In Microwave?
Use about half a cup of water to cover the egg fully. This amount helps cook the egg evenly and prevents burning.
How To Prevent Microwave Poached Egg From Exploding?
Pierce the yolk gently before microwaving. Cover the container with a microwave-safe lid or plate to trap steam safely.
Conclusion
Poaching an egg in the microwave saves time and effort. It’s quick, simple, and perfect for busy mornings. Just follow the steps carefully for best results. Use fresh eggs and the right water amount. Watch the cooking time to avoid overcooking.
Enjoy a soft, tasty poached egg without the mess. Now you can make this classic dish anytime. Try it today and see how easy it is. Perfect eggs are just a few minutes away.