Grilling ribs on a gas grill doesn’t have to take all day. Imagine sinking your teeth into tender, juicy ribs that are ready faster than you expected.
You might think quick grilling means sacrificing flavor or texture—but that’s not true. With the right steps, you can enjoy mouth-watering ribs without the long wait. Keep reading, and you’ll discover simple tips and tricks to grill ribs quickly on your gas grill, making your next meal a delicious success.

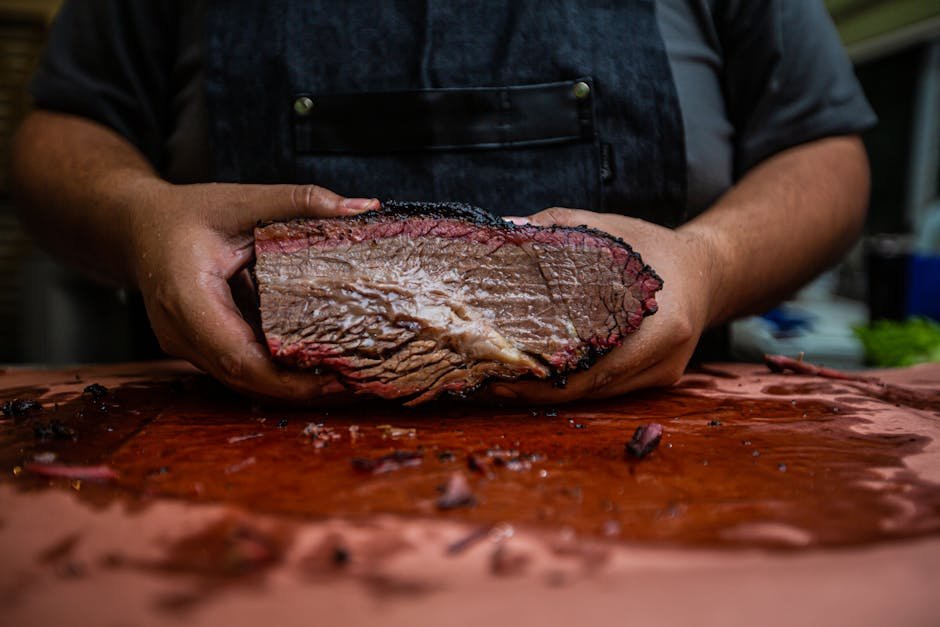
Credit: www.thepioneerwoman.com
Preparing The Ribs
Preparing ribs correctly sets the foundation for a quick and delicious grilling experience on your gas grill. Taking time to prepare the ribs properly ensures they cook evenly and absorb flavors well. Skipping these steps might save minutes now, but it often costs you taste and texture later.
Choosing The Right Ribs
Your choice of ribs impacts both cooking time and flavor. Baby back ribs are leaner and cook faster than spare ribs, making them ideal for quicker grilling sessions. On the other hand, spare ribs offer more fat and connective tissue, which means richer flavor but longer cook times.
Think about your schedule and taste preferences before picking your ribs. Have you noticed how some ribs stay tender while others turn tough? The cut you choose plays a big role in that.
Removing The Membrane
The silver skin membrane on the back of ribs can block seasonings and smoke from penetrating the meat. Removing it helps your rubs and marinades soak in better and results in more tender ribs.
Slide a butter knife under the membrane and lift it gently. Grab the loosened edge with a paper towel and pull it off in one piece. If you’ve ever bitten into ribs and found a tough, chewy layer, that membrane was the culprit.
Trimming Excess Fat
Excess fat can cause flare-ups on the grill and add unwanted greasiness to your ribs. Trim large fat deposits to help the ribs cook more evenly and avoid smoky flare-ups that char the meat.
Use a sharp knife to carefully remove thick fat pockets, but don’t strip all the fat away—you want enough to keep the ribs juicy. Have you ever had ribs that were too greasy or unevenly cooked? Trimming fat is a simple fix to avoid that problem.

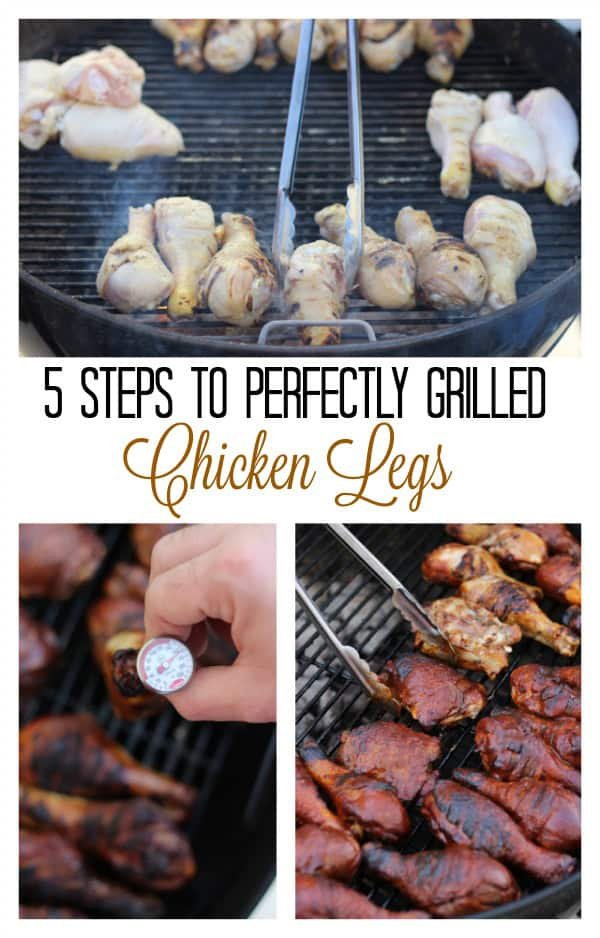
Credit: m.youtube.com
Marinating And Seasoning
Marinating and seasoning ribs enhances their flavor and tenderness. Both steps prepare the meat for a delicious grilling experience. Quick marinating and seasoning save time without losing taste.
Selecting A Quick Marinade
Choose a marinade with acid, oil, and spices. Acid helps break down the meat fibers fast. Use ingredients like vinegar, lemon juice, or yogurt. Add oil to keep ribs moist. Include garlic, pepper, or chili for spice. Marinate ribs for 30 minutes to 1 hour. This short time still gives good flavor.
Applying A Dry Rub
Dry rubs are fast and easy to apply. Mix spices like paprika, brown sugar, salt, and pepper. Add garlic powder or onion powder for extra taste. Rub the mixture evenly over ribs. Press gently to help spices stick. Dry rubs add a crispy crust when grilled.
Letting Flavors Infuse
Let ribs rest after applying marinade or rub. Even 30 minutes allows flavors to soak in. Cover ribs with plastic wrap or place in a sealed bag. Keep them in the fridge during this time. This step improves taste and tenderness quickly.
Setting Up The Gas Grill
Setting up your gas grill correctly is the foundation for grilling ribs quickly without sacrificing flavor or tenderness. How you prepare the grill can make a big difference in cooking time and the final taste. Let’s dive into the key steps that get your grill ready for a perfect rib session.
Preheating The Grill
Start by turning on your gas grill and setting it to a medium-high heat. Preheating for about 10 to 15 minutes ensures the grill grates get hot enough to sear the ribs properly. Have you noticed how a properly preheated grill prevents sticking and creates those desirable grill marks?
Don’t rush this step. A well-heated grill locks in juices and cooks ribs evenly, speeding up the process while enhancing flavor.
Creating Heat Zones
Setting up two heat zones on your gas grill is essential for quick and controlled rib grilling. Turn one side of the grill to high heat for searing and leave the other side on low or off for indirect cooking. This lets you sear the ribs over direct heat and then move them to the cooler side to finish cooking slowly without drying out.
Think about it as giving your ribs a quick intense blast and then a gentle finish. This method cuts down on total cooking time compared to low-and-slow alone.
Using A Drip Pan
Place a drip pan under the grill grates on the cooler side to catch fat drippings. This prevents flare-ups that can burn your ribs and keeps your grill cleaner. You can even add water, apple juice, or a marinade to the pan, which adds moisture and a subtle smoky flavor during indirect cooking.
Have you ever dealt with unexpected flare-ups ruining your ribs? A drip pan is a simple tool that saves your ribs from those flare-ups and keeps the cooking consistent.
Grilling Techniques For Speed
Mastering quick grilling techniques can transform your rib-cooking experience on a gas grill. Speed doesn’t have to mean sacrificing flavor or tenderness. With the right approach, you can enjoy perfectly cooked ribs without the long wait.
Direct Vs Indirect Heat Cooking
Understanding when to use direct or indirect heat is crucial for speeding up rib grilling. Direct heat cooks ribs quickly but risks burning the outside before the inside is done. Indirect heat cooks slower but results in even, tender ribs.
Try starting with direct heat to sear and lock in juices, then move the ribs to indirect heat to finish cooking faster without drying out. This combo cuts down cooking time and gives you great texture.
Using Foil For Faster Cooking
Wrapping ribs in foil traps steam and heat, which speeds up the cooking process. This technique, often called the “Texas Crutch,” softens the meat and helps it cook through faster.
After searing your ribs, wrap them tightly in foil with a bit of liquid like apple juice or barbecue sauce. This creates a mini oven effect, reducing grilling time and keeping ribs juicy.
Flipping And Basting Tips
Flipping ribs too often can slow down cooking and cause heat loss. Instead, flip ribs just once or twice during grilling to maintain steady heat.
Basting adds moisture and flavor but apply it sparingly and near the end to avoid flare-ups and soggy bark. Use a brush or mop to spread sauce evenly, enhancing taste without extending cook time.
Checking For Doneness
Checking for Doneness Ensure ribs are cooked to perfection by checking their internal temperature. A thermometer should read 190°F for tender ribs. Test with a fork; it should easily pull apart.
Checking for doneness is a crucial step in grilling ribs on a gas grill, ensuring you achieve that tender, juicy perfection every time. Grilling can be a bit of an art form, where timing and technique come together to create a mouthwatering masterpiece. But how do you know when those ribs are just right and ready to be devoured?
Using A Meat Thermometer
A meat thermometer is your best friend for checking rib doneness. It provides a reliable and accurate reading, removing the guesswork from grilling. Insert the thermometer into the thickest part of the meat, away from the bone. You're aiming for an internal temperature of about 190°F. This temperature ensures the ribs are cooked through and the connective tissues have broken down, resulting in that fall-off-the-bone tenderness. If you've ever wondered why your ribs were tough, a quick check with a meat thermometer could reveal they were undercooked.
Visual And Texture Cues
Observing how the ribs look and feel is another effective way to check for doneness. As the ribs cook, the meat will start to pull back from the ends of the bone. This is a good sign that they are getting close to being done. Touch the ribs gently with your fingers or a fork. Properly cooked ribs should feel tender yet firm, not mushy. You can also perform the bend test: pick up the ribs with tongs in the middle and let them bend slightly. If the meat starts to crack on the surface, they are likely ready to serve. Have you ever found yourself second-guessing your grilling skills? These cues can boost your confidence, ensuring you serve up perfectly cooked ribs every time.
Adding Final Touches
Adding final touches to grilled ribs makes a big difference in taste and presentation. This stage brings out the full flavor and gives the ribs a perfect look. Small details here create a memorable eating experience.
Applying Sauce At The Right Time
Apply barbecue sauce during the last few minutes of grilling. This prevents the sauce from burning and tasting bitter. Brush the sauce gently on both sides of the ribs. Let it cook for 3 to 5 minutes so the sauce thickens and sticks well.
For extra flavor, add a second light layer of sauce before removing the ribs. Avoid applying sauce too early to keep ribs tender. The right timing helps balance smoky and sweet flavors.
Resting The Ribs Before Serving
Let ribs rest for about 10 minutes after grilling. Resting allows juices to settle inside the meat. This makes the ribs juicy and easier to cut.
Cover ribs loosely with foil during resting. Do not wrap tightly to prevent steaming. Resting also cools ribs just enough for safe eating.
Quick Side Dishes To Serve
Quick side dishes make your grilled ribs meal complete and satisfying. Choose easy options that cook fast and taste great. These sides balance the rich flavor of ribs without taking much time.
Focus on fresh and simple ingredients. They add color and nutrition to your plate. Serve a mix of grilled veggies, crisp salads, and easy bread for variety and texture.
Simple Grilled Vegetables
Grilled vegetables are fast and delicious. Slice bell peppers, zucchini, and asparagus. Toss them with olive oil, salt, and pepper. Grill for 5-7 minutes until tender and slightly charred. They complement ribs well and bring a smoky flavor.
Fresh Salads
Fresh salads brighten your meal with crisp and cool flavors. Use lettuce, cherry tomatoes, cucumbers, and carrots. Drizzle with a light vinaigrette made from olive oil and lemon juice. This easy salad adds crunch and freshness without extra effort.
Easy Bread Options
Serve quick bread options to soak up rib sauce. Toast sandwich buns or garlic bread on the grill for 2-3 minutes. Warm pita pockets also work well. These breads are simple and pair nicely with smoky ribs and sides.

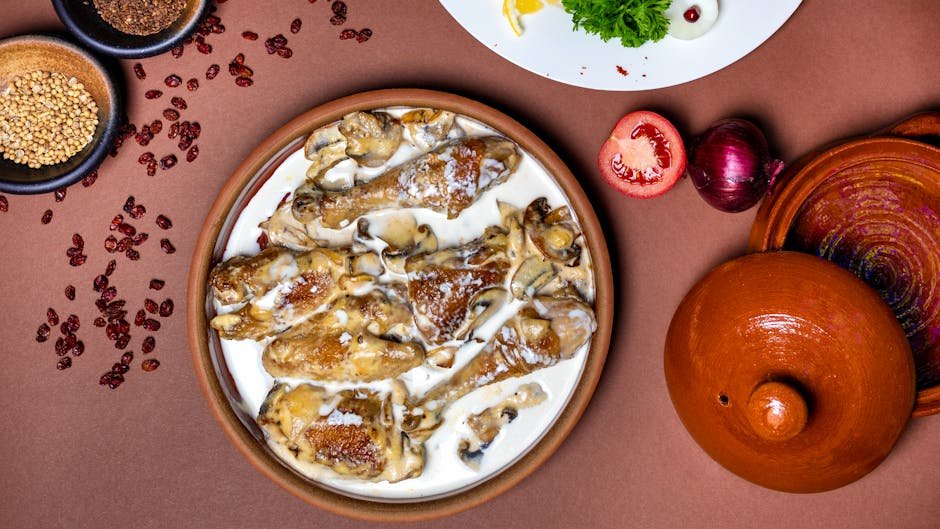
Credit: cheflolaskitchen.com
Frequently Asked Questions
How Long To Grill Ribs On A Gas Grill?
Grill ribs on medium heat for 1. 5 to 2 hours. Use indirect heat and turn occasionally for even cooking. Check for tenderness before serving.
What Temperature Is Best For Grilling Ribs?
Maintain the gas grill temperature at 275°F to 300°F. This range ensures slow cooking, making ribs tender and juicy without burning.
Should I Marinate Ribs Before Grilling?
Marinating ribs adds flavor and moisture. Use your favorite marinade for at least 1 hour before grilling. It enhances taste and tenderness.
How To Prevent Ribs From Drying Out On Gas Grill?
Cook ribs over indirect heat and keep the grill covered. Baste with sauce or marinade regularly to maintain moisture and flavor.
Conclusion
Grilling ribs on a gas grill can be quick and tasty. Start with clean, preheated grates for even cooking. Use indirect heat to avoid burning the ribs. Keep the grill lid closed to keep the heat inside. Check ribs often and turn them carefully.
Add sauce near the end for best flavor. Rest the ribs before cutting to keep them juicy. Enjoy your meal with friends or family. Simple steps make great ribs every time. Try this method for fast, delicious grilled ribs.