Are you tired of your dirt bike’s front forks leaking oil and making your rides messy and unsafe? A leaking fork seal can hurt your bike’s performance and your riding experience, but fixing it yourself is easier than you think.
In this guide, you’ll learn simple, step-by-step tips to stop those leaks fast and get your dirt bike back to smooth handling. Keep reading to discover how you can save money, avoid costly repairs, and enjoy your rides without worry.
Credit: www.xrv.org.uk
Signs Of Leaking Fork Seals
Noticing the early signs of leaking fork seals can save you from costly repairs and keep your dirt bike performing at its best. These seals play a crucial role in maintaining the suspension's smooth operation. Paying attention to subtle changes can help you catch leaks before they turn into bigger problems.
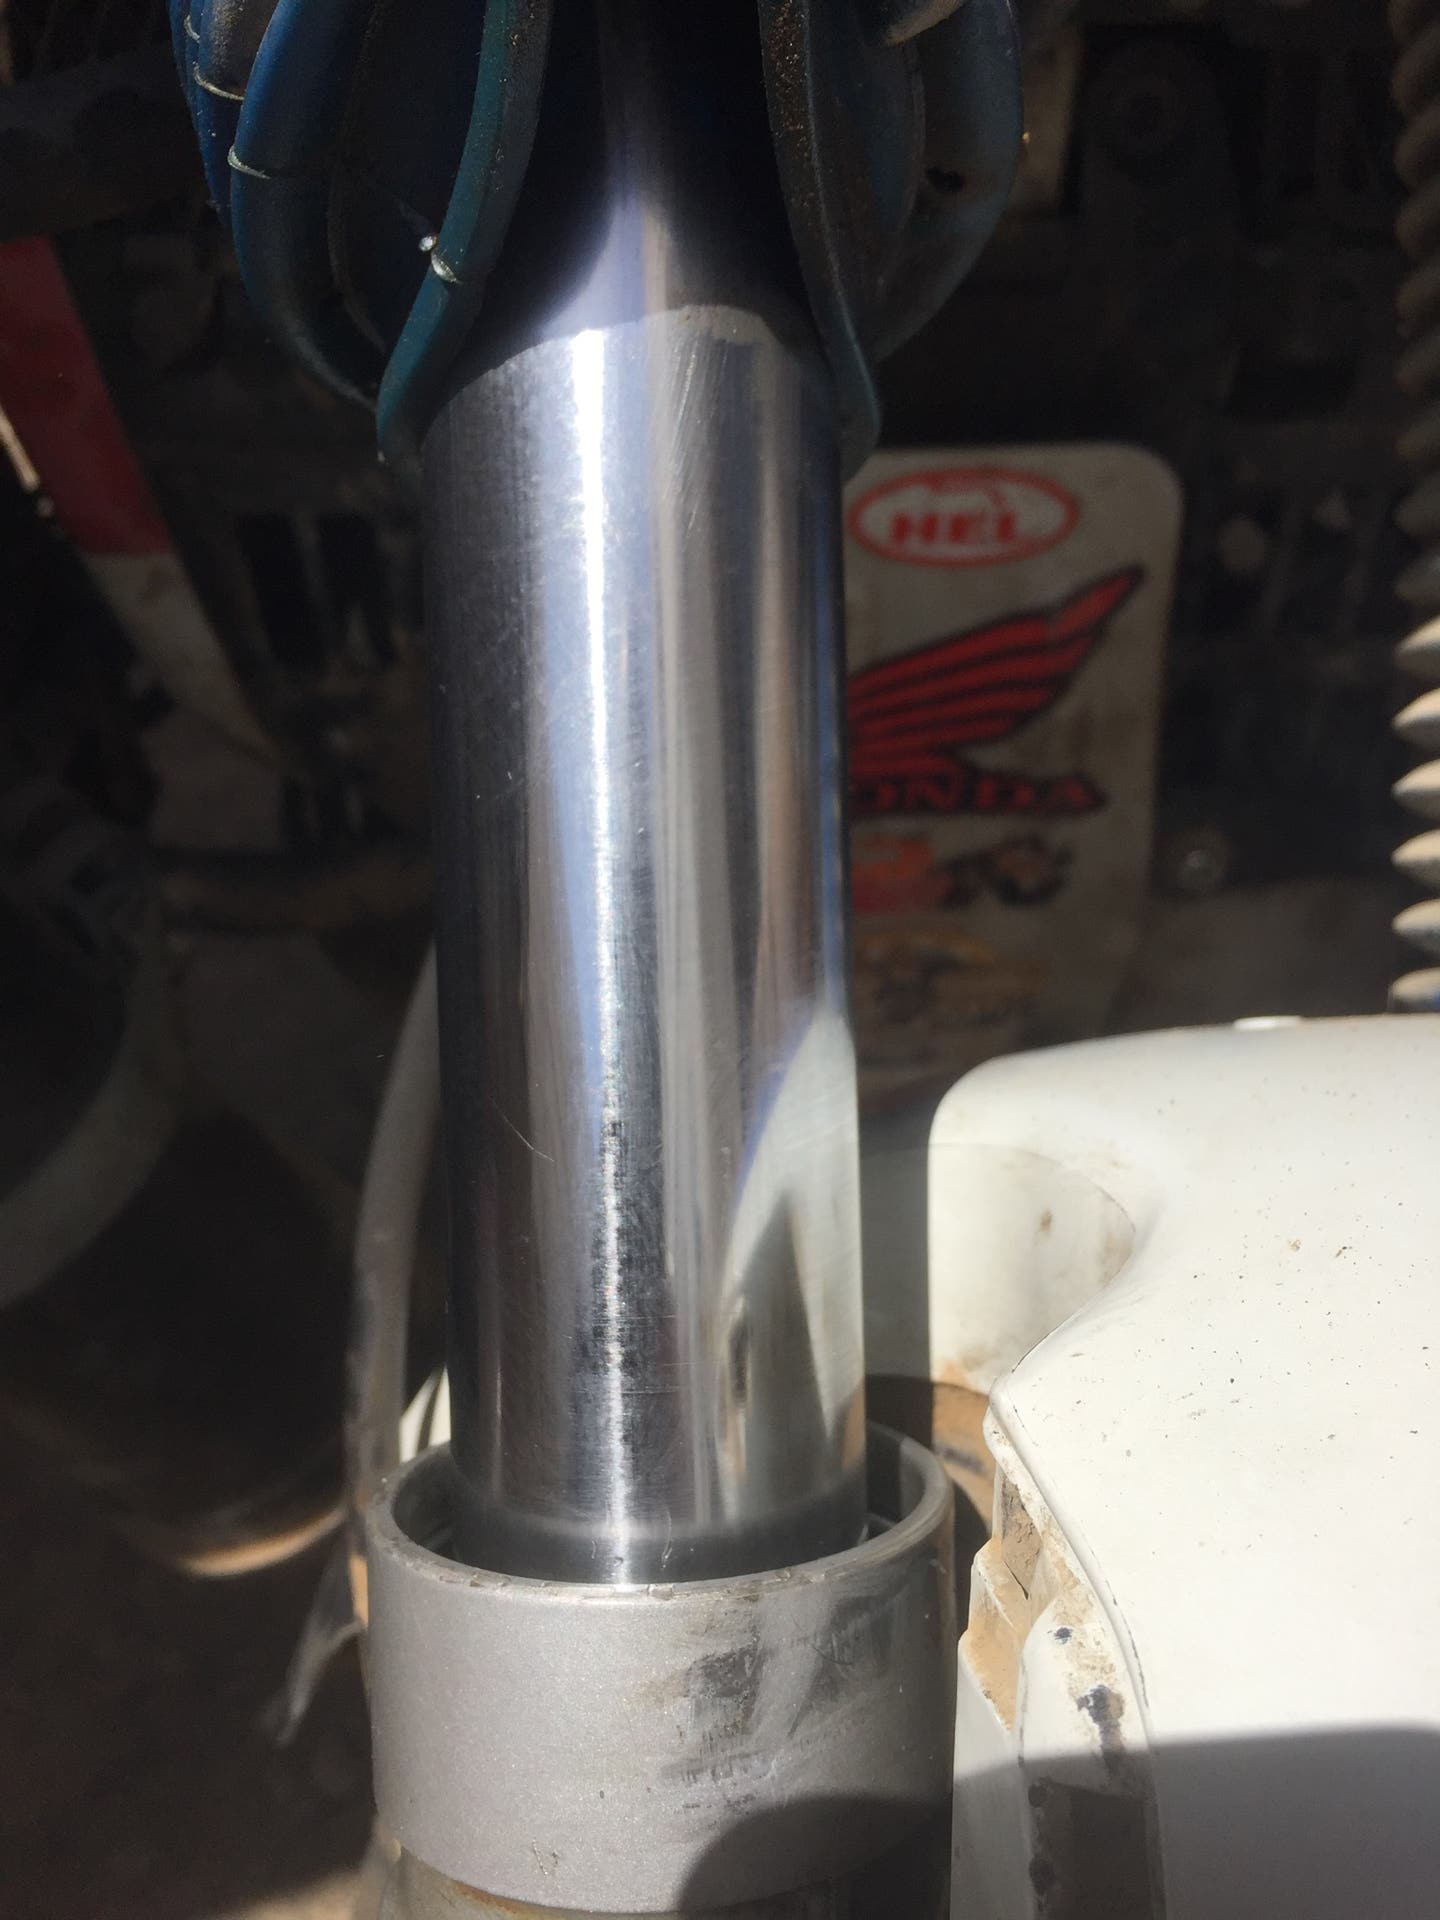
Oil Drips On Forks
One of the clearest signs of leaking fork seals is oil dripping down the fork tubes. If you see wet, oily spots on the shiny part of your forks, it’s a strong indicator that the seals are compromised.
Even small oil drips can affect your bike’s handling and should not be ignored. Have you ever wiped your forks only to see the oil return after a short ride? That’s a red flag that needs immediate attention.
Poor Suspension Performance
Leaking fork seals directly impact how your suspension feels and responds. You might notice your bike feels harsh over bumps or bottoms out more easily than before.
If your suspension no longer absorbs shocks smoothly or feels inconsistent, leaking seals could be the culprit. How well your bike handles rough terrain can tell you a lot about the health of your forks.
Visible Dirt And Grime Build-up
Oil leaking from the seals attracts dirt and grime, causing a sticky, muddy buildup around the fork area. This grime can look like a dark, greasy ring just below the fork caps or around the seals themselves.
When you clean your bike and notice grime returns quickly in these spots, it’s a good sign your fork seals are leaking. Could this dirty buildup be hiding a leak you haven’t spotted yet?
Tools And Materials Needed
Fixing leaking fork seals on a dirt bike needs the right tools and materials. Using proper tools makes the job easier and safer. Having all materials ready avoids delays during repair.
Gather everything before starting. This saves time and helps keep the workspace organized. Knowing what you need improves the repair quality and extends the fork life.
Basic Hand Tools
- Socket wrench set for removing fork bolts
- Screwdrivers, both flathead and Phillips
- Soft mallet to gently tap parts
- Pick tool for removing old seals
- Pliers for gripping and pulling
- Torque wrench to tighten bolts correctly
Replacement Seals And Oil
- New fork seals specific to your bike model
- Fork oil with the correct weight and quantity
- Dust seals to protect the fork internals
- Oil measuring cup for precise filling
Cleaning Supplies
- Clean rags or shop towels for wiping parts
- Brake cleaner or fork oil cleaner spray
- Small brush to remove dirt and grime
- Container to catch old oil during draining
- Gloves to keep hands clean and protected
Preparing The Dirt Bike
Preparing your dirt bike properly is key before tackling leaking fork seals. Taking time at this stage can save you from unnecessary struggles and ensure a smoother repair process. Let’s break down the essential steps to get your bike ready for fork seal maintenance.
Securing The Bike
First, find a stable, flat surface to work on. You need your bike steady to avoid accidents or damage during the repair.
Use a motorcycle stand or blocks to lift the front end off the ground. This keeps the bike upright and prevents it from tipping over as you work on the forks.
Have you ever tried fixing a leak while your bike wobbled? Securing it properly makes the job safer and easier.
Removing The Front Wheel
Next, remove the front wheel to give yourself better access to the forks. Loosen the axle nuts and carefully slide the axle out.
Keep track of all parts like spacers and washers—you’ll need them when reassembling.
Removing the wheel might seem tricky at first, but it’s straightforward once you handle the axle and brake calipers carefully.
Cleaning The Forks
Before you open the forks, clean them thoroughly. Dirt and grime can cause more damage if they get inside during the seal replacement.
Use a soft rag and a mild cleaner to wipe down the fork tubes. Pay special attention to the area around the seals.
Have you noticed how even a small speck of dirt can ruin a new seal? Keeping the forks clean is essential for a lasting fix.
Removing The Fork Tubes
Fixing leaking fork seals on your dirt bike can seem daunting, but removing the fork tubes is a crucial step you can manage with some guidance. This process not only involves loosening bolts but also demands a keen eye for detail. Whether you're a weekend warrior or a seasoned rider, tackling this task yourself can save you time and money.
Loosening The Triple Clamps
Begin by ensuring your dirt bike is securely elevated using a bike stand. This stability is key for working safely. Focus on the triple clamps, which hold your fork tubes in place.
Using a wrench, carefully loosen the bolts on the triple clamps. Remember, you don’t need to remove them entirely—just loosen them enough so the fork tubes can slide freely.
It's a good idea to take note of any unique features of your bike’s setup. This attention to detail will aid you when reassembling everything.
Sliding Out The Fork Tubes
With the triple clamps loosened, gently slide the fork tubes out from the clamps. This step requires patience; a little wiggling might be necessary.
Keep a firm grip and control the movement to avoid scratching or damaging the tubes. If you're working alone, consider positioning yourself in a way that allows you to stabilize the bike while removing the tubes.
Have a clean area ready to lay down the fork tubes once removed. Proper organization helps ensure no parts are lost or damaged.
Draining Fork Oil
Once the tubes are out, it’s time to drain the fork oil. Place a container under the fork tubes to catch the oil as you remove the drain bolt.
Allow all the oil to drain out completely. This may take a few minutes, so use the time to inspect the oil for any metal particles or unusual coloration, which could indicate other issues.
It's fascinating how much you learn about your bike during this process. Understanding these intricacies can be a game-changer for future maintenance tasks.
Now that you've tackled this part, do you feel more confident about other bike maintenance tasks? Sometimes, the best way to master your machine is by diving in and getting your hands a little dirty!
Replacing The Fork Seals
Replacing the fork seals on your dirt bike is essential to maintain smooth suspension and prevent oil leaks that can affect performance. This task might seem daunting, but with the right approach, you can handle it yourself and save both time and money. Paying close attention to each step will ensure your bike rides like new again.
Removing Old Seals
Start by loosening the forks and carefully removing the fork tubes from the bike. Keep track of all parts as you disassemble to avoid confusion later. Use a seal puller or a small flathead screwdriver to gently pry out the old seals without damaging the fork tubes or the seal seats.
If the old seals are stuck, apply a bit of penetrating oil and let it sit for a few minutes before trying again. Be patient here—rushing can scratch or dent the fork tubes, leading to more expensive repairs. Do you have a clean workspace ready? This helps keep dirt away and prevents contamination.
Installing New Seals
Before installing, compare the new seals with the old ones to confirm they match perfectly. Slide the new seals onto the fork tube carefully, ensuring they sit flush against the fork. Use a seal driver or a socket of the correct size to press the seals evenly into place without tilting.
Take your time with this step; uneven installation can cause leaks or premature wear. Have you checked that the seals are oriented correctly? The dust wiper should face outward to keep dirt out, while the oil seal faces inward to keep oil in.
Lubricating Seals Properly
Apply fork oil or a light layer of grease on the new seals before reassembling the fork tubes. This lubrication reduces friction and helps the seals slide smoothly along the inner tube. Avoid over-lubricating, as excess oil can attract dirt and cause seal damage.
Remember, a well-lubricated seal extends the life of your forks and improves suspension performance. Do you keep spare fork oil handy? It’s a small detail that can make future maintenance easier and more effective.
Reassembling The Forks
Reassembling the forks is a crucial part of fixing leaking fork seals. It’s where all your careful cleaning and seal replacement come together. Getting this right ensures your dirt bike handles smoothly and safely on the trails.
Refilling Fork Oil
Adding the right amount and type of fork oil is key. Too little oil can cause poor damping, while too much makes the forks stiff and unresponsive.
Measure the oil carefully with a graduated container. Pour it slowly to avoid air bubbles. Remember, the oil level affects your ride’s feel, so check your dirt bike’s manual for the exact quantity.
Reinstalling Fork Tubes
Slide the fork tubes back into the triple clamps carefully. Avoid scratching the tubes or damaging the new seals. It helps to use a bit of fork oil on the seals to ease the process.
Make sure the tubes are fully seated at the correct height. If they’re too high or low, your steering and suspension won’t work properly. Double-check alignment before tightening anything.
Tightening And Aligning Components
Use a torque wrench to tighten the triple clamp bolts to the manufacturer’s specs. Over-tightening can damage the clamps or tubes, while under-tightening risks parts slipping during a ride.
After tightening, inspect the forks for smooth movement. Ask yourself: does the front end feel solid without any binding? If not, loosen and realign the forks until everything moves freely and feels balanced.
Testing And Maintenance Tips
Testing and maintaining your dirt bike’s fork seals keeps the suspension smooth and safe. Regular checks help find leaks early. Proper care extends fork life and improves riding comfort. Follow these simple tips to keep your forks in top shape.
Checking For Leaks
Start by wiping the fork tubes clean. Look closely for oil around the seals or lower tubes. Oil spots or dirt buildup can signal a leak. Press the fork down and watch for oil dripping. Check both sides of the fork. Catch leaks early to avoid bigger damage.
Suspension Adjustment
Adjust fork settings to match your riding style and weight. Too soft or too hard settings can cause seal wear. Use the bike manual to find the right pressure and rebound settings. Test the suspension by compressing it slowly. Smooth movement means good adjustment. Make small changes and test again.
Regular Fork Care
- Clean fork tubes after every ride.
- Inspect seals and dust covers for damage.
- Replace fork oil as recommended by the manufacturer.
- Keep dirt and debris away from seals.
- Store the bike upright to avoid oil pooling.
Regular care keeps seals tight and forks working well. Clean and maintain often to avoid leaks and costly repairs.

Credit: www.youtube.com

Credit: audioprops.com
Frequently Asked Questions
What Causes Fork Seals To Leak On Dirt Bikes?
Fork seals leak due to dirt, wear, or damage. Dust and grime break the seal's integrity, allowing oil to escape. Frequent riding in muddy conditions accelerates wear, causing leaks that affect suspension performance and handling.
How Can I Tell If My Fork Seals Are Leaking?
Look for oil dripping or pooling around the fork tubes. Sticky or dirty fork legs indicate oil leakage. You may also notice reduced fork travel or poor suspension response during rides.
Can I Fix Leaking Fork Seals Myself At Home?
Yes, with basic tools and patience, you can replace fork seals. Follow a step-by-step guide to disassemble, clean, and install new seals carefully. Proper maintenance prevents further damage and improves bike performance.
How Often Should Fork Seals Be Inspected Or Replaced?
Inspect fork seals every 6 months or after heavy rides. Replace them immediately if leaks or damage are detected. Regular checks ensure suspension reliability and rider safety.
Conclusion
Fixing leaking fork seals on your dirt bike saves money and avoids bigger problems. Clean the parts well and use the right tools for best results. Take your time to follow each step carefully. Check for any damage before reinstalling the seals.
A little effort now keeps your ride smooth and safe. Keep an eye on your forks regularly to catch leaks early. With patience and care, your dirt bike will stay ready for any trail. Simple maintenance goes a long way.