Is your freezer not keeping things as cold as it used to? A faulty freezer seal might be the culprit.
When your freezer door doesn’t close tightly, cold air escapes, making your appliance work harder and raising your energy bills. But don’t worry—you don’t need to call a repairman just yet. You’ll discover simple, step-by-step ways to fix your freezer seal yourself.
Keep reading to save money, protect your food, and get your freezer running like new again.
Identifying Seal Problems
Identifying problems with your freezer seal is crucial to keep your freezer working well. A bad seal lets cold air escape, causing frost buildup and higher energy bills. Spotting seal issues early can save money and prevent food spoilage.
Signs Of A Faulty Seal
- Frost or ice buildup around the door edges
- Water pooling near the freezer door
- Door feels loose or does not close tightly
- Higher energy bills without increased use
- Food spoils faster than usual
- Warm air enters freezer causing temperature rise
- Visible cracks or tears in the seal
Common Causes Of Seal Damage
- Wear and tear from frequent door opening
- Sticky residue or dirt on the seal
- Seal getting bent or twisted
- Cold temperatures causing seal material to harden
- Improper closing or slamming the door
- Age-related material breakdown
- Objects stuck in the seal area
Gathering Necessary Tools
Fixing a freezer seal requires having the right tools. Gathering these tools before starting makes the job easier and faster. The tools help remove the old seal and install the new one correctly. Some tools are essential, while others can improve the repair quality.
Essential Repair Tools
- Screwdriver – to remove screws holding the seal or panels
- Putty knife – to gently pry off the old seal without damage
- Hairdryer or heat gun – to soften the new seal for a better fit
- Rubbing alcohol and cloth – to clean the sealing surface
- Replacement freezer seal – the new gasket to install
Optional Tools For Enhanced Repair
- Contact adhesive – to secure the seal firmly
- Utility knife – to trim the seal to the right size
- Measuring tape – to measure the seal length accurately
- Clamps – to hold the seal in place while adhesive dries
- Gloves – to protect hands during the repair
Preparing The Freezer
Preparing the freezer is the first important step before fixing the seal. This process makes the repair safe and easier. Take time to get everything ready. Follow these steps carefully to avoid damage and ensure success.
Unplugging And Emptying The Freezer
Always unplug the freezer to prevent electric shock. Removing power stops the compressor and other parts. Next, empty all food items. Use a cooler or insulated bag to keep food cold. This prevents spoilage during the repair. Leave the freezer door open to let frost melt. Place towels around to catch water from melting ice.
Cleaning The Seal Area
Wipe the seal area with a soft cloth. Remove dirt, crumbs, and sticky residue. Use warm water mixed with mild soap. Avoid harsh chemicals that may damage the seal material. Clean both the seal and the surrounding frame. Dry the area completely before starting the repair. A clean surface helps the seal stick better and last longer.

Credit: www.youtube.com
Repairing The Seal
Repairing the seal of your freezer is essential to keep it running efficiently and prevent energy loss. A damaged seal can cause frost buildup and make your freezer work harder, increasing electricity bills. Luckily, many seal problems are fixable with simple tools and a bit of patience.
Realigning The Seal
If your freezer door isn’t closing properly, the seal might be out of alignment. Gently pull the seal back into place by pressing it firmly along the door edges. Sometimes, warm water or a hairdryer can help soften the seal, making it easier to reshape.
Check for any objects caught between the door and the seal that might push it out. After realigning, close the door and see if it sticks better. If it still doesn’t seal well, the issue might be more than just misalignment.
Fixing Minor Seal Cracks
Small cracks or tears in the seal can cause cold air to escape, but you don’t always need a full replacement. Use silicone-based adhesive or a specialized freezer seal repair kit to fill in the cracks.
First, clean the seal with warm soapy water and let it dry completely. Apply the adhesive carefully and press the cracked parts together until the adhesive sets. This quick fix can extend the life of your seal without spending much money.
Have you noticed your freezer’s performance dropping after a minor seal damage? Fixing these small issues early can save you from bigger repairs later.
Replacing The Seal
Replacing the freezer seal can restore your appliance's efficiency. A damaged seal causes cold air to escape. This makes the freezer work harder and increases energy costs. Installing a new seal keeps your freezer airtight and fresh. Follow clear steps to choose and install the right seal for your model.
Choosing A Replacement Seal
Find a seal that matches your freezer brand and model. Check the user manual or freezer label for the model number. Purchase a seal made from durable, flexible material. Magnetic seals are common and create a strong closure. Measure the old seal’s length and width carefully. Choose a seal with the same size to fit perfectly. Some seals come with adhesive backing for easy installation. Buying from a reliable store ensures good quality and warranty.
Installing The New Seal
Start by unplugging the freezer for safety. Remove the old seal by gently pulling it away from the door. Clean the door surface to remove dirt and old adhesive. Warm the new seal slightly to make it flexible. Press the new seal firmly along the door edges. Check for gaps where cold air might leak. Close the door and test the seal tightness. Adjust or reattach parts if the seal does not close properly. Proper installation keeps your freezer cold and energy-efficient.

Credit: www.youtube.com
Testing Seal Effectiveness
Testing the effectiveness of your freezer seal is a crucial step before deciding on repairs or replacements. A faulty seal lets cold air escape, causing your freezer to work harder and your food to spoil faster. By checking the seal properly, you save energy and keep your frozen goods safe.
Performing The Dollar Bill Test
The dollar bill test is a simple, hands-on way to check your freezer seal’s strength. Close the door on a dollar bill or a similar piece of paper so it’s half inside and half outside the freezer.
Try pulling the bill out slowly. If it slides out easily without resistance, your seal might be weak or damaged. Repeat this test around different sections of the door to spot any problem areas.
This test helped me find a small tear in my freezer seal that I had completely missed. Fixing it made a noticeable difference in how long my freezer stayed cold without running constantly.
Monitoring Temperature Consistency
Keeping an eye on your freezer’s temperature can reveal if the seal is letting cold air escape. Use a thermometer placed inside the freezer to track the temperature over a day or two.
Look for fluctuations or temperatures above the recommended 0°F (-18°C). Consistent rises might mean your freezer seal isn’t tight enough.
Remember, even a minor gap can cause your freezer to use more energy and increase your electricity bill. Have you noticed your freezer running more often or ice buildup inside? These signs often point to seal problems worth investigating.
Maintaining The Seal
Maintaining the freezer seal is key to keeping your freezer working well. A good seal stops cold air from escaping and warm air from entering. This saves energy and keeps food fresh longer. Simple care steps help the seal last longer and avoid costly repairs.
Regular Cleaning And Inspection
Clean the freezer seal often to remove dirt and food particles. Use a soft cloth and mild soap. Avoid harsh chemicals that can damage the rubber. Check the seal for cracks, tears, or warping. Look for areas where the seal does not touch the freezer body. These signs mean the seal may need repair or replacement.
Preventative Measures For Longevity
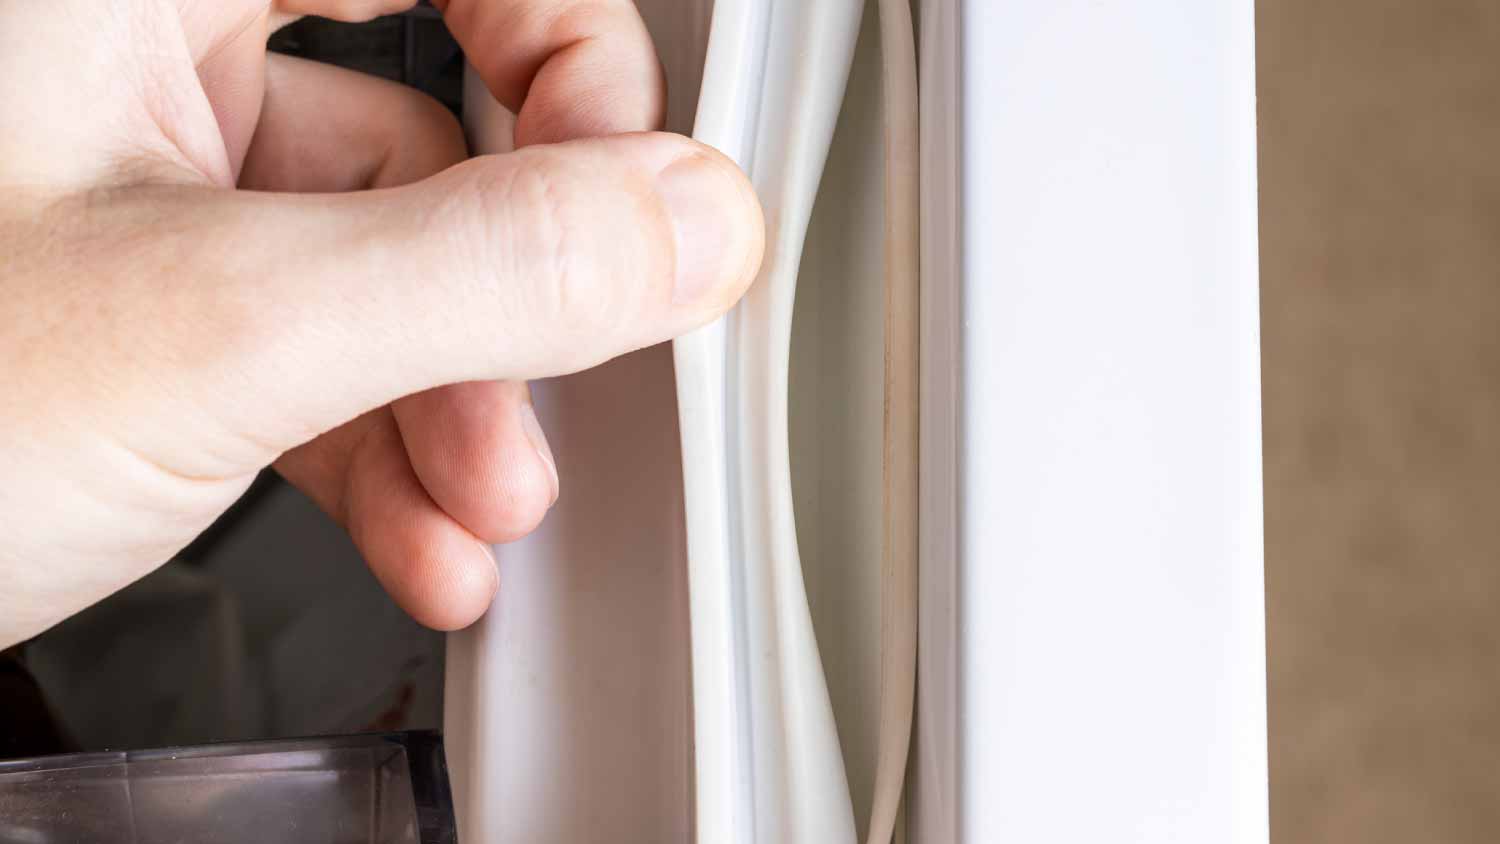
Keep the seal flexible by gently pulling it away and pressing it back in place. Avoid slamming the freezer door. Close it softly to prevent damage. Do not overload the freezer, as this can prevent the door from closing fully. Keep the seal dry to stop mold and mildew growth. Use a silicone-based lubricant to keep the seal soft and prevent cracking.
Credit: www.angi.com
Frequently Asked Questions
How Do I Know If My Freezer Seal Is Damaged?
Check for visible cracks, tears, or gaps in the seal. If cold air escapes or frost builds up, the seal may be faulty. A damaged seal causes inefficient cooling and higher energy bills. Inspect it regularly to maintain freezer performance.
Can I Fix A Freezer Seal Myself?
Yes, minor freezer seal issues can be fixed at home. Clean the seal with warm, soapy water first. Use adhesive or a seal repair kit for small tears. For extensive damage, consider replacing the seal or calling a professional.
What Tools Are Needed To Fix A Freezer Seal?
You typically need warm soapy water, a cloth, adhesive or seal repair kit, and a screwdriver. A hairdryer may help soften the seal for easier repair. Always follow the manufacturer’s instructions for best results.
How Long Does It Take To Fix A Freezer Seal?
Fixing a freezer seal usually takes 30 to 60 minutes. Cleaning and drying the seal can take extra time. Repairing small tears is quick, but full replacement may take longer. Proper sealing improves freezer efficiency immediately.
Conclusion
Fixing a freezer seal can save energy and keep food fresh. Check the seal often for cracks or dirt. Clean it gently with warm water and soap. Replace the seal if it is torn or stiff. Tight seals help your freezer work better and last longer.
Small fixes make a big difference in your kitchen. Take action soon to avoid costly repairs later. Keep your freezer running smoothly with simple care.