Are you tired of your refrigerator sticking out awkwardly in your kitchen? Imagine having a sleek, custom cabinet that hides your fridge perfectly, making your space look clean and organized.
Building a refrigerator cabinet might sound difficult, but with the right steps, you can do it yourself and transform your kitchen instantly. In this guide, you’ll discover simple tips and clear instructions that anyone can follow. Ready to give your kitchen a stylish upgrade?
Let’s dive in and make your refrigerator blend seamlessly into your home.
Planning Your Refrigerator Cabinet
Planning your refrigerator cabinet is the foundation of a successful build. It sets the stage for a cabinet that fits perfectly and functions smoothly in your kitchen. Careful planning saves you time, money, and frustration later on.
Choosing The Right Materials
Start by selecting materials that match your kitchen’s style and durability needs. Solid wood offers strength and a classic look, but plywood is often more budget-friendly and resistant to warping.
Think about moisture resistance too, especially near the refrigerator. Melamine or laminate finishes can protect your cabinet from spills and humidity.
Have you considered how the materials affect your tools and skills? Some materials are easier to work with than others, which can make your project smoother.
Measuring Your Space
Accurate measurements are crucial for a seamless fit. Measure the height, width, and depth of your refrigerator and available space multiple times to avoid errors.
Don’t forget to account for ventilation gaps. Refrigerators need space around them to function properly and prevent overheating.
Take note of any obstacles such as nearby cabinets, walls, or door swings that might interfere with your cabinet’s placement.
Designing For Functionality
Think beyond just enclosing the fridge—consider how you will use the surrounding space. Adding shelves or drawers nearby can boost storage and keep essentials within reach.
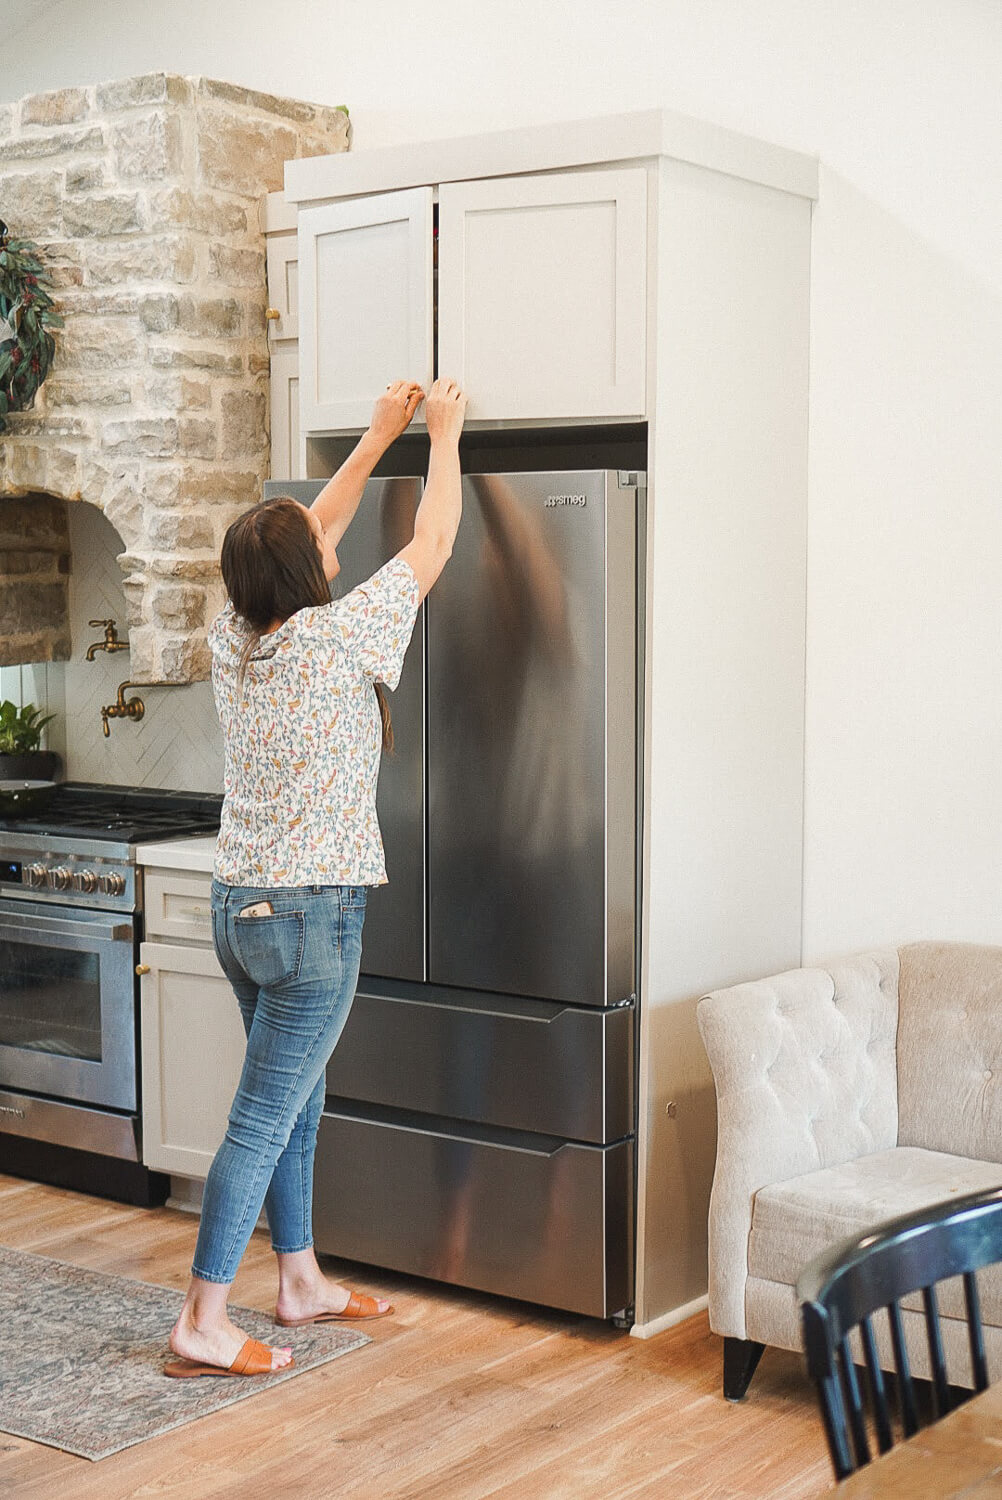
Ensure the cabinet doors or panels allow easy access to the refrigerator handles and controls. Accessibility should never be compromised for appearance.
Ask yourself what daily kitchen tasks the cabinet can support. Could it include a countertop for prep work or space for small appliances? Your design should serve your routine.
Credit: crystelmontenegrohome.com
Gathering Tools And Supplies
Before you start building your refrigerator cabinet, gathering the right tools and supplies is crucial. Having everything ready prevents interruptions and keeps your workflow smooth. It also helps you avoid last-minute trips to the hardware store, which can break your concentration and cost extra time.
Essential Tools List
Make sure you have these tools on hand before you begin:
- Measuring Tape:Accurate measurements are the foundation of a good build.
- Power Drill:Speeds up drilling and screwing tasks significantly.
- Screwdrivers:Both flathead and Phillips are needed for different screws.
- Level:Ensures your cabinet is perfectly horizontal and vertical.
- Circular Saw or Jigsaw:For cutting plywood and other materials precisely.
- Clamps:Hold pieces in place while you work on them.
- Safety Gear:Gloves and safety glasses to protect your hands and eyes.
Have you ever tried building something only to realize halfway through that you’re missing a key tool? Avoid that frustration by double-checking your tools now.
Materials Checklist
Along with tools, gather your materials carefully to match your design and fridge size:
- Plywood or MDF Boards:These form the cabinet’s structure. Choose thickness based on durability needs.
- Wood Screws:Essential for assembling the cabinet securely.
- Wood Glue:Adds extra strength to joints.
- Paint or Wood Finish:Protects the wood and matches your kitchen decor.
- Hinges and Handles:If your cabinet includes doors, these are must-haves.
- Sandpaper:Smooths edges and surfaces for a professional look.
Think about the style you want and check if your materials align with it. Are you going for a rustic look or a sleek modern finish? This choice will guide your material selection.
Preparing The Workspace
Preparing your workspace is a crucial first step in building a refrigerator cabinet. A clean and organized area helps you work safely and efficiently. It also reduces the chance of mistakes or accidents during the project.
Take time to set up a comfortable environment. This will make the building process smoother and more enjoyable.
Clearing The Area
Remove all items and furniture from the workspace. This gives you enough room to move freely. Clear floors and surfaces to avoid tripping or knocking things over.
Use a broom or vacuum to clean dust and dirt. A tidy area helps keep tools and materials in order. It also prevents damage to your cabinet parts.
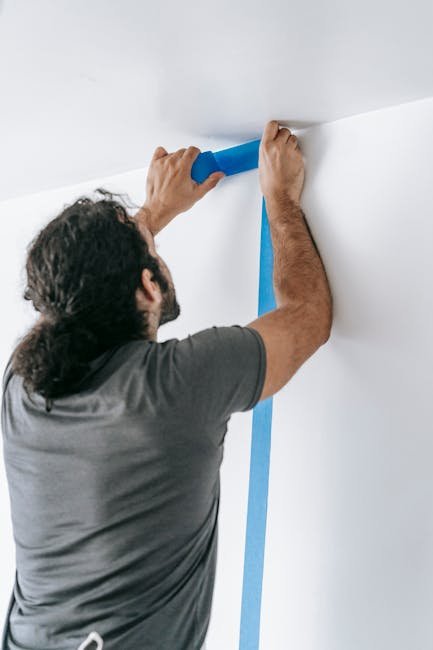
Setting Up Safety Measures
Safety is key when working with tools and materials. Wear protective gear such as gloves, goggles, and a mask. This guards against dust, splinters, and sharp edges.
Make sure you have good lighting to see details clearly. Keep a first aid kit nearby for any small injuries. Also, check that your tools are in good working condition before starting.
Building The Cabinet Frame
Building the cabinet frame is the foundation of your refrigerator cabinet project. It provides structure and support for the entire unit. A strong frame ensures the cabinet will hold the fridge securely and last for years. Start with careful planning and precise measurements. Use quality wood to create a durable frame that fits your space perfectly.
Cutting Wood Pieces
Measure the dimensions of your refrigerator and cabinet space. Mark the wood pieces clearly before cutting. Use a saw to cut the wood accurately. Typical pieces include the sides, top, bottom, and shelves. Make sure each piece matches your measurements exactly. Smooth the edges with sandpaper for a clean finish.
Assembling The Frame
Arrange the cut wood pieces on a flat surface. Align the sides with the top and bottom panels. Use clamps to hold the pieces steady. Check that all corners form right angles. Fit shelves inside the frame if your design includes them. Keep the structure square and level during assembly.
Securing Joints
Use wood glue at each joint for strong bonds. Add screws or nails for extra strength. Pre-drill holes to prevent wood from splitting. Tighten screws carefully without cracking the wood. Double-check all joints to ensure stability. Let the glue dry completely before moving forward.
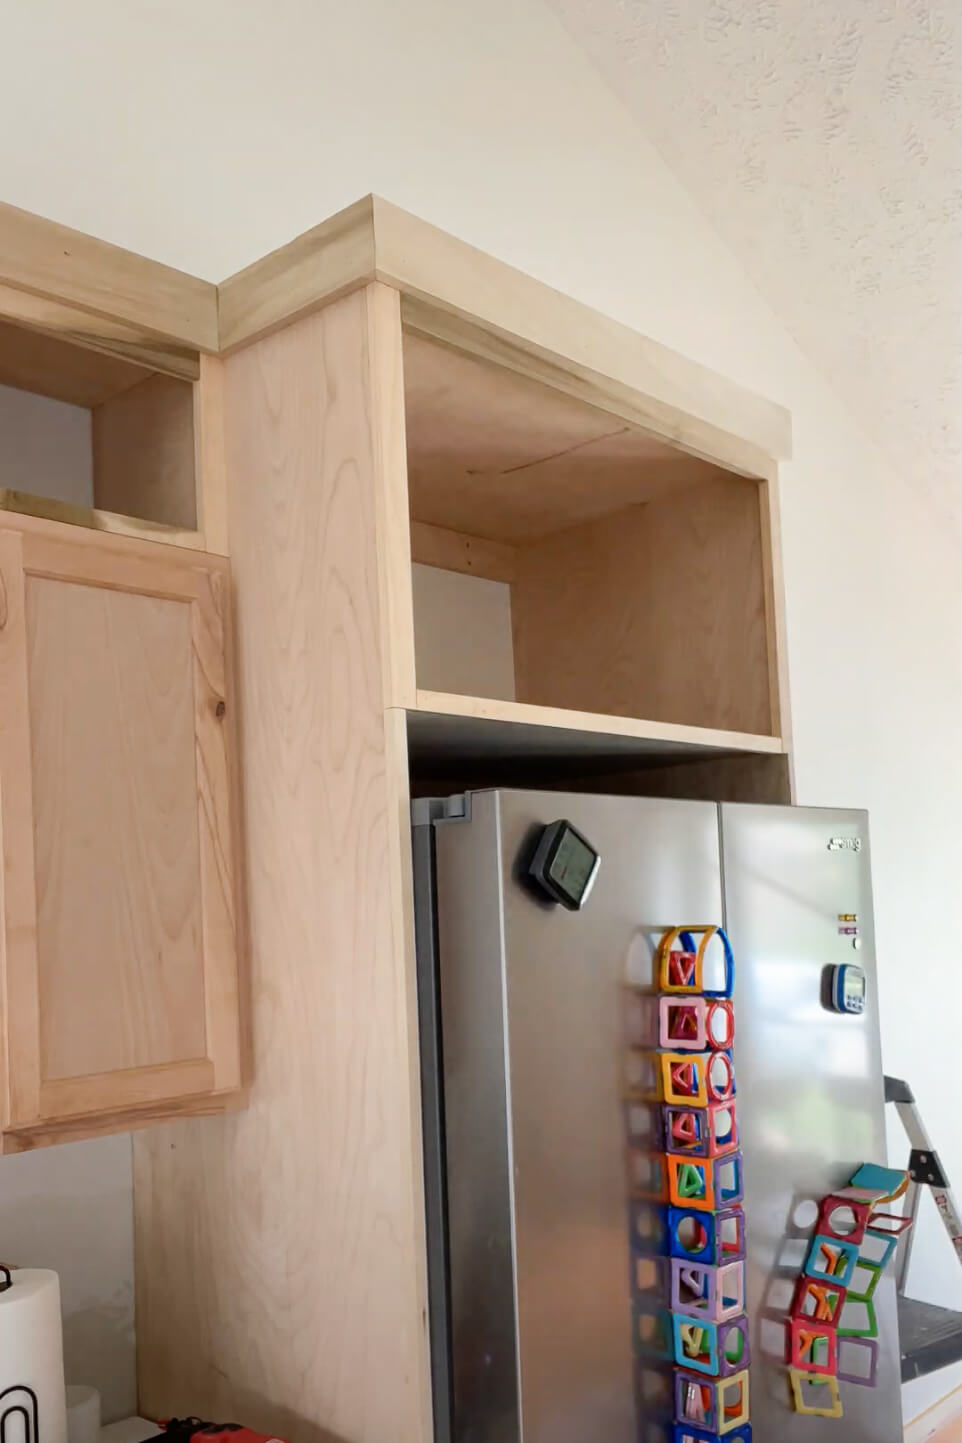
Adding Shelves And Storage Features
Building a refrigerator cabinet can enhance kitchen organization. Adding shelves and storage features maximizes space efficiently. Customize the cabinet to fit your needs, ensuring easy access to all items.
Building a refrigerator cabinet can be a rewarding DIY project. A key aspect of this project is adding shelves and storage features. These elements not only enhance functionality but also maximize space, ensuring every item has its place.
Installing Adjustable Shelves
Adjustable shelves offer flexibility. By using shelf pins, you can easily modify the height of each shelf to accommodate items of varying sizes. This simple adjustment can make all the difference in organizing your refrigerator cabinet efficiently. Think about the types of items you regularly store. Taller items like bottles might require more vertical space, whereas smaller jars or boxes may need less. Consider using durable materials like plywood or melamine for the shelves to ensure longevity.
Incorporating Drawers Or Doors
Drawers and doors can add a layer of organization. Drawers are great for storing smaller items that might otherwise get lost on shelves. They can slide out smoothly, offering easy access to contents. Doors, on the other hand, can conceal clutter and create a clean look. Consider adding magnetic latches to keep them securely closed. Think about your daily routine—what do you reach for most often? Designing your cabinet with these habits in mind can enhance usability. Incorporating these features in your refrigerator cabinet can make your kitchen more organized and efficient. Have you considered the potential for additional storage in your kitchen? A well-thought-out design can transform how you use your space.
Credit: crystelmontenegrohome.com
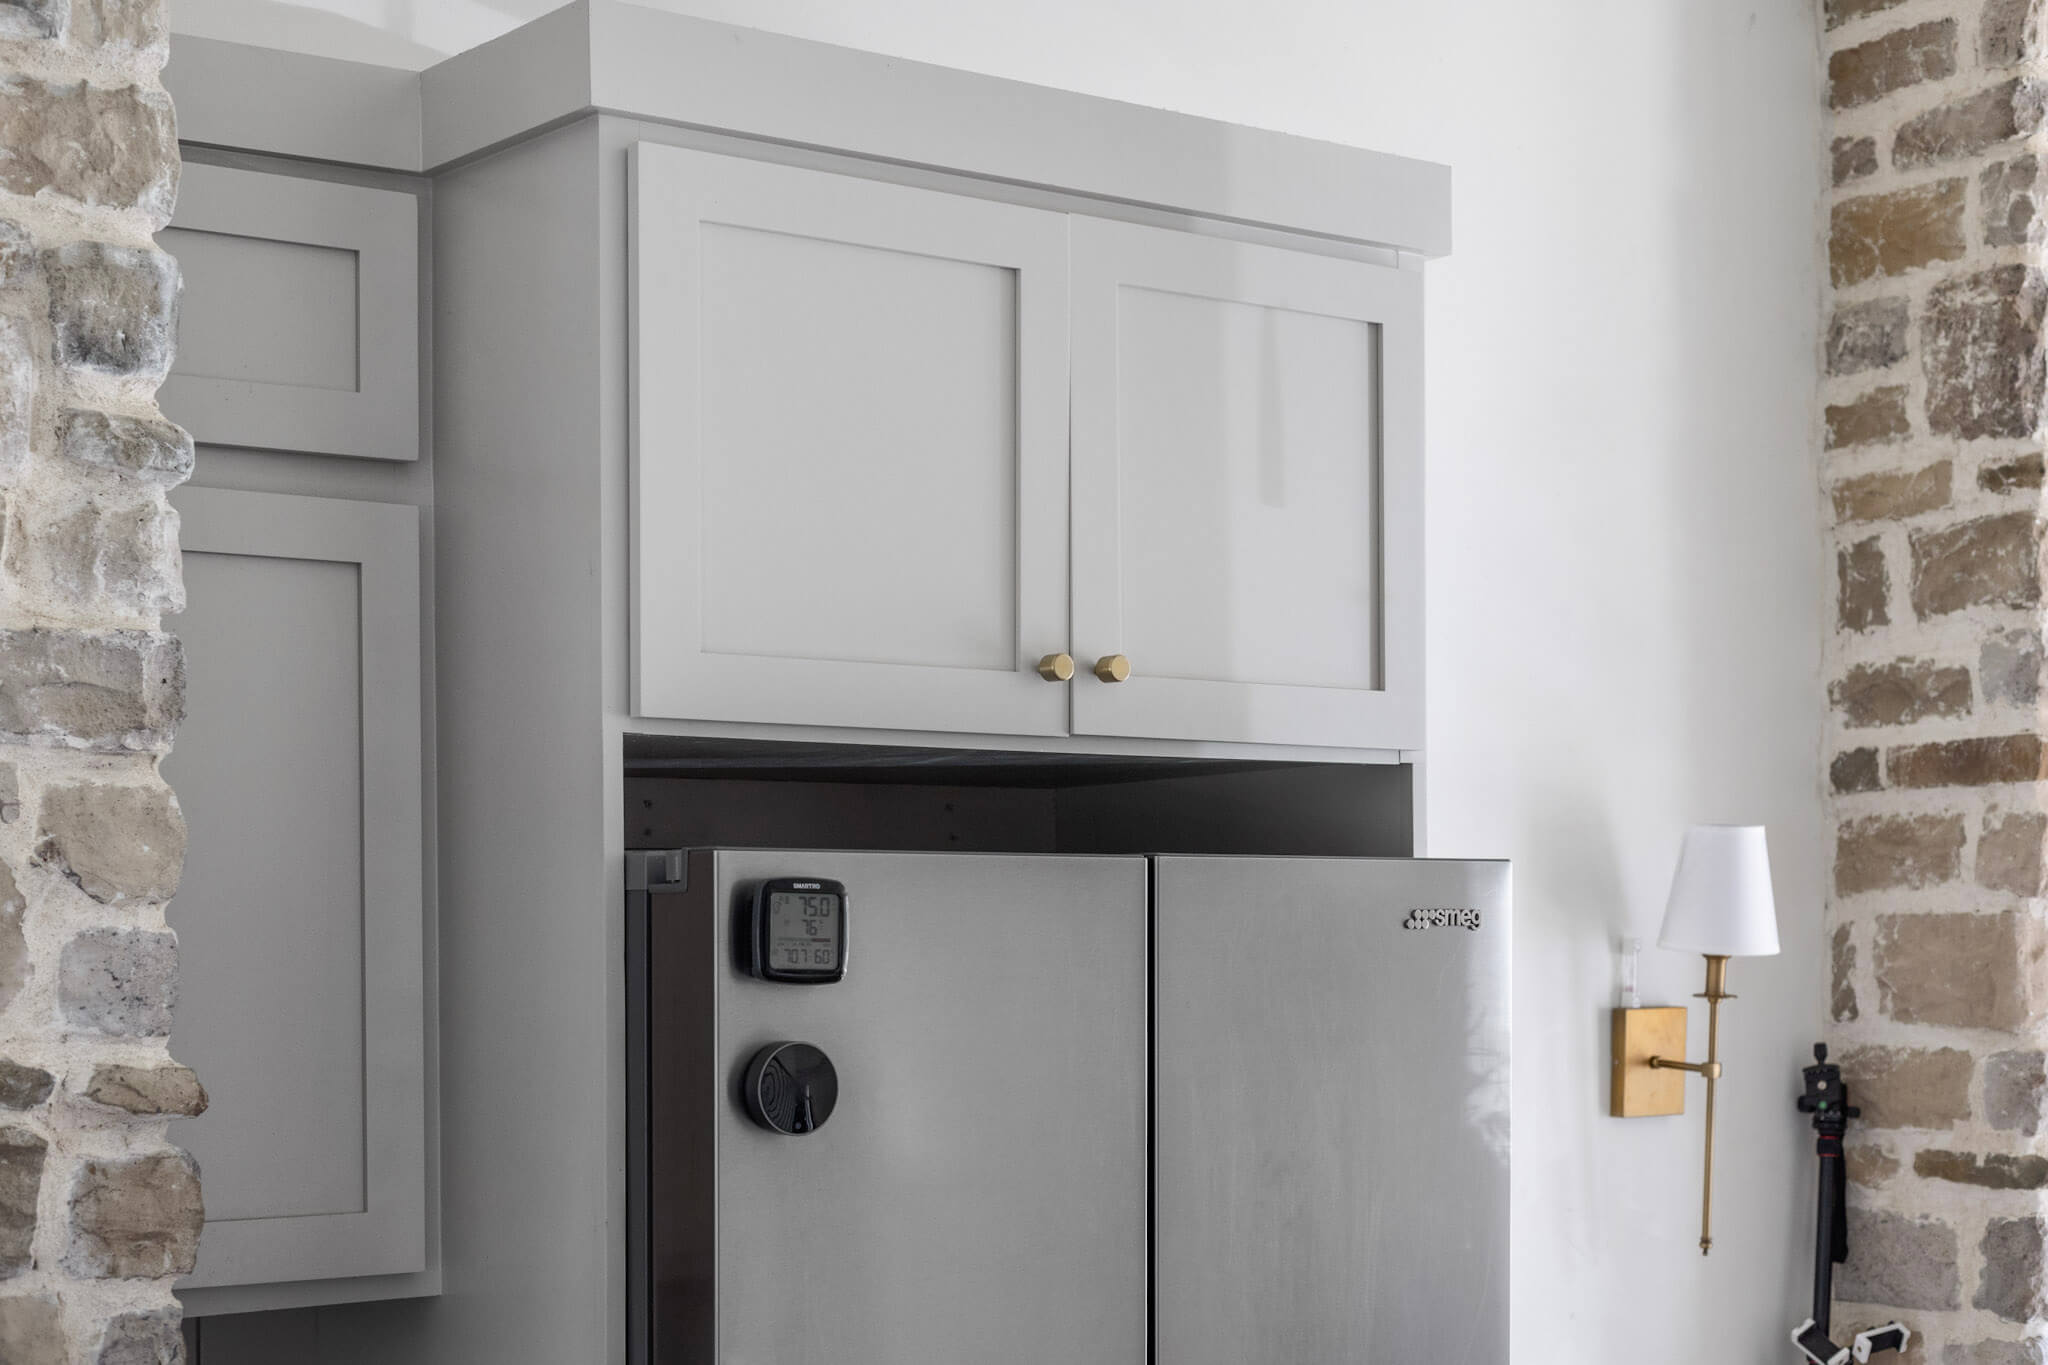
Finishing Touches
Finishing touches can make or break your refrigerator cabinet project. They transform a rough build into a polished, professional piece that fits seamlessly into your kitchen. Paying close attention to these final steps will ensure your cabinet not only looks great but also lasts longer.
Sanding And Smoothing
Start by sanding every surface of your cabinet with fine-grit sandpaper. This removes any rough spots, splinters, or uneven edges that could ruin the finish. Take your time here—smooth surfaces help paint or stain adhere better and give your cabinet a clean look.
Don't forget to sand corners and edges carefully. Sometimes these areas get missed but can stand out if left rough. After sanding, wipe down the entire cabinet with a damp cloth to clear away dust and prepare it for the next step.
Applying Paint Or Stain
Choosing between paint or stain depends on the style you want. Paint offers a bold, uniform color and can hide wood imperfections. Stain enhances the natural grain and adds warmth.
Use a brush or foam applicator to apply thin, even coats. Multiple light layers work better than one thick coat. Allow each coat to dry completely before adding the next to avoid drips and uneven spots.
Have you tested the color on a scrap piece? This small step saves headaches later. Also, consider a clear sealant after painting or staining to protect your cabinet from moisture and scratches.
Adding Handles And Hardware
Handles and hardware are the final details that give your cabinet personality and functionality. Choose designs that match your kitchen’s style—modern, rustic, or classic. Think about the size and shape; they should be comfortable to grip and easy to clean.
Mark exact spots for screws carefully before drilling to avoid mistakes. Use a level to keep handles straight. If you’re unsure about placement, try clamping handles temporarily to see how they feel and look.
Adding soft-close hinges or magnetic catches can improve your cabinet’s usability. These small upgrades make opening and closing smoother and quieter, enhancing your everyday kitchen experience.
Installing The Refrigerator Cabinet
Installing the refrigerator cabinet is a key part of your kitchen upgrade. It’s where precision meets practicality. Getting this step right ensures your fridge fits perfectly and works efficiently for years.
Positioning The Cabinet
Start by placing the cabinet in the spot where the refrigerator will live. Check that the floor is level to avoid any tilting. Use a level tool to confirm this — uneven floors can cause the fridge doors to swing open or close improperly.
Think about the flow of your kitchen. Will the fridge door have enough space to open fully without hitting walls or cabinets? Leave at least a few inches of clearance on each side. This space is crucial not just for functionality but also for cleaning and maintenance.
Securing To Walls
Once positioned, secure the cabinet firmly to the surrounding walls. Use sturdy screws and anchors suitable for your wall type — drywall, plaster, or studs. This step stabilizes the cabinet, preventing any shifting when you open and close the fridge door.
Double-check that the cabinet is flush with adjacent surfaces. Gaps can create weak spots or let dust accumulate. Tightening the cabinet against the walls ensures a seamless look and solid construction.
Ensuring Proper Ventilation
Proper ventilation around the refrigerator cabinet is often overlooked but critical. Refrigerators need space to release heat generated during operation. Without this airflow, your fridge works harder, increasing energy use and wear.
Leave at least 2 inches of space at the back and sides of the cabinet. If your model requires, include vents or grills in the cabinet design to promote airflow. Ask yourself: is there enough room for air to circulate freely around my fridge?
Maintenance Tips
Keeping your refrigerator cabinet in good shape saves money and extends its life. Regular care avoids problems and keeps it looking fresh. Simple maintenance steps make a big difference. Focus on cleaning and fixing small issues early.
Cleaning And Care
Clean the cabinet surface with a soft cloth and mild soap. Avoid harsh chemicals that can damage the finish. Wipe spills immediately to prevent stains. Dust the vents and coils to help the fridge cool efficiently. Check door seals for dirt and clean them gently. This helps keep cold air inside and lowers energy use.
Troubleshooting Common Issues
Listen for unusual noises that may signal a problem. Check if the fridge is cooling properly by using a thermometer. Inspect the door seal for cracks or gaps. Fix loose hinges or handles quickly to avoid bigger damage. Clear any blockages from the vents to improve airflow. Replace worn parts early to keep the cabinet working well.
Credit: crystelmontenegrohome.com
Frequently Asked Questions
What Materials Are Needed To Build A Refrigerator Cabinet?
You need plywood, screws, hinges, paint, wood glue, and measuring tools. Quality materials ensure durability and a professional finish. Choosing moisture-resistant plywood helps protect against kitchen humidity and spills.
How Do I Measure For A Custom Refrigerator Cabinet?
Measure your refrigerator’s height, width, and depth accurately. Add extra space for ventilation and door clearance. Double-check all measurements before cutting wood to ensure a perfect fit.
Can I Build A Refrigerator Cabinet Without Professional Help?
Yes, with basic woodworking skills and proper tools, you can build it yourself. Follow clear plans and safety guidelines. DIY saves money and allows customization to fit your kitchen style.
How Do I Ensure Proper Ventilation In The Cabinet?
Leave gaps around the refrigerator or install vents. Proper airflow prevents overheating and extends your refrigerator’s lifespan. Avoid sealing the cabinet completely to maintain efficiency.
Conclusion
Building a refrigerator cabinet can save space and improve your kitchen look. Follow clear steps and use the right tools to make it sturdy. Take your time to measure and cut carefully. A well-built cabinet fits perfectly and lasts long.
Enjoy your new kitchen storage that suits your needs well. Keep learning and improving your DIY skills with each project. Simple projects like this bring pride and joy to your home.