You’ve brewed your coffee in a percolator, but how do you know when it’s truly done? Pouring a cup too early can leave you with weak, watery coffee.
Waiting too long might make it bitter and unpleasant. Getting it just right is easier than you think, and once you know the signs, you’ll enjoy a perfect cup every time. Keep reading to discover simple tips that will help you master your percolator and never guess again when your coffee is ready.

Credit: colipsecoffee.com
Signs Percolator Coffee Is Ready
Knowing when percolator coffee is ready can save time and improve taste. The brewing process involves water cycling through coffee grounds repeatedly. This creates distinct signs that show the coffee is done. Recognizing these signs helps avoid bitter or weak coffee. Here are clear indicators to check.
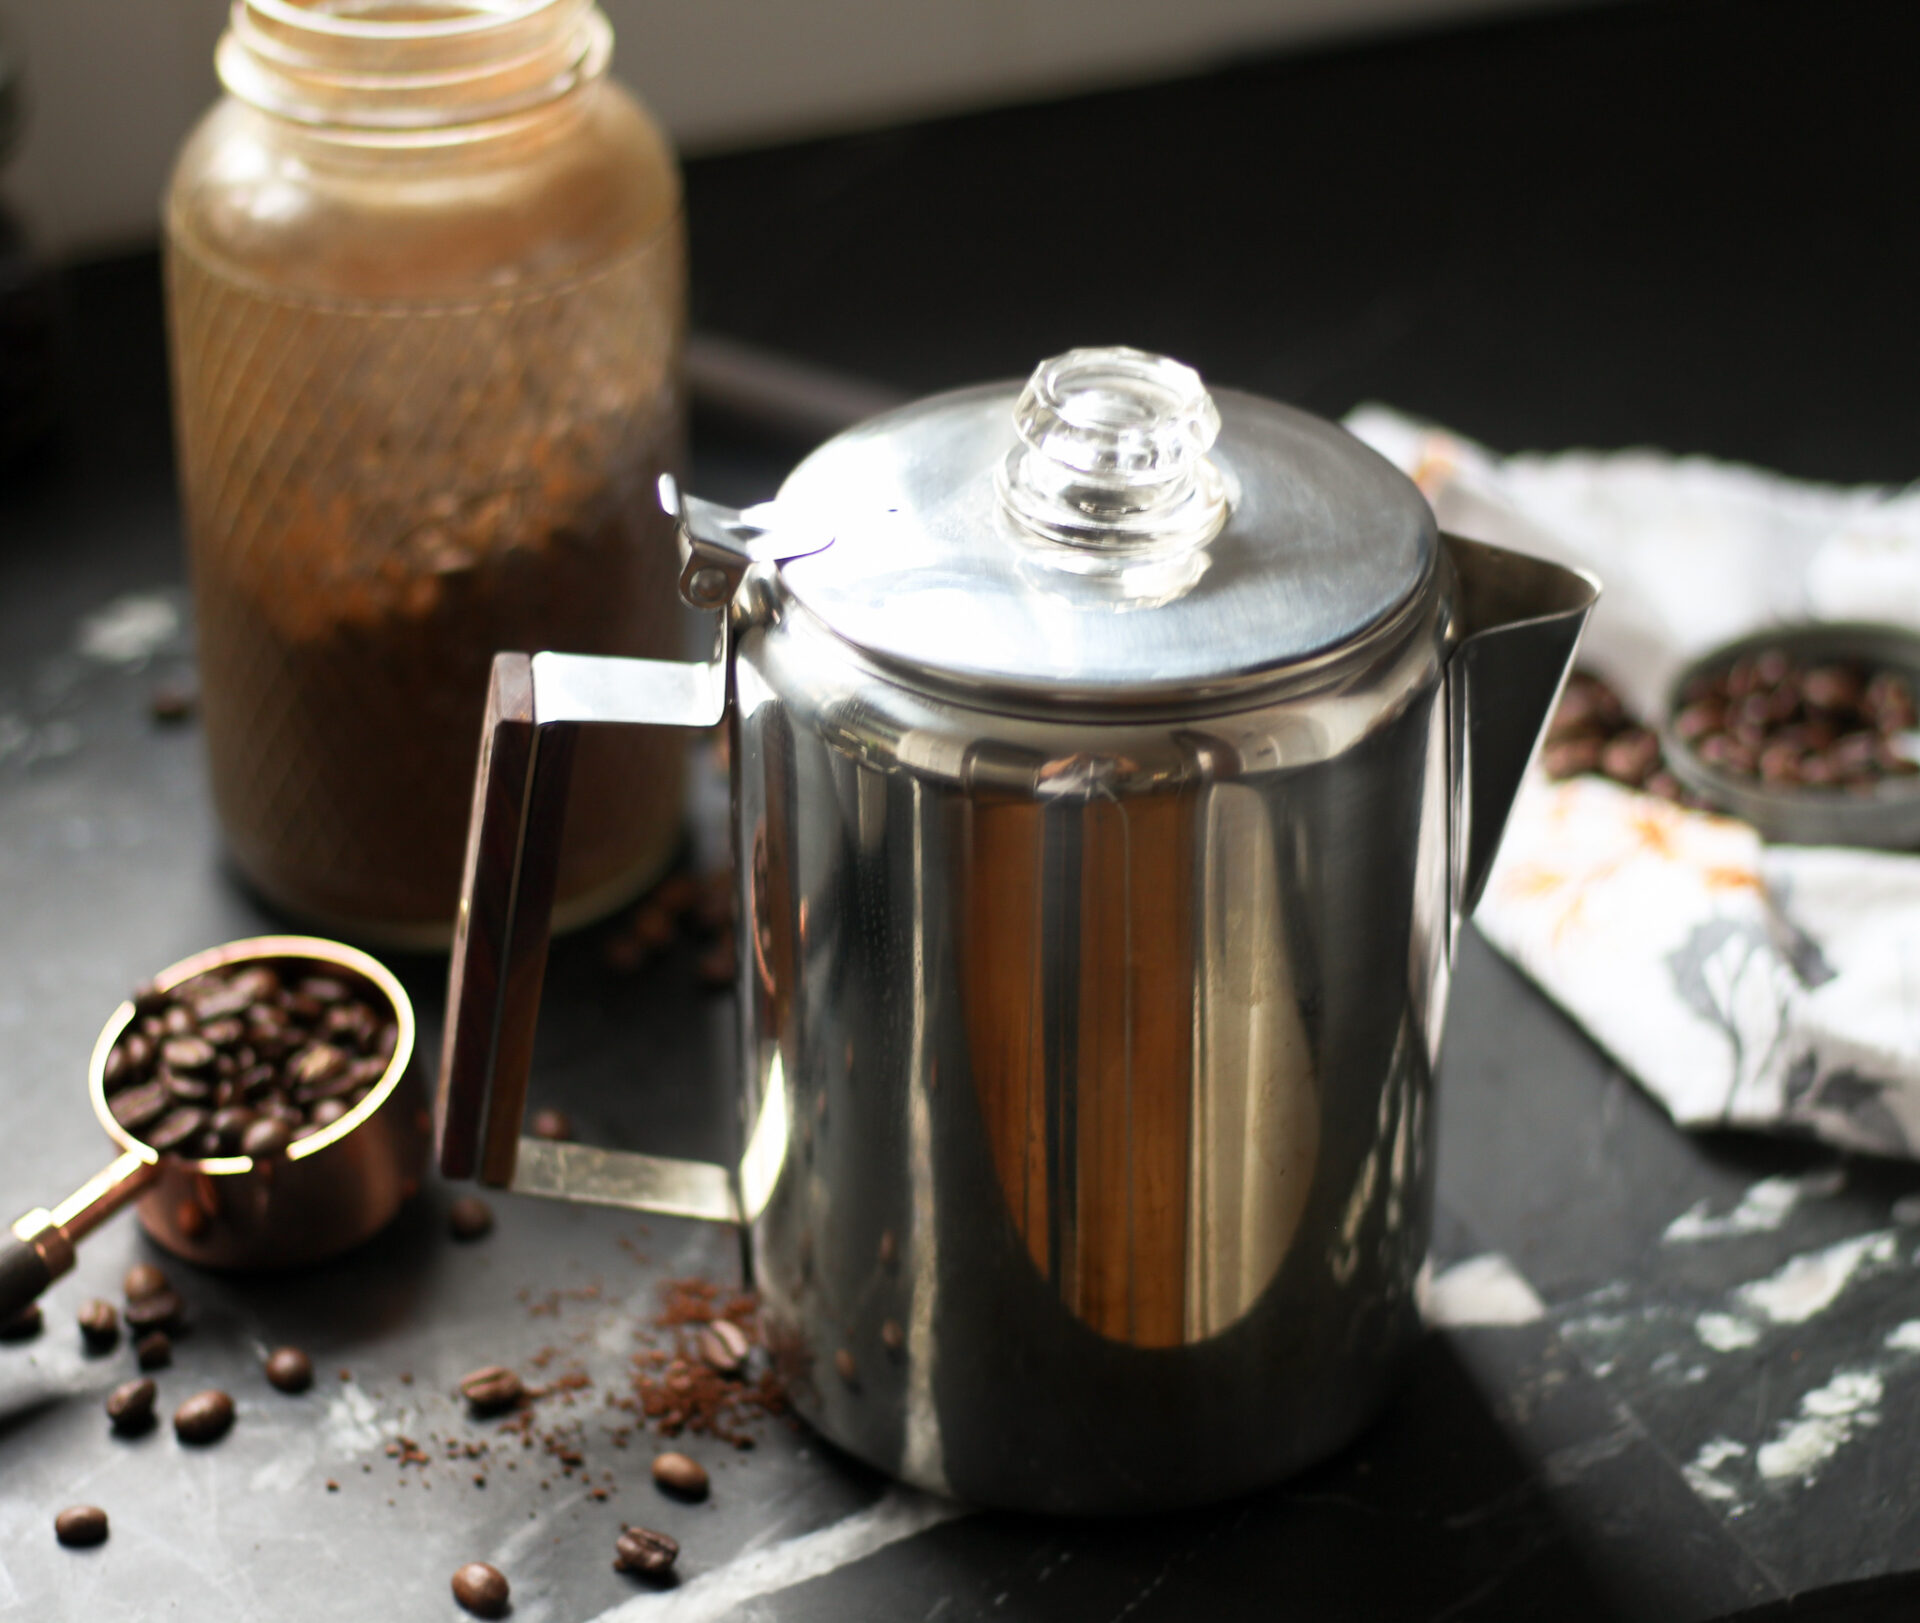
Visual Cues To Watch
- The coffee's color changes from light to rich brown.
- Watch the glass knob on top of the percolator.
- When the coffee inside the knob turns dark, it’s ready.
- Steam rising steadily means brewing is active.
- Stop when the coffee looks strong but not burnt.
Smell And Aroma Changes
- A strong, fresh coffee smell fills the air as it brews.
- The aroma becomes richer and deeper over time.
- When the smell peaks, it signals the coffee is done.
- A burnt or sharp smell means it has brewed too long.
Sound Indicators
- Listen for a soft bubbling or gurgling noise.
- The sound slows down as brewing nears completion.
- A steady, gentle perking sound means coffee is brewing well.
- Stop when the sound fades or changes to a sputter.

Credit: colipsecoffee.com
Timing Your Brew
Timing is key to brewing perfect percolator coffee. The right duration brings out the best flavors without bitterness or weakness. Watching the brew time helps you find the ideal balance for your taste. Small changes in timing affect the coffee’s strength and aroma significantly.
Ideal Percolation Duration
The standard brew time for percolator coffee is usually between 7 to 10 minutes. This range allows the hot water to cycle through the grounds enough to extract rich flavors. Less than 7 minutes often leads to weak coffee. More than 10 minutes can cause over-extraction, making the coffee bitter.
Use a timer to keep track of your brewing. Start counting as soon as the water begins to percolate. Adjust your timing slightly based on taste and experience.
Adjusting For Coffee Strength
Strong coffee needs a longer brew time. For a bolder taste, extend the percolation up to 12 minutes. For a milder cup, reduce the time to around 5 to 6 minutes.
Another way to control strength is by the amount of coffee grounds used. More grounds with a shorter brew can also create strong coffee. Experiment with time and coffee quantity to find your preferred strength.
Impact Of Grind Size
Grind size influences how fast water extracts coffee flavors. Coarser grinds need more time to brew fully. Fine grinds extract faster but risk bitterness if brewed too long.
Adjust your brew time based on grind:
- Coarse grind: 9 to 12 minutes
- Medium grind: 7 to 10 minutes
- Fine grind: 5 to 7 minutes
Matching grind size with timing ensures a balanced cup every time.
Common Brewing Mistakes
Brewing percolator coffee might seem simple, but many people slip up without realizing it. These common mistakes can affect the taste and quality of your coffee more than you expect. Understanding what goes wrong helps you fix it and enjoy a better cup every time.
Over-extraction Effects
When your coffee brews too long, it pulls out too many compounds from the grounds. This leads to a harsh, bitter flavor that masks the coffee’s natural sweetness. You might notice an unpleasant dryness or astringency in your cup.
To avoid over-extraction, watch your brewing time closely. Stop the percolator as soon as the coffee reaches a rich amber color. Have you ever left your coffee to brew longer “just in case”? That’s often the culprit behind a bitter cup.
Under-extraction Issues
Brewing for too short a time or using too coarse grounds can leave your coffee weak and sour. Under-extracted coffee lacks depth and complexity, tasting flat or even salty. It’s like missing the best parts of the coffee bean.
Pay attention to grind size and brewing duration. If your coffee tastes thin or sharp, try grinding finer or letting it percolate a bit longer. Are you rushing your brew? Patience can make a big difference.
Avoiding Bitter Flavors
Bitter flavors often come from using old coffee grounds or water that's too hot. Freshness matters—stale beans or grounds contribute to unpleasant bitterness. Also, boiling water can scorch the coffee, so keep an eye on your heat source.
Use fresh, properly ground coffee and maintain moderate heat during brewing. Consider removing the percolator from heat once the coffee starts to percolate. Do you taste bitterness even when following instructions? Try adjusting heat and freshness first.
Tips For Perfect Percolator Coffee
Percolator coffee has a rich aroma and full-bodied flavor. Achieving the perfect brew requires some attention to detail. Here are essential tips for making the best percolator coffee. These tips cover choosing beans, maintaining water temperature, and keeping equipment in top shape.
Choosing The Right Coffee Beans
The choice of coffee beans greatly impacts flavor. Select fresh, whole beans for the best taste. Medium to coarse grind works best in a percolator. Avoid fine grinds, as they can clog the filter. Experiment with different roasts to find your preferred flavor.
Water Temperature Guidelines
Water temperature is crucial for extracting flavors. Heat water to just before boiling. Ideal temperature ranges from 195°F to 205°F. This range ensures optimal extraction without bitterness. Use a thermometer for accuracy if possible.
Proper Equipment Maintenance
Maintaining your percolator ensures consistent coffee quality. Clean the percolator after each use. Remove coffee stains with a gentle scrub. Regularly check seals and filters for wear. Replace worn parts to prevent leaks and ensure smooth operation.
Troubleshooting Brew Problems
Troubleshooting brew problems helps improve your percolator coffee experience. Common issues include weak coffee, burnt flavors, or uneven extraction. These problems often arise from water temperature, coffee grind size, or brewing time. Knowing how to fix them leads to better taste and aroma. Here are some quick solutions for common brewing issues.
Weak Or Watery Coffee
Weak coffee often means under-extraction or too little coffee grounds. Using a coarse grind can cause water to flow too fast. This results in weak or watery coffee. Also, not using enough coffee or too much water dilutes the flavor. Check your coffee-to-water ratio carefully.
- Use a medium to fine grind for better extraction.
- Increase coffee grounds slightly for stronger taste.
- Reduce water amount to avoid dilution.
- Ensure water temperature is near boiling but not too hot.
Burnt Or Scorched Taste
A burnt taste comes from over-extraction or high heat. Leaving the percolator on the heat too long causes this. Also, very fine coffee grounds can burn easily. The bitter, burnt flavor spoils the coffee's natural aroma.
- Remove percolator from heat as soon as brewing finishes.
- Use medium grind size to avoid burning.
- Do not overfill with coffee grounds.
- Keep heat at medium or low during brewing.
Uneven Extraction Solutions
Uneven extraction means some coffee tastes strong, others weak. This happens if water flows unevenly through grounds. Clumping of coffee or uneven packing causes this problem. The taste becomes inconsistent and less enjoyable.
- Distribute coffee grounds evenly in the basket.
- Avoid tamping or pressing grounds hard.
- Use fresh, uniform grind size.
- Clean percolator parts to ensure smooth water flow.
Credit: hopewellheightsblog.com
Frequently Asked Questions
How Long Does Percolator Coffee Take To Brew?
Percolator coffee typically takes 5 to 10 minutes to brew. The exact time depends on heat level and water amount. When you hear consistent perking sounds, it’s a good sign the coffee is nearly done. Avoid over-brewing to prevent bitterness.
What Signals Indicate Percolator Coffee Is Ready?
Look for a steady, gentle perking sound that slows down. The coffee’s color should be rich and dark. Smell the aroma, which becomes stronger as brewing finishes. These signs mean your percolator coffee is done and ready to serve.
Can You Tell By Coffee Color When Percolator Is Done?
Yes, the coffee’s color darkens as it brews. A rich, deep brown color indicates it’s ready. If it’s too light, the coffee needs more time. Avoid brewing too long to prevent bitterness and burnt taste.
How To Avoid Over-brewing In A Percolator?
Monitor the brewing time closely, usually 7 to 10 minutes. Listen for the perking sounds to slow down. Remove the percolator from heat promptly when done. Over-brewing causes bitter and harsh flavors in your coffee.
Conclusion
Percolator coffee is ready when the bubbling slows down. Watch for a steady, gentle sound from the pot. The color of the coffee will also darken. Smell the rich aroma filling the air. Taste a small cup to check strength.
Avoid overcooking to keep flavor smooth. Enjoy your fresh, warm coffee right away. Simple steps help you brew the perfect cup. Now you can make great percolator coffee at home.