Are you thinking about switching your propane stove to natural gas but aren’t sure where to start? Converting your stove can save you money and make your kitchen more efficient, but it needs to be done the right way.
In this guide, you’ll discover simple, step-by-step instructions that anyone can follow. Whether you’re a DIY enthusiast or just want to understand the process before calling a pro, this article will give you the confidence and knowledge to make the switch safely.
Keep reading to find out exactly how you can convert your propane stove to natural gas without hassle.
Check Compatibility
Checking compatibility is the first and most important step before converting a propane stove to natural gas. Not all stoves can be safely or effectively converted. Ensuring your stove supports conversion avoids damage and safety risks. This step saves time and money in the long run.
Identify Stove Model
Find the exact model number of your stove. This information is usually on a label inside the oven door or near the burner area. Write down the model number and any other details like serial number or manufacturing date. These details help in finding the right parts and instructions for conversion.
Verify Manufacturer Guidelines
Check the stove’s user manual or manufacturer website for conversion instructions. Many brands provide specific guidelines or conversion kits. Using the correct parts and steps ensures safe operation with natural gas. If no guidelines exist, conversion might not be possible or safe for your stove model.
Gather Required Tools
Gathering the right tools before converting your propane stove to natural gas is essential. Having everything ready helps you avoid interruptions and mistakes. It also ensures the job goes smoothly and safely.
List Of Tools Needed
- Adjustable wrench:Useful for loosening and tightening fittings.
- Pipe wrench:Helps grip and turn pipes securely.
- Gas conversion kit:Includes orifices and regulators designed for natural gas.
- Pipe thread sealant:Prevents leaks at pipe connections.
- Leak detector solution:To check for gas leaks after installation.
- Screwdrivers:Both flathead and Phillips for removing and securing panels.
- Flashlight:Ensures visibility in tight or dim areas.
Missing even one of these tools can slow you down or cause unsafe conditions. Do you have all of them ready before you start? It’s worth double-checking.
Safety Equipment
- Safety goggles:Protect your eyes from dust, debris, or gas splashes.
- Gloves:Shield your hands from sharp edges and hot parts.
- Fire extinguisher:Keep it nearby in case of accidental ignition.
- Carbon monoxide detector:Ensures the area remains safe during and after conversion.
- Proper ventilation:Open windows or use fans to avoid gas buildup.
Safety gear isn’t optional. It’s your first line of defense against accidents. Have you prepared your workspace to minimize risks?
Turn Off Gas Supply
Before you begin converting your propane stove to natural gas, the most important safety step is to turn off the gas supply completely. This prevents any accidental leaks or hazards while you work on the stove. Taking this precaution ensures your workspace stays safe and gives you peace of mind during the conversion process.
Shut Off Propane
Locate the propane tank connected to your stove. The valve is usually on top of the tank and can be turned clockwise to close it. Make sure you turn it fully until it stops, so no propane can escape.
If your stove is connected to a larger propane system, find the main shutoff valve near the supply line and close it as well. Don’t rely on just turning off the stove’s knobs—you need to stop the fuel at the source.
Ensure No Gas Flow
After shutting off the propane, check that no gas is still flowing through the lines. Open the stove’s burner knobs slightly to release any remaining gas pressure. You might notice a brief hiss or smell, so do this in a well-ventilated area.
Use a gas detector or soapy water around connections to confirm there are no leaks. If bubbles form, you have a leak that needs fixing before proceeding. Remember, even a small gas leak can be dangerous.
Remove Propane Components
Converting a propane stove to natural gas requires removing certain components. This ensures your stove operates safely and efficiently. The primary focus is on removing specific propane parts. This prepares your stove for natural gas use. Follow the steps carefully to avoid any mishaps.
Disconnect Propane Regulator
The propane regulator controls the gas flow from the tank. First, ensure the gas supply is turned off. Then, locate the propane regulator near the connection point. Use an adjustable wrench to loosen the fittings. Carefully remove the regulator from the gas line. Store it safely for future use or disposal.
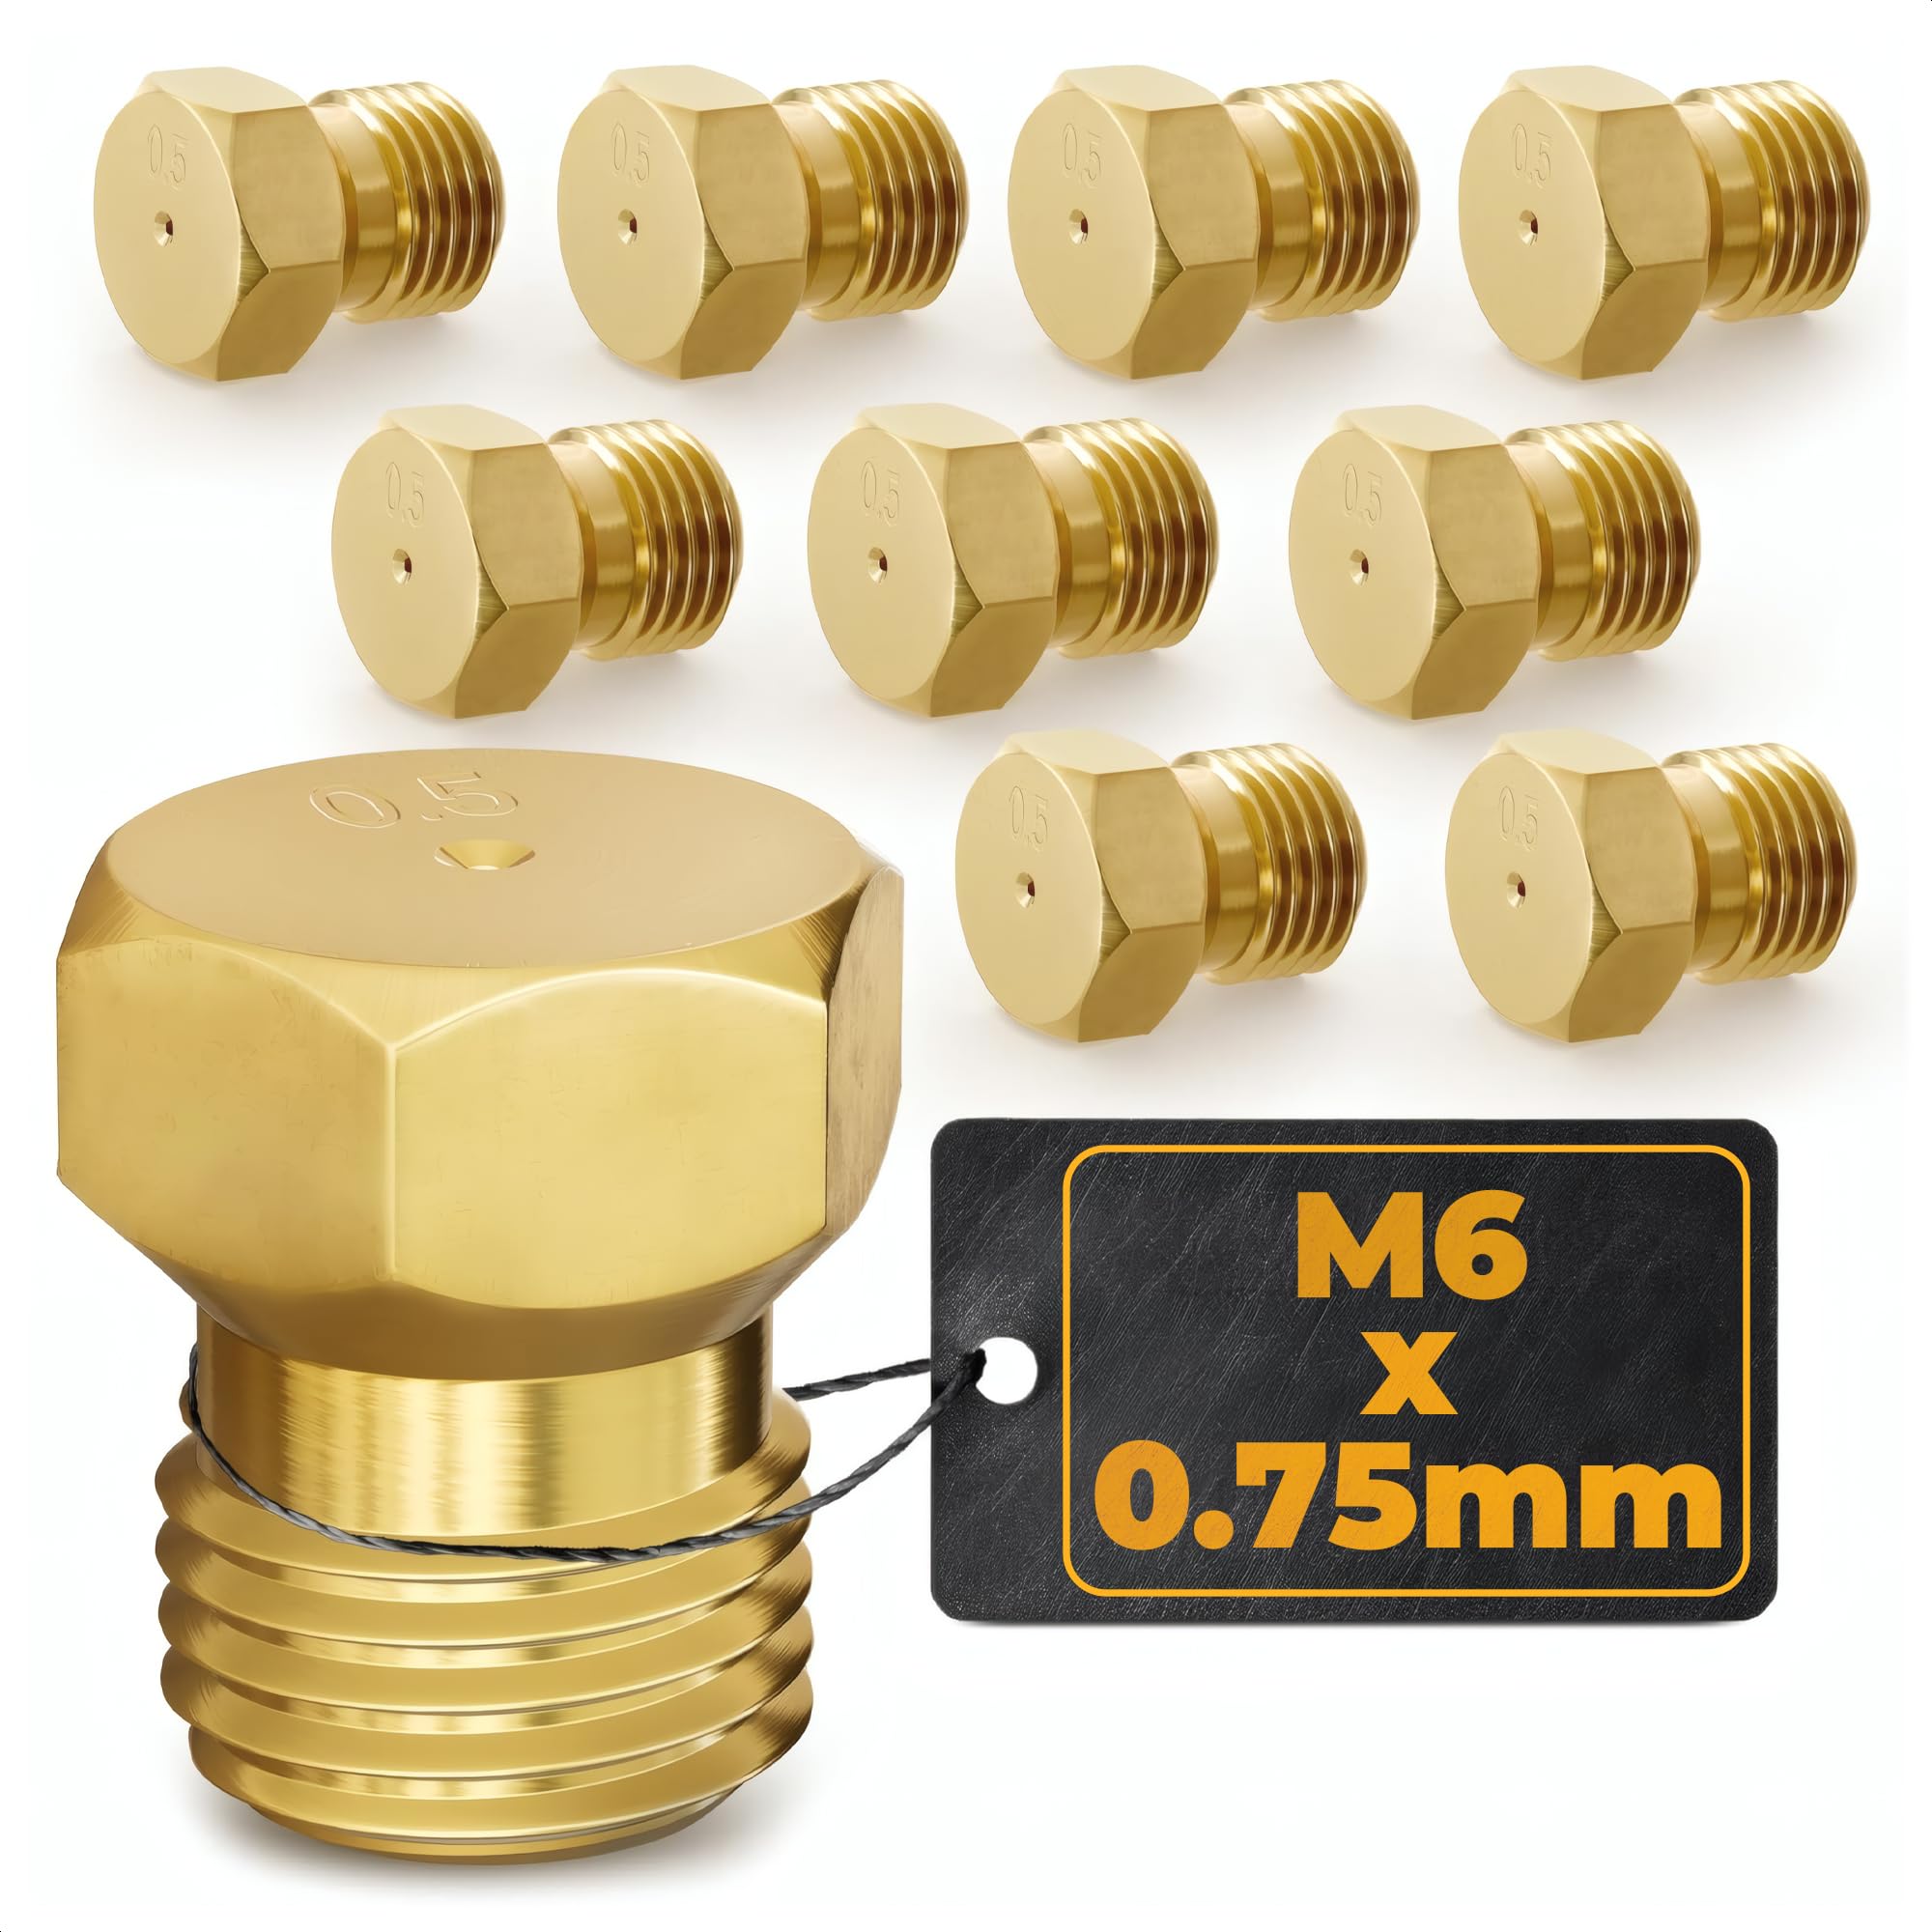
Remove Burner Orifices
Burner orifices regulate gas flow to the burners. Propane and natural gas require different orifice sizes. Begin by removing the grates and burner caps. Use a screwdriver to unscrew the burner orifices. Gently lift them from the stovetop. Replace them with appropriate natural gas orifices. Ensure they are securely tightened. This adjustment optimizes gas flow for natural gas.
Install Natural Gas Parts
Installing natural gas parts is essential to convert a propane stove safely and efficiently. Propane and natural gas operate at different pressures and flow rates. This means some parts must be changed to fit the new fuel type. Proper installation ensures the stove works correctly and prevents leaks or hazards.
Focus on two key components for installation: the natural gas regulator and the burner orifices. Both parts must be compatible with natural gas specifications. Using the right parts helps maintain performance and safety.
Attach Natural Gas Regulator
The natural gas regulator controls gas pressure to the stove. Propane regulators are not suitable for natural gas. Remove the propane regulator carefully. Install the natural gas regulator in its place. Make sure it fits tightly and securely. Check for any gas leaks after installation. Use soapy water on connections to spot leaks. Tighten connections if bubbles appear. Never skip this safety check.
Replace Orifices For Natural Gas
Burner orifices control the gas flow to the stove’s burners. Propane orifices are smaller than natural gas ones. Replace all propane orifices with natural gas orifices. Find the right size orifices for your stove model. Remove burner caps to access orifices. Unscrew propane orifices using a wrench. Screw in the natural gas orifices carefully. Ensure they are snug but not over-tightened. Test each burner for proper flame color and size. A blue flame indicates correct gas flow.
Adjust Air Shutter Settings
Adjusting the air shutter settings is key when converting a propane stove to natural gas. The air shutter controls the mix of air and gas. This mix affects the flame quality and stove performance. Proper adjustment ensures a clean, blue flame and safe operation.
Locate Air Shutters
Air shutters are near the burner tube. They look like small metal plates with slots or holes. Sometimes a screw or clip holds them in place. Check each burner because shutters may vary in size and shape. Use a flashlight to see clearly inside the burner area.
Set Correct Air-to-gas Ratio
Open or close the air shutters to change the airflow. More air means a bluer flame. Less air creates a yellow, sooty flame. Adjust slowly and light the burner after each change. Watch the flame color and shape closely.
- A proper flame is mostly blue with small yellow tips.
- Too much air causes a noisy, lifting flame.
- Too little air causes soot buildup and yellow flames.
Fine-tune the shutters until the flame burns steady and blue. This adjustment improves stove efficiency and safety on natural gas.
Connect To Natural Gas Line
Connecting your propane stove to a natural gas line is a critical part of the conversion process. This step requires precision and attention to detail to ensure safety and functionality. Taking the time to properly connect the stove will help you avoid gas leaks and ensure your appliance runs efficiently.
Use Proper Fittings
Natural gas and propane use different pressure levels and fittings, so you must swap out propane fittings for those designed for natural gas. Using the wrong fittings can cause gas leaks or damage the stove’s internal components.
Choose fittings made specifically for natural gas connections. These often include threaded adapters or flexible gas connectors certified for natural gas use. If you’re unsure which fittings to use, consult the stove’s manual or a professional.
Don’t forget to tighten all connections securely but avoid overtightening, which can strip threads or crack fittings. A good practice is to hand-tighten first, then use a wrench to finish snugly.
Check For Leaks
After connecting the stove to the natural gas line, it’s vital to check for leaks before turning on the appliance. Even a small leak can pose a serious safety hazard.
Use a soapy water solution and apply it around all connections. If bubbles form, that means gas is escaping. Tighten the fittings and test again until no bubbles appear.
Many homeowners overlook this step, but I once saved myself from a potential accident by double-checking with soapy water. It’s a simple, effective way to ensure your safety and peace of mind.
Test The Stove
Testing your stove after converting from propane to natural gas is a crucial step to ensure safety and proper functionality. This phase helps you catch any issues before regular use, saving you from potential hazards or inefficient performance. Paying close attention to how the stove operates can reveal subtle problems that might otherwise go unnoticed.
Light Burners
Start by turning on each burner individually. You want to make sure they ignite easily without hesitation or delay. If a burner struggles to light, it could indicate a problem with the gas flow or the connection.
Listen carefully for any unusual sounds like hissing or sputtering, which may signal leaks or improper pressure. Also, check if the flame stays lit steadily when you release the ignition. Flickering flames can point to a need for further adjustments in the gas supply.
Observe Flame Quality
Look closely at the color and shape of the flames on each burner. A healthy natural gas flame should be mostly blue with a small, steady yellow tip. Excessive yellow or orange flames suggest incomplete combustion, which might produce carbon monoxide—a serious safety risk.
Do your flames look weak or too high? Flames that are too large or irregular could mean the burner orifice isn’t suited for natural gas or the pressure regulator isn’t set correctly. Adjustments here can improve efficiency and safety.
Have you noticed any strange smells or noises during testing? These are important clues. Never ignore them—your senses are your first line of defense against potential hazards.
Troubleshooting Tips
Check the stove’s burner orifice size before switching to natural gas. Ensure proper gas pressure and use a conversion kit designed for your stove model. Always test for leaks and adjust the air shutter for a steady blue flame.
Converting a propane stove to natural gas can be an efficient upgrade for your home, but like any DIY project, it comes with its own set of challenges. Troubleshooting is a crucial part of ensuring a smooth transition. From unexpected flame behavior to dealing with stubborn fittings, understanding common issues can save you time and headaches.
Common Issues
When converting, one frequent problem is improper flame size or color. A blue flame is ideal, indicating complete combustion, while a yellow flame signals issues that could cause soot buildup. Check the orifice size—it's often the culprit. Propane orifices are smaller than those for natural gas due to the higher pressure of propane. Incorrect gas pressure can also wreak havoc. Use a manometer to ensure the pressure aligns with your stove's requirements. A loose connection can cause gas leaks. Use soapy water on connections to check for bubbles, which indicate a leak.
When To Call A Professional
If you're feeling uncertain or your troubleshooting efforts aren't resolving the issues, it's time to call a professional. Safety should be your top priority. Consider expert help if the flame doesn't adjust despite your efforts. It might be a deeper issue like a regulator malfunction. Persistent gas smells mean you need immediate professional intervention. It's not worth risking your home’s safety. Have you ever faced a situation where your DIY skills hit a wall? Recognizing when to bring in expert assistance can protect your home and give you peace of mind.
Frequently Asked Questions
How Do You Convert A Propane Stove To Natural Gas?
To convert a propane stove to natural gas, replace the orifices and adjust the regulator. Use a conversion kit designed for your stove model. Always follow manufacturer instructions and check for leaks after conversion to ensure safety and proper function.
Is Converting A Propane Stove To Natural Gas Safe?
Yes, converting is safe if done correctly. Use the right conversion kit and follow all instructions. It's best to hire a certified professional to perform the conversion to avoid gas leaks and ensure compliance with local codes.
What Tools Are Needed For Propane To Natural Gas Conversion?
You typically need a conversion kit, a wrench, screwdrivers, and a gas leak detector. The kit includes new orifices and sometimes a regulator. Proper tools ensure a secure and safe conversion process for your stove.
Can I Convert My Stove Myself Or Hire A Professional?
You can convert your stove yourself if you have technical skills. However, hiring a licensed professional is safer and ensures the job meets local regulations. Professionals can also check for leaks and proper gas pressure.
Conclusion
Converting a propane stove to natural gas saves money and energy. It needs the right parts and careful steps. Always check for leaks and proper connections for safety. This change helps your stove work better with natural gas. Take your time and follow instructions closely.
A successful conversion keeps your kitchen safe and efficient. Simple, clear steps make the process easier. Now, you can enjoy the benefits of natural gas at home.