Is your Frigidaire Gallery ice maker not making ice as fresh or fast as it used to? You’re not alone.
Over time, mineral buildup and dirt can slow down your ice maker and even affect the taste of your ice. But don’t worry—cleaning your ice maker is easier than you think. In this guide, you’ll discover simple, step-by-step tips to get your Frigidaire Gallery ice maker sparkling clean again.
Keep reading to bring back that fresh, pure ice you love with just a few easy steps.
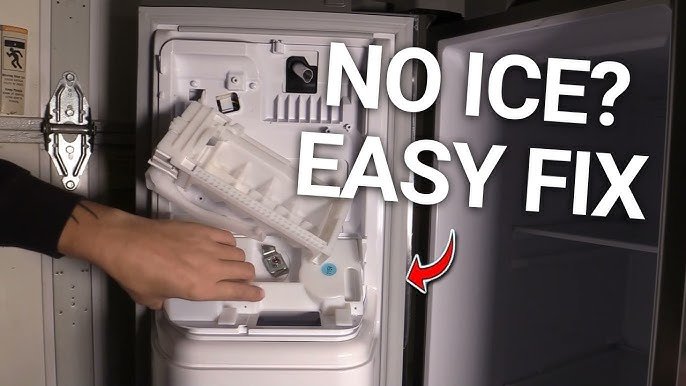
Credit: www.walmart.com
Essential Tools And Materials
Cleaning your Frigidaire Gallery ice maker doesn’t have to be a chore if you have the right tools and materials on hand. Gathering everything before you start saves time and avoids frustration. Plus, using the correct supplies protects your appliance and ensures it runs smoothly for a long time.
Cleaning Solutions
Choose a mild, non-toxic cleaner to avoid damaging the ice maker’s components. A mixture of warm water and white vinegar works well to dissolve mineral buildup. You can also find commercial ice maker cleaners designed specifically to tackle tough residue without harming the machine.
Soft Cleaning Tools
Soft brushes and microfiber cloths are essential to clean delicate parts without scratching them. Avoid abrasive scrubbers; they can ruin the surface or seals. A small, soft-bristled brush can reach tight spots where ice residue tends to hide.
Protective Gear
Wearing gloves protects your hands from cleaning agents and cold water. It also helps you maintain a steady grip on slippery parts during cleaning. If you’re sensitive to smells, consider using a mask to keep vinegar or cleaner fumes at bay.
Additional Supplies
- A bucket or large bowl to catch water and cleaning solution
- Paper towels for quick drying and wiping
- A flashlight to inspect hard-to-see areas inside the ice maker
- A soft sponge for gentle scrubbing
Have you ever tried cleaning without the right tools and ended up frustrated or damaging your appliance? Taking a moment to prepare can make the whole process smoother and more effective.
Safety Precautions
Cleaning your Frigidaire Gallery ice maker requires careful attention to safety. Taking precautions protects you and the appliance from harm. Following simple safety rules makes the cleaning process smooth and secure.
Unplug The Ice Maker Before Cleaning
Always disconnect the ice maker from power. This prevents electric shock risks. Never clean the machine while it is plugged in. Wait a few minutes after unplugging before starting.
Use Safe Cleaning Products
Choose mild, non-toxic cleaners for the ice maker. Avoid harsh chemicals that can damage parts or leave harmful residues. Use warm water mixed with gentle soap or vinegar solutions.
Avoid Water Contact With Electrical Parts
Keep water away from the control panel and wiring. Use a damp cloth instead of pouring water directly. Dry all parts thoroughly before plugging the ice maker back in.
Handle Ice Maker Components Carefully
Remove and clean removable parts gently. Avoid forcing or breaking delicate components. Follow the user manual for proper disassembly and reassembly instructions.
Work In A Clean And Dry Area
Choose a dry, well-lit space for cleaning. A clean area reduces the chance of slipping or dropping parts. Place a towel or mat under the ice maker to catch drips.
Turning Off The Ice Maker
Turning off your Frigidaire Gallery ice maker is a key step before you start cleaning. It stops the machine from producing ice and prevents any water leaks or electrical issues during the process. Taking this simple action ensures your safety and makes cleaning easier.
Locate The Power Switch Or Control Panel
Begin by finding the power switch or control panel on your ice maker. Most Frigidaire Gallery models have a clearly marked on/off switch or button. If you’re unsure, check your user manual or look for a small lever inside the ice bin area. Once you’ve successfully located the power switch, you can proceed to turning on ice maker in Whirlpool models. This process generally takes just a few minutes, allowing you to start producing ice for your beverages in no time. For optimal performance, ensure the water supply is properly connected and check for any ice buildup that may hinder operation.
Unplug The Ice Maker For Extra Safety
Even after turning off the ice maker, unplugging it from the wall outlet adds an extra layer of safety. This prevents any accidental start-up while you clean. It’s a simple step that many people skip but can make a big difference.
Turn Off The Water Supply
Don’t forget to shut off the water supply to the ice maker. This stops water from flowing into the machine and causing unwanted spills. You’ll usually find a valve behind or near your fridge that controls water flow.
Removing Ice And Water
Removing ice and water from your Frigidaire Gallery ice maker keeps it clean and working well. Clearing out old ice prevents clumps and blockages. Draining excess water stops leaks and mold growth. Regular removal helps maintain fresh ice taste and machine efficiency.
Clearing Ice From The Ice Bin
Open the ice maker door carefully. Gently pull out the ice bin to avoid spills. Check for ice chunks stuck inside the bin. Use your hands or a soft cloth to loosen the ice. Avoid using sharp tools that could damage the bin. Place the ice in a clean container or sink to melt.
Draining Water From The Ice Maker
Locate the drain plug or drain hole in the machine. Place a shallow pan under the drain to catch water. Remove the drain plug slowly to let water flow out. Wipe any remaining water inside the ice maker with a soft cloth. Replace the drain plug securely to prevent leaks.
Drying The Ice Maker Interior
Use a dry cloth to wipe all surfaces inside the ice maker. Leave the ice bin out for a few minutes to air dry. Ensure no water pools remain in corners or crevices. Drying prevents mold and keeps the machine fresh. After drying, reinsert the ice bin carefully.
Disassembling The Ice Maker
Disassembling your Frigidaire Gallery ice maker is an essential part of deep cleaning. Taking it apart lets you reach hidden spots where dirt and mineral buildup hide. This step might seem tricky, but with clear guidance, you can handle it safely and effectively.
Gathering The Right Tools
Before you start, make sure you have the tools you need. Usually, a screwdriver, a soft cloth, and a small brush will do the job. Having everything ready saves time and prevents frustration during the process.
Unplugging And Preparing The Ice Maker
Safety comes first. Always unplug the ice maker before disassembling to avoid electrical hazards. Remove any ice or water inside to prevent spills while you work.
Removing The Ice Bin And Outer Covers
Start by taking out the ice bin carefully. Then, use the screwdriver to remove the screws holding the outer covers. Keep the screws in a safe place so you don’t lose them.
Detaching The Ice Maker Assembly
Once the covers are off, locate the ice maker assembly. Gently disconnect any wiring harnesses without pulling on the wires. Carefully unfasten the assembly from its mount to access all parts.
Handling Delicate Components
Some parts, like the ice mold and sensor, are delicate. Handle them with care to avoid damage. If you notice any worn or broken parts, consider replacing them to keep your ice maker working well.
Have you ever been surprised by what you found inside an appliance during cleaning? Many users discover layers of mineral buildup or small debris that affect performance. Taking the time to disassemble your ice maker properly can make a big difference in how well it runs and how clean your ice tastes.
Cleaning The Ice Bin And Tray
Cleaning the ice bin and tray is important for fresh and clear ice. Dirt and bacteria can build up over time. Regular cleaning keeps your ice maker working well and your ice tasting pure.
Remove The Ice Bin And Tray
First, unplug the ice maker for safety. Take out the ice bin carefully. Remove the ice tray from its place. Handle both parts gently to avoid damage.
Wash With Warm Soapy Water
Fill a basin with warm water and mild dish soap. Use a soft cloth or sponge to clean the bin and tray. Scrub all surfaces, especially corners and edges. Avoid harsh chemicals that can harm plastic.
Rinse And Dry Thoroughly
Rinse the bin and tray under clean water. Make sure no soap remains. Dry both parts fully with a clean towel. Air drying also works well to prevent moisture buildup.
Sanitize The Ice Bin And Tray
Mix one tablespoon of white vinegar with one cup of water. Wipe the surfaces with this solution using a cloth. Vinegar kills bacteria and removes odors. Let the bin and tray air dry before use.
Reassemble And Restart
Put the ice tray back in place carefully. Slide the ice bin into the machine. Plug the ice maker back in. Run a cycle to check that everything works properly.
Sanitizing Internal Components
Sanitizing the internal components of your Frigidaire Gallery ice maker is crucial for maintaining clean, fresh-tasting ice and ensuring the machine operates efficiently. Over time, mineral deposits, mold, and bacteria can build up inside, affecting both the flavor and safety of your ice. Regular cleaning not only extends the life of your appliance but also keeps your ice pure and safe to consume.
Preparing The Ice Maker For Cleaning
Before sanitizing, unplug your ice maker to avoid any electrical hazards. Remove all ice from the bin and discard it—old ice can hold onto odors and germs. Take out any detachable parts, such as the ice bin and water filter, to clean separately.
Have you ever noticed your ice tasting off after a while? This simple prep step often solves that problem by clearing out stale ice and debris.
Cleaning The Water Reservoir And Ice Mold
Mix a solution of warm water and mild dish soap or a manufacturer-recommended cleaner. Use a soft cloth or sponge to wipe down the water reservoir and ice mold thoroughly. Avoid abrasive materials that could scratch surfaces and create places for bacteria to hide.
Rinse these areas well with clean water to prevent any soap residue from affecting the ice taste. Ensuring every corner is wiped down can prevent slimy buildup that you might not see but can definitely taste.
Sanitizing With A Vinegar Or Bleach Solution
For deeper sanitizing, prepare a solution using either white vinegar or a diluted bleach mix (1 tablespoon bleach per gallon of water). Fill the water reservoir with this solution and run a cleaning cycle if your model supports it.
If not, manually wipe down internal surfaces and let the solution sit for about 10 minutes. Afterward, thoroughly rinse all parts with clean water multiple times to remove any lingering sanitizer.
Drying And Reassembling The Ice Maker
Allow all cleaned components to air dry completely before putting them back. Moisture left inside can encourage mold growth. Reassemble the parts carefully, ensuring everything fits snugly to avoid leaks or operational issues.
Have you ever skipped drying and found a musty smell in your ice? Taking this extra step can make a big difference in the freshness of your ice.

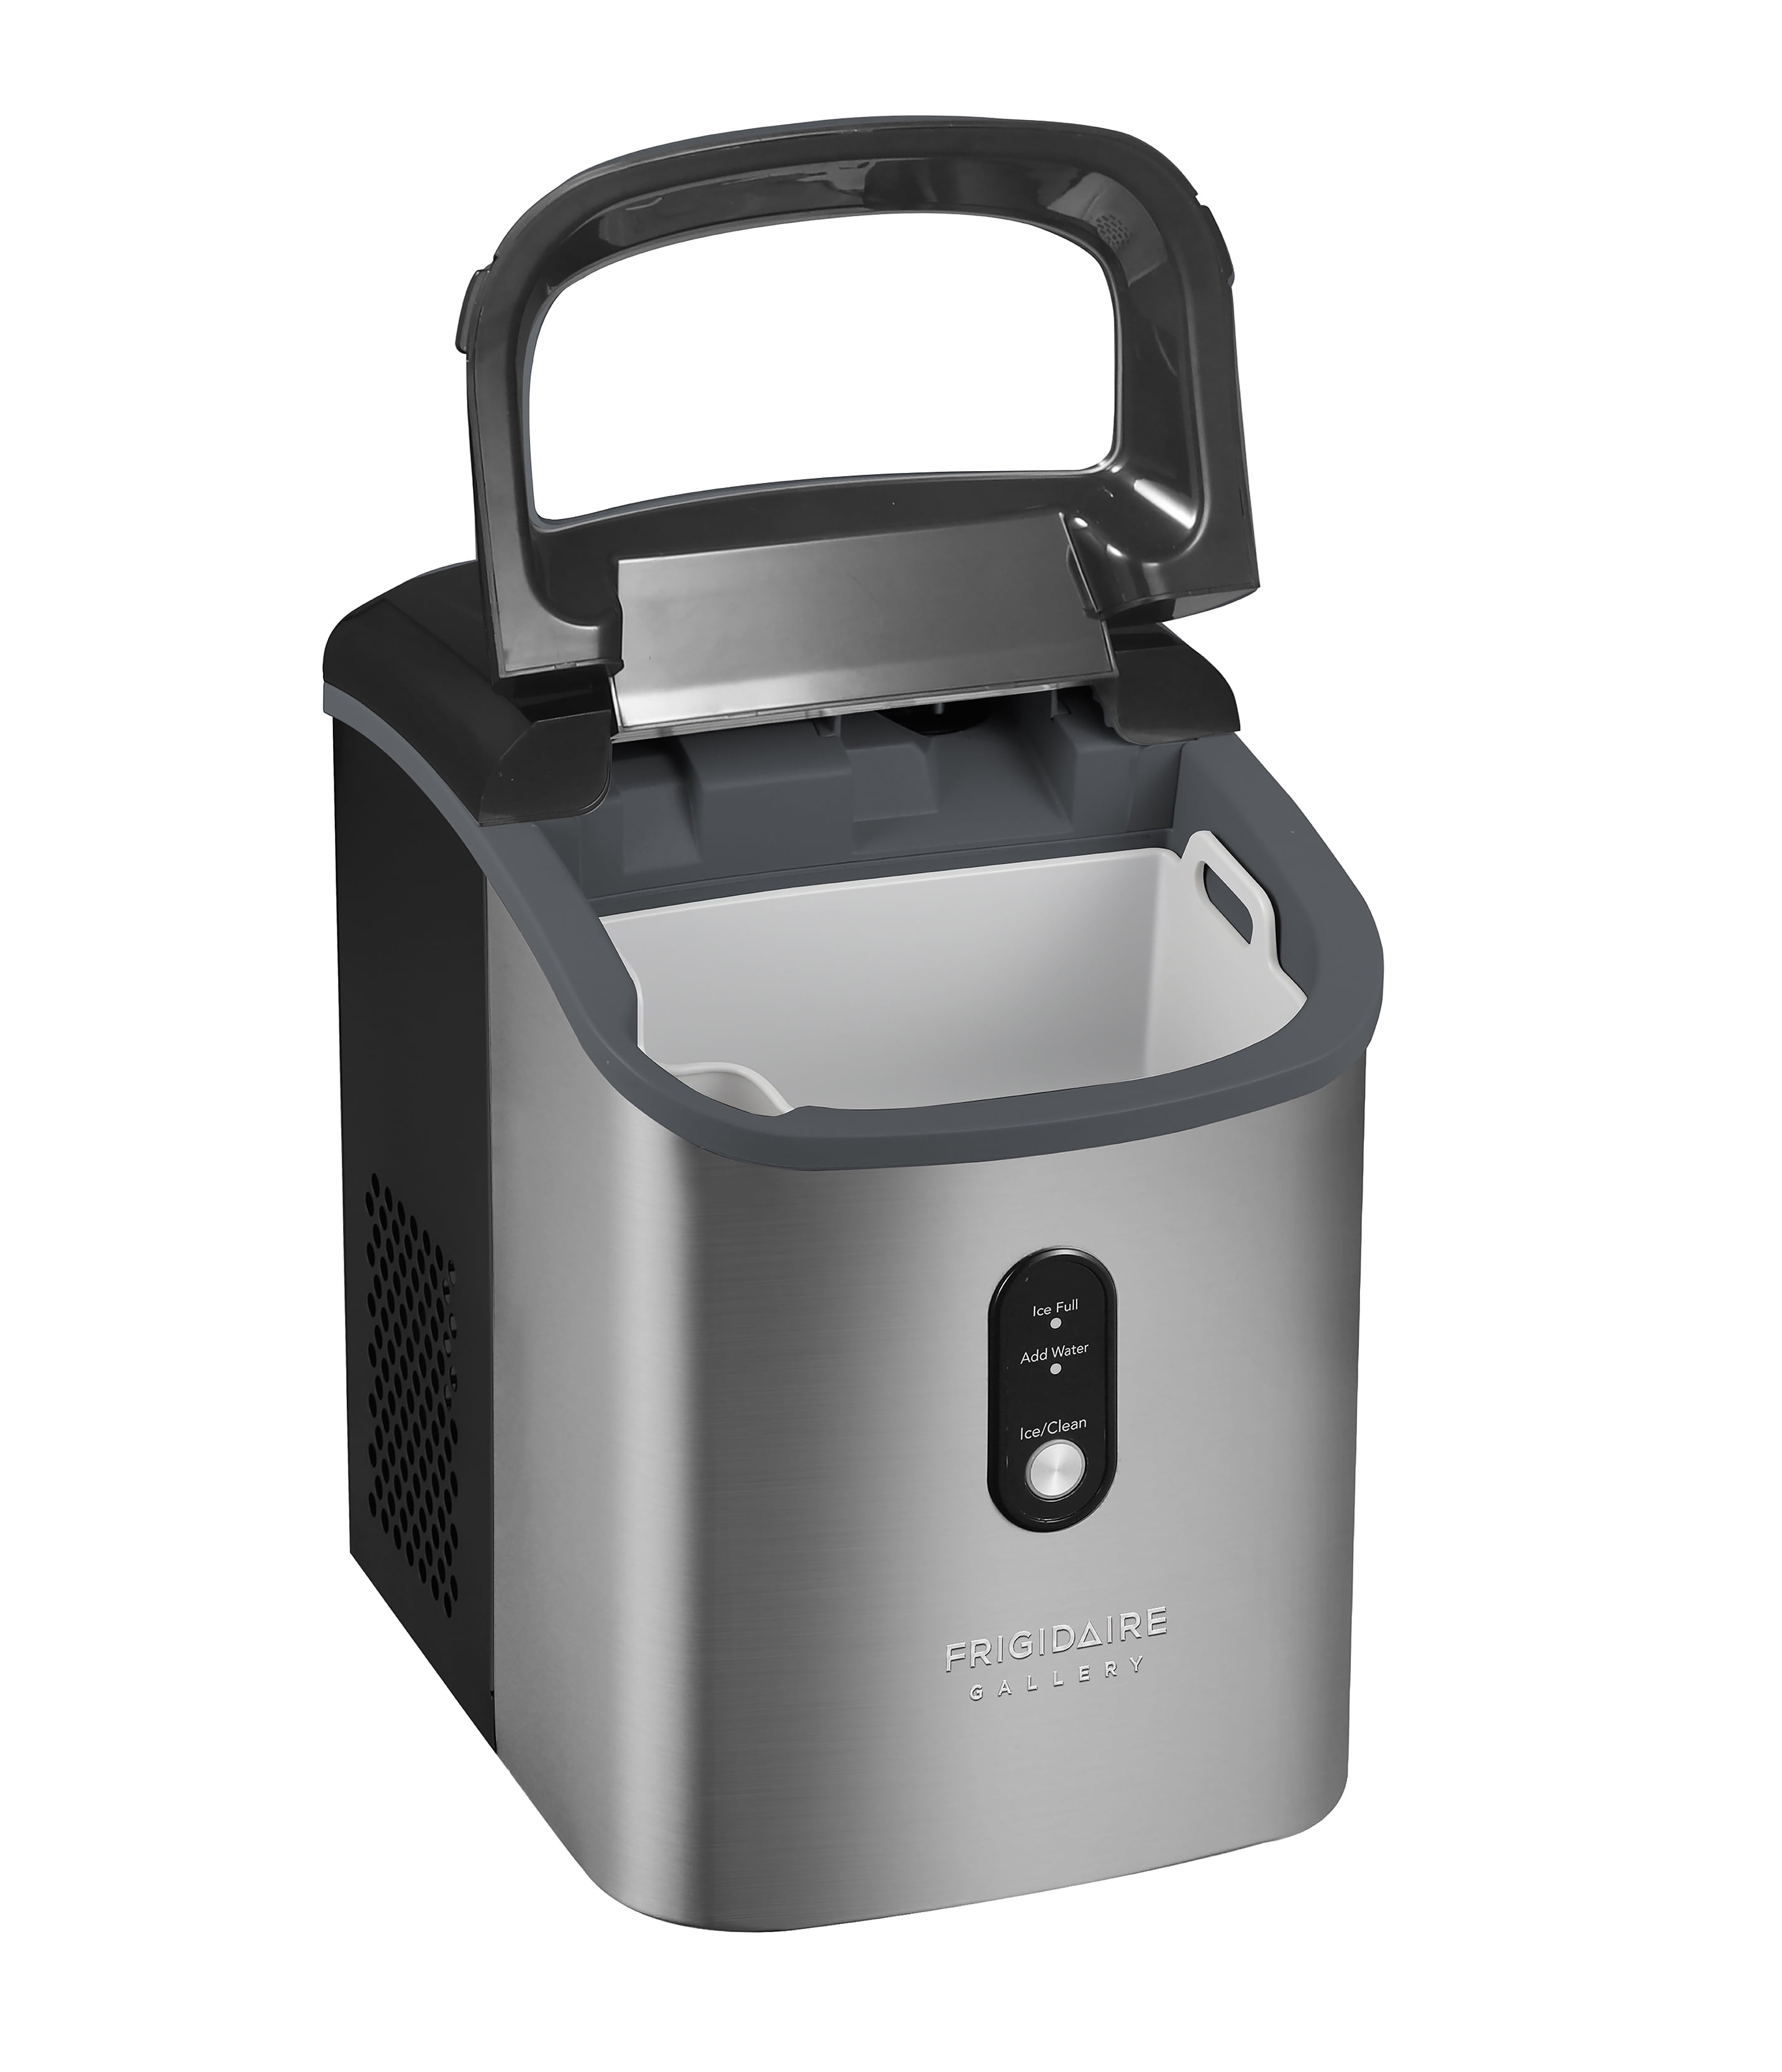
Credit: www.amazon.ca
Reassembling The Ice Maker
Reassembling the Frigidaire Gallery ice maker is a key part of the cleaning process. It restores the unit’s proper function and prevents leaks or damage. Careful reassembly ensures your ice maker works smoothly and produces clean ice again.
Take your time and follow the right order. Missing a step can cause issues. Use this guide to put all parts back together correctly and safely.
Aligning The Ice Maker Components
Start by placing the ice mold back in its position. Make sure it sits evenly without tilting. Check the water fill tube and align it carefully to avoid leaks. Confirm the ejector blades fit properly around the mold.
Securing The Mounting Screws
Use a screwdriver to tighten all mounting screws. Secure the ice maker firmly to prevent vibrations. Do not overtighten screws to avoid cracking plastic parts. Tighten screws evenly across the unit for balance.
Reconnecting The Electrical Harness
Reconnect the wiring harness to the ice maker’s control board. Ensure each plug clicks in place for a secure connection. Avoid forcing connectors to prevent damage. Double-check that all wires are attached correctly.
Testing The Ice Maker Function
After reassembly, plug the ice maker back into power. Listen for any unusual sounds like grinding or clicking. Observe the first ice cycle to confirm water fills properly. Check for leaks or loose parts during operation.
Restarting And Testing
Restarting and testing your Frigidaire Gallery ice maker ensures it works correctly after cleaning. This step is vital to avoid any operational issues. A proper restart resets the system, and testing confirms the ice maker produces clean ice.
Take your time to follow these steps carefully. This helps maintain the ice maker’s performance and extends its life.
Powering The Ice Maker Back On
First, reconnect the ice maker to the power source. Check the power cord and outlet for any damage. Press the power button or switch to turn the unit on. Wait for the ice maker to start its normal cycle.
Resetting The Ice Maker Settings
Some models have a reset button or menu option. Use this to clear any errors or alerts. Hold the reset button for a few seconds until the indicator lights blink. This signals the ice maker is ready to begin a fresh cycle. after resetting the ice maker on GE refrigerator, ensure that the water supply is turned on and check that the bin is properly aligned. It may take a little time for the ice maker to produce ice again, so be patient. Regular maintenance and cleaning can also help prevent future issues with ice production.
Running A Test Cycle
Run a test cycle to check if the ice maker works well. Listen for the sound of water filling the tray. Watch for ice cubes forming after about 30 minutes. Make sure the ice is clear and free of any odors or debris.
Checking For Leaks Or Issues
Look around the ice maker for any water leaks or unusual noises. Inspect the ice bin to ensure it catches the ice properly. If you notice problems, turn off the unit and inspect the connections again.
Cleaning Up After Testing
Wipe down the exterior and interior surfaces with a dry cloth. Remove any spilled water to prevent mold or mildew. Keep the ice maker area clean and dry for the best results. consider implementing mold cleaning tips for your freezer regularly to maintain a hygienic environment. It's important to check for any signs of mold buildup, especially in hard-to-reach areas. Using a mixture of vinegar and water can help effectively eliminate any mold present.

Credit: www.reddit.com
Maintenance Tips
Keeping your Frigidaire Gallery ice maker clean helps it work well for a long time. Regular maintenance stops dirt and mold from building up. It also improves ice quality. Follow these simple tips to care for your ice maker.
Clean The Ice Bin Regularly
Empty the ice bin often. Wipe it with a soft cloth and warm soapy water. Rinse well to remove soap. Dry the bin fully before putting it back. This stops ice from smelling or tasting bad.
Use Vinegar Solution For Deep Cleaning
Mix equal parts of white vinegar and water. Use this solution to clean inside the machine. Vinegar removes mineral deposits and kills germs. Wipe all surfaces and let the solution sit for 10 minutes. Rinse with clean water afterward.
Check And Clean The Water Filter
Replace the water filter every six months. A clean filter keeps water fresh and ice clear. Remove the filter and rinse it under running water. Follow your user manual to install a new filter correctly.
Defrost The Ice Maker When Needed
Turn off the ice maker if ice builds up inside. Let it melt naturally or use a soft cloth to wipe away melted water. Avoid sharp tools to prevent damage. Restart the machine only when fully dry.
Keep The Exterior Dust-free
Wipe the outside with a damp cloth weekly. Dust can clog vents and affect cooling. Use a soft brush to clean vents gently. Clean surfaces keep the machine looking new and running smoothly.
Frequently Asked Questions
How Often Should I Clean My Frigidaire Gallery Ice Maker?
Clean your Frigidaire Gallery ice maker every 3 to 6 months. Regular cleaning prevents mold and mineral buildup, ensuring fresh ice. More frequent cleaning is needed if your water is hard or ice smells odd.
What Cleaning Solution Is Safe For Frigidaire Ice Makers?
Use a mixture of warm water and mild dish soap or a 1:1 vinegar and water solution. Avoid harsh chemicals or bleach, as they can damage the machine and affect ice taste.
Can I Clean The Ice Maker Without Removing The Ice Bin?
Yes, you can clean the machine’s interior surfaces and ice chute without removing the ice bin. However, removing the bin allows thorough cleaning and easier access to hidden areas.
How Do I Descale My Frigidaire Gallery Ice Maker?
To descale, empty the ice maker and apply a vinegar-water solution to mineral deposits. Let it sit for 15 minutes, then scrub gently with a soft brush and rinse well with clean water.
Conclusion
Cleaning your Frigidaire Gallery ice maker keeps ice fresh and tasty. Regular cleaning stops buildup and keeps the machine working well. Use simple tools and gentle cleaners for best results. Take your time and follow each step carefully. Clean ice means better drinks and fewer problems. When maintaining your Frigidaire refrigerator, it's also essential to consider air filter installation in Frigidaire refrigerators to ensure optimal air quality. Proper airflow and filtration contribute to the appliance's efficiency and longevity. Make sure to regularly check and replace the air filter for the best performance and freshness of your food.
Keep your ice maker in good shape with easy care. A clean machine lasts longer and works better every day. Small efforts bring big benefits to your ice maker.