Are you looking for a simple, effective way to keep your food fresh for longer? Vacuum sealing mason jars with boiling water might be the easy solution you need.
This method helps lock in flavor and prevent spoilage without fancy equipment. In this guide, you’ll learn exactly how to vacuum seal your mason jars step-by-step. By the end, you’ll feel confident preserving your favorite foods and saving money. Keep reading to discover a straightforward trick that can change the way you store your meals.

Credit: www.amazon.ca
Benefits Of Vacuum Sealing Mason Jars
Vacuum sealing mason jars offers many benefits for food storage and preservation. It helps keep food fresh longer by removing air, which slows down spoilage. This method protects flavors and nutrients, making your food taste better for days or even weeks.
Vacuum sealing also prevents freezer burn and moisture damage. It creates a tight seal, stopping bacteria and mold from growing inside the jar. This means less waste and more savings on groceries.
Preserves Food Freshness
Removing air from mason jars slows the oxidation process. This keeps fruits, vegetables, and leftovers fresh for a longer time. Vacuum sealing locks in the original taste and texture.
Extends Shelf Life
Vacuum sealing reduces exposure to oxygen and moisture. It helps prevent mold and bacterial growth. Food stays safe to eat for weeks or even months.
Protects Against Freezer Burn
Freezer burn happens when air dries out food. Vacuum sealing removes air, stopping this damage. Your frozen food keeps its color, taste, and quality.
Saves Space And Reduces Waste
Vacuum sealed jars stack neatly and take less space. This helps organize your pantry or freezer better. It also reduces food waste by preserving leftovers longer.
Keeps Flavors And Nutrients Intact
Sealing jars prevents flavor loss and nutrient degradation. Foods keep their natural taste and health benefits. This makes homemade jams, sauces, and pickles taste fresh.
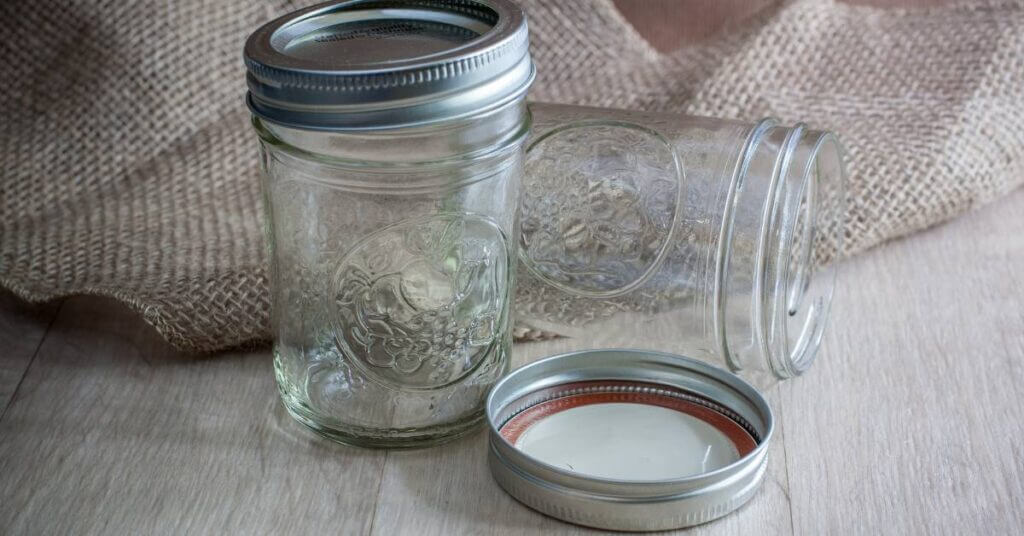
Materials Needed
Gathering the right materials is the first step to vacuum seal a mason jar using boiling water. Using proper tools ensures a secure seal and preserves your food safely. Prepare everything before you start to make the process smooth.
Essential Mason Jar Supplies
- Mason jars with metal lids and bands
- Fresh food or ingredients to preserve
- A large pot for boiling water
- Tongs or jar lifter for safe handling
Tools For The Sealing Process
- Heat-resistant gloves to protect your hands
- A clean cloth or paper towels for wiping rims
- A timer to monitor boiling time
- A heat source such as a stove or burner
Additional Items To Ensure Safety
- A flat, sturdy surface to place jars
- Water thermometer (optional) to check temperature
- A funnel for easy filling of jars
- Labels and markers for dating jars
Preparing The Mason Jar
Preparing your mason jar correctly sets the stage for a successful vacuum seal using boiling water. This step is crucial because any dirt or improper filling can affect the seal's strength and longevity. Let’s focus on how to get your jar ready before sealing.
Cleaning The Jar
Start by washing your mason jar thoroughly with warm, soapy water. Use a clean sponge or brush to remove any residue or dust inside and outside the jar.
Rinse the jar well to ensure no soap remains, as soap residue can interfere with the sealing process. After rinsing, dry the jar with a clean towel or let it air dry completely.
Have you noticed how a tiny speck of dust can break a seal? That’s why spotless jars make a big difference in vacuum sealing success.
Filling The Jar
Fill your mason jar with the food or liquid you want to preserve, leaving enough headspace at the top—usually about 1 to 2 inches. This space allows steam to circulate and create the vacuum when the jar cools.
Don’t overfill; too much content can prevent the lid from sealing properly. If you’re sealing liquids, make sure they’re hot but not boiling to avoid cracking the jar.
Think about the last time you tried sealing a jar—did you leave enough room? Adjusting the fill level can often solve sealing issues you might have experienced.
Boiling Water Method Steps
Vacuum sealing a mason jar using the boiling water method is simple. This technique helps preserve the contents of your jar. Follow these steps to ensure a successful seal.
Boil The Water
Start by filling a pot with enough water. Ensure it covers the jar when submerged. Heat the water until it reaches a rolling boil. This high temperature is crucial for sealing.
Pouring Hot Water Into The Jar
Carefully pour boiling water into the jar. Leave about an inch of space from the top. This ensures there's enough room for expansion and sealing.
Sealing The Jar Lid
Place the lid on the jar while it's hot. Tighten the ring to secure the lid in place. Ensure it's snug but not overly tight. This allows air to escape during cooling.
Cooling And Checking Seal
Let the jar cool at room temperature. As it cools, the lid should form a vacuum seal. Check the seal by pressing the center of the lid. If it doesn't pop back, the seal is good.
Tips For A Strong Seal
Creating a strong seal on a mason jar using boiling water ensures your food stays fresh longer. A tight seal prevents air and moisture from spoiling the contents. Attention to detail during the sealing process makes a big difference. These tips help you achieve a reliable vacuum seal every time.
Check The Jar And Lid For Damage
Always inspect jars and lids before sealing. Look for chips, cracks, or dents that may cause leaks. Use only jars designed for canning. Replace lids if the sealing compound is cracked or worn out.
Use Fresh, Hot Boiling Water
Boiling water must be at a full boil before pouring. Hot water helps shrink the lid’s sealing compound. This improves the vacuum seal as the jar cools. Avoid using water that is lukewarm or cold.
Fill Jars Properly
Leave the right amount of headspace between food and jar top. Usually, 1/4 to 1/2 inch is best. Too little space can cause the lid to bulge. Too much space may prevent a proper vacuum.
Wipe Jar Rims Clean
Before sealing, wipe the rim with a clean, damp cloth. Remove any food particles or residue. This ensures the lid makes full contact with the jar. A clean rim prevents sealing failures.
Tighten Lids Correctly
Screw lids on firmly but not too tight. Over-tightening can block air from escaping during sealing. Leave lids snug enough to hold but loose enough to vent air. After cooling, tighten lids fully for a secure seal.
Allow Jars To Cool Undisturbed
Place sealed jars on a towel or rack to cool. Avoid moving jars while cooling. Cooling allows the vacuum to form and secure the seal. Check seals after 12 to 24 hours for best results.
Common Mistakes To Avoid
Vacuum sealing a mason jar with boiling water requires care and attention. Small mistakes can ruin the seal or even cause accidents. Knowing common errors helps you avoid frustration and ensures your food stays fresh longer.
Many beginners overlook key details, such as jar temperature or lid placement. These missteps can lead to poor seals or jar breakage. Understanding what to avoid improves your success rate and safety.
Using Cold Jars Instead Of Warm
Cold jars can crack when exposed to boiling water. Always warm jars first by rinsing with hot tap water. This reduces temperature shock and prevents breakage.
Overfilling The Jar
Leaving too little headspace prevents proper vacuum formation. Fill the jar but keep about one inch of space at the top. This space allows steam to create a strong seal.
Not Cleaning Jar Rims Properly
Food residue on jar rims blocks airtight sealing. Wipe rims clean with a damp cloth before sealing. Clean rims ensure the lid fits tightly without gaps.
Placing Lids Incorrectly
Misaligned lids cause leaks and spoilage. Center the lid on the jar before adding boiling water. Make sure the lid sits evenly to form a secure seal.
Removing Jars Too Soon
Taking jars out of hot water before sealing completes breaks the vacuum process. Leave jars in boiling water long enough for air to escape. This timing is crucial for a strong seal.
Using Damaged Or Old Lids
Old lids may lose their sealing ability. Check lids for dents or rust before use. Always use new or good-condition lids for safe sealing.
Storing Vacuum Sealed Mason Jars
Storing vacuum sealed mason jars properly keeps your food fresh longer. It stops air and moisture from spoiling your contents. Proper storage also protects the jars from damage and contamination.
Choose a cool, dark place to store your mason jars. Heat and sunlight can break down the seal and spoil your food faster. A pantry, cupboard, or basement works well.
Check The Seal Before Storing
Make sure the lid is tightly sealed. Press the center of the lid. It should not pop up and down. A good seal means no air can enter the jar.
Label The Jars Clearly
Write the contents and date on each jar. Use a permanent marker or label. This helps you use older food first and avoid waste.
Store Jars Upright
Keep jars standing upright to avoid leaks. Lids stay secure and food stays fresh. Laying jars on their side can break the seal.
Avoid Temperature Changes
Keep jars in a stable temperature area. Sudden heat or cold can weaken the vacuum seal. Avoid places near stoves, windows, or heaters.
Inspect Jars Regularly
Check jars now and then for broken seals or spoilage. If the lid is bulging or leaking, throw the food away. Do not taste food if unsure.

Credit: www.walmart.ca
Credit: foodprepguide.com
Frequently Asked Questions
How Do You Vacuum Seal A Mason Jar With Boiling Water?
To vacuum seal a mason jar with boiling water, fill the jar with hot water. Place the lid and screw band on tightly. As the water cools, it creates a vacuum seal by contracting air inside, preserving the jar’s contents effectively.
Can Boiling Water Ensure A Strong Vacuum Seal?
Yes, boiling water helps create a strong vacuum seal. The heat forces air out of the jar. When cooling, the air contracts, creating suction that seals the lid tightly and preserves the contents safely.
Is Vacuum Sealing Mason Jars With Boiling Water Safe?
Vacuum sealing mason jars with boiling water is safe. It prevents contamination by removing air, which slows spoilage. However, always use sterilized jars and lids to maintain food safety and proper preservation.
What Jars Work Best For Boiling Water Vacuum Sealing?
Standard mason jars with metal lids work best for boiling water vacuum sealing. Glass jars should be heat-resistant to prevent cracking. Ensure lids have a sealing compound for an airtight vacuum seal.
Conclusion
Vacuum sealing a mason jar with boiling water keeps food fresh longer. It removes air, which slows spoilage and bacteria growth. The process is simple and uses tools you likely have at home. Follow the steps carefully for a strong seal every time.
This method saves money and reduces food waste. Try it with jams, sauces, or dry goods. Keep your kitchen organized and your food safe. Small efforts bring big benefits. Give it a try and enjoy fresher food!