If you’ve just bought a Whirlpool refrigerator or are trying to get the ice maker working again, you might be wondering how to turn it on quickly and easily. Having ice ready whenever you need it can make a big difference, especially on hot days or when guests arrive.
In this guide, you’ll discover simple steps to activate your ice maker without any hassle. By the time you finish reading, you’ll know exactly what to do to enjoy fresh ice straight from your fridge. Let’s get started!
Credit: www.appliancerepairfortlauderdalefl.net
Locate The Ice Maker
Locating the ice maker in your Whirlpool refrigerator is the first step to turning it on. Knowing its exact position helps you check its status and controls easily.
This section guides you through finding the ice maker compartment and ensures it has power and water supply.
Find The Ice Maker Compartment
The ice maker is usually inside the freezer section. Open the freezer door and look towards the back or top side.
Most Whirlpool models have a white or gray plastic unit mounted on the freezer wall. It may have a small lever or switch on the side.
Check the user manual if you cannot spot it. The manual shows the precise location and description of the ice maker.
Check For Power And Water Supply
The ice maker needs electricity and water to work properly. First, ensure the refrigerator is plugged in and switched on.
Next, verify that the water line is connected to the fridge. Look behind or underneath for a small water tube.
Make sure the water valve is open. Without water, the ice maker cannot produce ice cubes.
Confirm the ice maker's control arm is in the down position. This usually turns the ice maker on.
Prepare The Refrigerator
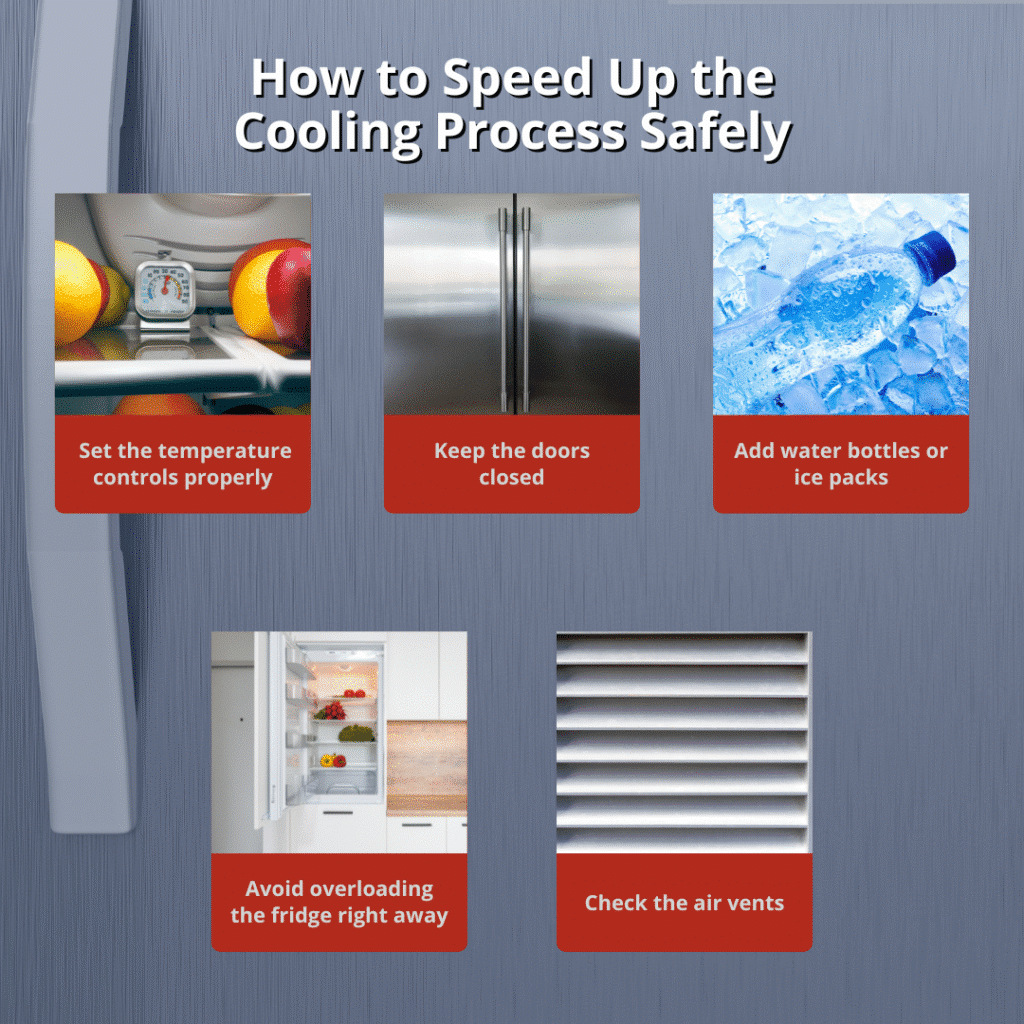
Preparing your Whirlpool refrigerator is key to getting the ice maker running smoothly. This step ensures the appliance is ready to produce ice without issues. Start by checking the temperature and connecting the water supply properly. These actions help avoid common problems like slow ice production or no ice at all.
Ensure Proper Temperature Settings
Set the freezer temperature between 0°F and 5°F (-18°C to -15°C). This range keeps the ice maker working efficiently. Too warm, and ice may not form. Too cold, and the ice cubes might stick together. Use the control panel or dial inside the freezer to adjust the temperature. Wait a few hours after changing settings to let the temperature stabilize.
Connect The Water Line
Check that the water line is securely connected to the refrigerator. Use a water supply with good pressure, around 20 to 120 psi. Tighten any loose fittings to prevent leaks. If you just installed the fridge, connect the water line to the nearest cold water source. Flush the line to clear any debris before attaching it to the ice maker. This step helps keep the water clean and the ice pure.
Activate The Ice Maker
Activating the ice maker in your Whirlpool refrigerator is a simple task. It ensures a steady supply of ice cubes for your drinks and recipes. Knowing how to turn it on helps avoid unnecessary delays and keeps your ice fresh and ready.
Most Whirlpool models offer two main ways to activate the ice maker. You can either use the control panel or a manual switch. Both methods are straightforward and quick.
Use The Control Panel
Many Whirlpool refrigerators have a digital control panel. This panel controls temperature, ice making, and other features.
- Locate the control panel, usually inside or on the refrigerator door.
- Find the ice maker button or icon on the screen.
- Press the button to turn the ice maker on. The display might show a light or message.
- Wait a few minutes for the ice maker to start producing ice.
This method is quick and requires no physical effort beyond pressing a button. It also lets you turn off the ice maker easily when needed.
Manual Switch Activation
Some Whirlpool models use a manual switch to control the ice maker. This switch is often inside the freezer compartment.
- Open the freezer door and locate the ice maker unit.
- Look for a small switch or lever on the side of the ice maker.
- Flip the switch to the "On" position. You might hear a click sound.
- Close the freezer door and wait for the ice maker to begin making ice.
This method works well for models without a digital panel. It gives direct control over the ice maker’s operation.

Credit: www.appliancekoa.com
Test The Ice Maker
Testing the ice maker ensures it works properly after turning it on. This step helps confirm if the machine produces ice as expected. It also identifies any early problems that may need fixing. Checking your ice maker regularly keeps your refrigerator running smoothly.
Check For Ice Production
Look inside the ice maker after a few hours. You should see small ice cubes forming. The ice tray fills with water, then freezes into cubes. If you see ice, the ice maker works fine.
Allow at least 6 to 8 hours for the first batch to form. The freezer temperature should be set between 0 and 5 degrees Fahrenheit. Make sure the water supply is connected and turned on.
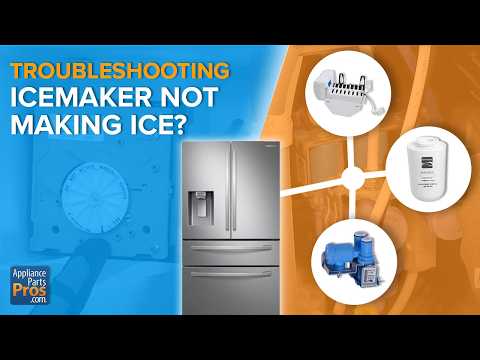
Troubleshoot Common Issues
No ice? Check the water supply valve. It might be closed or blocked. Inspect the water filter for clogs. Replace it if it is old or dirty. Make sure the ice maker switch is in the ON position.
Check the freezer temperature. If too warm, ice won't form. Reset the ice maker by turning it off, then back on after a few minutes. Look for ice jams or broken parts inside the ice maker.
Maintain Your Ice Maker
Locate the ice maker switch inside your Whirlpool refrigerator and flip it to the "on" position. Wait a few hours for the ice maker to start producing ice cubes. Regularly check the water supply to ensure proper ice production.
Maintaining your Whirlpool refrigerator's ice maker ensures a steady supply of fresh ice. Regular maintenance extends its life and improves efficiency. Let's explore some easy tips to keep your ice maker in top condition.
Regular Cleaning Tips
Cleaning the ice maker is essential. Dust and debris can build up over time. Use a soft cloth to wipe down the exterior. Remove the ice bin and wash it with warm, soapy water. Dry it thoroughly before placing it back. This prevents mold and unpleasant odors.
Replacing The Water Filter
A clean water filter is crucial for ice quality. Check your refrigerator manual for the correct filter model. Replace it every six months. This keeps the water flowing smoothly and ice tasting fresh. Remember to reset the filter status light after replacement.

Credit: www.whirlpool.com
Frequently Asked Questions
How Do I Activate The Ice Maker On My Whirlpool Fridge?
Locate the ice maker switch inside the freezer. Flip it to the "On" position. The ice maker will start producing ice within a few hours. Ensure the water supply is connected and turned on for proper operation.
Why Is My Whirlpool Ice Maker Not Making Ice?
Check if the ice maker is turned on and the water supply is connected. Ensure the freezer temperature is set below 10°F (-12°C). Clean the ice maker and remove any ice blockages that may prevent production.
How Long Does It Take For Whirlpool Ice Maker To Produce Ice?
Typically, it takes 24 to 48 hours for the ice maker to produce the first batch of ice. The time depends on the freezer temperature and water supply flow. Regular use keeps the ice maker running efficiently.
Can I Control Ice Maker Settings On Whirlpool Refrigerators?
Yes, many Whirlpool models have a control panel or switch to turn the ice maker on or off. Some advanced models offer ice size options. Refer to your user manual for specific instructions on your model.
Conclusion
Turning on the ice maker in your Whirlpool refrigerator is simple. Just follow the steps carefully. Make sure the water supply is connected and working. Check the ice maker switch or control panel to activate it. Wait a few hours for the first ice batch to form.
Keep the door closed to help the process. Regular cleaning helps keep ice fresh and tasty. Now, enjoy fresh ice whenever you need it. Easy and quick. No more buying ice from stores!