Is your ice maker frozen solid and leaving you without ice when you need it most? You’re not alone, and the good news is that thawing it doesn’t have to be a hassle.
Imagine enjoying cool, refreshing ice again in no time, without complicated tools or expensive repairs. In this guide, you’ll discover simple, effective steps to safely and quickly thaw your frozen ice maker. Keep reading, and you’ll be back to chilling your favorite drinks before you know it!
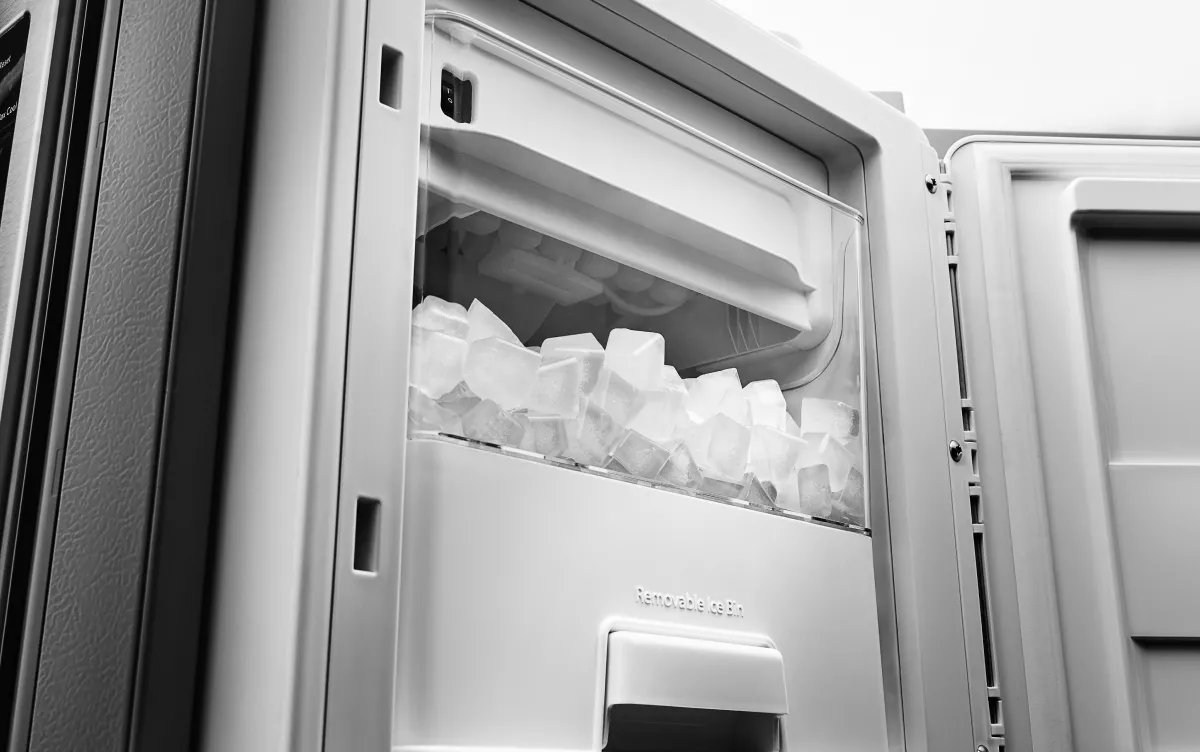
Credit: www.kitchenaid.com
Signs Of A Frozen Ice Maker
Identifying a frozen ice maker early helps avoid bigger problems. It stops making ice properly and wastes water and energy. Knowing the signs makes thawing easier and quicker.
Common Indicators
- Ice cubes are stuck together or misshapen.
- Ice maker makes loud noises during operation.
- Ice tray or dispenser feels unusually cold or frosty.
- Water leaks or pools near the ice maker area.
- Ice production slows down or stops completely.
Impact On Ice Production
Frozen parts block water flow inside the ice maker. Ice cubes form unevenly or fail to drop into the bin. The machine may shut off automatically to prevent damage. This reduces the amount of ice available for use.
Frozen ice makers waste electricity by running longer. They also increase the risk of mechanical failure. Acting on these signs prevents costly repairs and restores ice production fast.
Safety Precautions
Thawing your frozen ice maker safely is crucial to avoid damage to the appliance and prevent any risk of electrical shock or contamination. Taking simple precautions can protect both you and your device during the thawing process. Let’s focus on the key safety steps you should never overlook.
Unplugging The Appliance
Always unplug your ice maker before starting the thawing process. This prevents any chance of electric shock when water begins to melt and drip near electrical components.
Even if your ice maker has a power switch, unplugging is safer. It also avoids accidental activation during thawing, which could cause internal damage.
Have you ever thought about how many accidents happen because appliances remain plugged in? Taking this simple step protects you and your family.
Handling Ice And Water
As the ice melts, water will start to pool inside the machine. Use towels or a shallow pan to catch dripping water and avoid slippery floors.
Wear gloves when handling ice or water to keep your hands dry and warm. Wet hands near electrical parts increase the risk of shock.
Dispose of melted water properly—don’t pour it where it can damage flooring or electrical outlets. Consider using a sponge or cloth to soak up excess water quickly.
Manual Thawing Methods
Manual thawing methods provide a simple way to clear ice buildup in your ice maker. These techniques use gentle heat sources to melt ice safely. They prevent damage to the machine and speed up the thawing process. Below are easy and effective options to try at home.
Using Warm Towels
Warm towels help melt ice slowly and evenly. Soak a clean towel in warm water and wring out excess liquid. Lay the towel over the frozen area of the ice maker. Leave it for 10 to 15 minutes. Repeat with fresh warm towels until ice softens and melts.
Hair Dryer Technique
A hair dryer directs warm air to the frozen parts. Set the dryer to low or medium heat. Hold it about 6 inches from the ice maker surface. Move the dryer in slow, sweeping motions. Keep the dryer moving to avoid overheating any spot. Stop once the ice starts melting.
Hot Water Application
Hot water melts ice quickly without harsh chemicals. Use a spray bottle filled with hot water. Spray the frozen area lightly. Let the water sit for a few minutes. Wipe away melted ice with a soft cloth. Repeat as needed until all ice disappears.
Using Appliance Settings
Using your appliance’s built-in settings can be a straightforward way to thaw a frozen ice maker. Many modern ice makers come with features designed to help you manage ice build-up without needing to manually chip away at the ice. Understanding these options can save you time and prevent damage to your appliance.
Defrost Mode Options
Check if your ice maker has a defrost mode or a similar setting. This mode gently warms the ice maker compartment to melt any ice blockages safely. Activating defrost mode usually takes just a few button presses on the control panel.
Some models allow you to schedule defrost cycles, which helps prevent ice build-up before it becomes a problem. If your ice maker doesn’t have an automatic option, you can manually start defrost mode whenever you notice slow ice production or clumps of ice. Have you ever noticed how ice clumps affect the taste or texture of your ice cubes?
Resetting The Ice Maker
After thawing, resetting the ice maker can help clear any error messages and restart the ice-making process. Most ice makers have a reset button or a combination of buttons to press for a reset. This can often fix issues caused by frozen or jammed components.
If you’re unsure how to reset your unit, the user manual or manufacturer’s website usually offers clear instructions. Sometimes a simple reset works better than waiting for a full thaw. Have you tried resetting your ice maker before calling a technician? It might be the quick fix you need.
Preventing Future Freezing
Keep the ice maker dry and clean to stop ice buildup. Regularly check the temperature and avoid leaving the freezer door open for too long.
Preventing future freezing of your ice maker is crucial. It ensures a consistent supply of ice and prolongs the appliance's lifespan. Regular upkeep and mindful use can prevent unwanted freezing. Following simple guidelines can help maintain your ice maker’s efficiency. Here’s how you can achieve that.
Regular Maintenance Tips
Regular maintenance keeps your ice maker in top shape. Clean the ice maker every few months. Use a mild detergent and warm water. Check for any signs of wear or damage. Replace any worn parts immediately. Regularly inspect the ice bin for cracks. Clean the water filter to prevent clogs. It helps maintain water flow and ice production.
Proper Temperature Settings
Setting the right temperature is essential. Keep the freezer temperature around 0°F (-18°C). Avoid setting it too low. A colder freezer can freeze the ice maker's components. This can lead to blockages and malfunction. Use a thermometer to check the freezer temperature. Adjust settings if needed. It helps maintain optimal performance.
Avoiding Blockages
Blockages can disrupt ice production. Check the water line for any kinks or twists. Ensure the water line is straight and clear. Regularly inspect the ice maker for ice build-up. Remove excess ice to prevent jams. Ensure the ice bin is not overfilled. An overfilled bin can block the ice maker's mechanism. Clear any obstructions immediately to ensure smooth operation.

Credit: www.familyhandyman.com
When To Call A Professional
Knowing when to call a professional for your frozen ice maker can save you time, money, and frustration. If your DIY attempts don’t fix the problem, it’s important to recognize the signs that point to deeper issues. Ignoring these signs might lead to more damage or a complete breakdown of your ice maker.
Persistent Freezing Issues
If your ice maker keeps freezing up even after thorough thawing, it’s a red flag. You might have tried unplugging it, manually defrosting, or adjusting the temperature settings, yet the problem remains. This persistence suggests that the root cause is beyond simple ice buildup and needs expert diagnosis.
Think about how often the ice maker freezes. Is it every day or every few hours? Consistent freezing could mean the defrost system isn’t working properly. At this point, calling a professional helps avoid repeated frustrations and wasted effort.
Potential Mechanical Problems
Sometimes, freezing is not just about ice but about faulty components. Issues with the thermostat, water inlet valve, or the ice maker’s motor can cause abnormal freezing patterns. These parts require technical knowledge and special tools to inspect and repair safely.
If you notice strange noises, leaks, or no ice production despite water supply, these are signs of mechanical problems. Attempting repairs without experience might worsen the damage or void warranties. A qualified technician will pinpoint the exact issue and fix it efficiently.
Credit: www.familyhandyman.com
Frequently Asked Questions
How Do I Safely Thaw A Frozen Ice Maker?
To safely thaw, unplug the ice maker and open the freezer door. Let the ice melt naturally or use a hairdryer on low heat. Avoid sharp tools to prevent damage. Wipe excess water to prevent refreezing and maintain efficiency.
How Long Does It Take To Thaw A Frozen Ice Maker?
Thawing usually takes 1 to 3 hours depending on ice thickness. Using a hairdryer or warm cloth can speed up the process. Always monitor closely to avoid overheating or damaging components.
Can I Use Hot Water To Thaw The Ice Maker?
Avoid pouring hot water directly on the ice maker. It can cause damage or cracks. Instead, use warm cloths or let the ice melt gradually at room temperature for safer thawing.
What Causes An Ice Maker To Freeze Up?
Ice makers freeze due to low freezer temperature, poor airflow, or blocked water lines. Regular maintenance and proper temperature settings help prevent ice buildup and ensure smooth operation.
Conclusion
Thawing a frozen ice maker is simple with the right steps. Turn off the machine and unplug it first. Use warm water or a cloth to melt the ice safely. Avoid sharp tools that can damage the ice maker. Regular cleaning helps prevent future freezes.
Follow these tips to keep your ice maker working well. Enjoy fresh ice without any hassle. Taking care of your appliance saves time and money. Easy to do, and worth the effort.