If you love grilling, you know how important it is to get the best flavor from your food. But did you know that seasoning your gas grill grates can make a huge difference?
Properly seasoned grates help prevent food from sticking, protect your grill from rust, and give your meals that perfect, smoky taste. In this guide, you’ll learn simple, step-by-step tips to season your gas grill grates like a pro. Keep reading to unlock the secret to better grilling every time you fire up your grill.
Why Season Grill Grates
Seasoning your gas grill grates is more than just a maintenance task—it’s a crucial step that can extend the life of your grill and elevate your cooking experience. If you’ve ever noticed food sticking or your grates rusting quickly, seasoning could be the solution you’re missing. Let’s look at why this simple process matters so much.
Prevent Rust And Corrosion
Gas grill grates are often made of cast iron or steel, both of which are prone to rust if left unprotected. When you season your grates, you create a thin, protective layer of oil that shields the metal from moisture and oxygen. This barrier helps stop rust before it starts, saving you from costly replacements or repairs.
Have you ever seen those pesky orange spots ruining your grill’s appearance? Seasoning helps you avoid that by keeping the metal dry and sealed. Plus, it reduces corrosion caused by leftover food acids and grease, which can eat away at the metal over time.
Enhance Nonstick Surface
Nothing ruins a grilling session faster than food sticking to the grates. Seasoning builds up a natural nonstick coating that gets better the more you grill. This means flipping burgers, fish, and veggies becomes easier and less messy.
Imagine flipping a delicate fish fillet without it breaking apart. That’s the kind of control seasoning gives you. Plus, less sticking means less scrubbing afterward, making cleanup simpler and faster.
Improve Flavor Of Food
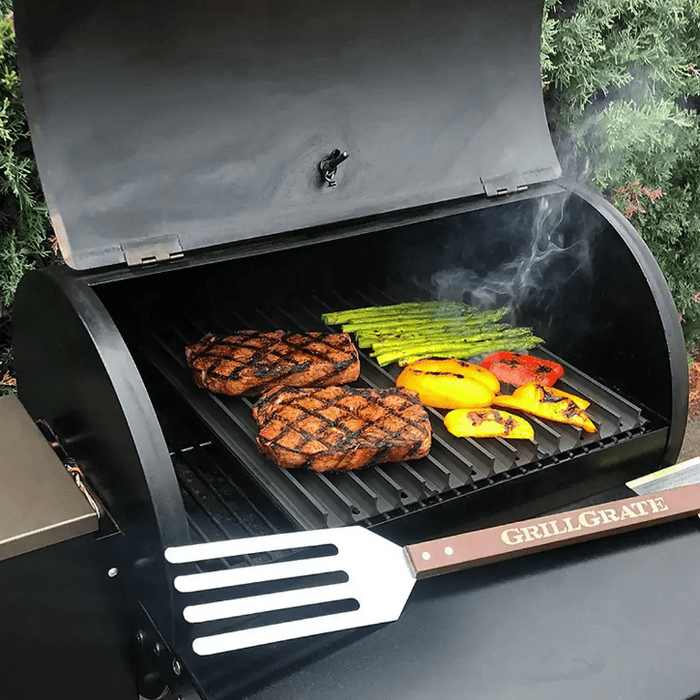
Seasoned grates don’t just protect your grill—they can actually improve the taste of your food. The oil layer helps create those beautiful sear marks and caramelization that add depth and texture. Over time, the buildup of seasoning adds subtle smoky notes that enhance the flavor.
Have you noticed some grilled foods taste better at your favorite barbecue spot? Part of that magic is well-seasoned grill grates. By seasoning your grates, you’re allowing your food to cook evenly and develop richer flavors right at home.
Credit: www.waldenbackyards.com
Tools And Materials Needed
Seasoning gas grill grates improves flavor and prevents rust. Using the right tools and materials makes the process easy and effective. Prepare everything before you start for the best results.
Choosing The Right Oil
Pick an oil with a high smoke point to avoid burning. Vegetable oil, canola oil, and grapeseed oil work well. Avoid butter or olive oil because they burn quickly. The right oil creates a smooth, non-stick surface on the grates.
Essential Cleaning Supplies
- Grill brush with stiff bristles to remove old residue
- Dish soap to clean grease and dirt
- Sponge or cloth for wiping
- Paper towels for drying and applying oil
- Bucket or bowl for warm water
Clean grates help the oil stick better and prevent flare-ups.
Safety Gear To Use
- Heat-resistant gloves to protect your hands
- Apron to keep clothes clean
- Safety glasses to shield eyes from debris
Safety gear keeps you safe and comfortable during cleaning and seasoning.
Preparing The Grill Grates
Seasoning gas grill grates ensures better cooking and prevents sticking. Clean the grates thoroughly with a brush. Apply a thin layer of oil using a cloth or paper towel. Heat the grill for 15 minutes to lock in the seasoning.
Enjoy hassle-free grilling with perfectly seasoned grates.
Preparing your gas grill grates is a crucial step in ensuring a delicious, hassle-free barbecue experience. Think of it as setting the stage for your culinary masterpiece. Properly seasoned grill grates not only prevent food from sticking but also enhance the flavor of your dishes. Let's dive into the essential steps to prepare your grill grates for their debut.
Cleaning Old Residue
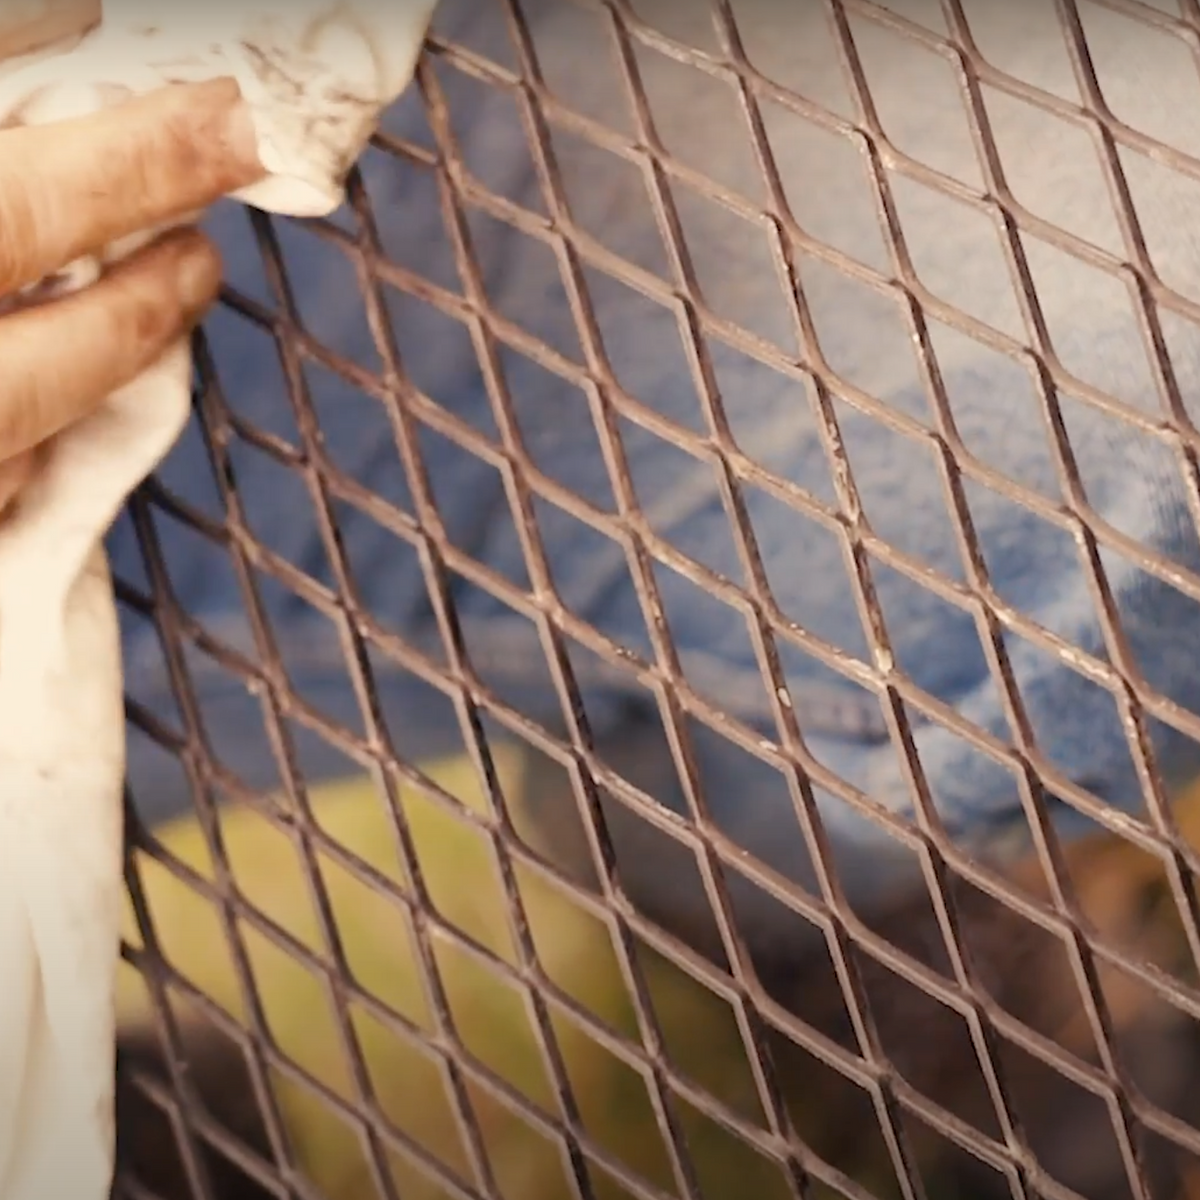
Start by scrubbing away any old food particles and grease. Use a sturdy grill brush to remove these residues. If you find stubborn spots, a mixture of warm water and mild dish soap can help loosen them. After scrubbing, rinse the grates thoroughly with water. Leaving soap on the grates could affect the taste of your food. This simple cleaning step sets the foundation for a perfectly seasoned grill.
Removing Rust And Debris
Rust is the enemy of a good barbecue. If you spot any rust, tackle it immediately with a wire brush or a bit of sandpaper. For those hard-to-reach areas, a toothbrush can be surprisingly effective. Once the rust is gone, wipe down the grates with a damp cloth to ensure all debris is removed.
Drying The Grates Properly
Drying the grates thoroughly is often overlooked but vital. Use a clean, dry cloth to wipe them down after rinsing. To ensure complete dryness, consider leaving the grates in the sun for a few minutes. This step prevents rust from forming, keeping your grates in top condition. Once dry, your grill grates are ready to be seasoned, giving you the perfect start for your next grilling session. Are you ready to fire up your grill and test out your perfectly prepared grates?

Credit: themeatstick.com
Seasoning Process Step-by-step
Seasoning your gas grill grates properly extends their life and ensures your food cooks evenly without sticking. The process isn’t complicated, but it requires attention to detail and patience. Let’s walk through the key actions you need to take to build a strong, non-stick coating on your grates.
Applying Oil Evenly
Start with clean, dry grates. Use a high-smoke point oil like canola, grapeseed, or vegetable oil for best results.
Pour a small amount of oil onto a folded paper towel or a heat-resistant brush. Carefully rub or brush the oil across every surface of the grates, making sure to cover the bars completely. Avoid puddles; too much oil can cause sticky spots or flare-ups during heating.
Heating The Grill Correctly
Once the grates are oiled, turn on your grill to medium-high heat. Close the lid and let the grill heat for about 15-20 minutes. This step allows the oil to polymerize and bond to the metal, creating a durable protective layer.
Keep an eye on the smoke—this is a sign the seasoning is setting. If you see large flames or excessive smoke, lower the heat slightly to prevent burning the oil.
Reapplying Oil For Best Results
After heating, carefully open the grill and apply a second thin layer of oil while the grates are still warm. This reinforces the seasoning and fills in any missed spots from the first application.
Repeat the heating process for another 10-15 minutes. You’ll notice the grates develop a shiny, slightly darkened finish. This means the seasoning has bonded well.
Ask yourself: How often do you check your grill grates before cooking? A well-seasoned grate can change your grilling experience by reducing sticking and improving flavor. Keep your oil handy and make this a regular part of your grill maintenance.
Tips For Maintaining Seasoned Grates
Maintaining seasoned gas grill grates ensures your food cooks evenly and develops that sought-after smoky flavor. It also extends the life of your grill, saving you money and effort in the long run. Small habits can make a big difference in keeping your grates in perfect condition.
Cleaning After Each Use
Cleaning your grill grates immediately after cooking is crucial. While the grates are still warm, use a grill brush with stiff bristles to scrape off food residue and grease. This prevents buildup that can damage the seasoning layer and cause uneven heating.
If you find stubborn bits stuck to the grates, wipe them down with a paper towel dipped in oil. This helps loosen debris without stripping away the seasoning. Have you noticed how much easier cleaning is when you tackle it right away?
Re-seasoning Frequency
How often should you re-season your grill grates? It depends on usage, but a good rule is to season them every 3 to 4 cooking sessions. If you grill frequently, you might need to re-season more often to maintain that protective, non-stick coating.
Look out for signs like food sticking or rust spots, which signal it's time for a fresh layer of oil and heat. A simple routine: coat your grates with high smoke point oil and heat the grill for 15 minutes to restore seasoning.
Avoiding Common Mistakes
- Don’t use soap:Soap removes the seasoning, so avoid it when cleaning your grates.
- Avoid water soaking:Letting grates soak can cause rust and damage the seasoning.
- Don’t skip oiling:Applying oil after each clean seals the grates and prevents rust.
Have you ever washed your grates with soap and noticed food sticking afterward? That’s a classic mistake. Treat your grates like cast iron cookware—respect their seasoning to keep them performing their best.
Troubleshooting Common Issues
Seasoning your gas grill grates is key to achieving that perfect non-stick surface and protecting them from rust. But sometimes, things don’t go as planned. You might notice problems like sticky residue, uneven seasoning, or rust coming back faster than expected. These issues can be frustrating, but they are fixable once you understand the cause.
Sticky Or Flaky Residue
Sticky or flaky residue usually means too much oil was used or the grill wasn’t heated properly during seasoning. If the oil pools or doesn’t fully polymerize, it leaves behind a tacky layer instead of a smooth coating.
Try wiping off the sticky residue with a paper towel and warm soapy water. Then, apply a thinner layer of high-smoke-point oil like canola or grapeseed oil. Heat the grill at a moderate temperature (around 400°F) for 30 minutes to allow the oil to bond evenly.
Uneven Seasoning
Uneven seasoning often happens if the grill grates aren’t cleaned thoroughly before seasoning or if the oil is applied inconsistently. You might see patches that look shiny and others that are dull or bare.
Make sure to scrub the grates well with a grill brush to remove old food particles and rust. Use a cloth or brush to spread the oil evenly, covering every nook and cranny. Don’t rush the heating process; slow and steady heat helps the seasoning layer build uniformly.
Rust Returning Quickly
If rust reappears soon after seasoning, it might mean moisture is lingering on the grates or the seasoning layer is too thin. Rust loves damp, unprotected metal.
After every use, dry your grates thoroughly before storing the grill. You can also apply a light coat of oil after cleaning to reinforce the protective layer. Consider seasoning your grates more frequently if you grill often or live in a humid climate.
Have you noticed any of these issues on your grill? What tricks have you found helpful to keep your grates in great shape? Sharing your experience might help others avoid common pitfalls.
Alternative Methods For Seasoning
Seasoning gas grill grates keeps them non-stick and rust-free. Many use common oils like canola or olive oil. Alternative methods provide different benefits and may suit your cooking style better. These options help maintain your grill and improve cooking results.
Using High Smoke Point Oils
High smoke point oils resist burning during seasoning. Examples include avocado oil, grapeseed oil, and peanut oil. These oils create a durable, smooth coating on grill grates. Heat the grill to medium-high, apply oil with a cloth, and let it bake. This method reduces sticky residue and enhances grill longevity.
Seasoning With Vegetable Shortening
Vegetable shortening offers a solid, easy-to-use alternative. It melts evenly when heated on the grill. Spread a thin layer on the grates before heating. This creates a strong protective layer that prevents rust. Shortening is less likely to drip or smoke excessively compared to some oils.
Comparing Gas And Charcoal Grate Seasoning
Gas and charcoal grills differ in heat distribution and smoke. Gas grills heat quickly and evenly, making seasoning faster. Charcoal grills produce more smoke, which adds flavor and a natural coating. Charcoal may require repeated seasoning for best results. Gas grills benefit from high smoke point oils or shortening for a clean finish.
Credit: bbqing.com
Frequently Asked Questions
How Often Should I Season Gas Grill Grates?
Season your gas grill grates every 3-4 uses. Regular seasoning prevents rust and food sticking. It keeps your grill performing well and extends its lifespan.
What Type Of Oil Is Best For Seasoning Grates?
Use high smoke point oils like canola, vegetable, or grapeseed oil. These oils create a durable, non-stick coating. Avoid low smoke point oils as they can burn and create residue.
Can I Season Stainless Steel Grill Grates?
Yes, stainless steel grates benefit from seasoning. It enhances non-stick properties and protects against rust. Apply a thin oil layer and heat the grill for best results.
How Long Does It Take To Season Gas Grill Grates?
Seasoning typically takes 30-45 minutes. Heat the grill to high, apply oil, and let it bake. Repeat the process 2-3 times for a strong coating.
Conclusion
Seasoning gas grill grates keeps them clean and rust-free. It also stops food from sticking during cooking. Use oil with a high smoke point for best results. Apply oil evenly and heat the grill properly. Repeat the process often to maintain a smooth surface.
This simple step extends your grill’s life and improves flavor. Enjoy grilling with less hassle and better meals. Keep your grill ready for every cookout. A little care goes a long way.