As an Amazon Associate, I earn from qualifying purchases.
A brand-new carbon steel pan looks shiny and silver, and the first egg you crack into it will probably stick like glue.
That is not a defect. Carbon steel needs seasoning, a thin layer of oil baked onto the metal until it hardens into a slick, dark coating. Once it is built up, a carbon steel pan sears like cast iron, weighs a lot less, and releases eggs almost as easily as nonstick.
Here is exactly how to season a carbon steel pan on the stove or in the oven, how to keep the seasoning going, and what to do when it starts to look patchy.
What Seasoning Actually Does
When you heat a very thin film of oil past its smoke point, it hardens into a slick layer bonded to the steel. Each round adds another layer that protects against rust and helps food release.
The key word is thin. Almost every seasoning problem, from sticky spots to flaking, comes from using too much oil.
Step 1: Remove the Factory Coating
Most carbon steel pans ship with a protective coating to keep them from rusting in the box, and it has to come off before you season. How you remove it depends on the pan:
- Beeswax coating: The de Buyer Mineral B Carbon Steel Fry Pan comes with a thin beeswax finish. Rinse it under very hot water and wipe until it no longer feels waxy.
- Lacquer or varnish coating: Pans like the Matfer Bourgeat Black Carbon Steel Frying Pan need a real scrub. Use hot, soapy water and a scouring pad until the metal looks evenly dull and gray.
- Pre-seasoned pans: The Lodge Pre-Seasoned Carbon Steel Skillet arrives with a starter layer already on it, so just rinse, dry and move on to a few extra rounds of seasoning.
Always check the instructions that come with your pan, since makers sometimes change their finishes.
Step 2: Dry It Completely Over Heat
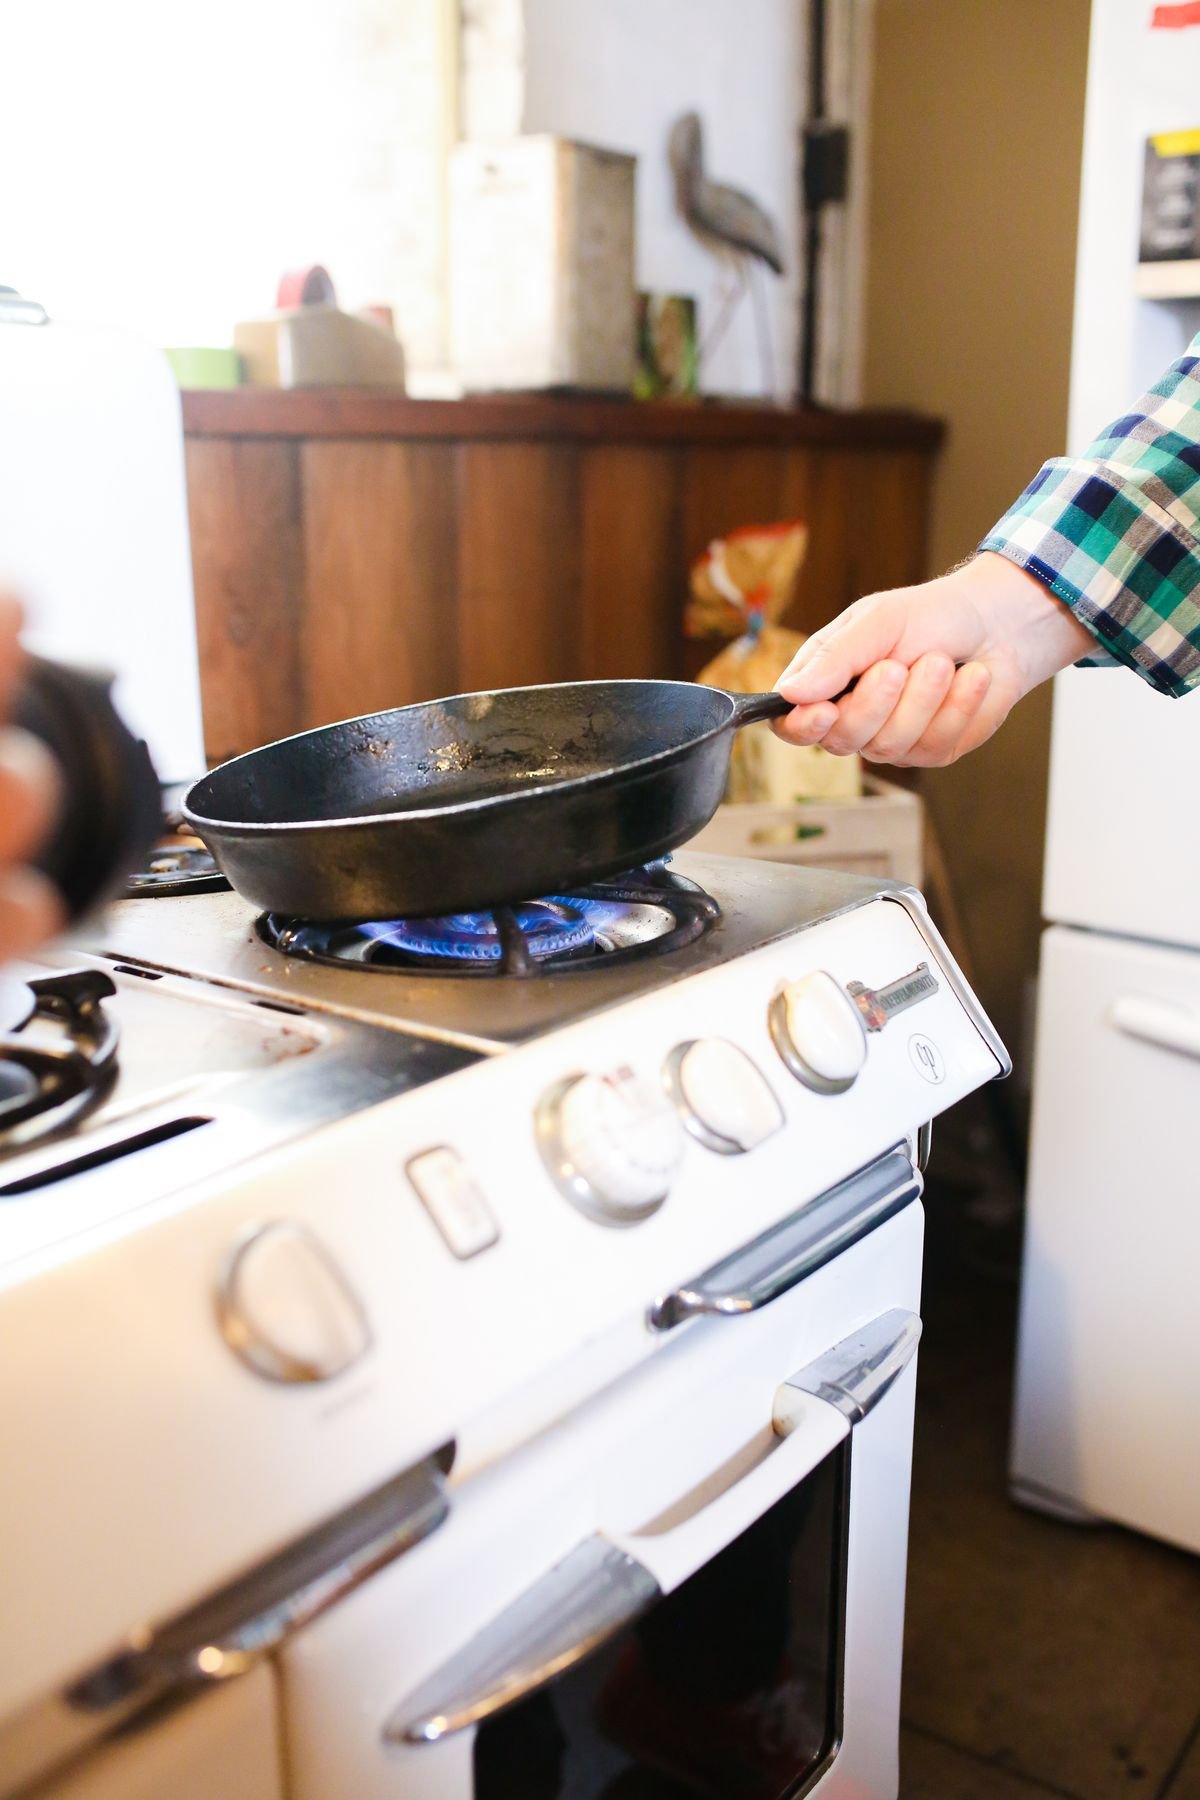
Bare carbon steel can rust within minutes. Towel the pan dry, then set it over medium heat for a minute or two until every damp spot disappears.
Step 3: Choose the Right Oil
Use a neutral oil with a high smoke point. Canola, grapeseed, sunflower oil and vegetable shortening all work well. Skip olive oil and butter for the initial seasoning, since they tend to turn sticky.
Flaxseed oil is often recommended online, but it tends to flake off later, so I would skip it.
If you would rather not measure out oil at all, a solid seasoning bar like the Crisbee Puck Cast Iron and Carbon Steel Seasoning is handy. It is a beeswax-and-oil blend that you rub onto a warm pan, and because it goes on in such a thin layer, it is hard to overdo. Check price on Amazon.
Step 4: Season on the Stovetop
The stovetop method is the fastest, and it works for any pan, including ones with handles that should not go in a hot oven.
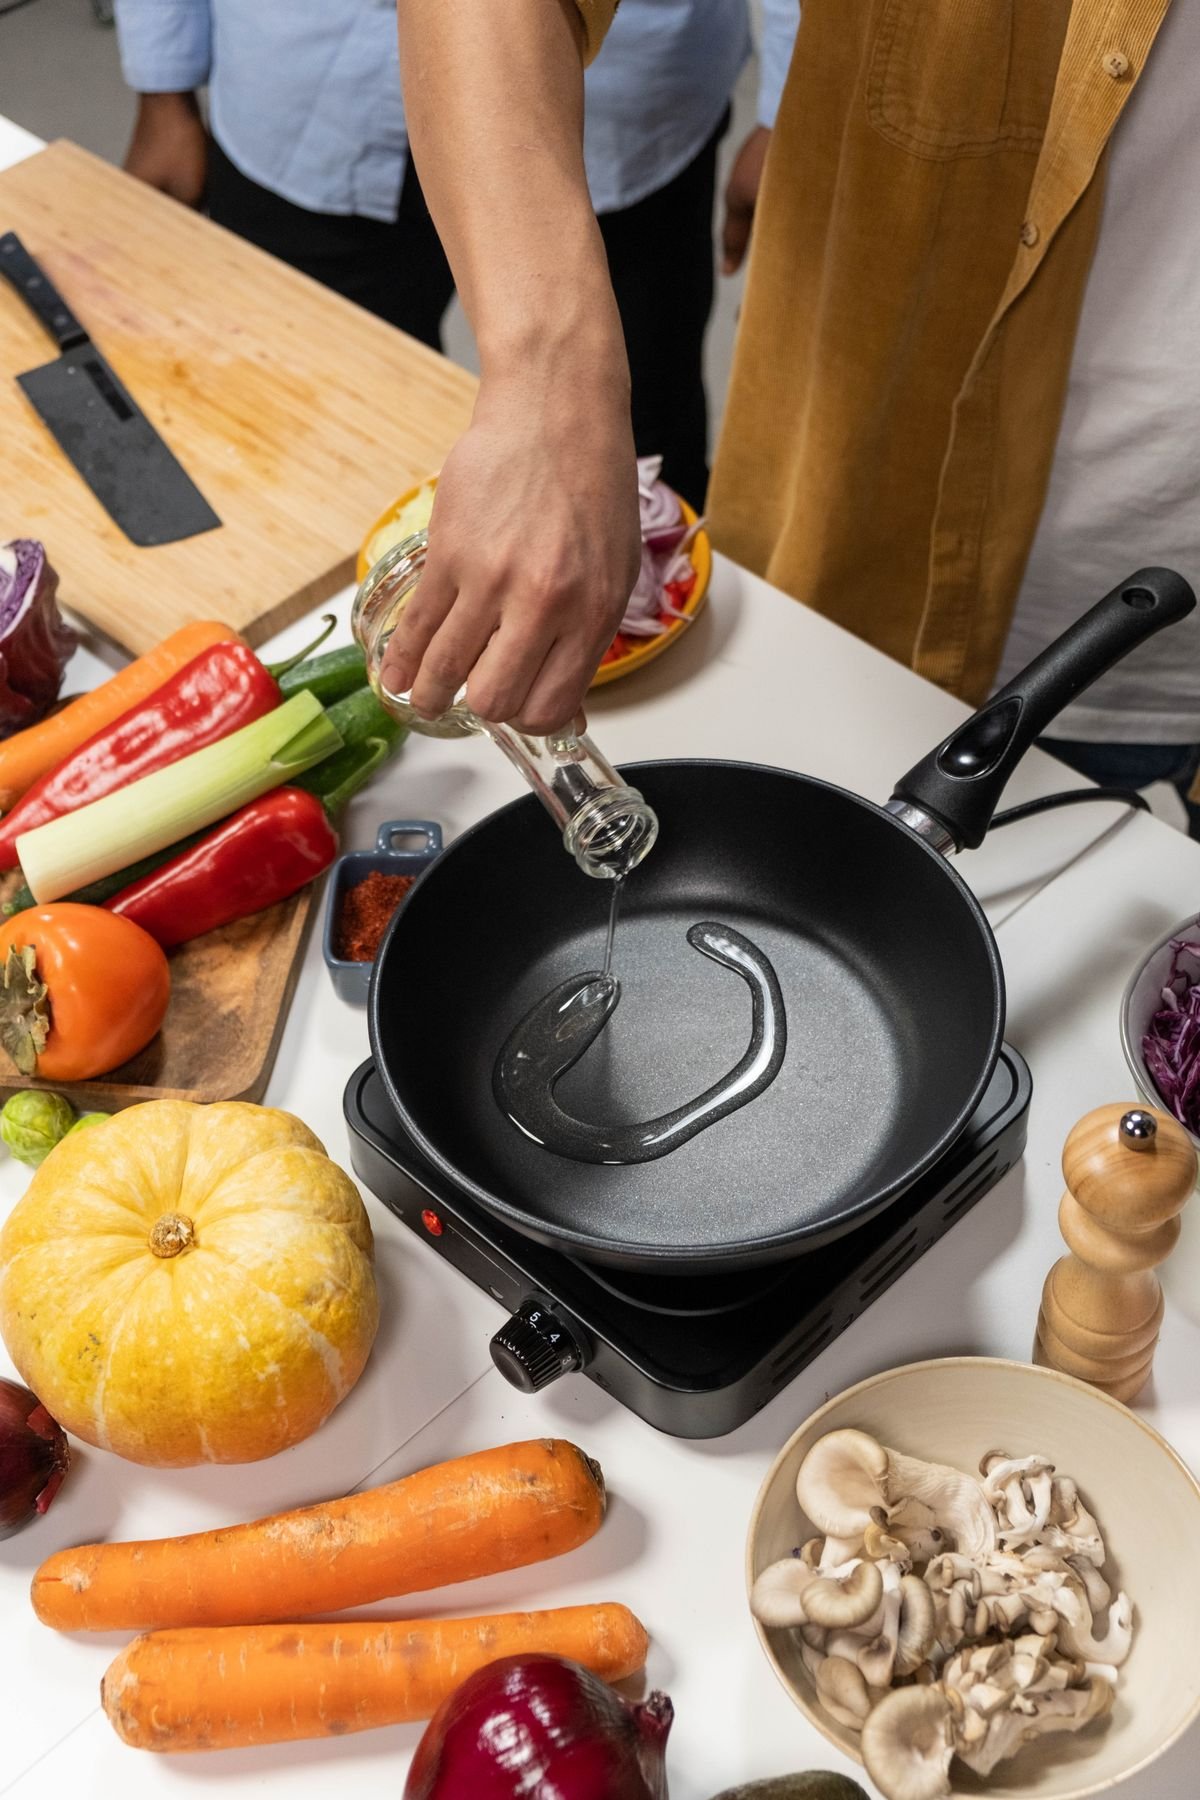
- Turn on your range hood or open a window. This step makes smoke.
- Heat the dry pan over medium-high heat for a few minutes.
- Add about half a teaspoon of oil and spread it over the whole cooking surface and up the sides with a folded paper towel. Use tongs so you do not burn your fingers.
- Wipe it again with a clean towel, as if you were trying to remove all the oil. What is left is the right amount.
- Keep heating until the pan smokes, then let it keep going until the smoke dies down. The surface will start turning gold or bronze.
- Let it cool for a minute, then repeat four to six more times.
The handle on most carbon steel pans gets hot fast. If yours is a Lodge, the Lodge Silicone Hot Handle Holder for Carbon Steel slides right on and makes these rounds much more comfortable. See it on Amazon.
Step 5: Or Season in the Oven
The oven gives more even color, including on the sides and the outside of the pan. First check that your handle is oven safe. All-steel handles like the Matfer and Lodge are, while some pans have coated handles with a lower or time-limited oven rating.
- Heat the oven to 450 to 500°F.
- Rub a very thin layer of oil over the entire pan, inside and out, and wipe off the excess.
- Place it upside down on the middle rack, with a sheet of foil on the rack below to catch any drips.
- Bake for one hour, then turn off the oven and let the pan cool inside.
- Repeat two or three times for a darker, sturdier base.
Step 6: Test It With an Egg
Heat the pan over medium, add a little butter or oil, and fry an egg. If it slides with a gentle shake, you are ready. If it sticks a bit, do not worry. The first few weeks of regular cooking will do more than any extra rounds on the stove.
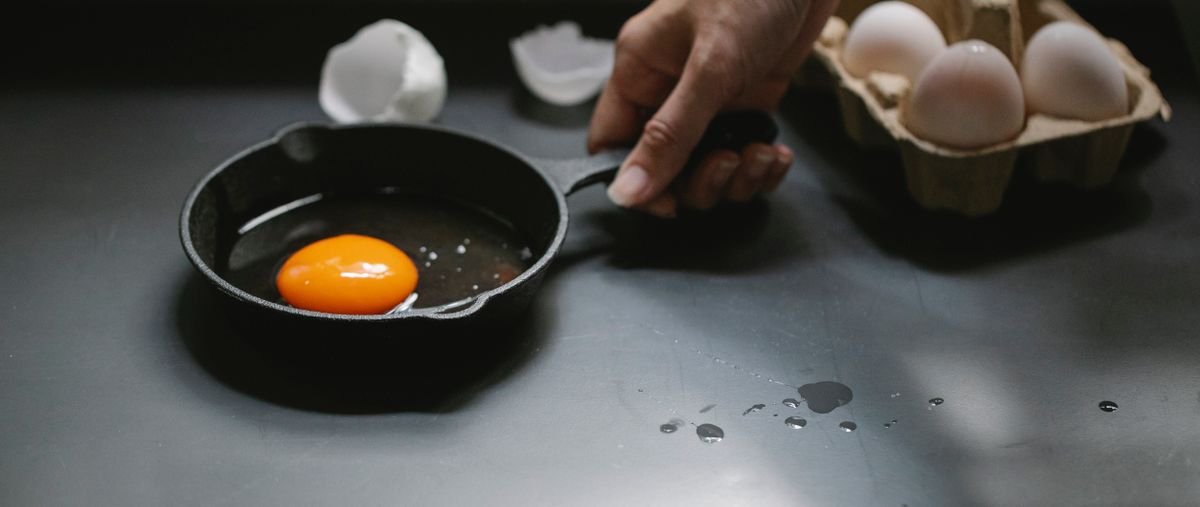
Start with fatty foods like bacon, fried potatoes and seared steak. Hold off on tomato sauce, wine and other acidic foods for the first month, since acid can strip young seasoning.
How to Keep the Seasoning Going
- Clean the pan while it is still warm with hot water and a brush. A quick drop of mild dish soap is fine on a well-seasoned pan.
- For stuck-on bits, a Lodge Chainmail Scrubbing Pad scrapes off food without scrubbing away your seasoning. Check price on Amazon.
- Never soak it or put it in the dishwasher.
- Dry it on the burner for a minute, then wipe on a few drops of oil while it is still warm.
- Store it somewhere dry. If you stack pans, put a paper towel between them.
Frequently Asked Questions
Why does my seasoning look blotchy?
Uneven color is normal at first. Carbon steel darkens in patches where it gets the most heat. As long as food releases, it is doing its job.
Why is my pan sticky after seasoning?
There was too much oil, so it did not fully harden. Put the pan back on high heat until the sticky spots stop smoking, or bake it again. Next time, wipe off more oil before heating.
What if my carbon steel pan rusts?
Scrub the rust off with steel wool or a scouring pad until you reach clean metal, dry the pan over heat, then do two or three rounds of stovetop seasoning. Light surface rust is easy to fix.
Final Thoughts
Strip the factory coating, dry it over heat, and build up several paper-thin layers of oil. Then cook in it often and wipe on a little oil after cleaning. A well-loved carbon steel pan only gets better with age.