
You want to make a delicious, juicy roast chicken that melts in your mouth. Roasting a chicken in a Dutch oven is one of the best ways to achieve that perfect, golden-brown skin and tender meat.
It’s simple, hands-off, and gives you a meal that feels special without needing fancy skills. In this guide, you’ll learn exactly how to roast a chicken in a Dutch oven step-by-step. By the end, you’ll be ready to impress your family or guests with a flavorful, home-cooked masterpiece.
Keep reading to discover the secrets that will make your roast chicken the star of your kitchen.
Choosing The Right Dutch Oven
Choosing the right Dutch oven is key to roasting a perfect chicken. The right pot makes a difference in heat distribution and cooking time. It also affects how juicy and tender your chicken turns out.
Material And Size Considerations
Think about what material suits your cooking style. Cast iron retains heat well and offers even cooking, which is great for roasting. However, it’s heavier and needs seasoning if it’s not enameled.
Size matters too. A 5 to 7-quart Dutch oven is usually ideal for roasting a whole chicken. It’s spacious enough for the bird and allows heat to circulate without crowding. Too small, and your chicken might steam instead of roast; too big, and it could dry out.
Ask yourself: Do you want a pot that’s easy to handle or one that holds heat longer? Your answer will guide your choice.
Benefits Of Enamel Vs Cast Iron
Enamel Dutch ovens are coated with a smooth, glass-like surface. This means no seasoning is needed and cleaning is easier. They also resist rust and can go from stovetop to oven without worry.
Cast iron, on the other hand, offers unmatched heat retention. If you maintain it well, it can develop a natural non-stick surface over time. But it needs more care to avoid rust and might react with acidic ingredients.
Personal experience: I once used an enameled Dutch oven and found it perfect for quick cleanup after roasting. Yet, my seasoned cast iron pot gave the chicken a deeper crust, thanks to its superior heat retention.
Which benefits matter more to you — ease of maintenance or cooking performance? Your answer will help you pick the perfect Dutch oven.

Credit: www.itisakeeper.com
Selecting The Chicken
Selecting the right chicken is the first step to a perfect roast in a Dutch oven. The quality of your bird affects taste, texture, and cooking time. Choose carefully to make your meal delicious and satisfying.
Fresh Vs Frozen Options
Fresh chicken often has a better texture and flavor. It cooks evenly and stays juicy inside. Frozen chicken is more convenient and lasts longer in the freezer. Thaw it completely before cooking for the best results.
Fresh chickens may cost more but give a richer taste. Frozen chickens are budget-friendly and easy to store. Both work well if handled properly.
Ideal Weight And Quality Tips
- Pick a chicken weighing 3 to 4 pounds for even roasting.
- Look for firm skin without bruises or tears.
- Check for a pleasant smell; avoid any sour or strong odors.
- Choose chickens labeled organic or free-range for better flavor.
- Ensure the meat feels firm, not soft or slimy.
These tips help you find a chicken that roasts perfectly in your Dutch oven. The right bird makes your meal tasty and easy to prepare.
Preparing The Chicken
Preparing the chicken properly sets the foundation for a delicious roast. This step ensures the meat cooks evenly and tastes flavorful. Taking time to clean, season, and prepare the chicken helps achieve a juicy and tender result.
Cleaning And Patting Dry
Start by rinsing the chicken under cold water. Remove any leftover feathers or giblets inside the cavity. After rinsing, pat the chicken dry with paper towels. Dry skin helps the chicken crisp up during roasting. A dry surface allows seasoning to stick better.
Seasoning Techniques
Generously season the chicken inside and out. Use salt and pepper as a base. Add herbs like thyme, rosemary, or garlic for extra flavor. Rub the seasoning evenly over the skin. For deeper flavor, gently lift the skin and rub seasoning underneath. This keeps the meat tasty throughout.
Stuffing And Trussing Tips
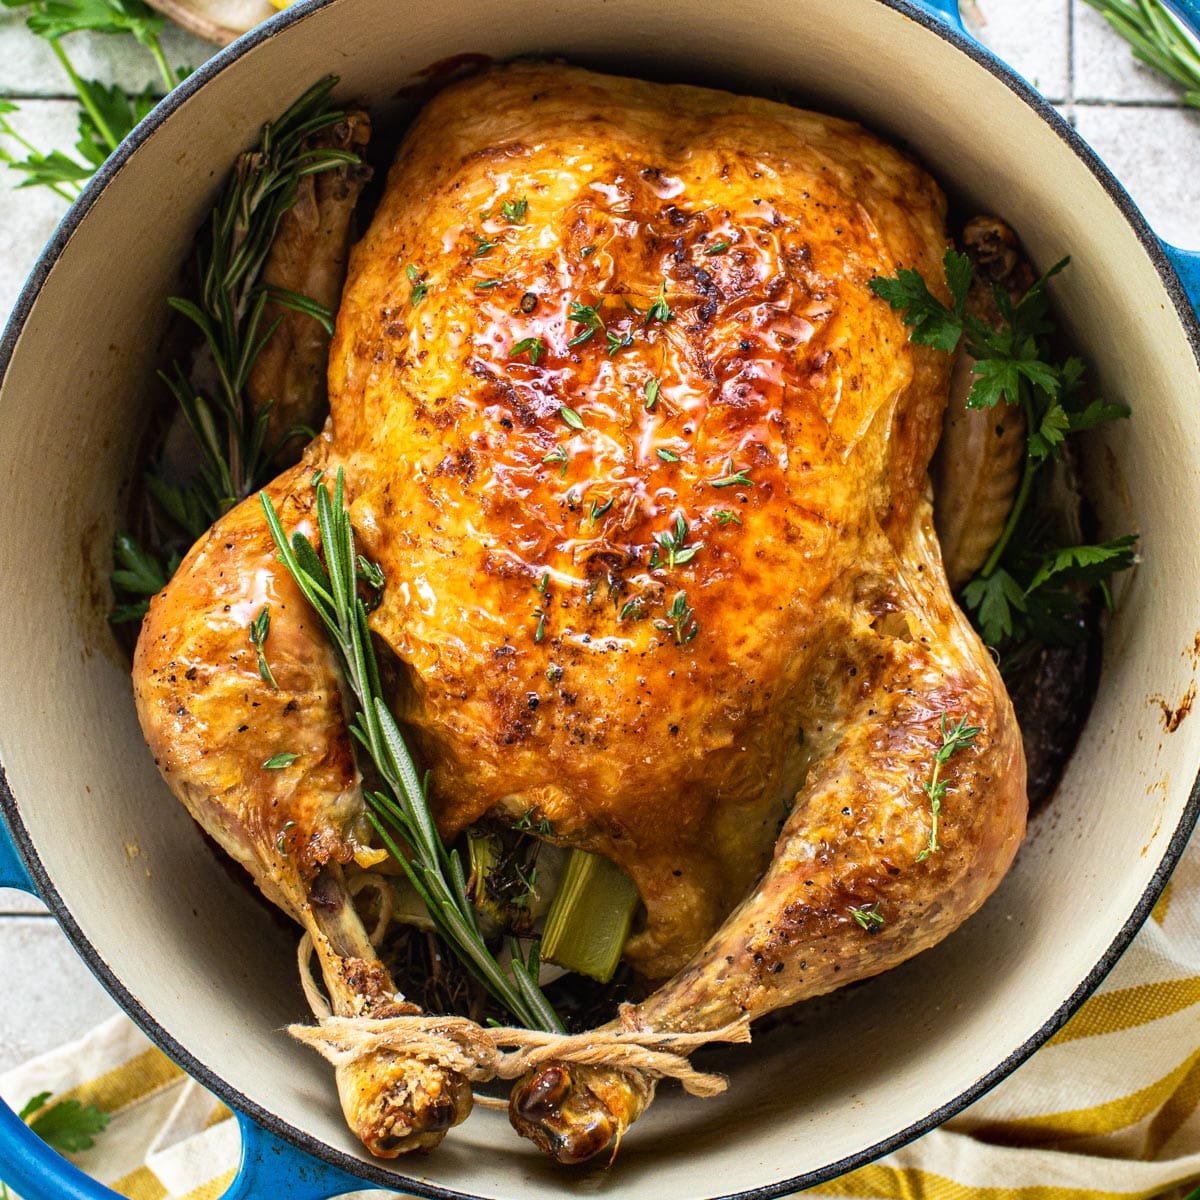
Stuff the cavity with aromatics such as lemon wedges, garlic cloves, and fresh herbs. This adds moisture and fragrance while roasting. Trussing means tying the legs together with kitchen twine. It helps the chicken cook evenly and keeps its shape. Avoid overstuffing to allow heat circulation inside.
Setting Up The Dutch Oven
Preheat the Dutch oven to ensure even cooking. Lightly oil the inside to prevent sticking and help the chicken brown. Arrange a rack or use vegetables to lift the chicken for better heat circulation.
Setting up the Dutch oven is crucial for roasting a perfect chicken. Begin with a clean, dry Dutch oven. This ensures even cooking and enhances flavors. A well-prepared Dutch oven creates an ideal environment for roasting. Let's explore how to set up your Dutch oven for a delicious meal.
Preheating The Oven
Preheat your oven to 375°F (190°C). This temperature ensures even cooking. Place the Dutch oven inside during preheating. This step warms the pot, helping to brown the chicken. A heated pot improves the overall taste and texture.
Adding Aromatics And Vegetables
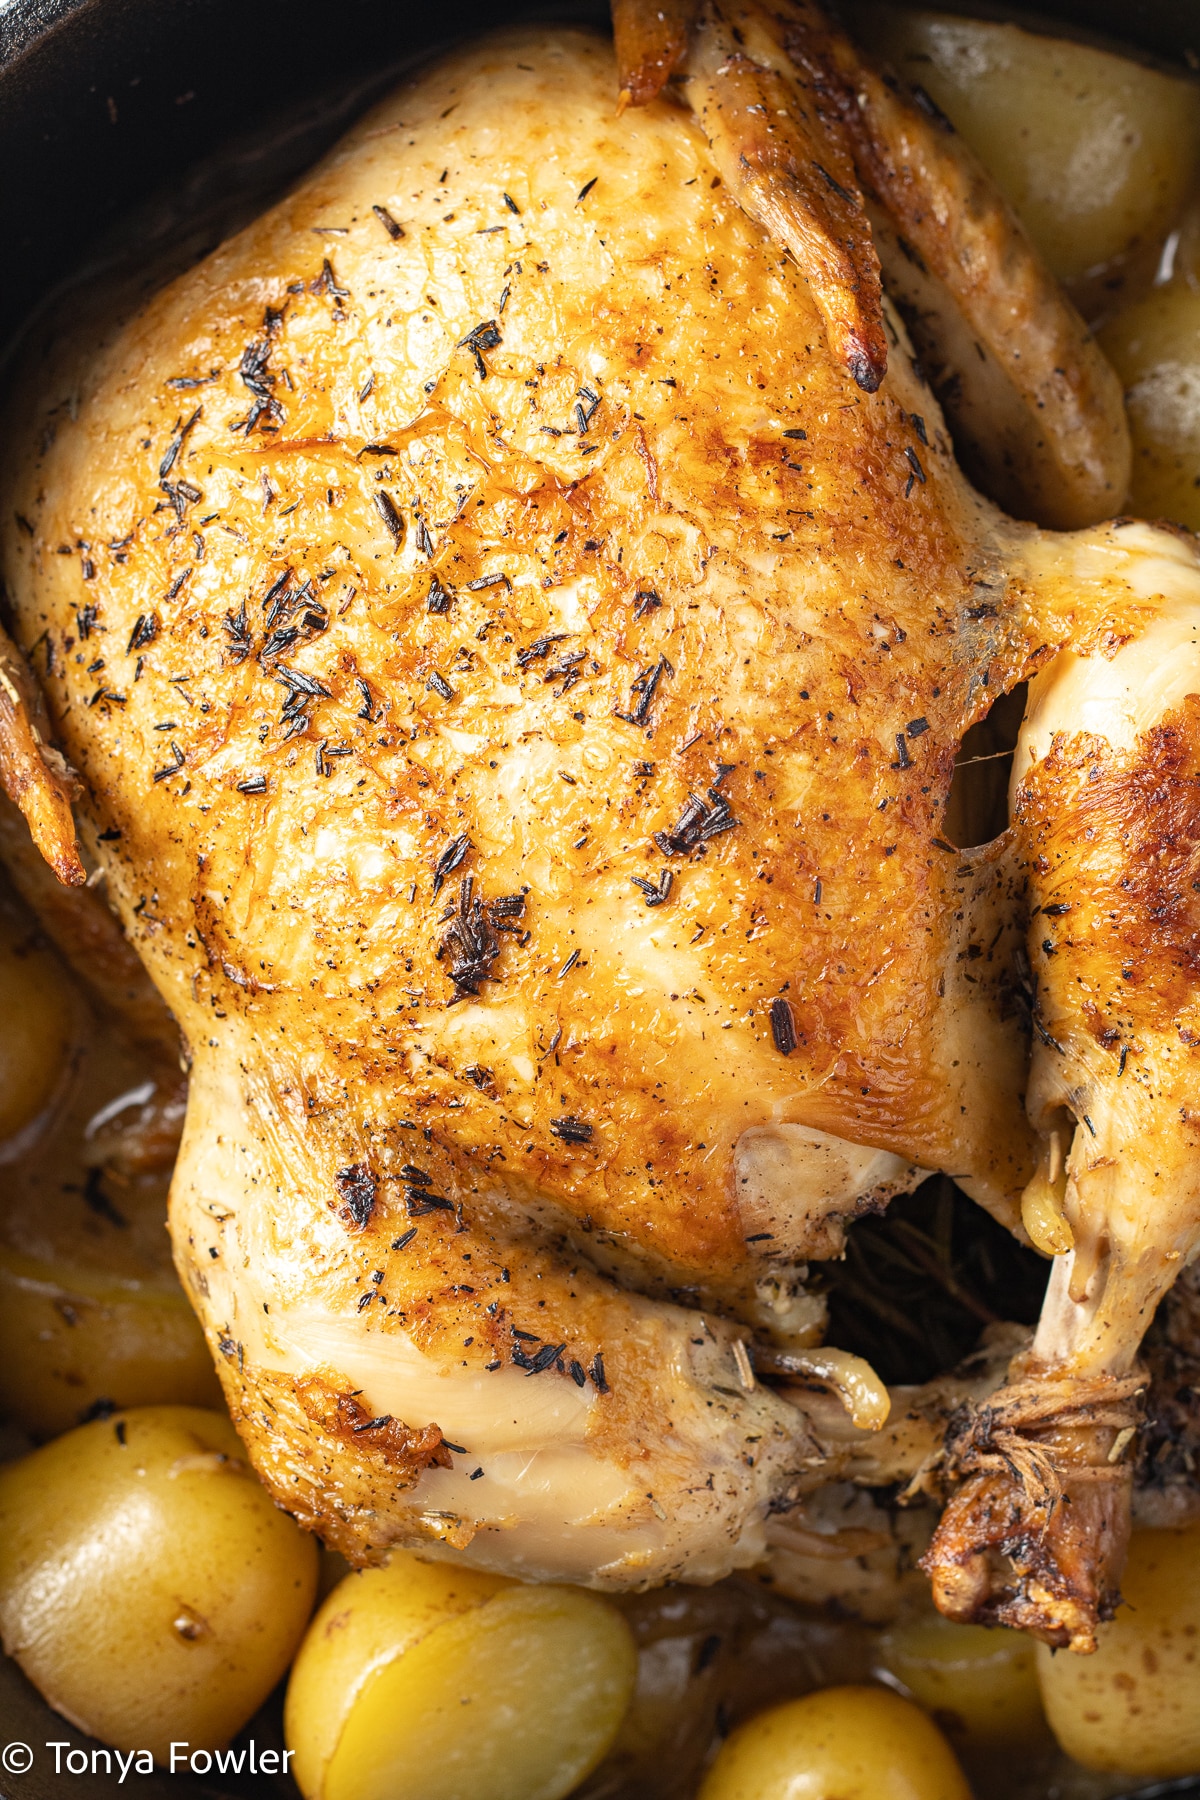
Line the bottom of the Dutch oven with aromatics. Use onions, garlic, and herbs. Add vegetables like carrots and potatoes. These ingredients add flavor and moisture. They also make a tasty side dish.
Positioning The Chicken
Place the chicken breast-side up on the vegetables. This position helps the chicken cook evenly. Ensure it sits comfortably in the pot. The Dutch oven's lid should close securely. This traps heat and moisture, resulting in a juicy roast. Your Dutch oven is now ready for roasting. Enjoy the delicious aroma and flavors it creates.
Roasting Process
The roasting process is key to making a juicy, flavorful chicken in a Dutch oven. It involves careful temperature control, regular attention, and precise timing. A well-roasted chicken has crisp skin and tender meat inside. This section explains how to achieve that perfect roast.
Temperature And Timing Guidelines
Preheat your oven to 375°F (190°C). This temperature cooks the chicken evenly without drying it out. Roast the chicken uncovered to allow the skin to crisp. The cooking time depends on the chicken's weight. A general rule is 20 minutes per pound (450 grams). For example:
| Chicken Weight | Roasting Time |
|---|---|
| 3 pounds (1.4 kg) | About 1 hour |
| 4 pounds (1.8 kg) | About 1 hour 20 minutes |
| 5 pounds (2.3 kg) | About 1 hour 40 minutes |
Basting And Monitoring
Basting keeps the chicken moist and adds flavor. Every 20 to 30 minutes, spoon pan juices over the chicken. Avoid opening the oven too often. This helps keep the heat steady. Watch the skin color. It should turn golden brown and crispy by the end of roasting.
Using A Thermometer For Doneness
A meat thermometer is the best way to check doneness. Insert it into the thickest part of the thigh, avoiding bone. The chicken is safe to eat when it reaches 165°F (74°C). Remove the chicken from the oven at this temperature. Let it rest for 10 to 15 minutes before carving. Resting helps the juices settle inside the meat.
Resting And Serving
Resting and serving a roast chicken cooked in a Dutch oven are key to enjoying juicy, tender meat. After cooking, the chicken needs time to rest. This allows the juices to settle and keeps the meat moist. Serving the chicken correctly enhances the dining experience and makes your meal more inviting.
Importance Of Resting
Resting the chicken for 10 to 15 minutes is vital. It stops the juices from spilling out when you cut the meat. The heat redistributes, making the chicken more flavorful. Cover the chicken loosely with foil to keep it warm during rest.
Carving Tips
Use a sharp knife to carve the chicken easily. Start by removing the legs and thighs. Cut along the joints to separate pieces smoothly. Slice the breast meat thinly against the grain. Arrange the pieces neatly on a serving platter.
Serving Suggestions
- Serve with roasted vegetables like carrots and potatoes.
- Add fresh herbs such as rosemary or thyme for aroma.
- Pair with a simple green salad for a light side.
- Offer warm bread or dinner rolls on the side.
- Use pan juices as a natural sauce for extra flavor.
Troubleshooting Common Issues
Roasting a chicken in a Dutch oven can be wonderfully rewarding, but it’s not without its hiccups. Knowing how to troubleshoot common issues can make your next roast even better. Let’s tackle some problems that often pop up and how you can fix them.
Avoiding Dry Meat
Dry chicken ruins the whole meal, right? To keep your meat juicy, start by seasoning under the skin and inside the cavity. This adds moisture and flavor deep inside.
Another trick is to baste the chicken with its own juices or a bit of broth halfway through cooking. This keeps the meat moist without drying out the surface.
Ever tried letting your chicken rest after roasting? A 10-15 minute rest allows the juices to redistribute, making every bite tender and juicy.
Preventing Undercooking
Nothing’s worse than cutting into your chicken and finding it pink or raw in the middle. Use a meat thermometer to check the internal temperature—it should read 165°F (74°C).
If your chicken often ends up undercooked, try lowering the oven temperature and cooking a bit longer. The Dutch oven traps heat well, so slower cooking ensures even doneness.
Also, make sure your chicken is fully thawed before roasting. Cooking from frozen often leads to uneven cooking and underdone parts.
Dealing With Soggy Skin
Soggy skin can be disappointing, especially when you’re craving that crispy bite. One cause is trapped steam inside the Dutch oven. To avoid this, remove the lid during the last 15-20 minutes of roasting.
Pat your chicken dry with paper towels before seasoning. Moisture on the skin steams it, preventing crispiness.
Lastly, consider increasing the oven temperature slightly toward the end to help the skin brown and crisp up nicely. Just watch carefully to avoid burning.
Enhancing Flavor Variations
Experiment with herbs, spices, and citrus to create rich flavor profiles in your Dutch oven chicken. Slow roasting seals in juices and blends these tastes beautifully. Adding vegetables can also deepen the dish’s savory notes.
To create a memorable roasted chicken, consider enhancing its flavor. A Dutch oven offers a perfect environment for deep flavors. You can experiment with various ingredients to elevate the taste. Below, explore methods to enrich your chicken with delightful flavors.
Herbs And Spices Combinations
Herbs and spices can transform a simple chicken. Try rosemary, thyme, or sage for earthy tones. Paprika, cumin, and coriander offer warmth. Create a herb butter by mixing softened butter with garlic and herbs. Rub it under the skin for extra flavor.
Using Marinades And Brines
Marinades and brines infuse chicken with moisture and taste. A simple brine of water, salt, and sugar works well. Marinate with lemon juice, olive oil, and herbs for a citrus kick. Allow the chicken to soak for at least four hours.
Adding Wine Or Broth
Liquids like wine or broth add depth to the chicken. Use white wine for a subtle taste. Chicken or vegetable broth keeps it juicy. Pour the liquid into the Dutch oven before roasting. The steam will help cook the chicken evenly.
Cleaning And Maintaining Your Dutch Oven
Cleaning and maintaining your Dutch oven helps it last for years. A well-cared Dutch oven keeps cooking results consistent. It also prevents damage and rust. Follow simple steps to keep it in great shape.
Proper Cleaning Techniques
Clean your Dutch oven soon after cooking. Use warm water and a soft sponge. Avoid harsh soaps that can damage the surface. For stuck food, soak the pot in warm water.
Never use metal scrubbers or steel wool. These can scratch the enamel. Instead, use a nylon brush or sponge. Dry the Dutch oven completely after washing. Leaving it wet may cause rust.
Storage Tips To Extend Life
- Store the Dutch oven with the lid off or slightly ajar. This prevents moisture buildup inside.
- Keep it in a cool, dry place away from humidity.
- Place a paper towel or cloth between the lid and pot. This helps air circulate and stops odors.
- Avoid stacking heavy items on top to prevent chips or cracks.
Credit: www.themidwestkitchenblog.com
Credit: www.theseasonedmom.com
Frequently Asked Questions
How Long Does It Take To Roast Chicken In A Dutch Oven?
Roasting a chicken in a Dutch oven typically takes 1 to 1. 5 hours at 375°F (190°C). Cooking times vary by chicken size, so check for an internal temperature of 165°F (74°C) to ensure it's fully cooked and safe to eat.
Can I Roast A Frozen Chicken In A Dutch Oven?
It’s best to thaw the chicken completely before roasting in a Dutch oven. Cooking from frozen results in uneven cooking and risks food safety. Thaw in the refrigerator for 24 hours per 5 pounds for best results.
What Dutch Oven Size Is Best For Roasting Chicken?
A 5 to 7-quart Dutch oven is ideal for roasting a whole chicken. This size provides enough space for the bird and allows heat to circulate evenly for thorough cooking.
Should I Add Liquid When Roasting Chicken In A Dutch Oven?
Yes, adding a small amount of liquid like broth or water helps keep the chicken moist. It also creates steam, which tenderizes the meat and prevents it from drying out during roasting.
Conclusion
Roasting a chicken in a Dutch oven is simple and rewarding. The pot keeps the chicken juicy and tender. You only need a few ingredients and some patience. This method fits any kitchen and skill level. Try different herbs and spices for your taste.
Serve with your favorite sides for a full meal. Enjoy a warm, homemade dinner anytime you want. Cooking at home can be easy and fun. Give this method a try and see the results!


