Is your Maytag refrigerator’s water not tasting as fresh as it used to? It might be time to replace the water filter.
Changing your water filter is easier than you think, and doing it right can improve the taste and quality of your water instantly. In this guide, you’ll learn simple, step-by-step instructions to replace your Maytag refrigerator’s water filter quickly and without hassle.
Keep reading to refresh your water and keep your fridge running smoothly.
Identify The Filter Type
Identifying the correct water filter type is essential before replacement. It ensures compatibility and maintains water quality. Maytag refrigerators use various filter models depending on the design and year. Recognizing your filter type saves time and avoids mistakes.
Check The Owner’s Manual
The owner’s manual is a reliable source for filter information. It lists the exact filter model your refrigerator requires. Find the manual online or in the paperwork that came with your appliance. Search for the water filter section to locate the model number and specifications.
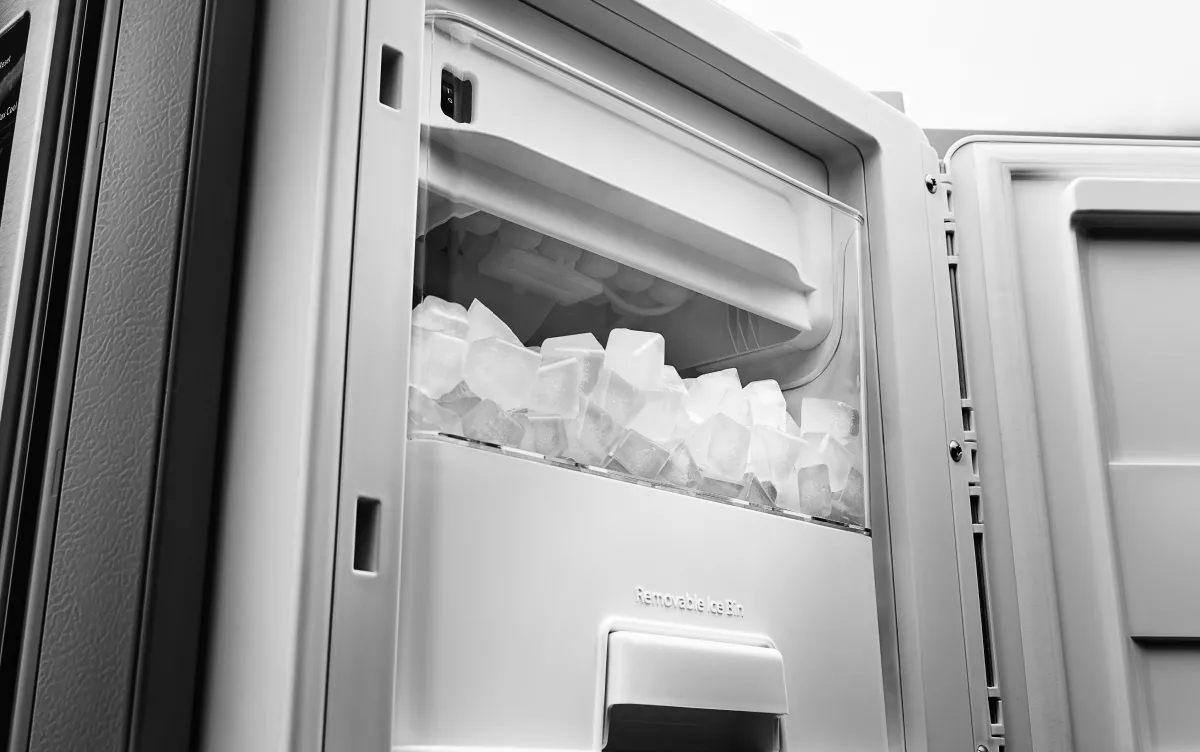
Look Inside The Refrigerator
Open the fridge door and find the filter compartment. Common locations include the upper right corner or behind the vegetable drawers. The filter often has a label with a model number printed on it. Write down this number to find the correct replacement.
Inspect The Filter Cartridge
Remove the filter carefully from its slot. Examine the cartridge for labels or printed codes. Maytag filters often have part numbers like "UKF8001" or "UKF7003." These codes help identify the filter type quickly when shopping for replacements.
Use Online Tools And Resources
Maytag’s official website offers tools to identify filter types by refrigerator model. Enter your fridge model number to get recommended filters. Many retailers also provide compatibility checkers to confirm the right filter for your unit.

Credit: www.searspartsdirect.com
Locate The Filter Housing
Locating the filter housing in your Maytag refrigerator is the first important step to replacing the water filter. Knowing exactly where it’s positioned saves time and avoids frustration. Depending on the model, the filter housing can be in different spots, so a quick check is essential.
Check Inside The Refrigerator Compartment
Most Maytag refrigerators have the filter housing inside the main compartment. Look near the top right or left corner, close to the ceiling or sidewall. You might see a small, cylindrical cover or a rectangular panel that blends with the interior.
If you don’t spot it immediately, open drawers and shelves to get a better view. Sometimes the filter is hidden behind a flap or a removable panel. Have a flashlight handy—it can help reveal the housing in dim areas.
Inspect The Base Or Grille Area
Some models place the filter housing near the base grille at the front or underneath the fridge. This location is less common but still worth checking. Feel around the grille for a twist-off cap or a pull-out cartridge.
This spot might be easier to access without opening the fridge door. Think about your last fridge cleaning—did you notice any unusual caps or panels down there?
Use Your Refrigerator’s Manual Or Online Resources
If you’re unsure, the user manual is a solid guide. It usually includes clear diagrams showing the filter housing location. Can’t find the manual? Maytag’s official website offers downloadable PDFs and videos that can guide you.
Knowing the exact spot of your filter housing prevents unnecessary searching and potential damage from forcing open the wrong area. Have you ever had to search for a part in your appliance and ended up breaking something? Avoid that frustration here.
Prepare For Replacement
Preparing to replace the water filter in your Maytag refrigerator is essential for a smooth process. Taking a few simple steps before starting will save time and prevent problems. This preparation ensures safety and proper handling of the filter and water system.
Turn Off Water Supply
Stop the water flow before you begin. Locate the water valve behind or beneath the refrigerator. Turn the valve clockwise to close it. This action prevents leaks and water damage during the replacement.
Gather Necessary Tools
Collect all tools and materials needed for the job. Common items include:
- New Maytag water filter
- Clean cloth or towel
- Bucket or small container (to catch any drips)
- Flashlight (optional, for better visibility)
Having these ready makes the replacement easier and faster.

Credit: www.searshomeservices.com
Remove The Old Filter
Removing the old filter from a Maytag refrigerator is a simple task. It prepares your fridge for a fresh, clean water supply. The process involves releasing the filter and then disposing of it properly. Follow these clear steps to remove the old filter safely and easily.
Release The Filter
Locate the water filter inside your refrigerator. It is usually near the top right or inside the fresh food section. Hold the filter firmly and turn it counterclockwise. This action unlocks the filter from its housing. Pull the filter straight out gently. Avoid using force to prevent damage. Some models may have a push-button release. Press the button and pull the filter out carefully.
Dispose Of The Old Filter
After removal, the old filter should be discarded properly. Check your local recycling guidelines for water filter disposal. Many filters contain plastic and small amounts of metal. Wrap the filter in a plastic bag to avoid leaks. Throw it in the trash if recycling is not available. Do not flush the filter down the drain or toilet. Proper disposal helps protect the environment and keeps your home clean.
Install The New Filter
Once you've successfully removed the old filter from your Maytag refrigerator, the next exciting step is installing the new filter. This part of the process might seem intimidating, but it's simpler than you think. With a few careful moves, you can ensure your refrigerator is ready to deliver fresh, clean water.
Align The Filter Correctly
Begin by examining the new filter and identifying its notches or grooves. These are your guides for alignment. As you approach the filter housing, make sure the filter is positioned properly to fit seamlessly into its designated slot.
Imagine you're fitting a key into a lock—accuracy is key here. If the filter isn’t aligned correctly, it won’t fit snugly, potentially leading to leaks or inefficient filtration. So, take a moment to ensure everything lines up perfectly.
Secure The Filter In Place
Once you’ve aligned the filter, gently push it into the housing. Feel the soft click? That’s your confirmation that it’s securely in place.
Ensure the filter is firmly attached; any loose ends might cause it to dislodge during operation. Give it a gentle twist or push, depending on your model, to lock it down.
Have you ever installed something only to find out later it wasn’t secure? Double-checking now can save you from potential hassles later. A well-installed filter means uninterrupted access to fresh water, keeping you and your family hydrated and happy.

Credit: glacierfreshfilter.com
Flush The New Filter
Flushing the new filter is an essential step after installation. This process clears out any air and loose carbon particles. It ensures clean, fresh water and a smooth flow. Skipping this step can cause cloudy water or a strange taste. Follow these simple actions to flush the filter properly.
Run Water Through The Dispenser
Place a large container under the water dispenser. Press the dispenser lever and let water flow continuously. Run about two to three gallons of water through the system. This clears air pockets and removes any loose particles. The water may sputter at first—this is normal. Keep running the water until it flows smoothly and looks clear.
Check For Leaks
After flushing, inspect the filter area carefully. Look for any water drops or puddles around the filter housing. Tighten the filter by turning it if you find leaks. Also, check the water line connections behind the refrigerator. Fix leaks immediately to avoid water damage. A dry filter area means your new filter is installed correctly.
Reset The Filter Indicator
Resetting the filter indicator on your Maytag refrigerator is important after changing the water filter. This step helps the fridge track the new filter’s lifespan correctly. Without resetting, the indicator may show incorrect alerts. It keeps your water clean and safe by reminding you when to change the filter next.
Locate The Filter Reset Button
Find the filter reset button on the control panel. It is usually near the water and ice dispenser controls. The button may say “Filter Reset” or have a filter icon. Check your refrigerator manual if you cannot locate it.
Press And Hold The Reset Button
Press the filter reset button firmly. Hold it for about 3 to 5 seconds. The filter light will blink or turn off. This action confirms that the reset is complete.
Verify The Indicator Light
After resetting, watch the filter indicator light. It should go off or change color. This change means the system recognizes the new filter. If the light stays on, try the reset process again.
Use The Touchscreen Panel (if Available)
Some Maytag models have a touchscreen. On these, navigate to the settings menu. Find the water filter option and select reset. Follow the on-screen prompts to complete the reset.
Check The User Manual For Model-specific Steps
Maytag refrigerators vary by model. Some may need different steps to reset the filter indicator. Always refer to your user manual. It provides clear instructions tailored to your fridge.
Maintenance Tips
Regular maintenance of your Maytag refrigerator ensures clean and fresh-tasting water. It also extends the appliance's lifespan. Following some simple maintenance tips can prevent issues and keep your water filter working efficiently.
When To Replace Filters
Replace your water filter every six months. This ensures optimal water quality. Check the filter status light on your refrigerator. It will indicate when a replacement is needed. If your water tastes strange, it might be time for a new filter. Reduced water flow can also signal a clogged filter.
Keep The Area Clean
Keep the area around the filter clean. Dust and debris can accumulate. Wipe it with a damp cloth regularly. This prevents dirt from entering the filter housing. Ensure the refrigerator is unplugged before cleaning. Check for leaks after installing a new filter. Tighten it properly to avoid water spills. Regular cleaning maintains the appliance's efficiency.
Frequently Asked Questions
How Often Should I Replace A Maytag Water Filter?
You should replace your Maytag water filter every 6 months. Regular replacement ensures clean, fresh-tasting water and optimal refrigerator performance. Check the filter indicator on your refrigerator to know when it’s time to change the filter.
What Tools Are Needed To Replace The Filter?
No special tools are needed to replace a Maytag water filter. Usually, you only need your hands to twist the old filter out and install the new one. Some models may require a filter wrench, but most are designed for easy manual replacement.
How Do I Reset The Water Filter Indicator Light?
To reset the water filter indicator, press and hold the reset button on your refrigerator’s control panel. Hold it for about 3 seconds until the light turns off. This signals the system that a new filter is installed and working properly.
Can I Use Any Brand Filter In My Maytag Fridge?
It’s best to use a Maytag-approved or OEM water filter. Using the correct filter ensures compatibility, maintains water quality, and prevents damage. Generic filters may not fit properly or filter contaminants effectively.
Conclusion
Replacing a water filter in your Maytag refrigerator is simple and quick. Clean water means better taste and healthier drinks. Changing the filter regularly keeps your fridge running well. Remember to check your model’s instructions for the correct filter type.
A fresh filter helps remove dirt and bad smells. You can do this task yourself without special tools. Keep your water fresh and your family happy. Easy steps lead to great results. Try it today and enjoy clean, clear water every day.