Have you ever opened your water bottle only to find mold growing on the rubber seal? It’s a common problem that can be both gross and unhealthy.
But don’t worry—you don’t have to toss your bottle or buy a new one. You’ll learn simple, effective steps to remove mold from the rubber seal quickly and safely. Keep reading, and you’ll discover easy tricks to keep your water bottle clean and fresh every time you use it.

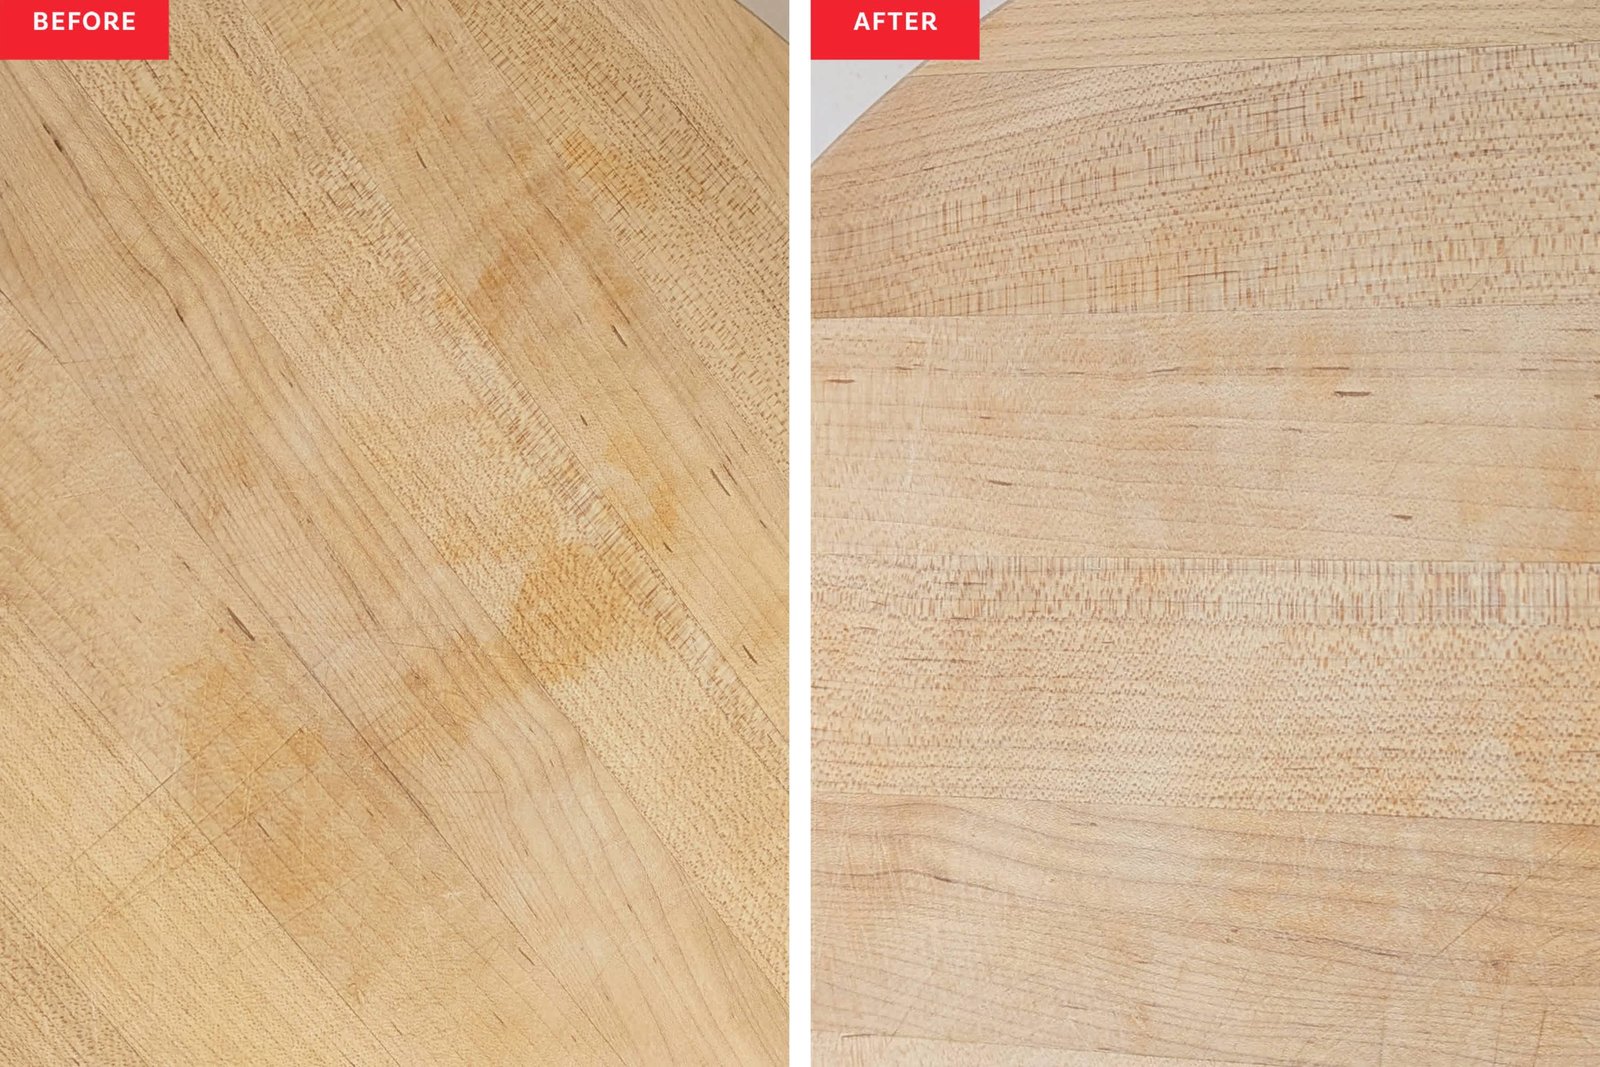
Credit: www.reddit.com
Causes Of Mold On Rubber Seals
Mold on rubber seals of water bottles is a common issue that many people overlook until it becomes visible and starts to smell. Understanding the causes behind this mold growth can help you prevent it effectively. Mold thrives in certain conditions, and rubber seals often provide the perfect environment for it to develop.
Common Mold Sources
Mold spores are everywhere—in the air, on your hands, and even in the water you drink. When these spores land on damp surfaces, they quickly start to grow. Rubber seals on water bottles can trap moisture and tiny food particles, creating an ideal breeding ground.
- Residual liquid left inside the bottle or on the seal
- Warm temperatures that encourage mold growth
- Poor drying after washing
- Contact with moldy environments, like damp bags or gyms
Have you ever noticed a musty smell or a slimy texture on your bottle’s seal? That’s mold starting to take hold. Ignoring these signs only makes removal harder later.
Why Rubber Seals Attract Mold
Rubber seals are soft and slightly porous, which means they can hold onto moisture longer than hard plastic or metal parts. This trapped moisture is a perfect home for mold spores. Plus, the tight spaces and grooves in rubber seals are often missed during cleaning.
Think about your own routine: Do you always remove and dry the seal separately? Many people don’t, and that’s exactly why mold forms. The combination of trapped moisture, warmth from your hand, and leftover sugars or bacteria from drinks makes rubber seals a magnet for mold.
Understanding this makes you ask: How often do you thoroughly clean and dry your bottle’s seal? Changing this habit can save you from dealing with stubborn mold later on.
Safety Precautions Before Cleaning
Before you start scrubbing away mold from the rubber seal on your water bottle, taking safety precautions is crucial. Mold can release spores that irritate your skin, eyes, and lungs. Protecting yourself ensures the cleaning process is safe and effective without causing health issues.
Protective Gear To Use
Always wear gloves to shield your hands from mold and cleaning agents. Rubber or latex gloves work well and prevent direct contact with mold spores. Consider using a mask, especially if you have allergies or asthma, to avoid inhaling harmful spores.
Eye protection is also important—goggles can stop irritants from getting into your eyes. If you’ve ever experienced itchy eyes or sneezing around mold, you’ll appreciate this extra step. You don’t want a cleaning session to turn into an uncomfortable ordeal.
Ventilation Tips
Good airflow is your best friend when cleaning mold. Open windows or doors to let fresh air in and mold spores out. This helps reduce the concentration of spores in the air, making the environment safer for you.
If you’re cleaning indoors without access to fresh air, use a fan to circulate air away from your breathing zone. Avoid turning on air conditioning units that recirculate indoor air—it may spread spores further. Have you noticed how some rooms feel stuffy and trigger coughing? Proper ventilation can prevent that.
Materials Needed For Cleaning
Gathering the right materials makes mold removal easy and effective. Using proper supplies protects your water bottle and ensures thorough cleaning. Some items are common in most homes. Others are specially made to fight mold on rubber seals.
Prepare all materials before starting. This saves time and avoids interruptions. Safety is important, so include gloves and a mask if possible. Clean tools well after use to prevent spreading mold spores.
Household Cleaning Supplies
- White vinegar – natural mold killer
- Baking soda – gentle scrubber
- Dish soap – removes dirt and grease
- Old toothbrush – reaches tight spots
- Clean cloth or sponge – for wiping
- Warm water – helps dissolve grime
- Rubber gloves – protects your skin
- Mask – prevents inhaling mold spores
Specialized Mold Removal Products
- Antifungal sprays safe for rubber
- Hydrogen peroxide solution – kills mold effectively
- Commercial mold removers labeled for kitchen use
- Silicone-safe disinfectant wipes
- Mold-resistant sealant (optional for prevention)

Credit: www.reddit.com
Step-by-step Mold Removal Process
Clean the rubber seal with warm, soapy water to remove surface dirt. Apply a vinegar solution to kill mold and scrub gently. Rinse thoroughly and dry completely to prevent mold from returning.
Removing mold from the rubber seal of your water bottle might seem daunting, but breaking it down into manageable steps makes it straightforward. Mold not only affects the aesthetics of your bottle but can also pose health risks. By following a systematic approach, you can ensure your bottle is clean and safe for use.
Initial Inspection And Preparation
Begin by examining the rubber seal closely for any visible signs of mold. Look for discoloration or a musty odor which often indicates mold growth. Before you start cleaning, gather necessary items such as a soft brush, mild detergent, white vinegar, and baking soda. Ensure you're working in a well-ventilated area. This not only helps dissipate any strong cleaning smells but also prevents mold spores from spreading indoors. Wearing gloves is advisable to protect your hands during the cleaning process.
Cleaning Techniques For Rubber Seals
Start by removing the rubber seal from the bottle if possible. This allows you to clean all sides thoroughly. Mix a solution of warm water and a few drops of mild detergent in a bowl. Dip a soft brush or toothbrush into the solution and gently scrub the rubber seal. Pay special attention to crevices where mold can hide. For stubborn mold, apply a paste made from baking soda and water, then scrub again.
Rinsing And Drying
Once you've finished scrubbing, rinse the rubber seal under running water to remove any detergent or mold residue. Make sure all cleaning agents are washed away to avoid any lingering taste or smell. Dry the seal thoroughly with a clean towel. Mold thrives in moisture, so ensure the seal is completely dry before reassembling the bottle. Consider leaving it out to air dry for a few hours for extra assurance. Have you ever noticed how a small change like cleaning your bottle seal can improve your hydration habits? Keeping your water bottle clean not only ensures safety but also enhances your drinking experience. Your health and hydration are worth every effort!
Preventing Mold Regrowth
Preventing mold from coming back on your water bottle’s rubber seal is just as important as removing it. Mold thrives in damp, dark places, so adjusting how you store and care for your bottle can make a big difference. Small changes in your routine can stop mold before it starts, saving you time and keeping your bottle safe to use.
Proper Bottle Storage
Always store your water bottle with the cap off or loosened to allow air to circulate inside. This simple habit helps moisture evaporate, reducing the damp environment mold loves.
Keep your bottle in a dry, cool place away from direct sunlight. While sunlight can kill mold, prolonged exposure can damage the rubber seal, so balance is key.
Have you noticed that mold grows more quickly when bottles are left in gym bags or backpacks? Try to avoid storing your bottle in enclosed, humid spaces immediately after use.
Regular Maintenance Tips
Clean your water bottle and rubber seal regularly, even if it looks clean. Residue from drinks can feed mold spores before you see them.
- Use warm soapy water and a soft brush to scrub the seal gently.
- Rinse thoroughly to remove soap, which can also trap moisture.
- Dry the seal completely before reassembling the bottle.
Consider wiping the seal with a vinegar solution once a week to create an environment mold hates. This simple step can prevent spores from settling in.
Have you tried drying your bottle in a dish rack instead of a towel? Air drying reduces leftover moisture and cuts down mold growth risks.
When To Replace The Rubber Seal
Knowing when to replace the rubber seal on your water bottle is key to keeping it safe and odor-free. Mold can sometimes be wiped away, but certain signs show that the seal has been compromised beyond cleaning. Ignoring these signs can lead to health risks and an unpleasant drinking experience.
Signs Of Irreversible Mold Damage
Check your rubber seal carefully for changes in texture or appearance. If it feels sticky, cracked, or has visible deep stains, mold has likely penetrated the material. A persistent musty smell that won’t go away after cleaning is another clear warning.
Sometimes the mold hides inside tiny crevices or between layers of the seal. If you notice that even thorough scrubbing doesn’t remove all traces, it’s time to think about replacement. Don’t risk your health by continuing to use a seal that looks or smells off.
Choosing Replacement Seals
Finding the right replacement seal means matching the size and shape exactly to your bottle model. Many brands sell official replacement parts, which ensures a snug fit and maintains your bottle’s leak-proof design.
If official seals aren’t available, look for universal rubber seals made of food-grade silicone or rubber. Check product reviews and material safety information before buying. A good replacement seal should be durable, flexible, and easy to clean.
Think about how often you use your bottle and how easily the seal can be removed for regular cleaning. Investing in a high-quality seal saves you time and keeps your water tasting fresh. What’s the point of a reusable bottle if the seal isn’t reliable?

Credit: www.reddit.com
Frequently Asked Questions
How Do I Clean Mold From A Water Bottle Seal?
Use a mixture of white vinegar and water to scrub the rubber seal gently. Rinse thoroughly and dry completely to prevent mold return.
What Household Items Remove Mold From Rubber Seals?
White vinegar, baking soda, and hydrogen peroxide effectively remove mold. Apply, scrub gently, rinse well, and dry the seal after cleaning.
Can Mold On Rubber Seals Harm My Health?
Yes, mold can cause allergic reactions and respiratory issues. Clean mold promptly to maintain hygiene and prevent health risks.
How Often Should I Clean My Water Bottle Seal?
Clean the seal weekly to prevent mold buildup. Regular maintenance keeps your water bottle safe and fresh for daily use.
Conclusion
Cleaning mold from your water bottle’s rubber seal is simple and quick. Regular care keeps your bottle safe and fresh. Use gentle cleaners and soft brushes for best results. Let the seal dry completely before use. Small efforts prevent mold from coming back.
Keep your water bottle clean for healthier drinking. This easy routine protects your health every day.