
Have you ever been mesmerized by beautifully decorated cakes and wondered how you could create such stunning designs at home? The secret often lies in the tools you use, and one of the most essential tools is a decorating bag with the right tip.
If you've ever felt overwhelmed by the process of putting a tip on a decorating bag, you're not alone. It might seem like a small detail, but mastering this skill can be the difference between a simple dessert and a masterpiece.
Imagine the satisfaction of creating those intricate patterns and elegant swirls on your own cakes and pastries. In this guide, you'll discover step-by-step instructions that make the process simple and straightforward. By the end, you’ll feel confident and ready to transform your baking projects into works of art that will impress everyone, including yourself. Let's dive into how you can effortlessly put a tip on a decorating bag and elevate your baking game.
Choosing The Right Piping Tip
Choosing the right piping tip is key for decorating success. It shapes the design and controls the flow of icing. Picking the correct tip helps create clean, beautiful details on your cake or cookies. Knowing the options makes decorating easier and more fun.
Common Tip Shapes
- Round tips:Perfect for writing, dots, and simple lines.
- Star tips:Create textured stars, shells, and rosettes.
- Leaf tips:Shape leaves and petals with natural curves.
- Petal tips:Make flower petals and ruffles with smooth edges.
- Basketweave tips:Build basket patterns and textured stripes.
Selecting Size For Your Design
Tip size affects how thick or thin your icing lines appear. Small tips work well for detailed designs and fine writing. Larger tips cover more surface, ideal for filling or bold shapes. Match the tip size to your project scale for best results.
Materials And Durability
Most piping tips come in stainless steel or plastic. Stainless steel tips are sturdy and last longer. They keep their shape under pressure and clean easily. Plastic tips are cheaper and good for beginners. Choose based on how often you decorate and your budget.
Credit: naomicakes.com
Preparing The Decorating Bag
Preparing the decorating bag correctly sets the foundation for smooth, beautiful icing work. Taking a few extra moments to handle your bag and tip with care can make a big difference in your final design. Let’s look at how to choose the right bag, fill it properly, and avoid common issues like air bubbles that can disrupt your flow.
Using Disposable Vs. Reusable Bags
Disposable bags offer convenience—no cleanup, and you can just toss them after use. They are great for quick projects or when working with multiple colors.
Reusable bags, often made from silicone or fabric, give you better control and reduce waste. They require washing but hold up well for detailed, frequent decorating.
Think about your project size and how often you decorate. Is it worth the extra effort to clean a reusable bag for your needs? Many find reusable bags more comfortable once they get used to them.
Filling The Bag With Frosting
Start by folding the top of the bag over your hand or a glass to keep it open. Use a spatula to scoop frosting into the bag, aiming to fill it about halfway or two-thirds full.
A bag that’s too full can be hard to control and messy. Too little frosting means frequent refilling and interruptions.
Leave enough space at the top so you can twist the bag closed easily without squeezing frosting out the back. This helps maintain steady pressure when piping.
Avoiding Air Bubbles
Air bubbles cause uneven piping and can lead to unexpected bursts of icing. To avoid this, press the frosting down gently as you fill the bag.
Once filled, twist the top tightly and squeeze a small amount of frosting out to push air toward the tip. Watch for any gaps or bubbles and smooth them out by pressing with your fingers.
Have you noticed how air bubbles can ruin a perfect swirl? Taking the time to eliminate them saves frustration and improves your results dramatically.
Inserting The Piping Tip
Inserting the piping tip correctly is essential for smooth decorating. It helps the icing flow evenly and creates clean designs. Follow simple steps to prepare the bag and secure the tip for best results.
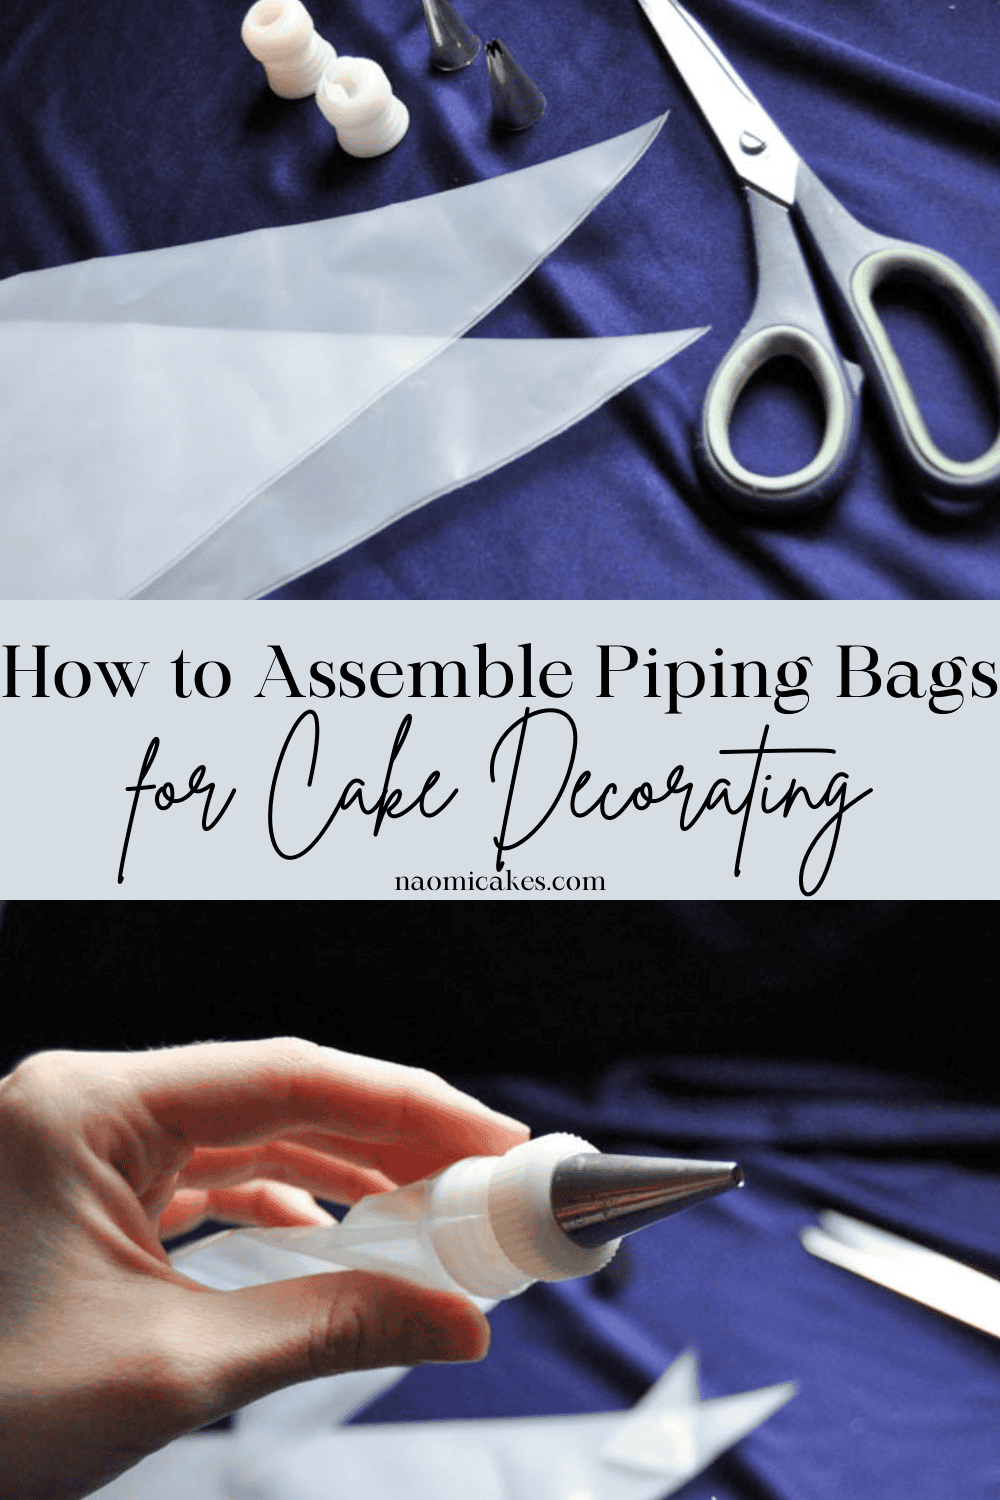
Cutting The Bag Correctly
Start by choosing the right spot to cut your decorating bag. Cut a small hole at the tip, just big enough for the piping tip to fit through. Avoid cutting too large a hole; it can cause the tip to slip out. Use sharp scissors for a clean cut. This prevents tearing and ensures a snug fit for the tip.
Positioning The Tip Securely
Insert the piping tip through the hole from the outside of the bag. Push it until the narrow end is just inside the bag. The wider base of the tip should rest against the bag’s surface. Check that the tip stays stable and does not wobble. A secure tip gives better control and more precise designs.
Using Couplers For Easy Tip Changes
Couplers are small devices that help switch tips without emptying the bag. Place the base of the coupler inside the bag through the cut hole. Then, put the piping tip over the coupler’s base on the outside. Tighten the ring to hold the tip firmly in place. Couplers save time and let you try different designs quickly.
Holding And Controlling The Bag
Holding and controlling the decorating bag correctly is key to neat and precise piping. It helps keep steady pressure and smooth flow of frosting. Good control reduces mess and improves design quality.
Focus on your hand position and how you squeeze the bag. Small adjustments can change the look of your decoration. Practice makes your movements confident and consistent.
Proper Hand Grip
Hold the bag near the top with your dominant hand. Use your thumb and fingers to form a firm grip. Your other hand guides the tip if needed. Keep your grip relaxed but steady to avoid hand fatigue.
Applying Even Pressure
Squeeze the bag gently and steadily. Pressure should be constant for smooth icing flow. Avoid sudden squeezes or releasing pressure quickly. Practice helps maintain even pressure throughout piping.
Managing Flow And Speed
Control the speed of your hand movement with the flow of icing. Move slowly for detailed work and faster for filling large areas. Balance speed and pressure to prevent gaps or blobs in your design.
Piping Techniques For Different Designs
Piping with a decorating bag opens up a world of creative possibilities. Mastering different piping techniques lets you transform simple frosting into stunning designs. Whether you're aiming for clean lines, elegant swirls, or personalized lettering, the right technique makes all the difference.
Basic Lines And Dots
Start with the fundamentals: lines and dots. These simple shapes form the base of many designs and help build your control over the decorating bag. Hold the bag at a 45-degree angle and apply steady pressure for smooth lines.
Dots come from gently squeezing the bag and quickly releasing. Practice on parchment paper to get a feel for size and spacing. Have you tried making a border with alternating dots and lines? It’s a simple way to add charm.
Creating Ruffles And Swirls
Ruffles add texture and elegance to cakes and cupcakes. Use a petal tip and move your hand in a gentle back-and-forth motion to create delicate waves. Swirls are easier with a round or star tip; start from the center and spiral outward with consistent pressure.
Try combining ruffles and swirls for a layered effect that catches the eye. Don’t be afraid to experiment with speed and pressure—each tweak changes the look dramatically. What design could you enhance by adding a ruffle or swirl?
Lettering Tips And Tricks
Lettering can make your baked goods more personal and special. Choose a small round tip for neat, clear letters. Keep your hand steady and write slowly—speed can cause uneven lines.
Practice forming each letter before working on your final piece. If your letters look shaky, try writing with a toothpick first to map out your design. How might personalized messages change the way you present your creations?

Credit: www.onehundreddollarsamonth.com
Cleaning And Maintaining Piping Tips
Keeping your piping tips clean and well-maintained is key to smooth decorating sessions and beautiful results. Neglecting them can lead to clogged tips and uneven icing flow, which can be frustrating. Let’s dive into some straightforward ways you can keep your tips in top shape.
Immediate Cleaning Tips
Right after you finish using your piping tip, rinse it under warm water to wash away any icing residue. This prevents the icing from drying inside the tip, which can be a real hassle later. If you’re in the middle of decorating, you can quickly wipe the tip with a damp cloth to keep it clean between uses.
Removing Stubborn Residue
If icing has dried inside your tip, soak it in warm, soapy water for about 15-20 minutes. Use a small brush, like a toothbrush or a pipe cleaner, to scrub away any stuck bits. Have you tried using a toothpick or a pin to unclog tiny holes? It’s surprisingly effective for stubborn bits that brushes can’t reach.
Storage Recommendations
Once clean and dry, store your piping tips in a container that keeps them separated to avoid damage. Small compartments or a tip organizer work great for this. Avoid tossing them loosely in a drawer; bent or damaged tips can ruin your decorating precision.

Credit: www.easyonlinebakinglessons.com
Frequently Asked Questions
How Do I Insert A Tip Into A Decorating Bag?
To insert a tip, first cut the bag’s corner slightly. Push the piping tip into the opening until secure. Ensure the tip fits tightly to avoid leaks during decorating.
What Size Hole Should I Cut For A Decorating Tip?
Cut a hole just wide enough for the tip’s base. The hole should be snug to hold the tip firmly in place. Avoid cutting too large to prevent frosting leaks.
Can I Use Multiple Tips In One Decorating Bag?
Yes, you can use couplers to switch tips easily. Insert the coupler into the bag first, then attach different tips. This method saves time and allows varied decorating styles.
How Do I Prevent Frosting From Leaking Around The Tip?
Ensure the bag’s hole matches the tip size closely. Push the tip firmly into the bag to seal edges. Using a coupler also helps prevent leaks during piping.
Conclusion
Putting a tip on a decorating bag is simple and quick. Start by folding the bag’s end and inserting the tip firmly. Use tape to keep the tip steady if needed. Fill the bag with your frosting or icing carefully.
Practice a few times to feel comfortable. This small step helps create neat and beautiful designs. Keep your decorating tools clean and ready. Enjoy decorating with confidence and ease. Try different tips to find your favorite style. You’ll see better results every time you decorate.


