Have you ever wondered how to melt a candle safely and easily right inside its glass jar? Whether you want to refresh an old candle, reuse leftover wax, or create your own custom scent, knowing the right way to melt a candle in a glass jar can save you time and mess.
In this guide, you’ll discover simple steps that anyone can follow, even if you’ve never tried it before. By the end, you’ll have the confidence to handle your candles like a pro and enjoy beautiful, clean-burning results every time. Keep reading—you’re about to unlock a little secret that makes candle care so much easier.
Choosing The Right Candle
Choosing the right candle is essential for melting it safely and effectively in a glass jar. The type of candle and the container can impact how evenly the wax melts. Picking suitable options helps avoid spills and broken jars. It also ensures a clean burn and better scent release.
Types Of Candles Suitable For Melting
Not all candles melt the same. Some waxes melt smoother and safer in a glass jar. Here are the best types:
- Soy Wax:Melts evenly and is non-toxic. It’s great for jars.
- Beeswax:Burns clean with a natural scent. Melts slowly and steadily.
- Paraffin Wax:Common and affordable. Melts quickly but may smoke if overheated.
- Gel Candles:Not ideal for melting. They require special containers.
Select candles made from a single type of wax for predictable melting.
Selecting The Appropriate Glass Jar
The glass jar must handle heat without cracking. Thick glass jars are best for melting candles.
- Choose jars labeled heat-resistant or for candle use.
- Avoid thin or decorative glass that might break easily.
- Use jars with wide openings for easy wax pouring and removal.
- Check the jar size matches the candle size to prevent overflow.
Proper jar choice keeps the melting process safe and smooth.
Credit: www.familyhandyman.com
Preparing The Workspace
Setting up your workspace correctly is key to melting a candle in a glass jar safely and efficiently. A clean, organized area reduces the risk of accidents and makes the process smoother. Before you even light the heat source, take time to prepare thoughtfully.
Safety Precautions
Safety should be your top priority. Always work in a well-ventilated space to avoid inhaling fumes. Keep a fire extinguisher or a bucket of water nearby just in case things get out of hand.
Wear heat-resistant gloves to protect your hands from burns. Avoid loose clothing that could catch fire easily. Also, keep children and pets away from your workspace to prevent any distractions or accidents.
Gathering Necessary Tools
Having the right tools ready before you start saves time and frustration. You will need:
- A heat source such as a double boiler or microwave-safe container
- A thermometer to monitor the wax temperature
- A stirring stick or spoon
- A clean glass jar for the candle
- Newspaper or a silicone mat to catch spills
Check that your glass jar is heat-resistant to avoid cracking. If you have a dedicated melting pot, even better—it keeps things tidy and controlled. Ready to see how smooth this process can be with the right setup?
Melting Techniques
Melting a candle in a glass jar requires careful heat control to avoid damage. Different techniques work best depending on your tools and time. Choose a method that suits your setup and safety needs. Below are simple ways to melt candle wax evenly and safely.
Using A Double Boiler Method
The double boiler method uses indirect heat to melt wax gently. Fill a pot with water and place it on the stove. Put the glass jar inside the pot without letting water enter the jar. Heat the water to a simmer, not a boil. Stir the wax occasionally for even melting. This method prevents the wax from burning or cracking the glass.
Microwave Melting Tips
Microwaving wax is fast but needs attention. Remove the candle wick before melting. Use a microwave-safe container instead of the original jar. Heat the wax in short bursts of 30 seconds. Stir between each burst to distribute heat evenly. Stop microwaving when the wax is mostly melted. Pour the wax back into the glass jar carefully.
Oven Melting Approach
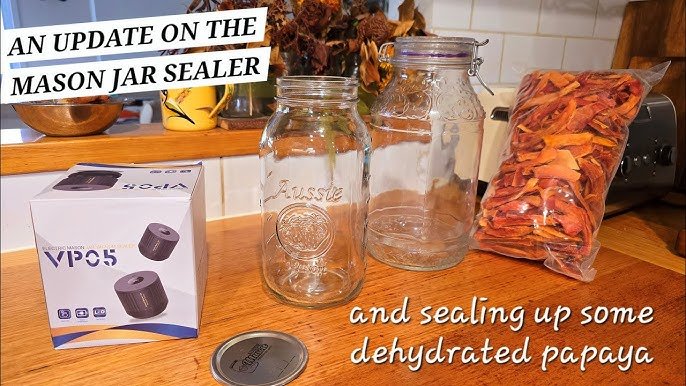
Oven melting works well for larger candles. Preheat the oven to a low temperature, around 150°F (65°C). Place the glass jar on a baking sheet. Put the sheet in the oven and watch the wax closely. Check every 5 minutes and stir gently if needed. Remove the jar once the wax is fully liquid. Use oven mitts to handle the hot jar safely.

Credit: fotoncandle.com
Pouring And Setting The Wax
Pour the melted wax slowly into the glass jar to avoid air bubbles. Let the wax cool and harden at room temperature for best results. Avoid moving the jar until the wax is fully set.
Pouring and setting wax in a glass jar might seem like a simple task, but it's where precision meets creativity. Once you've melted the wax, it's time to pour it carefully into the jar. This step is crucial to ensure your candle sets evenly and looks professional.
Handling Hot Wax Safely
Safety should be your priority when dealing with hot wax. Use a heat-resistant container for pouring, ensuring you have a firm grip to avoid spills. Consider wearing gloves to protect your hands from accidental burns. It's also wise to work on a surface that can handle a bit of heat, just in case of any overflow.
Achieving A Smooth Finish
To achieve a smooth finish, pour the wax slowly and steadily into the jar. This minimizes air bubbles, which can affect the appearance of your candle. Allow the wax to cool at room temperature. Rapid cooling can cause the wax to crack or shrink unevenly. Keep a close eye on your candle as it sets. Adjust the wick to stay centered, ensuring an even burn when you light it. Have you ever noticed how a candle's appearance can change the mood of a room? By following these tips, you ensure your homemade candle not only burns well but also looks stunning.
Cleaning And Reusing The Glass Jar
Cleaning and reusing your glass candle jar not only saves money but also helps reduce waste. It’s a simple process that lets you enjoy your favorite container again, whether for new candles or as a decorative piece. Taking care of your jar properly means it stays clear, shiny, and ready for many uses to come.
Removing Residual Wax
Start by softening the leftover wax to make removal easier. Place the jar in the freezer for an hour or two; the wax will harden and shrink, making it easier to pop out with a butter knife or spoon. Be gentle to avoid scratching the glass.
For stubborn wax, pour hot water into the jar to melt the rest of it. Let it sit until the wax floats to the top, then scoop it out with a paper towel. Repeat if needed, but be cautious not to burn yourself with the hot water.
Have you tried using natural solvents like vinegar or lemon juice? They can help remove wax residues without harsh chemicals, keeping your jar safe and eco-friendly.
Maintaining Glass Jar Quality
Once the wax is gone, wash the jar with warm, soapy water to remove any leftover oils or scents. Use a soft sponge to avoid scratches and rinse thoroughly. Dry it with a lint-free cloth to keep the glass sparkling.
Storing your jars properly also matters. Keep them in a cool, dry place away from direct sunlight to prevent discoloration and cracks. If you want to reuse the jar for candles, make sure the wick holder and any metal parts are cleaned or replaced.
Do you have any creative ideas for reusing your clean jars? They work great as storage containers, plant holders, or even DIY gifts with a personal touch.
Troubleshooting Common Issues
Melting a candle in a glass jar can sometimes come with unexpected challenges. You might notice cracks forming or bubbles trapped in the wax. Maybe the wax surface looks uneven or rough. These issues can be frustrating, but they’re usually easy to fix once you understand what’s causing them.
Avoiding Cracks And Bubbles
Cracks often appear when the wax cools too quickly. Glass jars cool faster than other containers, which can cause the wax to shrink unevenly. To prevent this, pour the melted wax slowly and at the right temperature—around 140°F to 160°F works well for most waxes.
Bubbles form when air gets trapped during pouring or stirring. Stir your wax gently and avoid whipping air into it. Pour the wax steadily and try to pour from a low height to minimize bubbles. If you still see bubbles after pouring, use a heat gun or hair dryer on low heat to gently warm the wax surface and pop them.
Fixing Uneven Wax Surfaces
An uneven wax surface often results from pouring the wax too hot or cooling the candle in a cold environment. If your wax surface looks bumpy or has sinkholes, warm it gently with a heat gun to melt and smooth the top layer. This simple fix can make your candle look professionally finished.
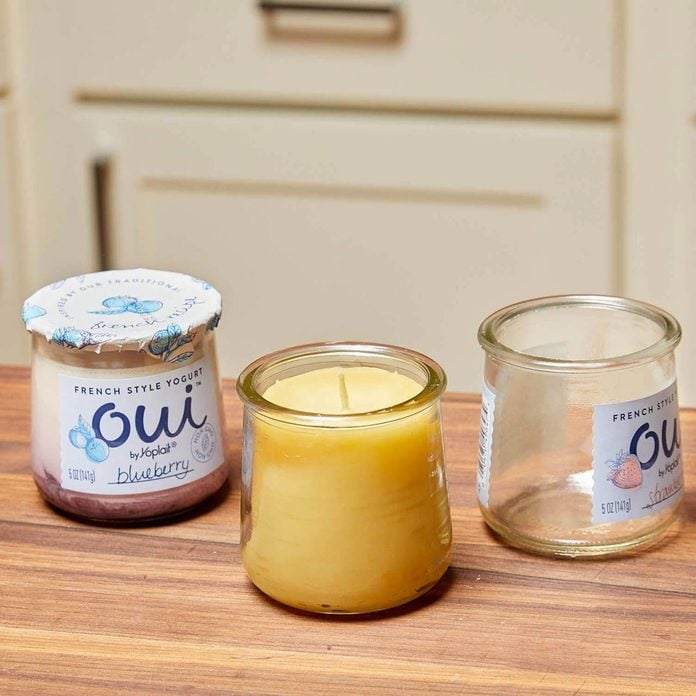
Another tip is to pour the wax in layers rather than all at once. Pour a thin layer first, let it slightly set, then add the rest. This approach helps the wax settle evenly and reduces the chance of surface imperfections.

Credit: www.reddit.com
Frequently Asked Questions
How Do You Safely Melt A Candle In A Glass Jar?
To safely melt a candle in a glass jar, use a double boiler or hot water bath. Avoid direct heat to prevent glass cracking. Stir the wax gently and monitor the temperature to keep it below 180°F for safety.
Can I Reuse Melted Candle Wax In A Glass Jar?
Yes, you can reuse melted candle wax in a glass jar. Strain out any debris before reheating. Pour the melted wax back into the clean jar and add a new wick for a fresh candle.
What Is The Best Method To Melt Candle Wax Evenly?
The best method to melt candle wax evenly is using a double boiler. This indirect heat melts the wax slowly, reducing the risk of burning or overheating. Stir the wax occasionally for uniform melting.
How Long Does It Take To Melt Candle Wax In A Jar?
Melting candle wax in a glass jar usually takes 10 to 20 minutes. The exact time depends on wax type and heating method. Use low heat and monitor closely to avoid overheating or glass damage.
Conclusion
Melting a candle in a glass jar is simple and safe. Take small steps and watch the wax soften. Use gentle heat to avoid cracks or burns. Clean the jar well before starting for best results. Enjoy the warm light and scent once melted.
This method saves candles and adds charm to any room. Try it yourself and see how easy it can be. A cozy atmosphere is just a melt away.