
Making pie dough from scratch can feel tricky, especially if you don’t have a food processor. But what if I told you that you don’t need fancy gadgets to create a flaky, delicious crust?
You already have everything you need right in your kitchen. In this guide, you’ll discover simple, step-by-step methods to make perfect pie dough by hand. Imagine biting into a homemade pie with a crust that’s buttery, tender, and just right—without any extra tools.
Ready to impress yourself and your loved ones? Let’s get started!
Ingredients For Flaky Pie Dough
Creating flaky pie dough without a food processor requires the right ingredients. Each component plays a role in texture and flavor. Understanding these ingredients helps you make dough that is tender and crisp.
Choosing The Right Flour
All-purpose flour is the best choice for pie dough. It has enough protein to create structure. Avoid bread flour; it makes the dough tough. Cake flour is too soft and may break easily.
Butter Vs. Shortening
Butter adds rich flavor and creates flaky layers. Use cold butter to keep the dough cool. Shortening makes dough tender and easy to handle. Some bakers mix both for the best texture and taste.
Cold Water And Other Essentials
Use ice-cold water to keep the dough from warming up. Cold water helps form flaky layers during baking. A pinch of salt enhances flavor and balances sweetness. Some recipes add a little sugar for a golden crust.
Credit: www.ourhappymess.com
Tools Needed Without A Food Processor
Making pie dough without a food processor requires a few simple kitchen tools. These tools help mix ingredients evenly and shape the dough with ease. Using the right items can make the process smoother and more enjoyable. Here are the essential tools to prepare your pie dough by hand.
Mixing Bowls And Whisks
A large mixing bowl is vital for combining flour, salt, and fat. Choose a bowl with enough space to mix without spilling. A whisk helps blend dry ingredients evenly before adding liquids. It also breaks up lumps and aerates the flour for a lighter dough.
Pastry Blender Or Fork
A pastry blender is perfect for cutting cold butter into flour. It creates small, pea-sized pieces that give the dough a flaky texture. If you don’t have a pastry blender, a sturdy fork works well. Press and cut through the fat and flour until they look crumbly.
Rolling Pin And Surface
A rolling pin is necessary to flatten the dough to the right thickness. Use a clean, flat surface such as a countertop or large cutting board. Lightly dust the surface with flour to prevent sticking. Roll the dough gently and evenly for best results.
Step-by-step Dough Preparation
Making pie dough without a food processor can be simple and rewarding. The key is to follow a clear process. Each step builds the dough’s texture and flavor. This guide breaks down the preparation into easy parts. Your dough will turn out flaky and tender with care and patience.
Measuring Ingredients Accurately
Use a kitchen scale or measuring cups for precision. Too much flour makes the dough dry and tough. Too little flour makes it sticky and hard to handle. Measure butter and water carefully too. Accurate amounts help create the perfect dough consistency.
Cutting Butter Into Flour
Start with cold butter, cut into small cubes. Use a pastry cutter or two knives to mix butter into flour. Work quickly to keep butter cold. Aim for pea-sized pieces of butter in the mixture. This creates pockets of fat that make the crust flaky.
Adding Cold Water Gradually
Pour cold water slowly, a tablespoon at a time. Mix gently with a fork or your hands. Stop adding water once the dough starts to hold together. Too much water makes the dough sticky and tough. Gradual addition helps control the dough texture.
Forming The Dough Ball
Gather the dough with your hands into a ball. Press it lightly to bring it together. Avoid overworking the dough to keep it tender. Wrap the ball in plastic wrap and chill it. Resting helps the dough relax and prevents shrinking during baking.

Credit: food52.com
Techniques For Flakiness
Flaky pie dough is a cherished goal for many bakers. Without a food processor, achieving this texture might seem daunting. Yet, with the right techniques, anyone can create a perfectly flaky crust. Let's explore some key methods to ensure your pie dough remains tender and delicious.
Keeping Ingredients Cold
Cold ingredients are crucial for flakiness. Warm butter can melt into the flour, reducing texture. Use chilled butter and ice-cold water. You can even chill your flour and mixing bowl. This helps maintain a cold environment, preserving the butter's integrity.
Minimal Handling Of Dough
Overworking the dough can lead to tough crusts. Handle the dough as little as possible. Mix just until ingredients come together. Avoid kneading or excessive rolling. This keeps the gluten from developing too much, ensuring a tender crust.
Using Butter Chunks
Butter chunks are key to flaky layers. Cut butter into small, even pieces. Flatten these chunks with your fingers while mixing. As the dough bakes, butter melts, creating steam pockets. This results in that desired flakiness.
Chilling And Resting The Dough
Chilling and resting pie dough is a key step in making perfect crusts without a food processor. It helps the dough hold together and prevents shrinking while baking. This process also improves the dough’s texture and flavor.
Why Chilling Matters
Chilling lets the fat in the dough firm up. Cold fat creates flaky layers during baking. It also stops the dough from becoming too sticky. Resting allows the gluten to relax. Relaxed gluten means a tender, easy-to-roll dough.
How Long To Chill
Wrap the dough in plastic wrap before chilling. Place it in the refrigerator for at least 30 minutes. For best results, chill the dough for 1 to 2 hours. You can also chill it overnight. Avoid freezing for long periods, as it can dry the dough.
Handling Dough After Rest
Take the dough out of the fridge and let it sit for a few minutes. This makes rolling easier without sticking. Lightly flour your work surface and rolling pin. Roll the dough gently, turning it often. Avoid overworking to keep it tender and flaky.
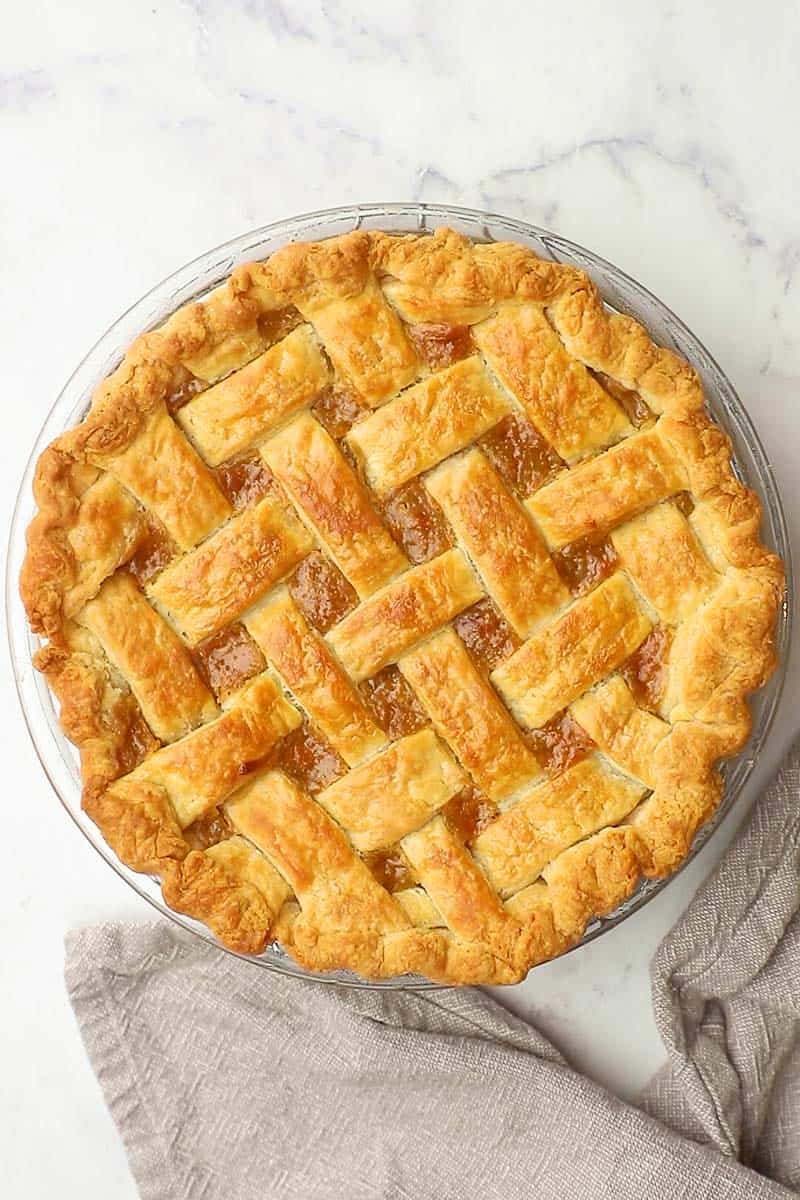
Rolling Out Dough Without Sticking
Rolling out pie dough without it sticking can feel tricky, especially if you don’t have a food processor to keep things cool and smooth. But with a few simple tricks, you can glide your rolling pin across the dough effortlessly. The key is managing flour and handling the dough gently to keep everything from sticking and tearing.
Flouring The Surface And Pin
Start by lightly dusting your work surface with flour. Too much flour can dry out your dough, so sprinkle just enough to prevent sticking. Don’t forget to flour your rolling pin as well—this stops the dough from clinging to it and pulling unevenly.
I once skipped flouring my pin and ended up with dough stuck all over it—rolling became a frustrating mess. Trust me, a little flour on the pin saves a lot of headaches.
Rolling Evenly
Roll the dough from the center outward, applying gentle, even pressure. Rotate the dough a quarter turn after each roll to keep it a uniform thickness and circular shape. If the dough resists or shrinks back, let it rest for a few minutes to relax the gluten.
Ask yourself: is your dough rolling out smoothly or is it pulling and tearing? Adjust your pressure and flouring accordingly to keep it cooperative.
Transferring Dough To Pie Pan
Once your dough is rolled to the right size, fold it loosely into quarters or roll it gently onto your rolling pin. This makes it easier to transfer without stretching or tearing. Then, unfold or unroll the dough carefully over your pie pan.
If you try to lift it flat without folding or rolling, the dough can stretch and lose shape. Taking this small extra step preserves your perfect circle and prevents frustration.
Troubleshooting Common Issues
Making pie dough without a food processor can be rewarding, but it’s easy to hit a few snags along the way. Knowing how to fix common problems will save your pie and keep you confident. Let’s look at some typical issues and how you can get your dough just right.
Dough Too Dry Or Crumbly
If your dough feels dry or falls apart easily, it probably needs more moisture. Try adding a teaspoon of cold water at a time, mixing gently after each addition. Avoid overworking the dough; use your hands lightly to bring it together.
Remember, flour varies in absorbency depending on the brand and humidity. Have you checked if your kitchen air is dry? This can make your dough absorb more flour than usual.
Dough Too Sticky
Sticky dough can be frustrating, especially when it sticks to your hands or rolling pin. Sprinkle a small amount of flour on your work surface and hands, but don’t add too much—excess flour makes the crust tough.
Chilling the dough for 20-30 minutes can help it firm up, making it easier to handle. Have you tried wrapping your dough in plastic wrap and letting it rest in the fridge before rolling?
Soggy Or Tough Crust
A soggy crust often means the dough was too wet or the filling released too much moisture. To prevent this, avoid overfilling your pie and consider pre-baking (blind baking) the crust for a few minutes before adding the filling.
Tough crusts usually result from over-mixing or using warm ingredients. Keep your butter cold and mix just until the dough holds together. What’s your technique to keep the butter chilled without freezing it solid?
Baking Tips For Perfect Crust
Baking a perfect pie crust without a food processor is rewarding. The right techniques help achieve a crisp, golden base. These tips ensure your crust holds shape and texture during baking. Follow these simple steps for a flaky, delicious pie dough every time.
Pre-baking (blind Baking) Techniques
Blind baking means baking the crust before adding filling. It prevents sogginess in wet pies like custards or fruit pies. Line the crust with parchment paper or foil. Fill it with pie weights, dried beans, or rice to keep the dough flat. Bake until edges are light golden, usually 10-15 minutes. Remove weights and bake a few minutes more for a fully baked crust.
Ideal Oven Temperatures
Start baking pie crust at a high temperature, around 425°F (220°C). The heat creates steam that makes the crust flaky. After 10-15 minutes, reduce the oven to 350°F (175°C) to finish baking. This two-step baking avoids burning and ensures even cooking. Use an oven thermometer for accurate heat control.
Using Pie Weights
Pie weights stop the crust from puffing up during blind baking. Use ceramic or metal pie weights for best results. If unavailable, dried beans or rice work well too. Place a sheet of parchment or foil between the crust and weights. This keeps the dough clean and easy to remove. Weights help maintain a smooth, flat surface for fillings.

Credit: www.gimmesomeoven.com
Frequently Asked Questions
How Can I Make Pie Dough Without A Food Processor?
You can make pie dough by hand using a bowl and pastry cutter or your fingers. Mix flour, cold butter, salt, and ice water. Cut or rub the butter into the flour until crumbly. Add water gradually until dough forms.
Chill before rolling out.
What Tools Do I Need To Make Pie Dough Manually?
To make pie dough without a processor, you need a large mixing bowl, a pastry cutter or fork, and a rolling pin. You can also use your hands to mix and combine ingredients. A plastic wrap helps for chilling the dough.
How Do I Keep Pie Dough Flaky Without A Processor?
Use very cold butter and minimal water. Cut butter into small pieces and mix quickly. Handle the dough gently and avoid overmixing. Chill the dough before rolling out to keep it firm and flaky.
Can I Use Vegetable Shortening Instead Of Butter In Pie Dough?
Yes, vegetable shortening can be used for pie dough. It creates a tender crust but lacks butter’s rich flavor. For best results, use a mix of butter and shortening. Keep ingredients cold and handle dough gently for flakiness.
Conclusion
Making pie dough without a food processor is simple and fun. You only need a few basic tools and ingredients. Mixing by hand helps you feel the dough’s texture. This way, you control how soft or firm it becomes. Practice makes perfect, so try it a few times.
Soon, you’ll bake delicious pies with ease. No special machines needed. Just patience and a little effort. Enjoy the process and the tasty results.


