Imagine enjoying creamy, delicious ice cream made by your own hands, exactly how you like it. You don’t need to be a chef or have fancy skills.
With an ice cream machine and a few simple steps, you can create perfect homemade ice cream that beats store-bought every time. In this guide, you’ll discover easy tips and tricks to make your ice cream smooth, flavorful, and refreshing.
Ready to turn your kitchen into your favorite ice cream shop? Let’s dive in and make your dream dessert a reality!
Choosing The Right Ice Cream Machine
Choosing the right ice cream machine can make all the difference between a smooth, creamy treat and a disappointing batch. Your choice affects how easy it is to use, how much ice cream you can make at once, and the texture of the final product. Before you dive into making your first batch, it’s worth understanding what options are available and what features matter most to you.
Types Of Ice Cream Machines
There are three main types of ice cream machines to consider:
- Manual Ice Cream Makers– These require you to churn by hand. They’re inexpensive but need effort and time.
- Electric Compressor Machines– These machines have built-in freezers, so you don’t need to pre-freeze anything. They offer convenience and faster results.
- Freezer Bowl Machines– You freeze a bowl ahead of time, then the machine churns the ice cream. They’re affordable but require planning.
Think about how much hands-on work you want to do and how often you plan to make ice cream.
Features To Consider
Look for features that match your needs. A timer helps you keep track without guessing. Some machines come with automatic shut-off, which prevents over-churning.
Noise level is another factor. If your kitchen is small, a loud motor can get annoying quickly. Also, check if the parts are dishwasher safe for easy cleanup.
Do you want to make different types of frozen desserts? Some machines come with attachments for sorbet or frozen yogurt.
Budget And Size
Set a budget before you start shopping. Ice cream machines vary widely in price—from under $50 to several hundred dollars. More expensive machines tend to be more durable and faster but aren’t always necessary for casual use.
Consider the size of the machine and your kitchen space. A bulky machine might not fit comfortably on your countertop or in storage. Also, think about the batch size; larger machines make more ice cream but take up more room.
Ask yourself: How often will I really use it? Sometimes a smaller, simpler machine is the smarter buy if you’re not making ice cream regularly.
Essential Ingredients
Getting your ice cream right starts with choosing the essential ingredients carefully. The quality and combination of these ingredients shape the texture, taste, and overall experience of your homemade ice cream. Let’s break down what you need to have on hand before turning on your ice cream machine.
Basic Ingredients Needed
- Heavy Cream:This gives your ice cream its rich and creamy texture. Opt for fresh, full-fat cream for the best results.
- Whole Milk:Balances the creaminess and helps with freezing consistency. Skim milk won’t give the same smooth mouthfeel.
- Sugar:Sweetens the mixture and affects the ice cream’s softness. Granulated sugar works well, but you can experiment with brown sugar for a deeper flavor.
- Egg Yolks:These act as natural emulsifiers, making the ice cream smoother and preventing ice crystals. If you’re nervous about using raw eggs, try pasteurized ones.
- Vanilla Extract:A basic flavor enhancer that brightens the entire mix even when you plan to add other flavors.
Flavor Additions
You can easily customize your ice cream by adding flavors during or after the base is made. How do you decide what to add? Think about your favorite desserts or snacks.
- Fresh Fruits:Strawberries, mangoes, or blueberries add a natural sweetness and texture. Puree or chop them finely for the best incorporation.
- Chocolate Chips or Chunks:Stir these in towards the end of churning to keep their shape and crunch.
- Nuts and Seeds:Toasted almonds, pecans, or pistachios add a satisfying crunch and depth to your ice cream.
- Extracts and Spices:Almond extract, cinnamon, or even a pinch of chili powder can add unexpected yet delicious twists.
Tips For Freshness
Keeping your ice cream fresh and flavorful means paying attention to your ingredients’ quality and how you store them.
- Use fresh dairy products and check expiration dates before starting.
- Make your ice cream in small batches to enjoy it at its peak freshness.
- Store your finished ice cream in an airtight container to avoid freezer burn and flavor loss.
- Consider adding a tablespoon of vodka or another alcohol if you want a softer texture—alcohol lowers the freezing point without affecting taste much.
Are you ready to experiment with your favorite ingredients and create a custom ice cream flavor? Your ice cream machine is waiting for your creativity!
Preparing The Ice Cream Base
Preparing the ice cream base is the foundation of creating smooth, creamy ice cream with your machine. This stage shapes the texture, flavor, and overall quality of your final dessert. Paying attention to details here will make your homemade ice cream taste like it came from a professional kitchen.
Mixing Ingredients
Start by gathering fresh, quality ingredients: heavy cream, whole milk, sugar, and egg yolks if your recipe calls for them. Combine the sugar and milk first, stirring until the sugar dissolves completely. This step ensures your ice cream won’t have any grainy texture from undissolved sugar.
Next, add the cream and any flavorings like vanilla extract or cocoa powder. If you’re using eggs, whisk them separately and slowly mix them into the warm milk mixture to avoid scrambling. Have you noticed how smooth your mixture feels after careful blending? That’s the key to creamy ice cream.
Heating And Cooling Steps
Heat the mixture gently over medium-low heat, stirring constantly. Your goal is to thicken it slightly without boiling. This process, called tempering, cooks the eggs just enough to create a custard base that enhances richness.
Once thickened, immediately cool the mixture to stop cooking. Pour it into a clean bowl and place it in an ice bath or refrigerator. Rapid cooling prevents bacteria growth and preserves the delicate flavors you’ve worked to build.
Resting The Mixture
Allow the base to rest in the fridge for at least 4 hours, or overnight if possible. This resting period lets the flavors blend and the texture improve. It’s a step that many skip but can make a noticeable difference in your ice cream’s creaminess.
Have you ever tasted ice cream right after mixing? It often feels flat. Resting gives the ingredients time to marry, resulting in a richer, fuller taste. Your patience here will reward you with a superior homemade treat.

Credit: www.bonappetit.com
Operating The Ice Cream Machine
Making ice cream at home is easy with an ice cream machine. Simply mix your ingredients, pour them into the machine, and let it churn until creamy. Enjoy your fresh, homemade ice cream in no time.
Operating an ice cream machine can be a fun activity. It transforms your sweet mixture into a creamy delight. Follow these steps to ensure smooth operation and delicious results.
Setting Up The Machine
Begin by placing the ice cream machine on a flat surface. Ensure all parts are clean and dry. Plug the machine into a power outlet. Check the manufacturer's instructions for specific setup details. This prepares the machine for the ice cream-making process.
Pouring The Mixture
Pour your prepared ice cream mixture into the machine's bowl. Do not overfill. Leave space for expansion as the mixture churns. Close the lid securely. Make sure all components are locked in place. This prevents any spills or mishaps during operation.
Churning Process
Switch the machine on to start churning. The mixture should thicken within 20 to 30 minutes. Keep an eye on the consistency. You may stop when the ice cream reaches your desired thickness. Once done, turn off the machine and remove the bowl. Enjoy your homemade ice cream!
Adding Mix-ins And Flavors
Adding mix-ins and flavors to your ice cream brings excitement and texture. This step lets you customize your treat exactly how you want. The right timing and choice of mix-ins make a big difference in taste and texture.
When To Add Mix-ins
Mix-ins should go in during the last few minutes of churning. This keeps them evenly distributed without sinking or clumping. Adding them too early can break their texture or cause uneven flavor. Wait until the ice cream is almost firm but still soft.
Popular Mix-in Ideas
- Chocolate chips or chunks for a sweet crunch
- Chopped nuts like almonds or pecans for a nutty flavor
- Fruit pieces such as strawberries, blueberries, or mango
- Cookie crumbs or brownie bites for added richness
- Swirls of caramel, fudge, or fruit preserves
- Candy pieces like crushed peppermint or toffee bits
Balancing Flavors
Choose mix-ins that complement your base ice cream flavor. For vanilla, add berries or chocolate for contrast. For chocolate ice cream, try nuts or marshmallows for variety. Avoid overloading with too many flavors at once.
Keep a good balance between sweet, salty, and crunchy elements. This makes each bite interesting and enjoyable. Taste your mix-ins first to ensure they work well together.
Credit: applecakeannie.com
Storing And Serving
After you’ve churned your creamy ice cream, how you store and serve it makes all the difference in taste and texture. Proper handling keeps your homemade treat fresh and delicious, ready to impress your family and friends. Let’s dive into some practical tips to make sure every scoop tastes just right.
Freezing Tips
Once your ice cream machine finishes its magic, transfer the ice cream into an airtight container immediately. This step prevents ice crystals from forming, which can ruin the smooth texture you worked hard to achieve.
Press a piece of plastic wrap or parchment paper directly onto the surface of the ice cream before sealing the container. This extra barrier limits air exposure and keeps your ice cream creamy.
Store the container in the coldest part of your freezer, not the door, to avoid temperature fluctuations. Have you noticed how ice cream left in the freezer door often gets icy? That’s why placement matters.
Serving Suggestions
Before scooping, let your ice cream sit at room temperature for 5 to 10 minutes. This softens it slightly, making it easier to scoop perfect, round balls without tearing.
Think beyond cones and bowls: try topping your ice cream with fresh fruit, nuts, or a drizzle of honey or chocolate syrup. How about pairing it with warm brownies or a crisp cookie for a delightful contrast?
For a fun twist, use your homemade ice cream to create milkshakes or ice cream sandwiches. Serving your creation in creative ways can turn an ordinary treat into an unforgettable experience.
Shelf Life And Storage
Your homemade ice cream will taste best within one to two weeks of making it. Unlike store-bought versions, it lacks preservatives, so it’s best enjoyed fresh.
Label your containers with the date you made the ice cream to keep track. This simple habit helps you avoid unpleasant freezer surprises.
If you notice any freezer burn or off smells, it’s time to toss it. Trust your senses to keep your ice cream experience enjoyable every time.
Troubleshooting Common Issues
Using an ice cream machine can be a fun and rewarding experience, but sometimes things don’t go as planned. Troubleshooting common issues helps you fix problems quickly and get back to enjoying your homemade treat. Let’s look at some frequent challenges and how you can solve them effectively.
Ice Cream Not Freezing
If your ice cream isn’t freezing properly, the first thing to check is the temperature of your machine’s bowl or compartment. Is it cold enough? Many machines require the bowl to be frozen for 24 hours before use.
Also, consider the recipe’s ratio of ingredients. Too much sugar or alcohol can prevent freezing because they lower the mixture’s freezing point. Try reducing these or adding more cream or milk to balance the mix.
Have you ever left the machine running too long without enough freezing? This can warm the mixture and stop it from setting. Next time, keep an eye on the timer and check the ice cream’s consistency regularly.
Texture Problems
Is your ice cream turning out too icy or too soft? Texture issues often come from the mixture’s ingredients or churning time. If it’s icy, your mixture might lack enough fat or sugar, which help create a creamy texture.
On the other hand, if the ice cream is too soft or runny, it might need more churning. Sometimes, machines need an extra 5-10 minutes to whip enough air into the mixture for the right texture.
Did you add mix-ins like fruit or nuts? Adding these too early can affect texture. Add them in the last few minutes of churning or fold them in after freezing for the best result.
Machine Malfunctions
Is your ice cream machine making strange noises or not turning on? First, check the power source and ensure it’s plugged in securely. Loose connections are a common cause of malfunctions.
Look at the machine’s parts for any blockages or damage. Sometimes, leftover ice cream or liquid can clog the blades or motor. Cleaning your machine thoroughly after each use prevents this.
If the motor overheats, give your machine a break. Running it continuously for too long can cause overheating. Have you noticed the machine getting hot? Let it cool for at least 30 minutes before starting again.
Creative Ice Cream Recipes
Creative ice cream recipes bring fun and flavor to your homemade treats. Using an ice cream machine allows you to try different tastes and textures easily. You can keep it simple or experiment with bold flavors. The key is to use fresh ingredients and balance sweetness with creaminess. Here are some ideas to inspire your next batch.
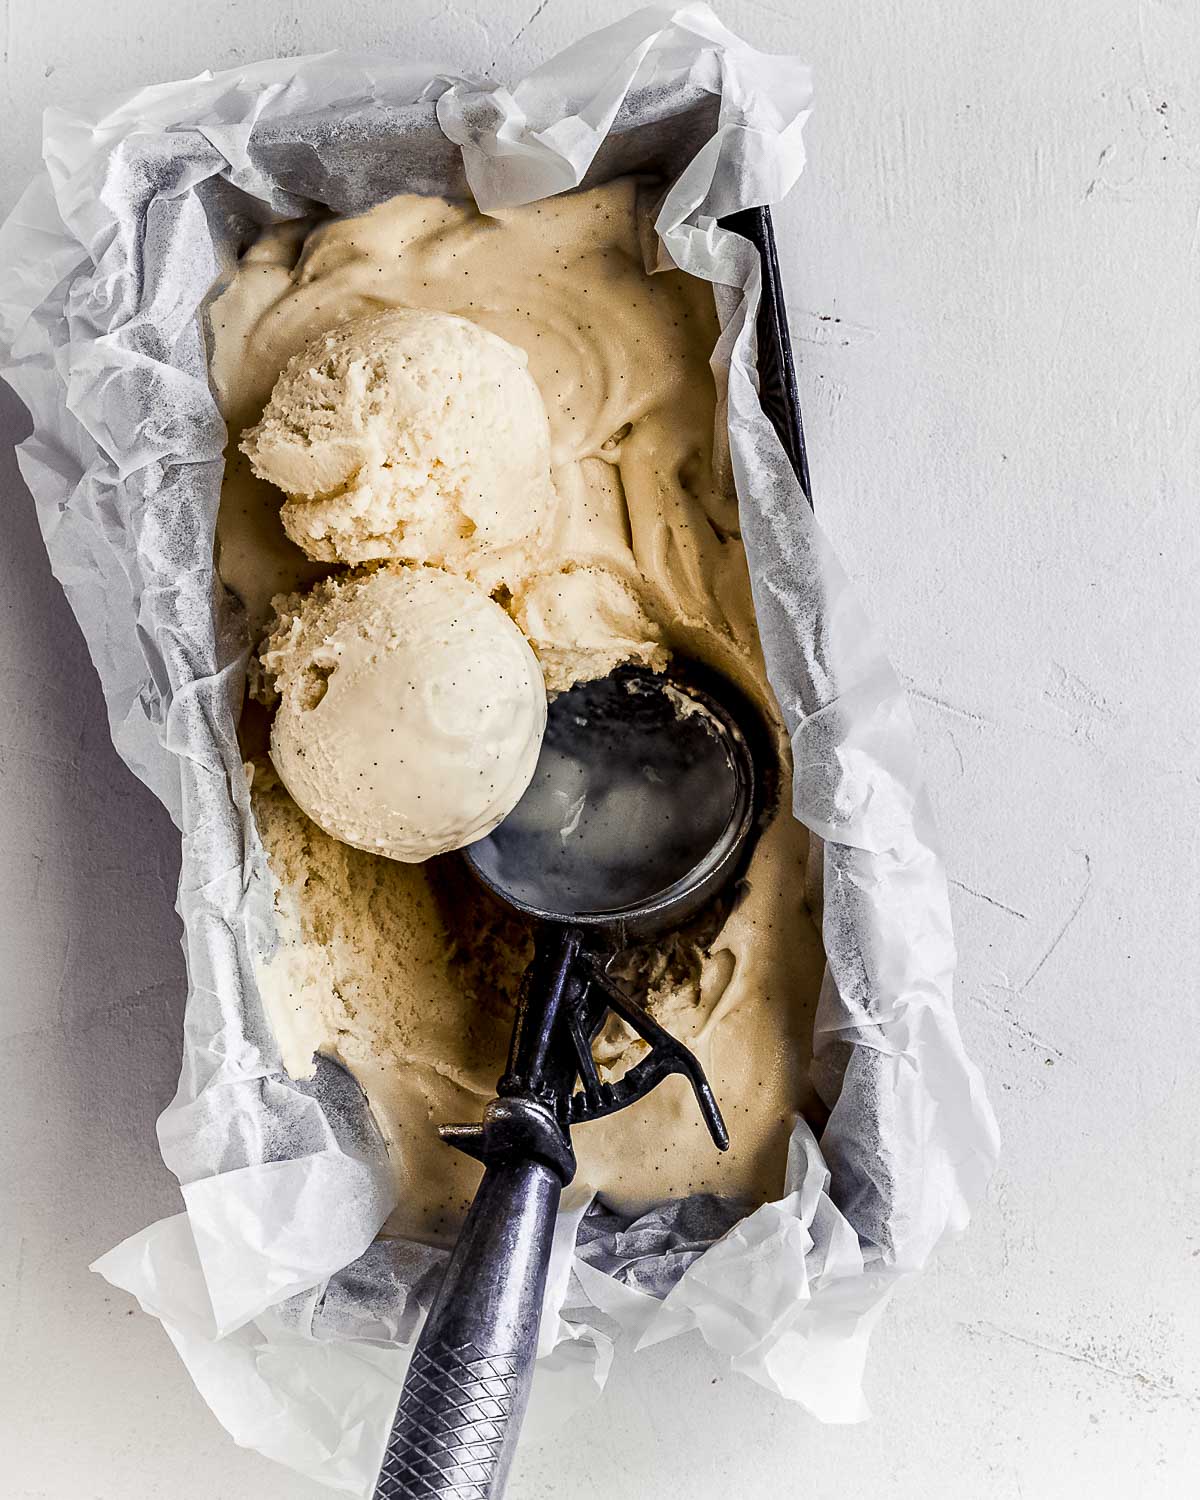
Classic Vanilla
Vanilla is a timeless favorite. Use high-quality vanilla beans or extract for a rich taste. The base is simple: milk, cream, sugar, and vanilla. This recipe highlights the smooth and creamy texture of your ice cream machine. Serve it plain or with toppings like chocolate chips or fresh fruit.
Chocolate Lovers
Chocolate ice cream is a must for many. Use cocoa powder or melted dark chocolate for a deep flavor. Mix in chocolate chunks or fudge swirls for extra richness. The ice cream machine makes the texture perfectly smooth and creamy. This recipe satisfies any chocolate craving.
Fruit-based Flavors
Fruit flavors add freshness and color to your ice cream. Use pureed berries, mango, or peaches for bright, natural sweetness. Balance the fruit with sugar and cream for a soft texture. Add small fruit pieces for a delightful bite. These flavors are perfect for warm days and a healthy twist.

Credit: www.youtube.com
Frequently Asked Questions
How Long Does Ice Cream Take In A Machine?
Ice cream usually takes 20 to 40 minutes to churn in a machine. The exact time depends on the recipe and machine model. Check the consistency; it should be thick and creamy before stopping the machine. Avoid over-churning to keep texture smooth.
Can I Use Any Ice Cream Machine?
Most home ice cream machines work well with standard recipes. However, follow your machine’s instructions for best results. Some machines need pre-frozen bowls, while others have built-in freezers. Choose a machine that suits your usage frequency and recipe style.
What Ingredients Are Needed For Homemade Ice Cream?
Basic ingredients include cream, milk, sugar, and flavorings like vanilla. You can add fruits, nuts, or chocolate for variations. Use fresh, high-quality ingredients for the best taste. Adjust sugar and cream ratios to get desired texture and sweetness.
How To Prevent Ice Crystals In Ice Cream?
To avoid ice crystals, churn the mixture well and keep it cold during freezing. Use ingredients like sugar and fat which lower freezing point. Store ice cream in an airtight container to prevent moisture exposure and texture changes.
Conclusion
Making ice cream with a machine is fun and simple. You just need a few ingredients and some patience. The machine does most of the work, mixing and freezing the cream. You can try many flavors and add your favorite toppings.
Homemade ice cream tastes fresh and creamy. It saves money and lets you control what goes in. Give it a try and enjoy your tasty treat anytime. Ice cream making can become a fun hobby for everyone. Ready to make your own?