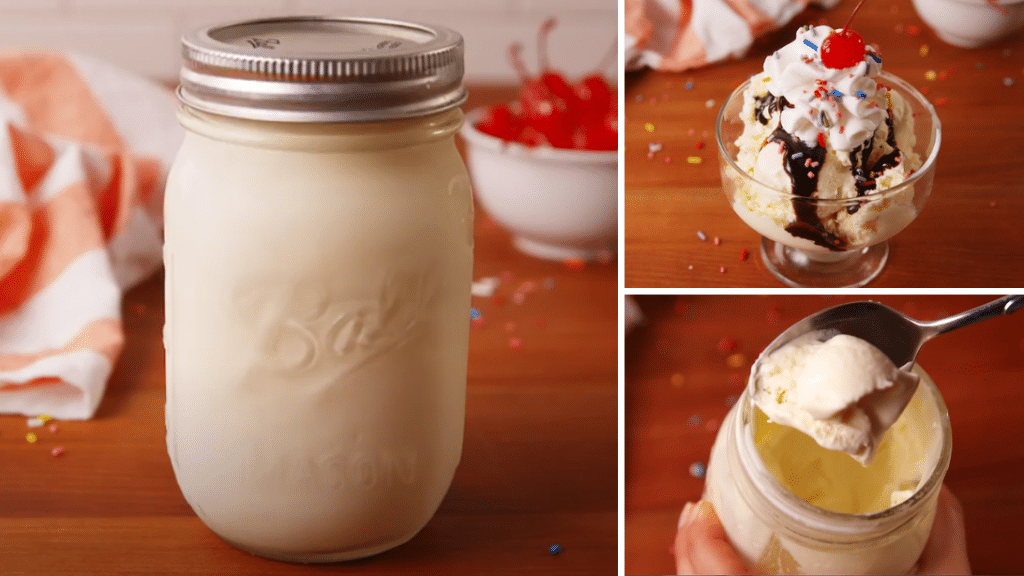
Craving something sweet and cold but don’t want to leave your home? You can make delicious ice cream right in your kitchen using just a simple mason jar.
It’s fun, quick, and perfect for anyone who loves a tasty treat without the hassle. Imagine creating creamy, homemade ice cream with flavors you choose, all while enjoying the satisfaction of making it yourself. Keep reading, and you’ll discover easy steps to turn a few ingredients into a refreshing dessert you’ll want again and again.
Credit: diyjoy.com
Ingredients Needed
Making ice cream in a mason jar is a fun and simple way to enjoy a homemade treat. The key to great ice cream starts with the right ingredients. Knowing what to gather before you begin saves time and ensures your ice cream turns out creamy and delicious every time.
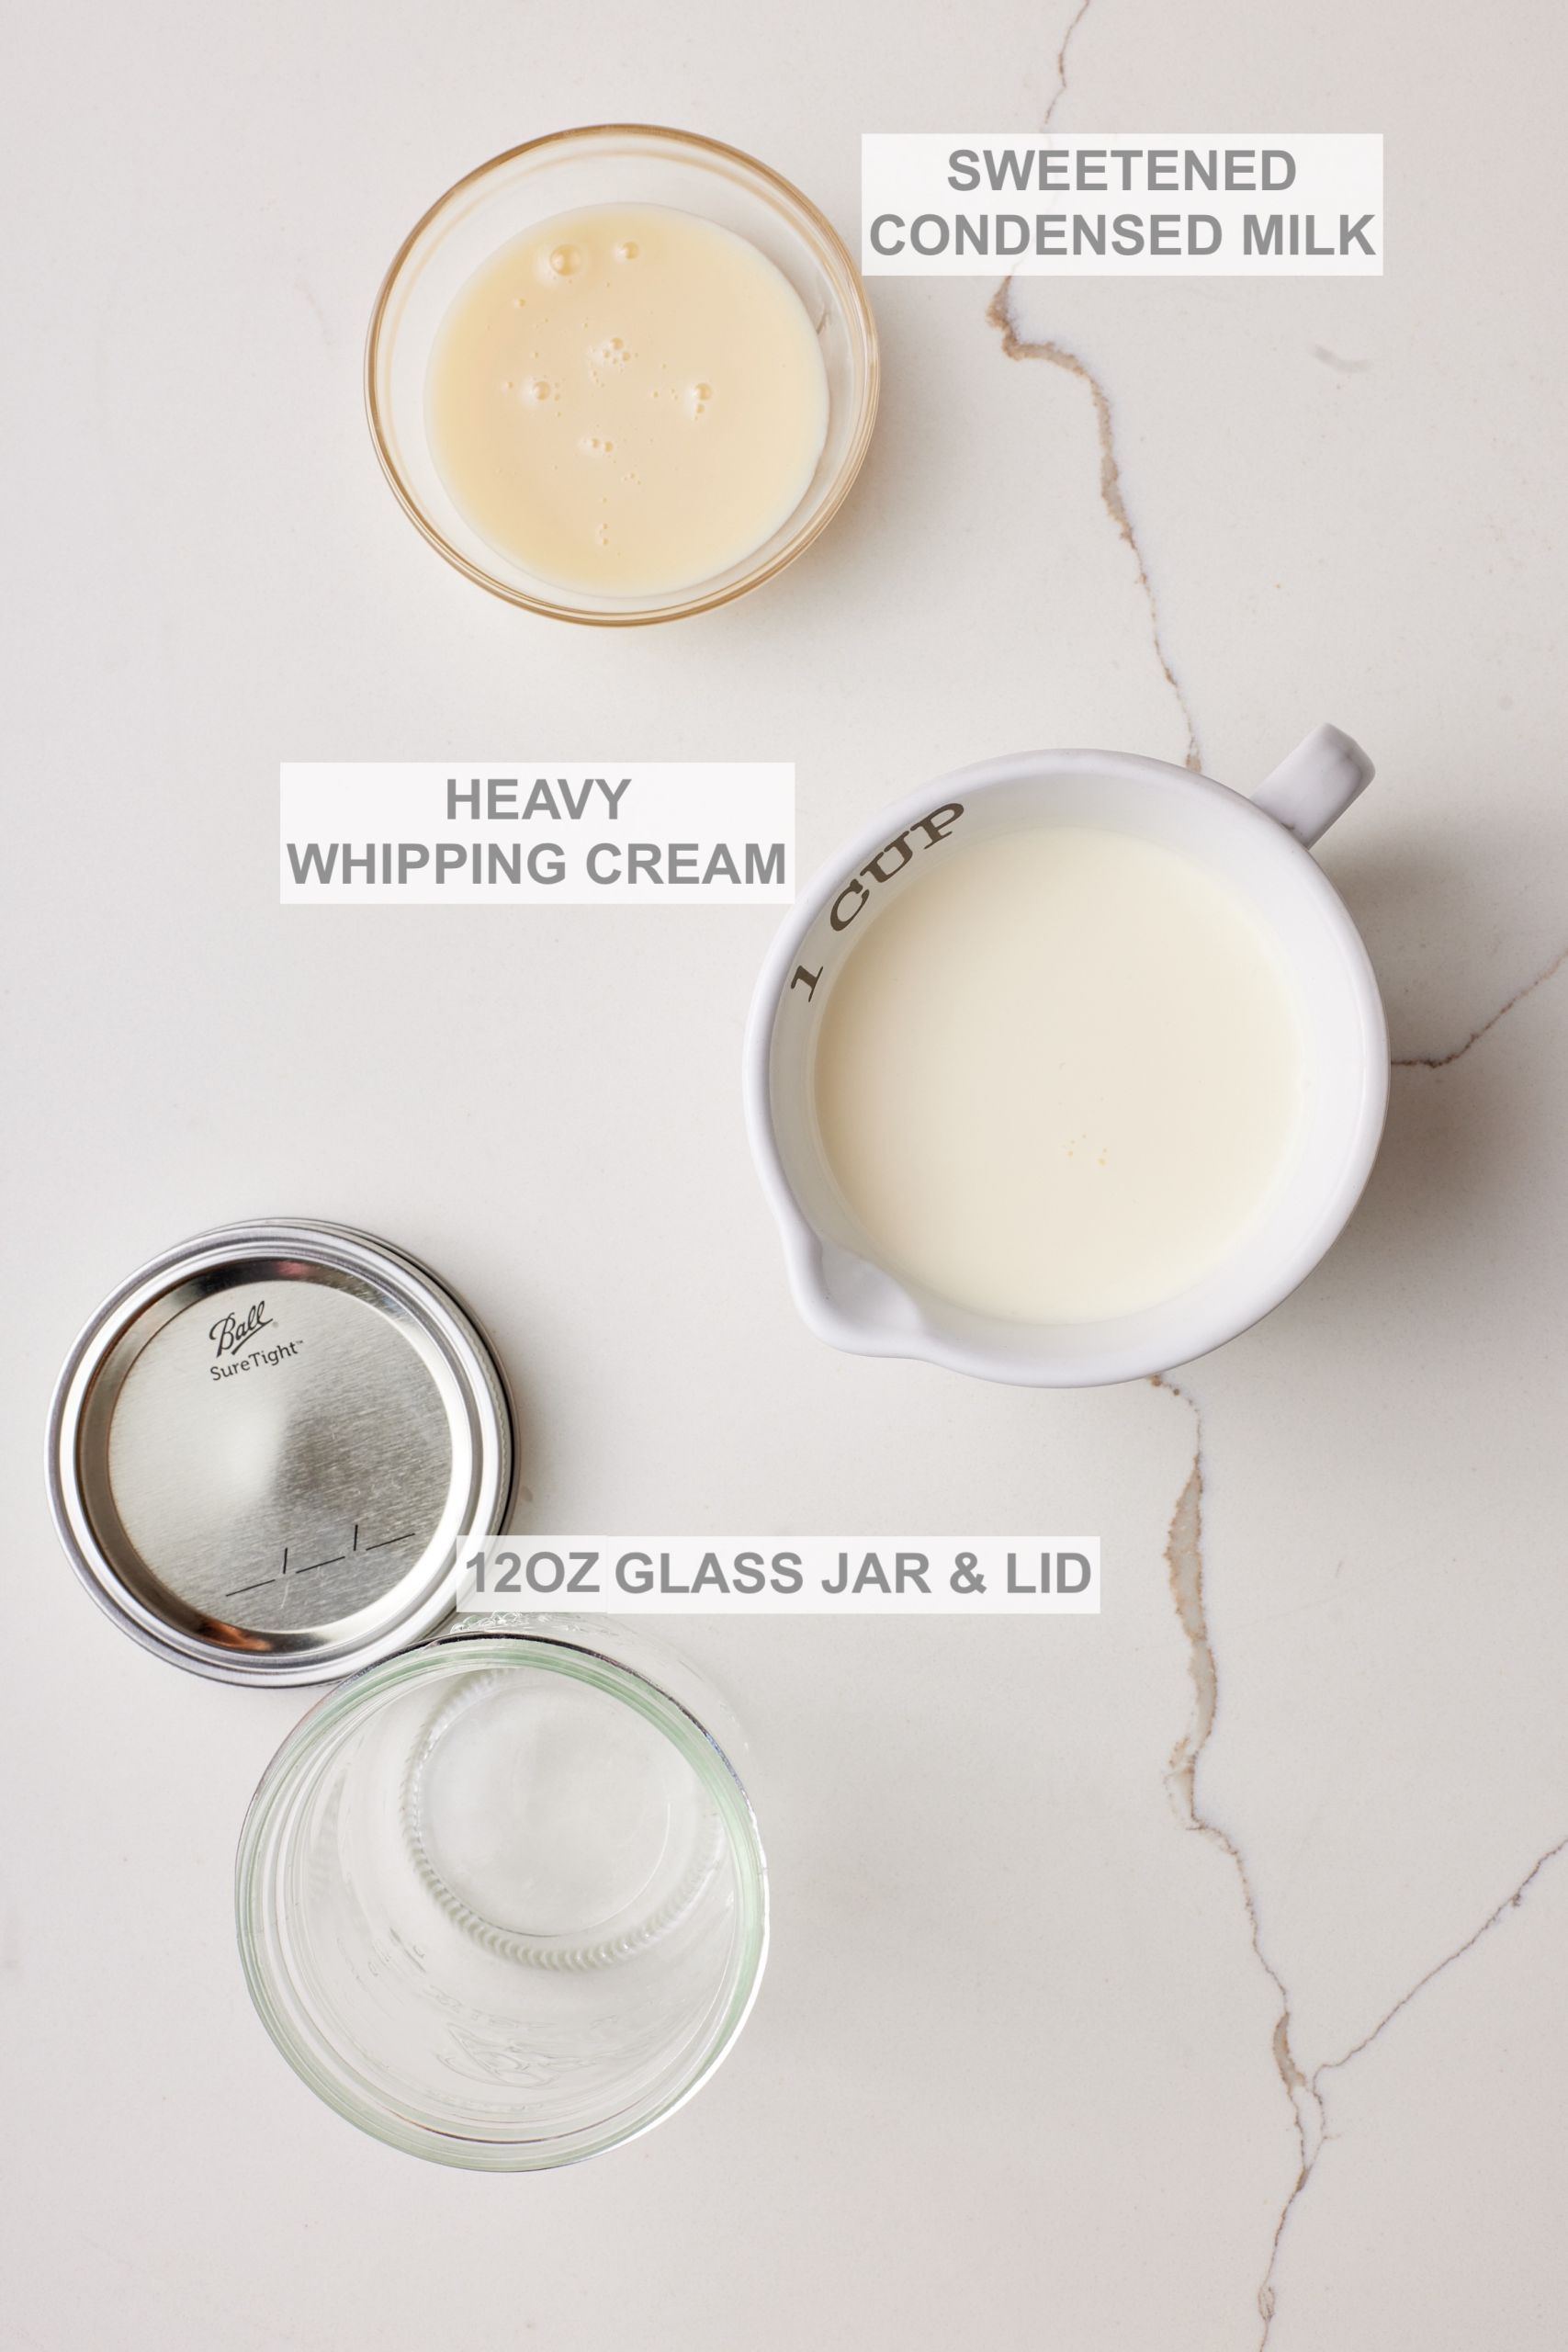
Basic Ingredients
- Heavy cream:This gives your ice cream its rich and creamy texture. Whole milk can work too, but cream makes it smooth and indulgent.
- Sugar:Regular granulated sugar sweetens the ice cream. You can adjust the amount depending on how sweet you like it.
- Vanilla extract:A small splash adds depth and warmth to the flavor. Pure vanilla extract works best for authentic taste.
- Ice:You’ll need plenty of ice to surround the mason jar and freeze the mixture quickly.
- Salt:Rock salt or kosher salt helps lower the freezing point of the ice, making the mixture freeze faster.
These ingredients are easy to find and keep in your kitchen. Have you ever noticed how just a pinch of salt can make ice cream freeze better? It’s a handy trick that makes the process quicker and more effective.
Optional Mix-ins
- Chocolate chips or chunks:Add a bit of crunch and chocolatey goodness.
- Fruit pieces:Strawberries, blueberries, or mango bits bring fresh bursts of flavor.
- Nuts:Chopped almonds, pecans, or walnuts add texture and a nutty taste.
- Cookie crumbs or candy bits:Crushed Oreos, M&Ms, or your favorite candy make it more exciting.
- Flavor extracts:Mint, almond, or coconut extracts can give your ice cream a unique twist.
Think about your favorite ice cream flavors. Which mix-ins would you add to make this mason jar version uniquely yours? The beauty of this recipe is how you can customize it easily.
Choosing The Right Mason Jar
Choosing the right mason jar is essential for making ice cream that’s both delicious and easy to prepare. The jar you select affects freezing time, cream texture, and how simple it is to shake and seal. Picking a jar that fits your recipe and handling style can make the whole process more enjoyable.
Size And Material
Size matters because it influences how much ice cream you can make and how well the mixture freezes. A pint-sized jar (16 oz) works great for individual portions or small batches. If you want to make ice cream for more people, a quart-sized jar (32 oz) is better, but it might take longer to freeze evenly.
Glass jars are ideal because they handle cold temperatures well and don’t absorb flavors. They also let you see the mixture inside, which is handy for checking consistency. Avoid plastic jars as they might crack in the freezer or affect taste.
Sealing Tips
A tight seal prevents leaks while you shake the jar and keeps the ice cream mixture cold. Look for jars with sturdy metal lids that screw on securely. Sometimes, using a new lid ensures the best seal because older lids may lose their grip.
To avoid spills, test the seal by filling the jar with water and shaking it gently before you add your ingredients. If water leaks, try another lid or press the seal firmly while screwing it on. A good seal means less mess and better ice cream texture.
Step-by-step Preparation
Making ice cream in a mason jar is a fun and simple process. It requires only a few ingredients and tools. This step-by-step guide breaks down the preparation. Follow these easy steps to enjoy homemade ice cream quickly.
Mixing The Ice Cream Base
Start by adding the main ingredients to a small bowl or directly into the mason jar. Use heavy cream, sugar, and vanilla extract for a classic flavor. Stir or shake the mixture until the sugar dissolves completely. This creates a smooth and creamy base for the ice cream.
Filling The Jar
Pour the ice cream base into the mason jar. Fill it only halfway to leave space for shaking. Screw the lid on tightly. This prevents leaks during the shaking process. A tight seal is important to keep the ice cream mixture inside.
Adding Ice And Salt
Fill a larger container or bag with ice cubes. Add rock salt to the ice to lower its freezing point. Place the jar filled with the ice cream base into the ice. Cover the jar completely with ice and salt. Shake the jar vigorously. This helps the mixture freeze evenly and quickly.
Shaking Techniques
Shaking your ice cream mixture in a mason jar is where the magic happens. The texture and creaminess depend largely on how you shake. Mastering the right techniques can make your homemade ice cream smooth and delicious, turning a simple jar into a mini ice cream maker.
Manual Shaking Tips
Hold the mason jar firmly and shake it with steady, strong movements. Try to keep the jar mostly horizontal to spread the mixture evenly against the ice and salt outside. Quick, rhythmic shakes work better than slow, lazy ones because they create more friction and help freeze the cream faster.
It helps to switch directions every 30 seconds. Shake up and down, then side to side. This variation stops the ice cream from freezing unevenly or forming large ice crystals.
Using A Towel For Grip
Shaking can get slippery and cold, especially with ice and salt involved. Wrapping a thick towel around the jar gives you a better grip and protects your hands from the cold. This simple trick lets you shake harder and longer without discomfort.
You can also fold the towel to create a cushion between your hands and the jar. This reduces hand fatigue and prevents the jar from slipping out of your grip—something I learned the hard way after dropping my jar once!
Time Required
Most recipes suggest shaking for about 5 to 10 minutes, but the exact time varies depending on your shaking speed and the ice-salt mixture. If the jar feels heavy and the mixture inside looks thick, you’re on the right track.
Keep an eye on the texture every couple of minutes. If you stop too early, the ice cream will be too soft; shake too long, and it might get icy. Feel free to taste test—after all, you’re making this for your own enjoyment!
Flavor Variations
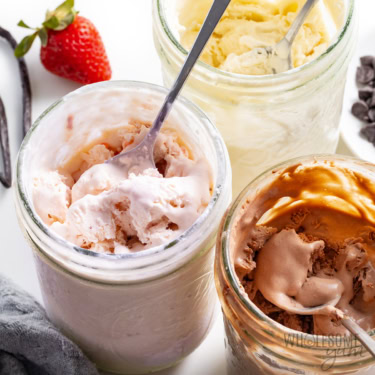
Ice cream in a mason jar offers endless flavor possibilities. Simple ingredients mix easily to create delicious treats. Experimenting with flavors makes the process fun and unique. Here are some tasty ideas to try at home.
Fruit Flavors
Fresh fruits add natural sweetness and vibrant colors. Use berries, mango, or peaches for refreshing tastes. Mash or puree fruits before adding to the cream base. Freeze with small fruit pieces for texture. Citrus zest brightens flavors with a tangy twist.
Chocolate And Nutty Additions
Chocolate is a classic ice cream favorite. Mix cocoa powder or chocolate chips into the jar. Nuts add crunch and rich flavor. Try crushed almonds, walnuts, or hazelnuts. Peanut butter swirled in creates a creamy, nutty taste. Use dark, milk, or white chocolate for variety.
Creative Combinations
Combine flavors to surprise your taste buds. Try strawberry with basil for a fresh twist. Chocolate and orange zest create a zesty treat. Coconut and pineapple bring tropical vibes. Add a pinch of cinnamon or vanilla to enhance any mix. Use your imagination to find new favorites.
Credit: www.wholesomeyum.com
Serving Suggestions
Serving your homemade ice cream in a mason jar adds a charming touch, but how you present and garnish it can make it truly unforgettable. The way you serve your ice cream can enhance the experience, making it more fun and inviting. Let’s look at some practical ideas to make your mason jar ice cream look and taste even better.
Presentation Ideas
Think about layering your ice cream with colorful ingredients inside the jar. You could add crushed cookies, fresh fruit, or a drizzle of chocolate sauce between scoops to create beautiful layers visible through the glass.
Try tying a piece of twine or a ribbon around the jar’s neck for a rustic feel. Adding a small tag with a fun message or flavor name makes it feel personalized and special.
Serving the jar on a small plate with a matching spoon can keep things neat and make it easier to enjoy. You might also place a small napkin under the jar to catch any drips.
Toppings And Garnishes
Toppings make your ice cream pop with flavor and texture. Crunchy nuts like almonds or pecans add a satisfying bite, while fresh berries bring a burst of freshness.
Consider adding a dollop of whipped cream or a sprinkle of cinnamon for extra flair. Don’t forget chocolate chips, sprinkles, or even a few mini marshmallows for a playful touch.
Experiment with unexpected garnishes such as edible flowers or a small cookie perched on top. These simple extras can turn your mason jar ice cream into a delightful treat that’s as beautiful as it is tasty.
Cleaning And Reusing Mason Jars
Cleaning mason jars thoroughly ensures safe reuse for making delicious ice cream at home. Rinse with warm soapy water, then sterilize by boiling or using a dishwasher. Properly cleaned jars keep your ice cream fresh and tasty.
Cleaning and reusing mason jars can enhance your ice cream-making experience. Proper care ensures they last longer and stay safe for food. After enjoying your homemade treat, focus on keeping your mason jars in top shape.
Proper Cleaning Methods
Rinse the mason jar with warm water immediately after use. This prevents residue from sticking. Use a mild dish soap to remove any remaining ice cream. Scrub gently with a soft sponge to avoid scratches. Pay special attention to the jar's neck and lid. These areas often trap food particles. Rinse thoroughly to remove all soap. For stubborn residues, fill the jar with a vinegar and water solution. Let it sit for a few minutes. This helps break down tough spots. Rinse again with warm water. Dry the jar completely before storing it.
Storage Tips
Store mason jars with lids off to avoid odors. This lets air circulate inside. Keep them in a dry, cool place. Avoid direct sunlight. It can weaken the glass over time. Stack jars carefully to prevent chipping or breaking. Place a soft cloth between stacked jars for added protection. Label jars for easy identification. This helps when you have different flavors or batches. Regularly check jars for cracks or chips before reuse. Safety is key in food storage.
Troubleshooting Common Issues
Common problems include uneven freezing or watery texture. Shaking the jar consistently and using enough ice with salt helps. Sealing the jar tightly prevents leaks and keeps ice cream smooth.
Making ice cream in a mason jar is simple and fun. Yet, sometimes things don't go as planned. Let's tackle some common issues you might face.
Ice Cream Not Freezing
If your ice cream isn't freezing, check the freezer's temperature. It should be set to the coldest setting. Place the jar at the back of the freezer. This spot is the coldest. Also, ensure you shake the jar well before freezing. This helps mix the ingredients evenly.
Jar Leaks
Leaking jars can be frustrating. First, check the jar's seal. A tight seal prevents leaks. Inspect the jar for cracks. Even small cracks can cause leaks. Use a new jar if needed. Clean the rim and lid before sealing. This ensures a proper fit.
Texture Problems
Texture issues usually arise from improper mixing. Shake the jar for at least five minutes. This ensures a smooth consistency. If the ice cream is too hard, let it sit at room temperature. Five minutes should be enough. For a creamier texture, use heavy cream instead of milk.
Credit: www.biggerbolderbaking.com
Frequently Asked Questions
How Do You Make Ice Cream In A Mason Jar?
Combine cream, sugar, and flavor in a mason jar. Seal tightly and shake vigorously for about 10 minutes. Freeze for a few hours before serving. This simple method creates homemade ice cream without an ice cream maker.
What Ingredients Are Needed For Mason Jar Ice Cream?
You need heavy cream, sugar, vanilla extract, and any preferred flavorings. Optional mix-ins include chocolate chips or fruit. These basic ingredients blend well to create creamy, delicious ice cream in your mason jar.
How Long Does It Take To Make Ice Cream In A Jar?
Shaking the jar takes about 10 minutes. Then, freeze the jar for 2-3 hours to solidify the ice cream. The total time is approximately 3 hours for best texture and taste.
Can Kids Safely Make Ice Cream In Mason Jars?
Yes, this method is kid-friendly. Children can help shake the jar and add ingredients. Always supervise to ensure the jar is sealed tightly and handle with care.
Conclusion
Making ice cream in a mason jar is simple and fun. You only need a few ingredients and some shaking. This method lets you enjoy fresh ice cream anytime at home. Kids love helping with the process. Try different flavors to find your favorite.
It’s a great way to cool down on hot days. Give it a try and enjoy a tasty treat with family and friends. Easy, quick, and delicious—what’s not to like?