Craving a crispy, warm panini but don’t have a panini press? You’re not alone, and the good news is—you don’t need one to make a delicious sandwich at home.
Imagine biting into perfectly toasted bread with melted cheese and your favorite fillings, all made with tools you already have. In this guide, you’ll discover simple, easy tricks to create the perfect panini without special equipment. Ready to impress your taste buds and save money?
Keep reading to learn how!
Choosing The Right Bread
Choosing the right bread is crucial when making a panini without a panini press. The bread you pick will affect the texture, flavor, and how well your sandwich holds together under heat. Picking the perfect bread can make your homemade panini taste just as good as one from a café.
Best Bread Types For Paninis
Not all bread types work well for paninis. You want bread that crisps up nicely but doesn’t become too hard or fall apart.
- Ciabatta:This classic Italian bread has a sturdy crust and airy inside that crisps beautifully and holds fillings well.
- Sourdough:Its tangy flavor and firm texture make it a great choice for grilled sandwiches.
- Baguette:A crusty baguette offers crunch and a chewy bite, perfect for panini fillings.
- Focaccia:Slightly thicker and oilier, focaccia adds a unique flavor and stays soft inside while toasting.
Think about the flavors you want in your sandwich and how the bread will complement them. Have you noticed how bread with a strong crust changes the entire eating experience?
Bread Texture And Thickness
The texture and thickness of your bread impact how the panini cooks without a press. Bread that is too thin might burn quickly, while very thick bread can stay doughy inside.
Look for bread that’s about ¾ inch thick. This thickness allows the heat to melt the cheese and warm the fillings evenly while getting a golden crust outside.
A denser texture helps the bread hold up when you press it down with a heavy pan or skillet. Soft breads like sandwich loaf may get soggy or squish too much without a panini press.
Ask yourself: how much crunch do you want versus softness inside? Adjusting thickness and texture is your key to a perfectly balanced panini.

Selecting Fillings
Choosing the right fillings shapes the taste and texture of your panini. Balancing cheese, meats, vegetables, and sauces creates a satisfying sandwich. Each ingredient should complement the others without overpowering them. Freshness and flavor variety make every bite enjoyable. Start by picking your main fillings, then enhance with extras for that perfect panini.
Popular Cheese Options
- Mozzarella: Melts smoothly and has a mild flavor.
- Provolone: Offers a slightly sharper, nutty taste.
- Swiss: Adds a sweet, nutty flavor and melts well.
- Cheddar: Brings a strong, sharp taste to the sandwich.
- Fontina: Creamy and melts easily with a subtle flavor.
Meat And Veggie Choices
- Ham: Classic and pairs well with most cheeses.
- Turkey: Lean and mild, great for light sandwiches.
- Roast beef: Rich flavor, perfect for heartier paninis.
- Grilled vegetables: Adds texture and freshness.
- Spinach or arugula: Brings a peppery, green bite.
- Tomatoes: Juicy and slightly sweet for balance.
Adding Flavors And Sauces
- Mustard: Sharp and tangy, brightens the sandwich.
- Pesto: Herbaceous and rich, adds depth.
- Mayo: Smooth and creamy, softens strong flavors.
- Balsamic glaze: Sweet and tangy, enhances veggies.
- Olive oil: Adds moisture and subtle richness.
Preparing Your Panini
Preparing your panini is the key to a delicious, perfectly toasted sandwich. How you layer and distribute your ingredients affects every bite, from the crunch of the bread to the flavor balance inside. Paying attention to these details ensures your homemade panini feels like it came from a café, even without a press.
Layering Ingredients Properly
Start with a sturdy bread that can hold up to grilling, like ciabatta or sourdough. Place your cheese directly on the bottom slice; it melts beautifully and helps keep other ingredients from making the bread soggy.
Next, add your meats or vegetables. Keep wetter ingredients, like tomatoes or pickles, away from the bread by placing them in the center. This prevents sogginess and keeps the bread crisp.
Finish with any fresh greens or herbs on top, so they stay vibrant and don’t wilt under heat. Think about how each layer will interact when pressed—this balance can turn your panini from good to great.
Tips For Even Distribution
- Spread ingredients evenly:Don’t pile everything in the middle. Spread meats, cheeses, and veggies across the bread to ensure every bite has flavor.
- Control moisture:Pat wet ingredients dry with a paper towel before adding. Too much moisture can make your panini soggy and harder to grill evenly.
- Use thin slices:Thin cuts of meat and cheese melt and heat faster, giving you a warm, gooey panini without overcooking the bread.
I once rushed and threw thick slices of tomato directly on the bread. The result was a soggy bottom and a disappointing crunch. Adjusting your layering and drying ingredients first can save you from that experience.
How do you arrange your panini ingredients now? Experiment with these tips and see how your sandwich transforms.
Cooking Without A Panini Press
Not having a panini press doesn’t mean you have to miss out on the joy of a warm, crispy panini. Cooking without this handy gadget is easier than you might think and can actually give you more control over the process. With just a few common kitchen tools, you can achieve that perfect grilled sandwich texture and flavor.
Using A Skillet Or Grill Pan
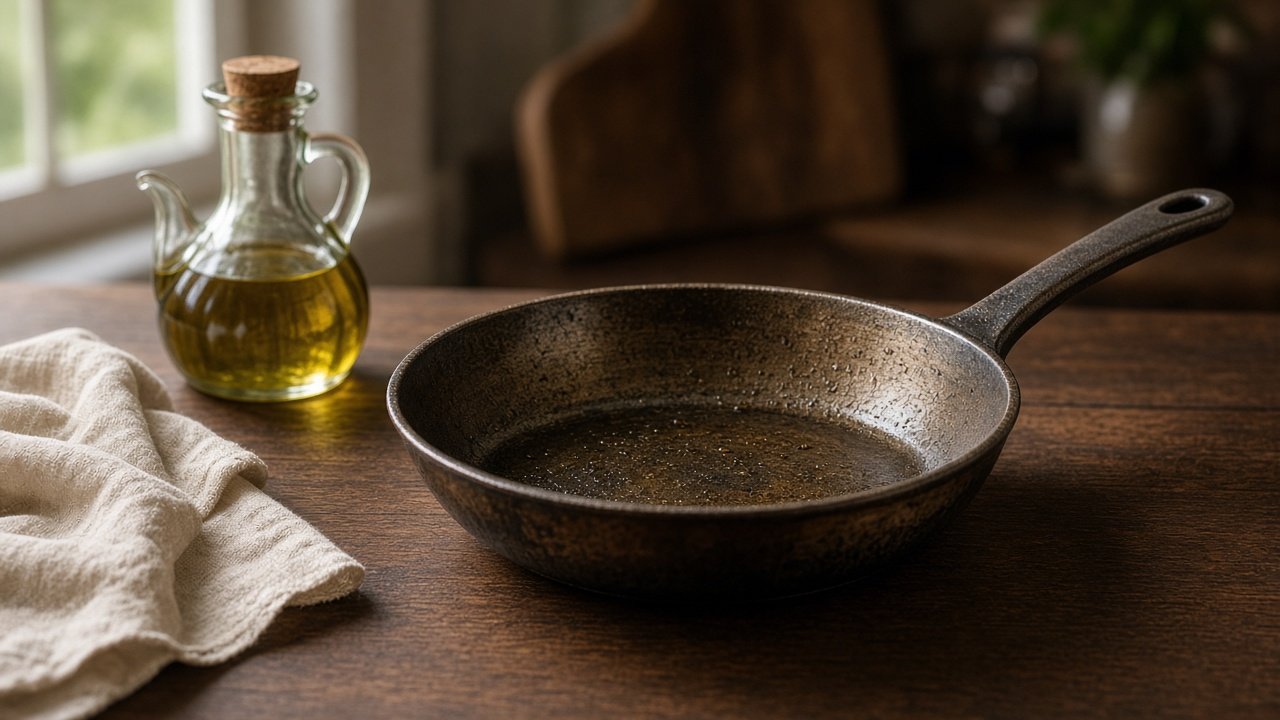
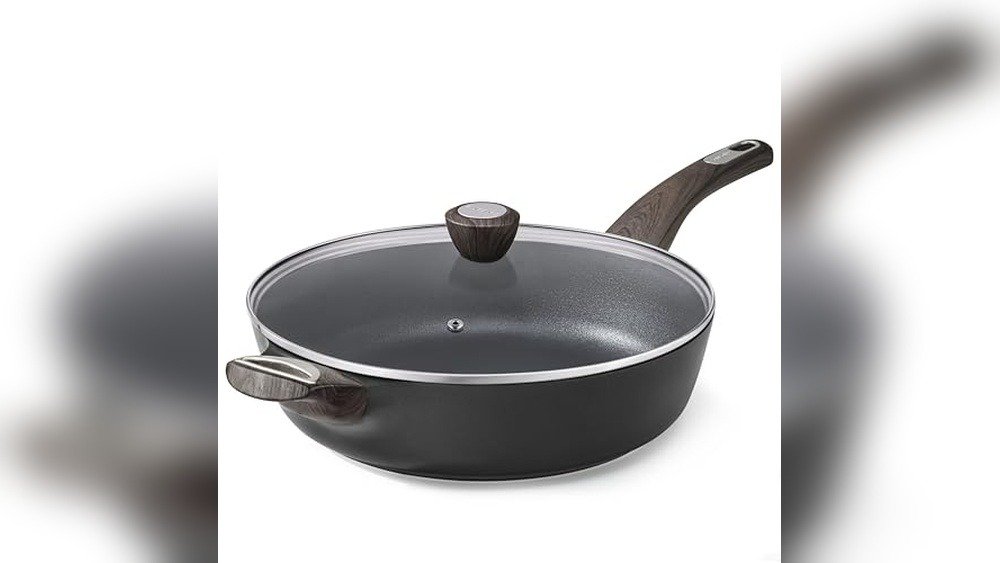
A heavy skillet or grill pan can be your best friend when you want to make a panini without a press. Heat the pan over medium heat, then place your sandwich inside. Press it down firmly with a spatula to help the bread crisp up and the fillings warm evenly.
Flip the sandwich carefully after a few minutes and press down again. This mimics the direct heat and weight of a panini press. You’ll notice those golden grill marks forming, giving you that authentic panini look and taste.
Applying Weight With Household Items
Have you ever thought about using common household items to press your sandwich? Grab a clean, heavy object like a cast iron skillet, a few canned goods, or even a brick wrapped in foil. Place the item on top of your sandwich while it cooks in the pan to apply consistent pressure.
This pressure helps the sandwich crisp up and the cheese melt perfectly. I once used a thick cookbook wrapped in foil when nothing else was around—it worked surprisingly well. What heavy item could you find in your kitchen right now?
Alternative Methods: Oven And Toaster Oven
If you prefer a hands-off approach, your oven or toaster oven can do the job. Preheat to about 375°F (190°C), place your sandwich on a baking sheet, and set another heavy oven-safe tray or foil-wrapped item on top to press it down.
Bake for 8-10 minutes, flipping halfway through to brown both sides evenly. This method is perfect for making multiple sandwiches at once without standing over the stove. Have you tried using your oven for sandwiches before? It might just become your new favorite trick.
Achieving The Perfect Crisp
Press the sandwich with a heavy pan or skillet to create grill marks and a crispy crust. Cook on medium heat, flipping often to ensure even browning. Use a little butter or oil for extra crunch and flavor.
Achieving the perfect crisp on a panini without a press seems tricky. But with some simple tricks, you can get that desired crunch. The key lies in managing heat levels and timing. These factors ensure your panini is browned and the cheese melts perfectly.
Managing Heat Levels
Use a skillet or grill pan. Preheat it over medium heat. This ensures even cooking. Too high heat burns the bread. Too low heat leaves it soggy. Using a heavy pot or lid, press down on the panini. This mimics the pressure of a panini press. It helps create a crisp texture.
Timing For Melting And Browning
Cook each side for about 3 to 4 minutes. This time allows the cheese to melt. The bread turns golden brown. Check for the desired crispness. Adjust the time if needed. Flip the panini gently to avoid spills. A perfectly timed cook ensures a delicious, crunchy panini.

Serving And Storing
Serving and storing your homemade panini without a press can be just as rewarding as making it. How you cut and present your sandwich can elevate the eating experience, making each bite more enjoyable. Plus, knowing the right way to store leftovers ensures your panini stays fresh and tasty for your next meal.
Cutting And Presentation Tips
Cut your panini diagonally to create two perfect triangles. This simple trick not only looks appealing but also makes the sandwich easier to handle and eat.
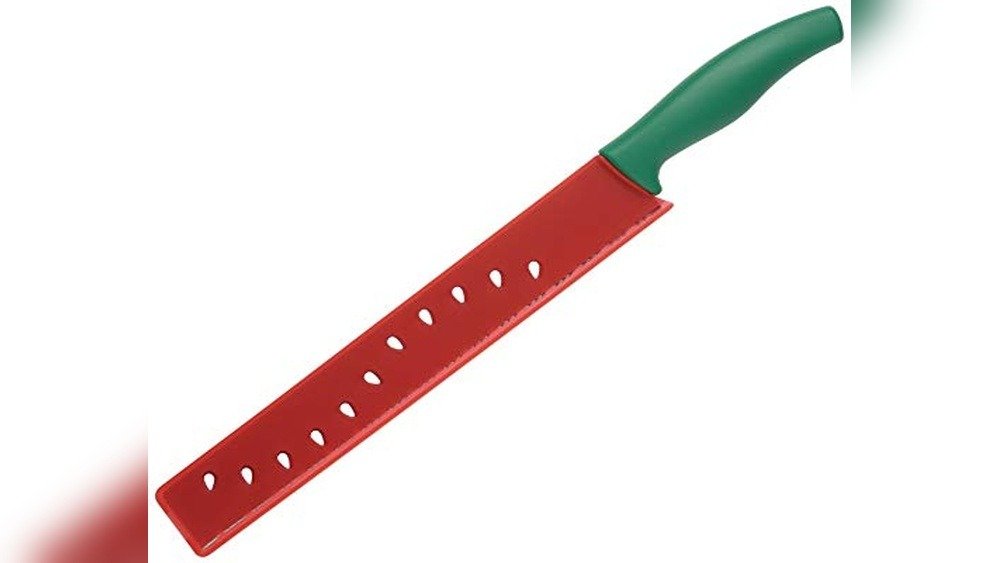
Use a sharp serrated knife to avoid squishing the sandwich. A clean cut helps keep all those delicious fillings intact.
Consider adding a side like pickles, chips, or a small salad to balance flavors and textures. Presentation is about more than looks; it sets the mood for your meal.
Storing Leftovers Safely
Wrap your leftover panini tightly in plastic wrap or aluminum foil to preserve moisture and prevent it from drying out. Avoid storing it uncovered, as this leads to a soggy or stale sandwich.
Place your wrapped panini in the refrigerator if you plan to eat it within 1-2 days. For longer storage, freezing works well, but be sure to reheat thoroughly to regain that crispy texture.
Reheating in a skillet or oven, rather than a microwave, helps keep your panini crunchy. Have you tried reheating your panini this way? It makes all the difference.
Troubleshooting Common Issues
Making a panini without a panini press can bring some challenges. Common problems include soggy bread and overcooked fillings. These issues can affect taste and texture. Troubleshooting helps keep your sandwich crisp and tasty.
Avoiding Soggy Bread
Soggy bread happens when moisture builds up. Use firm bread like ciabatta or baguette for better texture. Toast the bread lightly before assembling the sandwich. This creates a barrier against moisture.
Wrap the sandwich in foil while pressing. It helps keep heat even and prevents steam. Avoid adding too many wet ingredients. Spread sauces thinly and pat vegetables dry. These small steps protect the bread from sogginess.
Preventing Overcooked Fillings
Fillings like cheese and meat can overcook quickly. Slice ingredients thin so they heat evenly. Use medium heat to avoid burning outside while inside stays cold. Press the sandwich gently for even cooking.
Check the sandwich often to stop cooking at the right time. Remove from heat once cheese melts and meat is warm. Rest the panini for a minute before cutting. This keeps fillings juicy and delicious.

Frequently Asked Questions
How Can I Make A Panini Without A Panini Press?
You can use a stovetop skillet or grill pan as a panini press substitute. Press the sandwich with a heavy pan or foil-wrapped brick. Cook on medium heat until the bread is toasted and the cheese melts.
What Household Items Mimic A Panini Press Effectively?
A cast-iron skillet, grill pan, or heavy frying pan work well. Use a foil-wrapped brick or another heavy pan to press the sandwich. These items help create the signature grill marks and crisp texture.
How Long Should I Cook A Panini Without A Press?
Cook the sandwich for 3-5 minutes per side on medium heat. Press firmly while cooking to ensure even toasting. Flip carefully to avoid the filling spilling out.
Can I Make A Panini On A Regular Frying Pan?
Yes, a regular frying pan works perfectly. Press the sandwich with a weighted pan or spatula. Cook on medium heat until golden brown and the cheese is melted.
Conclusion
Making a panini without a press is simple and fun. Use a heavy pan or a grill pan to press and cook your sandwich. Watch it closely to avoid burning. Try different fillings to find your favorite taste. This method saves money and space in your kitchen.
Enjoy warm, crispy paninis anytime you want. No special tools needed, just a little creativity and care. Now, you can make tasty paninis at home easily and quickly. Give it a try today!