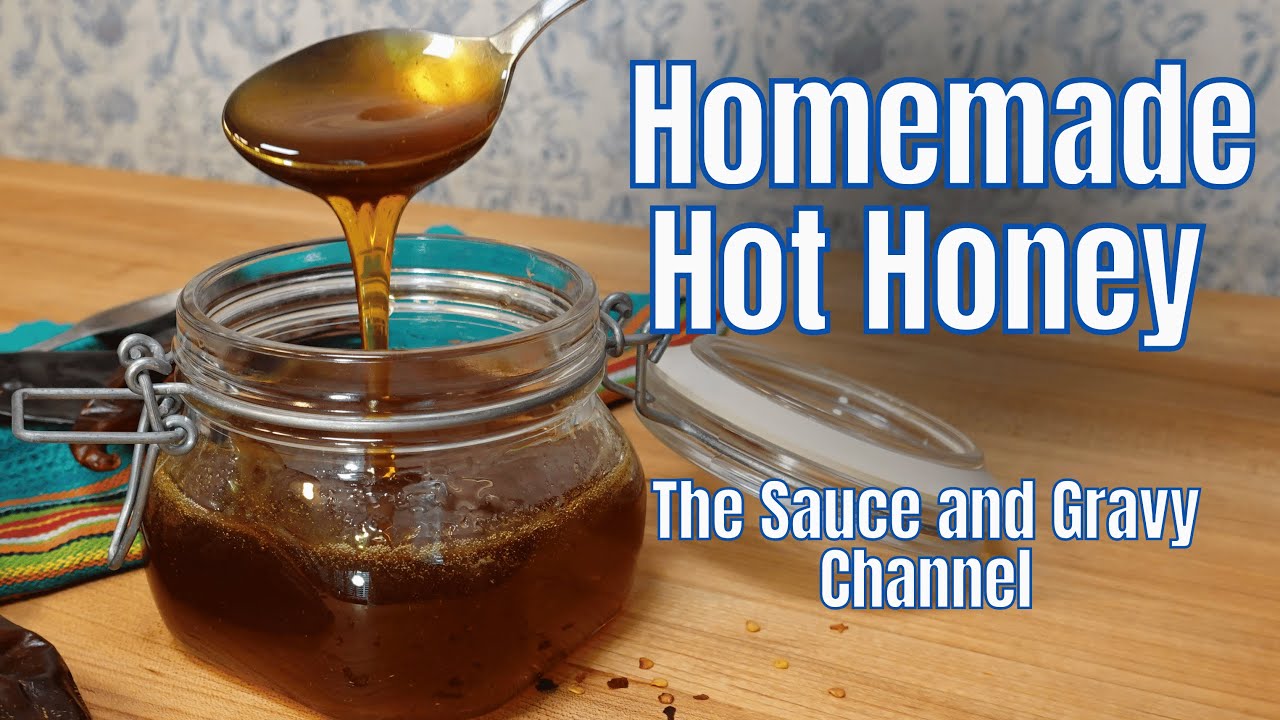
Have you ever wanted to create your very own honey jar that looks beautiful and tastes amazing? Making a honey jar isn’t just about storing honey—it’s about adding a personal touch to your kitchen or gifting something sweet and unique.
Imagine opening a jar you made yourself, filled with golden honey that shines in the light. In this guide, you’ll discover simple steps to make your honey jar stand out, even if you’ve never tried it before. Ready to turn a plain jar into something special?
Keep reading, and you’ll learn exactly how to do it.

Credit: www.youtube.com
Choosing The Right Jar
Choosing the right jar for your honey is more important than you might think. The jar not only holds the honey but also affects its freshness, ease of use, and appearance. Picking the right one can make your honey jar both functional and beautiful.
Materials That Work Best
Glass jars are a popular choice because they don’t react with honey and keep it fresh longer. Clear glass lets you see the golden color, which looks inviting on your kitchen shelf. Plus, glass is easy to clean and reusable.
Plastic jars are lighter and less likely to break, but not all plastics are safe for honey. Look for food-grade, BPA-free plastics if you want a durable option. Avoid metal jars unless they have a food-safe lining, as metal can alter the taste.
Size And Shape Options
Think about how much honey you usually use when choosing the size. Small jars, like 4-ounce ones, are perfect for gifts or tasting, while larger jars of 16 ounces or more are better for daily use. You don’t want a jar so big that the honey sits unused too long, as it can crystallize.
The shape also matters. Wide-mouth jars make scooping honey easier, especially if you like to use a spoon. Tall, narrow jars look elegant but may make it harder to get every last drop out. What type of jar would make your honey experience smoother?
Gathering Ingredients
Gathering ingredients is the first step to making a honey jar. Choose fresh, natural components for the best results. Each element adds to the flavor and quality of your jar.
Selecting Quality Honey
Pick pure, raw honey for a rich taste and health benefits. Avoid processed or overly filtered honey. Look for local honey if possible. It supports local beekeepers and may help with allergies. The color and texture vary by flower source. Choose according to your preference: light for mild sweetness, dark for bold flavor.
Optional Add-ins For Flavor
Enhance your honey jar with simple add-ins. Fresh herbs like rosemary or thyme add aroma. Spices such as cinnamon sticks or cloves bring warmth. Citrus peels give a bright, zesty note. You can also try vanilla beans or ginger slices. Use small amounts to keep the honey smooth and sweet.
Preparing The Jar
Preparing the jar is a crucial step to ensure your honey stays fresh and uncontaminated. A clean and dry jar prevents unwanted bacteria and moisture from spoiling your honey’s natural goodness. Taking a little extra care now will pay off every time you open your honey jar.
Cleaning And Sterilizing
Start by washing your jar with warm, soapy water. Use a sponge or brush to scrub away any residue, especially if the jar is recycled. Rinse it thoroughly to remove all soap traces.
Sterilizing the jar is essential to kill any lingering germs. You can boil the jar in water for 10 minutes or place it in an oven at 160°C (320°F) for 15 minutes. Make sure to let the jar cool down naturally—this avoids cracking and keeps it safe for your honey.
Drying Techniques
After sterilizing, drying the jar completely is vital. Moisture inside the jar can lead to fermentation, which ruins the honey. Air drying is the safest method—place the jar upside down on a clean towel and leave it to dry at room temperature.
If you’re short on time, use a clean paper towel to wipe the inside gently. Avoid using a cloth that might leave fibers behind. Have you noticed how a damp jar always changes the texture of honey? Keeping it dry solves that problem completely.
Filling The Jar
Filling the jar with honey is a crucial step that affects both the presentation and preservation of your honey. Handling this process with care ensures your jar looks appealing and keeps the honey fresh longer. Let’s talk about how to fill your jar cleanly and efficiently.
Pouring Honey Neatly
Pouring honey can get sticky and messy quickly. Use a funnel or a spouted container to control the flow and avoid spills on the jar’s edges. Pour slowly and steadily to keep the honey from overflowing or dripping down the sides.
Try warming your honey slightly if it’s too thick. This makes it flow easier and helps you pour without rushing. Have a damp cloth nearby to wipe any drips immediately—this keeps your jar clean and attractive.
Avoiding Air Bubbles
Air bubbles trapped in honey can look unappealing and may affect the texture. Pour the honey close to the jar’s bottom instead of from high above to minimize bubbles. Pouring gently helps the honey settle smoothly.
If you notice bubbles after filling, tap the jar lightly on a surface to bring bubbles to the top. Let the honey rest for a few minutes so any remaining bubbles can escape naturally. Have you ever noticed how those tiny bubbles can change the whole look of your jar? Paying attention here makes a big difference.
Sealing And Storing
Sealing and storing a honey jar involves ensuring it is airtight and kept in a cool, dry place. This preserves the honey's natural flavor and prevents crystallization. Use a clean, dry container for best results.
Sealing and storing your honey jar is crucial to maintaining its freshness and potency. A well-sealed jar not only preserves the honey's rich flavors but also keeps it safe from contaminants. Whether you're a seasoned honey jar creator or a beginner, understanding the right way to seal and store your jar can make all the difference.
Choosing The Right Lid
Selecting the right lid is a vital step in sealing your honey jar effectively. Look for lids that offer an airtight seal to prevent any air from getting in. Metal lids with rubber seals or plastic screw-on lids are excellent choices. A personal tip: I once tried using a decorative lid that wasn’t airtight, and my honey jar lost its vibrancy in a month. Learn from my experience—prioritize function over form.
Storage Tips For Freshness
Proper storage can extend the life of your honey jar significantly. Keep the jar in a cool, dark place, away from direct sunlight. This helps in preserving the natural properties of honey and the intentions you’ve infused. Consider using a pantry or a kitchen cabinet. Just like wine, honey benefits from a stable temperature, ensuring its flavors remain intact. When was the last time you checked the temperature of your storage area? Remember, the environment plays a crucial role. Avoid places with high humidity or drastic temperature changes. Would you store your grandmother's precious recipe book in a damp basement? Treat your honey jar with the same care. By focusing on these key aspects of sealing and storing, you not only protect your efforts but also enhance the overall experience.
Credit: m.youtube.com
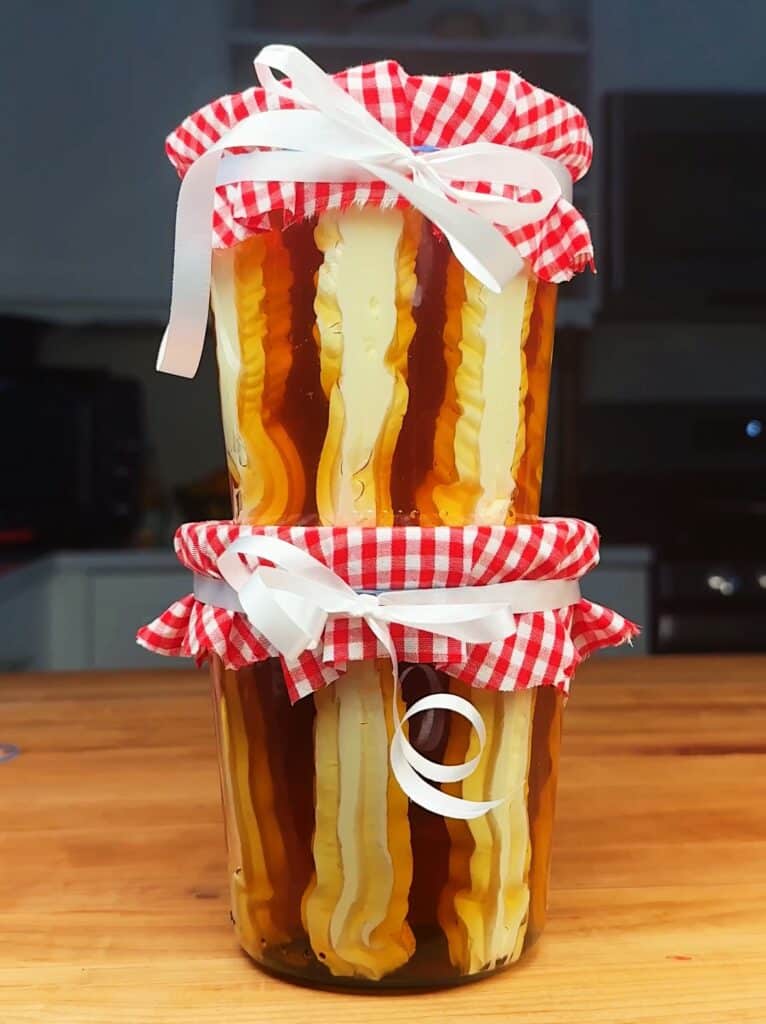
Decorating Your Honey Jar
Decorating your honey jar is where your creativity shines. It transforms a simple jar into a thoughtful gift or a charming item for your kitchen shelf. Small touches can make a big difference, making your jar stand out and feel special.
Label Ideas
Labels tell the story of your honey jar. You can create a handwritten label for a personal touch or print one with elegant fonts for a polished look. Consider including the type of honey, harvest date, or a sweet message to connect with the person receiving it.
Try using kraft paper or parchment for a rustic vibe. Bright colors work well if you want a playful appearance. Have you thought about using a transparent sticker? It lets the golden honey shine through while keeping the label neat.
Adding Ribbons And Tags
Ribbons add texture and color, making your jar visually appealing. Wrap a simple satin ribbon around the neck or tie a twine bow for a natural feel. You can even combine both for a layered look that grabs attention.
Tags give you space to write a little extra—maybe a thank-you note or serving suggestions. Punch a hole in a small card and attach it with the ribbon. This personal touch often makes a bigger impression than the jar itself.
Think about using seasonal colors or materials that match the occasion. Would a bright red ribbon work for holiday gifts? Or perhaps a soft pastel for springtime? Your choice can set the mood before the jar is even opened.
Troubleshooting Common Issues
Creating a honey jar can be simple, but some common issues may arise. These problems can affect the jar’s look and how well it keeps honey fresh. Fixing them quickly helps keep your honey pure and easy to use.
Preventing Crystallization
Crystallization happens when honey becomes grainy or solid. It is natural but not always wanted.
- Store honey at room temperature. Cold makes crystals form faster.
- Keep the jar tightly closed. Moisture can cause crystals.
- Avoid stirring or shaking the honey too much.
- If crystals form, warm the jar gently. Use warm water, not boiling.
Fixing Leaks And Spills
Leaks and spills are messy and waste honey. They also attract ants and bugs.
- Check the jar lid for cracks or damage.
- Use a silicone or rubber seal to stop leaks.
- Clean the jar’s rim before closing to ensure a tight seal.
- Place the jar on a tray to catch any accidental spills.
Credit: carolinagelen.com
Frequently Asked Questions
What Materials Do I Need To Make A Honey Jar?
You need a clean glass jar, fresh honey, a wooden dipper, and a lid. Optionally, add labels or decorations.
How Do I Store A Homemade Honey Jar Properly?
Store it in a cool, dry place away from direct sunlight. Keep the lid tightly sealed to prevent moisture.
Can I Reuse Jars For Making Honey Jars?
Yes, sterilize used jars by boiling or washing with hot soapy water. This ensures cleanliness and prevents contamination.
How Long Does Honey Last In A Homemade Jar?
Honey can last indefinitely if stored properly. It may crystallize but remains safe and tasty for years.
Conclusion
Making a honey jar is simple and fun. You only need a few items and some patience. This project brings a sweet touch to your home or gift. Enjoy the process and the lovely result. Try different jars and decorations to fit your style.
Sharing homemade honey jars can brighten someone’s day. Keep experimenting and enjoy the natural sweetness you create.