If you want to make a tender, juicy beef roast that melts in your mouth, a Dutch oven is your best friend. Imagine coming home to the rich aroma of slow-cooked beef filling your kitchen, ready to be served with perfectly cooked vegetables.
You don’t need to be a chef or have fancy equipment. With just a few simple steps and your trusty Dutch oven, you can create a meal that impresses everyone at the table. Keep reading, and you’ll discover how easy it is to make a delicious beef roast that feels like a special treat every time.
Choosing The Right Beef Cut
Choosing the right beef cut is crucial for making a tender and flavorful roast in your Dutch oven. The cut you select affects cooking time, texture, and overall taste. Understanding which cuts work best will help you get the most out of your cooking.
Best Cuts For Roasting
Some beef cuts shine when slow-cooked in a Dutch oven. These cuts have enough fat and connective tissue to become tender and juicy after long cooking.
- Chuck Roast:This cut is well-marbled and full of flavor. It becomes incredibly tender after slow cooking, making it a top pick for Dutch oven roasts.
- Brisket:Known for its rich taste, brisket is perfect if you want a hearty, melt-in-your-mouth roast. It benefits from slow, moist heat to break down tough fibers.
- Bottom Round:Leaner than chuck or brisket but still suitable for roasting. It requires careful cooking to avoid dryness but offers great beefy flavor.
- Rump Roast:This cut is flavorful and affordable. It works well with braising, which the Dutch oven does perfectly.
Choosing any of these cuts will give you a delicious roast, but your choice depends on your taste preference and patience for cooking time.
What To Look For In Quality Beef
Quality beef is the foundation of a great roast. Look for beef that has a bright, cherry-red color; this signals freshness. Avoid cuts that look dull or brownish.
- Marbling:Small streaks of fat throughout the meat ensure juiciness and flavor. More marbling usually means a tastier roast.
- Firm texture:Press the meat gently; it should spring back. Soft or mushy texture indicates lower quality.
- Packaging:Check for tightly sealed packaging without excess liquid. Too much liquid can mean the meat is losing freshness.
Have you ever wondered how much the cut’s quality impacts the final roast? Investing in good beef makes your effort in the kitchen truly worth it.
Preparing The Beef Roast
Preparing the beef roast is the foundation of a delicious meal cooked in your Dutch oven. How you handle the roast before it hits the pot affects the texture and flavor of the final dish. Taking time to properly trim and season your meat can transform a simple roast into a memorable feast.
Trimming And Seasoning
Start by trimming excess fat from the roast, but leave a thin layer to keep the meat juicy during cooking. Too much fat can cause flare-ups and uneven cooking, while too little can dry out your roast. Use a sharp knife to carefully remove large chunks, aiming for a balanced fat layer.
Seasoning is your chance to add depth. Sprinkle salt and pepper generously on all sides. Don’t just rely on salt; consider adding garlic powder, onion powder, or smoked paprika for extra flavor. Press the spices into the meat with your hands to make sure they stick well.
Marinating Tips For Flavor
Marinating is a great way to infuse your roast with bold flavors before it even starts cooking. A simple marinade with olive oil, vinegar, herbs, and spices can make a big difference. Try adding rosemary, thyme, garlic, and a splash of balsamic vinegar for a classic mix that complements beef.
Let your roast sit in the marinade for at least a few hours, or overnight if possible. This allows the flavors to penetrate deeply into the meat. Do you have a favorite marinade recipe? Experimenting with different herbs and acids can lead to your perfect combination.
Remember to pat the roast dry before searing or cooking it in the Dutch oven. Excess moisture can prevent browning and reduce the rich flavors that come from a good sear.
Selecting And Using Your Dutch Oven
Choosing the right Dutch oven can make a big difference in how your beef roast turns out. This sturdy, versatile pot is more than just a cooking vessel; it’s the heart of slow-cooked meals that deliver rich flavors and tender meat. Understanding the types and sizes, along with proper preparation, sets you up for success in the kitchen.
Dutch Oven Types And Sizes
Cast iron Dutch ovens are the classic choice, known for their excellent heat retention and even cooking. They come either bare or coated with enamel. Enamel-coated ones are easier to clean and don’t require seasoning, but bare cast iron can develop a natural non-stick surface over time.
Sizes vary from around 2 quarts up to 9 quarts or more. A 5 to 7-quart Dutch oven is ideal for most beef roasts, giving enough room for the meat and vegetables without crowding. Think about how many people you usually cook for and the size of your oven to pick the right fit.
Preheating And Seasoning The Pot
Preheating your Dutch oven before adding ingredients ensures even cooking and helps develop a nice crust on your beef roast. Warm the pot on medium heat for a few minutes—this step can improve browning and reduce sticking.
If you use a bare cast iron Dutch oven, seasoning it regularly is key. This means coating it with a thin layer of oil and heating it to build a protective surface. A well-seasoned pot not only prevents rust but also enhances flavor and makes cleanup easier.
Have you noticed how your roast sticks or cooks unevenly? It might be your pot isn’t seasoned well or preheated correctly. Paying attention to these simple details can transform your cooking experience and elevate your beef roast every time.

Searing The Beef Roast
Searing the beef roast in a hot Dutch oven locks in juices and adds rich flavor. Brown each side until a deep crust forms for the best taste. This step creates a tasty base before slow cooking the roast.
Searing the beef roast is where the magic begins. It's the first step to creating a mouthwatering roast with a flavorful outer layer. This process not only locks in juices but also adds a rich depth of flavor, making your meal unforgettable.
Achieving A Perfect Crust
To get that perfect crust, make sure your Dutch oven is hot. A well-heated pot ensures that your beef roast will sear rather than steam, which is crucial for that golden-brown layer. Pat your roast dry with paper towels before placing it in the pot. Moisture on the surface can prevent browning. Use a neutral oil with a high smoke point, like canola or grapeseed. These oils can withstand the high temperatures needed for a proper sear without burning. Once the oil shimmers, it's ready. Place the roast in the Dutch oven and let it sit without moving for a few minutes. This patience pays off with a caramelized crust. Have you ever noticed how a good crust can make all the difference in flavor?
Timing And Temperature Control
Timing is everything when searing. Aim for about 4-5 minutes per side. This might seem long, but it allows the Maillard reaction to take place, enriching the flavor profile. Maintain a steady temperature throughout the process. If the pot gets too hot, the oil can burn, leading to a bitter taste. If it's too cool, you won't achieve the desired crust. Adjust the heat as needed. It's better to lower the temperature slightly than risk burning the roast. How do you ensure your roast doesn't overcook during searing? Keep a close eye on the color and aroma, using them as your guide. Remember, a good sear is the foundation for a delicious beef roast. Taking the time to get it right will elevate your dish to new heights.
Adding Aromatics And Liquids
Adding aromatics and liquids is key to making a tender, flavorful beef roast. Aromatics fill the kitchen with rich scents and build deep layers of taste. Liquids keep the meat moist and help break down tough fibers during cooking. Together, they create a delicious, melt-in-your-mouth roast.
Choosing Herbs And Vegetables
Pick fresh herbs like rosemary, thyme, and bay leaves. These herbs add earthy, fragrant notes. Garlic and onions give a sweet, savory base. Carrots, celery, and leeks add natural sweetness and texture. Chop vegetables into large chunks so they don’t dissolve during cooking.
- Rosemary
- Thyme
- Bay leaves
- Garlic cloves
- Onions
- Carrots
- Celery
- Leeks
Best Liquids For Braising
Use liquids that add flavor and moisture. Beef broth or stock is the classic choice. It boosts the meat’s taste and keeps it juicy. Red wine adds depth and a slight tang. Tomato juice or crushed tomatoes give a rich, savory touch. Water works but lacks flavor; mix it with broth or wine for better taste.
- Beef broth or stock
- Red wine
- Tomato juice or crushed tomatoes
- Water mixed with broth or wine
Slow Cooking Process
Slow cooking a beef roast in a Dutch oven transforms tough meat into tender, juicy perfection. The low and steady heat breaks down fibers gently. This process locks in flavor and moisture for a rich taste.
Patience is key in slow cooking. Setting the right oven temperature and timing ensures the roast cooks evenly. The Dutch oven’s heavy lid traps steam, keeping the roast moist throughout.
Oven Temperature Settings
Set the oven between 275°F and 325°F (135°C to 160°C). This low heat helps cook the roast slowly without drying it out. Avoid high temperatures that toughen the meat.
Use a consistent temperature for even cooking. The Dutch oven’s thick walls distribute heat well, preventing hot spots. This creates a perfect environment for slow roasting.
Cooking Time Guidelines
Plan for 3 to 4 hours of cooking time. The exact duration depends on the roast size and oven temperature. A larger roast needs more time to become tender.
Check the roast after 3 hours. Insert a meat thermometer into the thickest part to measure doneness:
- Medium rare: 135°F (57°C)
- Medium: 145°F (63°C)
- Well done: 160°F (71°C)
Cover the Dutch oven tightly during cooking. This traps steam and maintains moisture. Slow cooking lets flavors deepen and meat soften beautifully.
Checking Doneness And Tenderness
Checking doneness and tenderness is the key to turning your beef roast into a juicy, flavorful meal. Overcooking can dry out the meat, while undercooking leaves it tough and chewy. Knowing exactly when your roast is ready ensures every bite melts in your mouth.
Using A Meat Thermometer
A meat thermometer takes the guesswork out of cooking your roast. Insert it into the thickest part, avoiding bones or fat, for an accurate reading.
- Rare:120-125°F (49-52°C)
- Medium rare:130-135°F (54-57°C)
- Medium:140-145°F (60-63°C)
- Well done:155°F+ (68°C+)
Keep in mind, the roast will continue to cook slightly after you remove it from the oven. This “carryover cooking” means pulling it out a few degrees below your target temperature is a smart move. Have you ever cut into a roast that looked perfect but was still tough? A thermometer can prevent that.
Signs Of Perfectly Cooked Roast
Beyond numbers, your senses are valuable tools. Look for these signs to know your roast is just right:
- Juices run clear:When pierced, the liquid should be clear, not red or pink.
- Firm but springy texture:Press the roast lightly; it should feel firm yet give slightly.
- Easy to slice:The knife should glide through without much resistance.
I once left a roast in the Dutch oven too long and it became dry despite reaching the right temperature. That taught me to trust the texture and juice test as much as the thermometer. Which sign do you rely on most when cooking beef?

Resting And Carving The Roast
After the beef roast has finished cooking in your Dutch oven, the next crucial phase is resting and carving. Resting allows the juices to redistribute throughout the meat, making each bite tender and flavorful. Carving the roast properly ensures that you get the best texture and presentation on your plate.
Importance Of Resting
Resting the roast for about 15 to 20 minutes is essential. During cooking, the juices move toward the center of the meat. If you cut into it immediately, those juices will spill out, leaving the roast dry.
While waiting, cover the roast loosely with foil to keep it warm. This pause not only locks in moisture but also makes carving easier. Have you ever cut into a roast right away and ended up with a dry, less tasty meal? Resting can prevent that.
Tips For Slicing Evenly
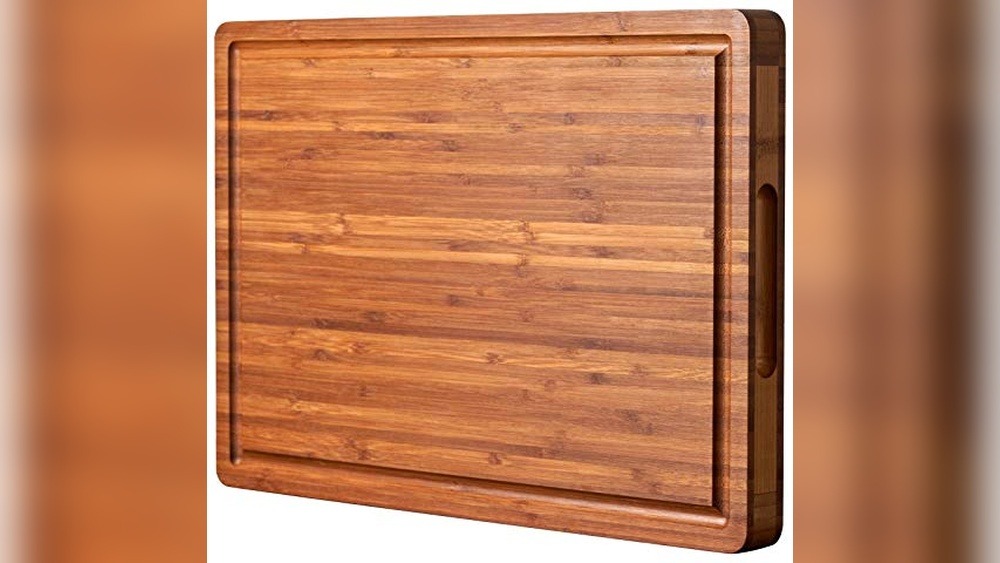
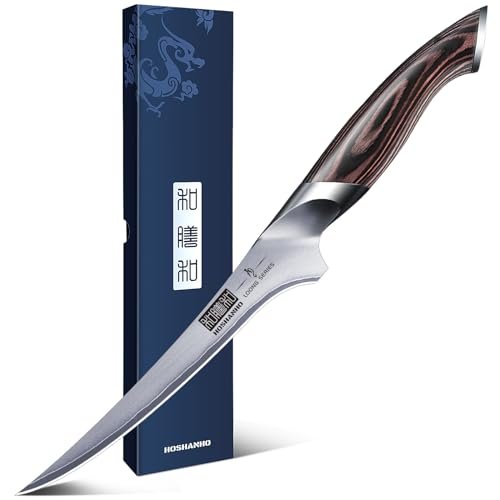
Start by using a sharp carving knife or chef’s knife for smooth, clean cuts. Place the roast on a stable cutting board to avoid slipping. Slicing against the grain is key to tenderness—look closely at the muscle fibers and cut perpendicular to them.
- Cut slices about 1/4 to 1/2 inch thick for balanced texture.
- Use long, steady strokes rather than sawing back and forth.
- Keep your slices consistent so every piece cooks evenly if reheated.
Have you noticed how uneven slices can change the entire eating experience? Even cuts ensure every bite is as juicy and tender as the last.
Serving Suggestions And Side Dishes
Crafting a beef roast in a Dutch oven offers a delicious, hearty meal. The right serving suggestions elevate the dining experience. Complement the rich flavors with thoughtful side dishes.
Complementary Flavors
A beef roast pairs well with earthy and robust flavors. Consider roasted root vegetables like carrots and potatoes. Their natural sweetness complements the savory beef. Garlic mashed potatoes add a creamy texture. Gravy made from the roast's drippings intensifies the taste. For a fresh contrast, a crisp green salad works wonders. Use arugula or spinach with a light vinaigrette.
Bread rolls are a classic side. Choose crusty sourdough or warm dinner rolls. They help mop up any delicious sauce on the plate. For a bit of tang, serve pickled vegetables. They add a bright note to the meal.
Presentation Ideas
Presentation enhances the dining experience. Arrange the beef roast on a large platter. Surround it with colorful vegetables. Use sprigs of rosemary or thyme for garnish. They add visual appeal and aroma.
Slice the roast against the grain. This ensures tender and juicy pieces. For individual servings, use white plates. They highlight the rich colors of the beef and sides.
Consider a rustic table setting. Use wooden serving boards for bread and cheese. Cloth napkins add a touch of elegance. Candles create a warm, inviting atmosphere.

Troubleshooting Common Issues
Troubleshooting common issues with a beef roast in a Dutch oven helps improve your cooking results. Small mistakes can cause dry or improperly cooked meat. Understanding how to fix these problems keeps your roast tender and tasty.
Avoiding Dry Meat
Dry meat often means too much heat or too little moisture. Keep the oven temperature low and steady. Use broth or water to create steam inside the Dutch oven. Cover the pot tightly to trap moisture.
Rest the roast for 10-15 minutes after cooking. This lets juices spread evenly. Cutting the meat too soon causes dryness. Choose fatty cuts for more natural moisture.
Fixing Undercooked Or Overcooked Roast
Check the roast's temperature with a meat thermometer. Undercooked roast needs more time in the oven. Cover and cook at a lower temperature to avoid burning the outside.
For overcooked roast, slice thinly and serve with sauce or gravy. This adds moisture back to the meat. Avoid cooking too long by setting a timer and checking often.
Frequently Asked Questions
How Long Does It Take To Cook Beef Roast In A Dutch Oven?
Cooking time depends on roast size and temperature. Typically, it takes 2 to 3 hours at 325°F (163°C) until the beef is tender and reaches an internal temperature of 145°F (63°C) for medium-rare.
What Is The Best Beef Cut For Dutch Oven Roasting?
Chuck roast is ideal for Dutch oven cooking. It has enough marbling to stay juicy and becomes tender with slow cooking, making it perfect for rich, flavorful beef roast dishes.
Should I Sear The Beef Before Dutch Oven Roasting?
Yes, searing locks in juices and enhances flavor. Brown the beef on all sides in the Dutch oven before slow roasting to develop a rich, caramelized crust.
Can I Add Vegetables While Cooking Beef Roast In Dutch Oven?
Absolutely, adding root vegetables like carrots, potatoes, and onions complements the beef. They cook together, absorbing flavors and making a complete, hearty meal in one pot.
Conclusion
A beef roast in a Dutch oven cooks evenly and stays juicy. The slow cooking brings out rich, deep flavors. This method is simple and works well for any skill level. You can add vegetables and herbs to make it tastier.
Serve it with your favorite sides for a warm meal. Try this recipe to enjoy a classic, homemade roast. It’s a great way to feed family or friends. Cooking with a Dutch oven makes the process easy and fun. Give it a try and enjoy a delicious beef roast.