Grilling chicken leg quarters on a gas grill can be a game-changer for your next meal. You want juicy, flavorful meat with that perfect smoky char, but getting it just right can feel tricky.
What if you could master the simple steps that turn your grill into a flavor powerhouse? In this guide, you’ll discover easy tips and tricks to make your chicken leg quarters tender and delicious every time. Ready to impress your family or friends with mouthwatering grilled chicken?
Let’s dive in and get your grill fired up!
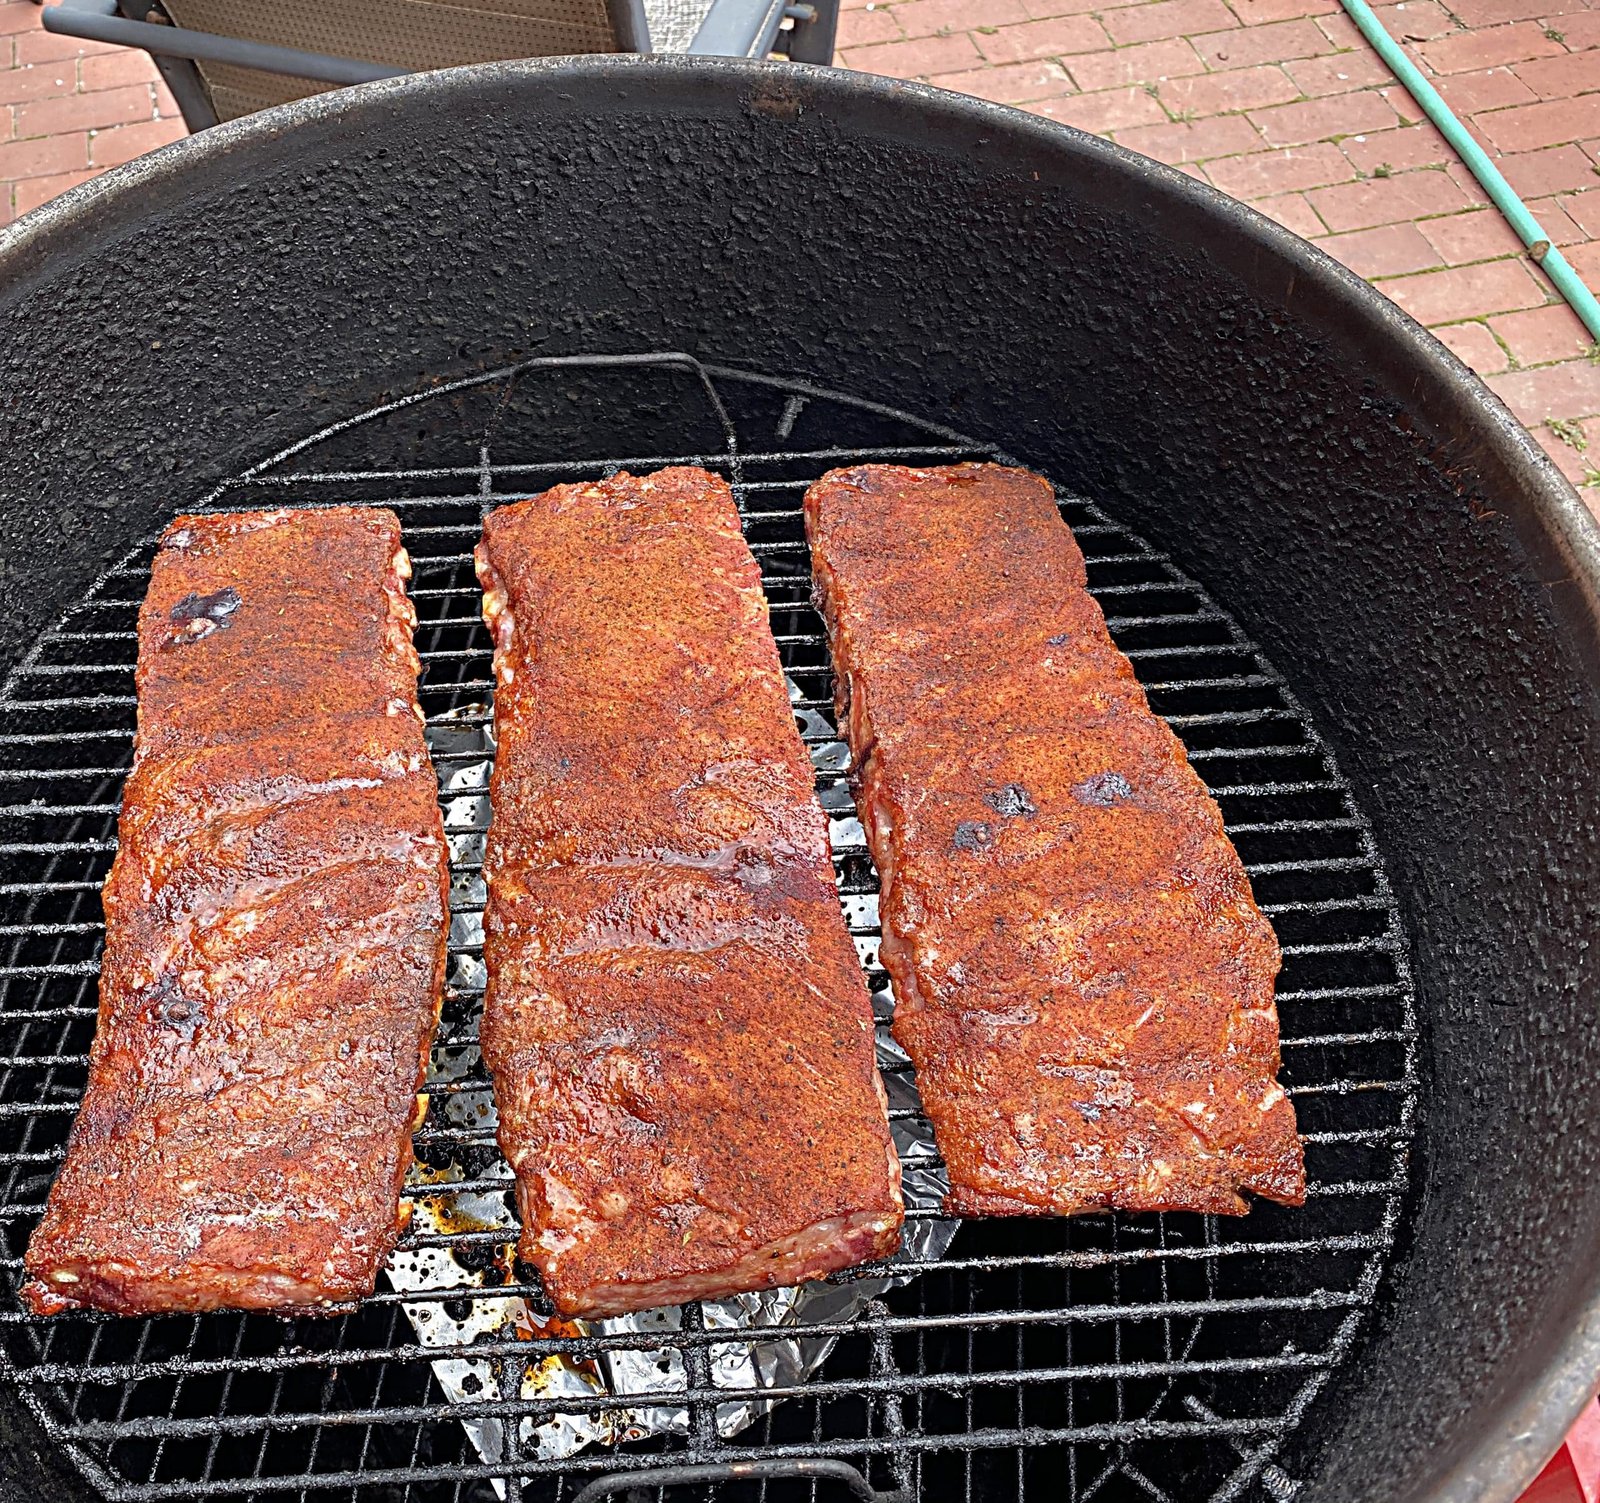
Credit: cookpad.com
Choosing The Right Chicken Leg Quarters
Choosing the right chicken leg quarters sets the foundation for a flavorful and juicy grilling experience. The quality and type of chicken you pick influence cooking time, texture, and taste. Let’s break down what you should consider before placing your order or hitting the grocery store.
Fresh Vs Frozen Options
Fresh chicken leg quarters tend to have a better texture and flavor because they haven’t been through freezing and thawing cycles. If you grill often, fresh is usually worth the extra cost. However, frozen options offer convenience and longer shelf life, making them great for last-minute grilling plans.
When using frozen leg quarters, ensure they are fully thawed to cook evenly. Have you noticed how uneven cooking can ruin a perfectly grilled piece? Thawing properly helps avoid that problem and guarantees juicy meat every time.
Size And Weight Considerations
Chicken leg quarters come in various sizes, usually ranging from 8 to 12 ounces each. Larger quarters take longer to cook, so plan your grilling time accordingly. Smaller pieces cook faster but may dry out if left on the grill too long.
Choosing uniform sizes helps maintain even cooking. Imagine flipping pieces of different sizes; some could burn while others remain undercooked. Paying attention to size saves you from this hassle and keeps your grill session stress-free.
Skin-on Or Skinless Choices
Skin-on chicken leg quarters lock in moisture and add a crispy texture when grilled right. If you love that golden, crunchy skin, this is your go-to option. Skinless quarters cook faster and absorb marinades more quickly but may dry out without careful attention.
Have you tried grilling skin-on chicken and noticed how the skin acts like a natural shield? It prevents the meat from drying and adds extra flavor. Consider your taste preference and cooking style before deciding which one to pick.

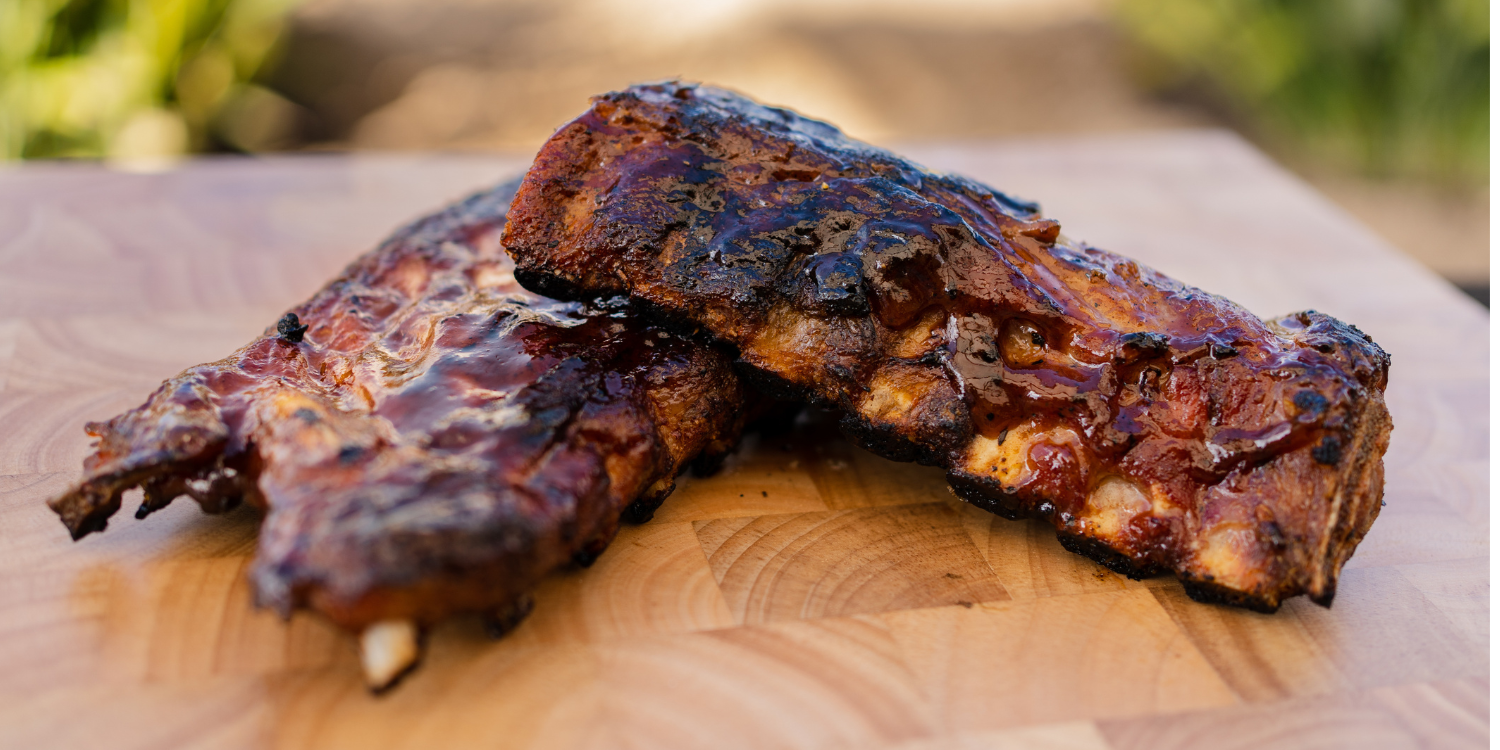
Credit: www.reddit.com
Preparing The Chicken For Grilling
Preparing chicken leg quarters for grilling sets the stage for juicy and flavorful results. Proper preparation enhances taste and ensures even cooking. Taking time to clean, marinate, and season the chicken improves texture and flavor depth. This section covers essential steps to ready your chicken for the gas grill.
Cleaning And Patting Dry
Start by rinsing chicken leg quarters under cold water. This removes any residue or packaging liquids. Pat the chicken dry with paper towels. Dry skin crisps better on the grill and helps seasoning stick. Avoid soaking the chicken to keep the texture firm.
Marinating Techniques
Marinate chicken to add moisture and flavor. Use a mix of oil, acid, and spices. Oil keeps the chicken juicy. Acid, like lemon juice or vinegar, tenderizes the meat. Spice blends give flavor depth. Marinate for at least 30 minutes, or up to 4 hours in the fridge. Avoid over-marinating to prevent mushy texture.
Seasoning Tips For Flavor
Season generously before grilling. Use salt to enhance natural taste. Add pepper for a mild kick. Try garlic powder, paprika, or dried herbs for extra aroma. Apply seasoning evenly on all sides. Press spices gently into the skin. This helps the flavors stick during grilling.
Setting Up Your Gas Grill
Setting up your gas grill correctly is crucial for grilling chicken leg quarters to juicy perfection. A well-prepared grill ensures even cooking, prevents sticking, and enhances flavor. Let’s dive into the essential steps that will get your grill ready for action.
Preheating For Even Cooking
Preheat your gas grill for at least 10-15 minutes before placing the chicken on the grates. This step helps the grill reach a steady temperature, which cooks the chicken evenly and locks in moisture.
Try this: after preheating, place your hand about 5 inches above the grill grate. Can you hold it there for only 2-3 seconds? That’s the ideal high heat for searing chicken.
Arranging Heat Zones
Set up two heat zones on your grill: a direct heat zone and an indirect heat zone. Turn on burners on one side only, leaving the other side off. This lets you sear the chicken over direct heat and then move it to indirect heat to finish cooking without burning.
This method gives you control over the cooking process. Have you ever had chicken burnt on the outside but raw inside? Heat zones prevent that problem.
Cleaning The Grill Grates
Clean grill grates ensure your chicken won’t stick and will have those beautiful grill marks. Use a wire brush or grill scraper to remove leftover residue from previous cooking sessions.
Wipe the grates with a damp cloth after brushing to clear away any loose debris. A clean surface is safer and helps prevent flare-ups caused by grease buildup.

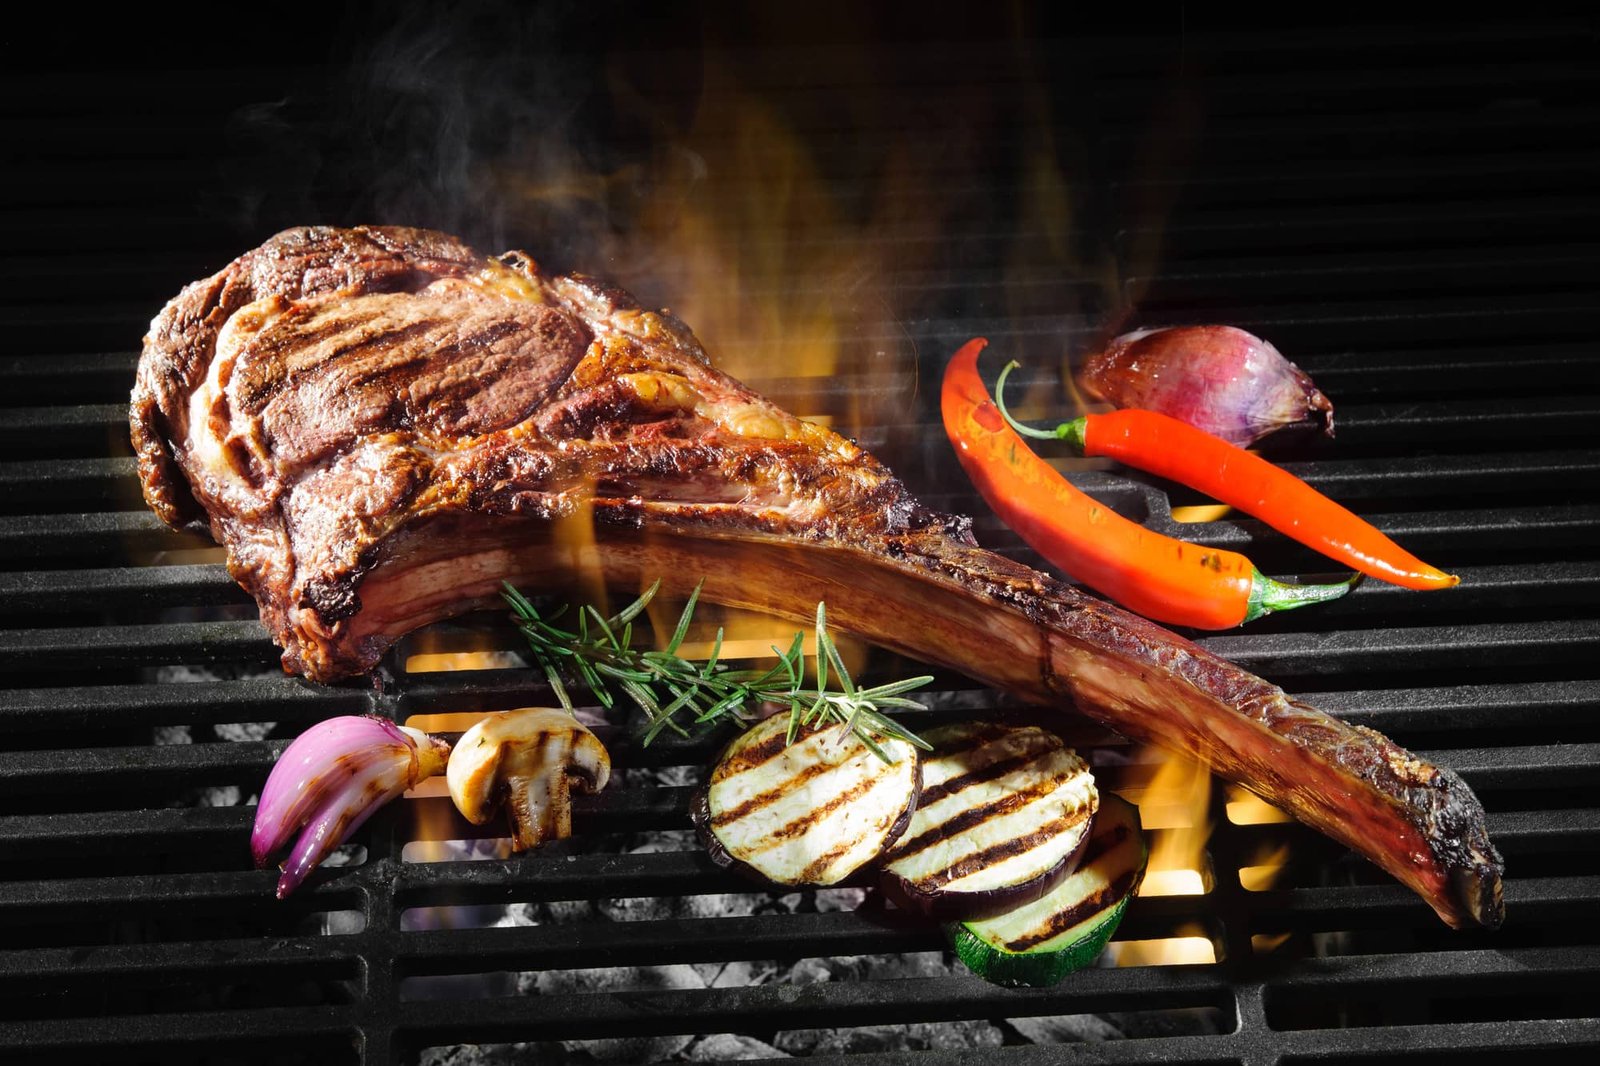
Credit: grillonadime.com
Grilling Techniques For Juicy Chicken
Grilling chicken leg quarters to juicy perfection takes more than just placing them on the grill. Proper grilling techniques help lock in moisture and create a flavorful crust. Understanding how heat works and using the right tools makes a big difference. Let’s explore key grilling methods that keep chicken tender and tasty.
Direct Vs Indirect Heat Cooking
Direct heat cooks chicken quickly over flames. It gives a nice char and crispy skin. But it can dry out the meat if left too long. Indirect heat cooks chicken slowly around the fire. This method allows even cooking and keeps juices inside.
For chicken leg quarters, start with direct heat to brown the skin. Then move to indirect heat to finish cooking through without burning. This two-zone cooking ensures juicy, well-cooked chicken.
Managing Flare-ups
Flare-ups happen when fat drips onto flames. They cause sudden flames that burn the skin. To control flare-ups:
- Keep a spray bottle of water nearby to douse small flames.
- Trim excess fat from chicken before grilling.
- Move chicken away from flames if flare-ups get strong.
- Close the grill lid to reduce oxygen and calm flames.
Managing flare-ups protects the chicken from bitter burnt spots and preserves flavor.
Using A Meat Thermometer
A meat thermometer ensures chicken is fully cooked and safe to eat. Insert it into the thickest part without touching bone. The ideal temperature for juicy chicken leg quarters is 165°F (74°C).
Checking temperature prevents overcooking and drying. It also avoids undercooked, unsafe meat. Use an instant-read thermometer for quick and accurate results.
Timing And Temperature Guide
Grilling chicken leg quarters can be a delicious experience. Timing and temperature play key roles in achieving juicy, tender meat. Let’s explore the best practices for grilling chicken leg quarters on a gas grill.
Ideal Grill Temperature
The right grill temperature ensures even cooking. Set your gas grill to medium-high heat. This is around 375°F to 400°F. Preheat the grill for about 10 minutes. This helps in searing the chicken properly.
Cooking Time For Perfect Doneness
Grill chicken leg quarters for 30 to 35 minutes. Flip them halfway through cooking. Check the internal temperature with a meat thermometer. It should read 165°F for safe consumption. This ensures the chicken is cooked thoroughly.
Resting The Chicken After Grilling
Let the chicken rest for 5 to 10 minutes after grilling. This helps the juices to redistribute. It results in moist and flavorful meat. Avoid cutting immediately to prevent losing the juices.
Adding Flavor Enhancements
Adding flavor enhancements to your chicken leg quarters can transform a simple grilled meal into a memorable feast. These enhancements help build layers of taste, making each bite more exciting. Whether you prefer tangy, smoky, or fresh notes, small touches can elevate the overall flavor and texture.
Basting With Sauces
Basting keeps your chicken juicy and adds a glossy finish. Choose sauces that complement the smoky flavor from the grill, such as barbecue sauce, honey mustard, or a spicy glaze.
Apply the sauce in the last 10 minutes of grilling to avoid burning the sugars. Brush it on every few minutes to build up a rich, sticky coating that locks in moisture.
Ever tried mixing a bit of apple cider vinegar or citrus juice into your basting sauce? It brightens the flavor and balances the richness of the chicken.
Using Wood Chips For Smoke
Wood chips add a depth of smoky flavor that gas grills usually lack. Soak your chips in water for 30 minutes, then place them in a smoker box or wrap them in foil with holes poked in.
Position the chips directly over the heat source to create fragrant smoke. Experiment with different types like hickory for boldness or applewood for a subtle, sweet smoke.
Have you noticed how a hint of smoke can make even simple seasonings taste more complex? It’s a small step that makes a big impact.
Finishing Touches And Garnishes
After grilling, add fresh herbs like chopped parsley, cilantro, or thyme for a burst of color and freshness. A squeeze of lemon or lime juice brightens the dish and cuts through the richness.
Consider sprinkling toasted nuts or a pinch of smoked paprika for extra texture and flavor contrast. These simple additions invite your guests to taste new dimensions in the chicken.
What unique garnishes have you tried that changed your grilled chicken experience? Share your favorites and keep the flavor ideas flowing.
Troubleshooting Common Issues
Grilling chicken leg quarters can be tricky. Problems like dry meat, undercooking, or burnt skin often occur. Knowing how to fix these issues helps you enjoy juicy, tasty chicken every time.
Avoiding Dry Chicken
Dry chicken happens when cooked too long or at too high heat. Use a meat thermometer to check internal temperature. Aim for 165°F (74°C) to keep the meat juicy. Marinate the chicken before grilling to add moisture. Cook over medium heat and turn often for even cooking.
Preventing Undercooking
Undercooked chicken is unsafe and unpleasant. Use a thermometer to confirm doneness, especially near the bone. Cook with the grill lid closed to keep heat steady. Start with indirect heat, then finish over direct heat for crisp skin. Wait a few minutes after grilling before cutting to let juices settle.
Fixing Burnt Skin
Burnt skin results from high heat or flare-ups. Trim excess fat to reduce flare-ups. Grill over medium heat and watch the chicken closely. Move pieces away from flames if skin starts burning. Use a two-zone fire setup: one side hot, the other cooler for better control.
Frequently Asked Questions
How Long To Grill Chicken Leg Quarters On Gas Grill?
Grill chicken leg quarters for 30-40 minutes on medium heat. Turn occasionally for even cooking. Internal temperature should reach 165°F for safety.
Should I Marinate Chicken Leg Quarters Before Grilling?
Yes, marinating adds flavor and tenderness. Use your favorite marinade for at least 30 minutes or up to overnight. It enhances juiciness and taste.
What Temperature Is Best For Grilling Chicken Leg Quarters?
Set the gas grill to medium heat, around 350°F to 375°F. This temperature cooks chicken evenly without burning the skin.
How To Prevent Chicken Leg Quarters From Sticking To Grill?
Oil the grill grates before cooking and brush the chicken with oil. This reduces sticking and helps achieve a crispy, golden skin.
Conclusion
Grilling chicken leg quarters on a gas grill is simple and fun. Start with clean, hot grates and season the chicken well. Cook slowly to keep the meat juicy and tender. Turn the pieces often for even cooking and nice grill marks.
Use a meat thermometer to check doneness safely. Serve hot with your favorite side dishes. Enjoy a tasty, home-grilled meal anytime you want. Practice makes perfect. Give it a try today!