Grilling a ham on a charcoal grill might sound tricky, but it’s easier than you think—and the results are amazing. Imagine biting into a juicy, smoky ham with a perfectly caramelized crust, all made right in your backyard.
If you want to impress your family and friends with a delicious meal that’s full of flavor, this guide will show you exactly how to do it step by step. Keep reading, and you’ll learn the secrets to grilling a ham that’s tender, tasty, and sure to become your new favorite recipe.
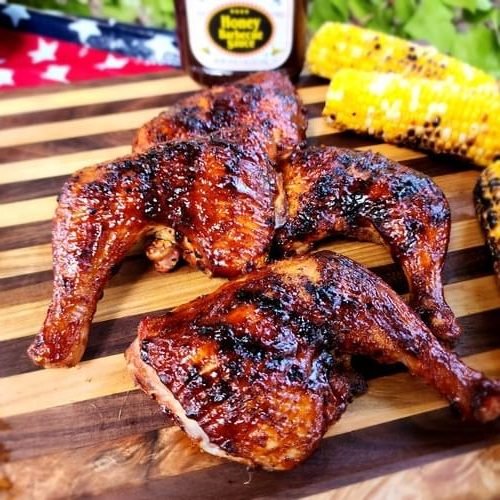
Credit: saltbuttersmoke.com
Choosing The Right Ham
Choosing the right ham is essential for a delicious grilled meal. The type and size of ham affect cooking time and flavor. A good ham should suit your grill and taste preferences. Preparing the ham properly ensures even cooking and a juicy finish.
Types Of Ham For Grilling
Not all hams grill the same way. Select a ham that grills well and tastes great.
- Bone-in Ham:Adds flavor and stays moist during grilling.
- Boneless Ham:Cooks faster and is easier to slice.
- Spiral-Cut Ham:Already sliced, perfect for quick grilling and serving.
- Smoked Ham:Has a rich flavor that pairs well with charcoal grilling.
Choose hams labeled for cooking or grilling to avoid dry results.
Size And Preparation Tips
Ham size affects grill time and heat management. Pick a size that fits your grill.
- Small hams (4-6 pounds) cook faster and suit small gatherings.
- Larger hams (8-12 pounds) require longer, low heat for even cooking.
Score the surface of the ham in a diamond pattern to help flavors soak in. Pat the ham dry before seasoning to improve browning. Use a meat thermometer to avoid overcooking. Let the ham rest after grilling to keep juices inside.
Setting Up The Charcoal Grill
Setting up a charcoal grill correctly is key to grilling a perfect ham. A well-prepared grill controls heat and cooks the ham evenly. It prevents burning and keeps the meat juicy. Follow these steps to prepare your charcoal grill for indirect grilling.
Arranging The Coals For Indirect Heat
Indirect heat means the coals are not directly under the ham. Arrange the charcoal on one side of the grill. Leave the other side empty for the ham to sit. This setup cooks the ham slowly and evenly.
- Light the charcoal and wait until it turns gray.
- Push the hot coals to one side of the grill.
- Place a drip pan on the empty side to catch fat.
- Put the ham on the grill grate above the drip pan.
Controlling Temperature
Keep the grill temperature steady between 250°F and 300°F. Use the grill vents to control airflow and heat.
- Open vents to increase temperature.
- Close vents slightly to lower the heat.
- Use a grill thermometer to check the temperature.
- Add charcoal gradually if heat drops too low.
Maintaining the right heat ensures the ham cooks thoroughly without drying out.
Preparing The Ham For The Grill
Preparing the ham properly sets the stage for a delicious grilled meal. This step helps the flavors soak in deeply. It also ensures the ham cooks evenly and stays juicy throughout grilling.
Scoring And Seasoning
Start by scoring the ham’s surface with a sharp knife. Make shallow cuts in a diamond pattern. This allows heat and flavors to penetrate better. It also helps the glaze stick well to the meat.
Next, season the ham with salt and pepper. Use your hands to rub the spices evenly over the surface. You can add garlic powder or paprika for extra taste. Avoid heavy seasoning that can overpower the ham’s natural flavor.
Applying Glazes And Rubs
Glazes add sweetness and moisture to grilled ham. Choose a glaze with honey, brown sugar, or fruit juices. Brush a thin layer over the ham before placing it on the grill.
During grilling, reapply the glaze several times. This builds a sticky, flavorful crust. For rubs, combine herbs and spices like mustard, cinnamon, or cloves. Massage the rub gently into the scored cuts and surface of the ham.

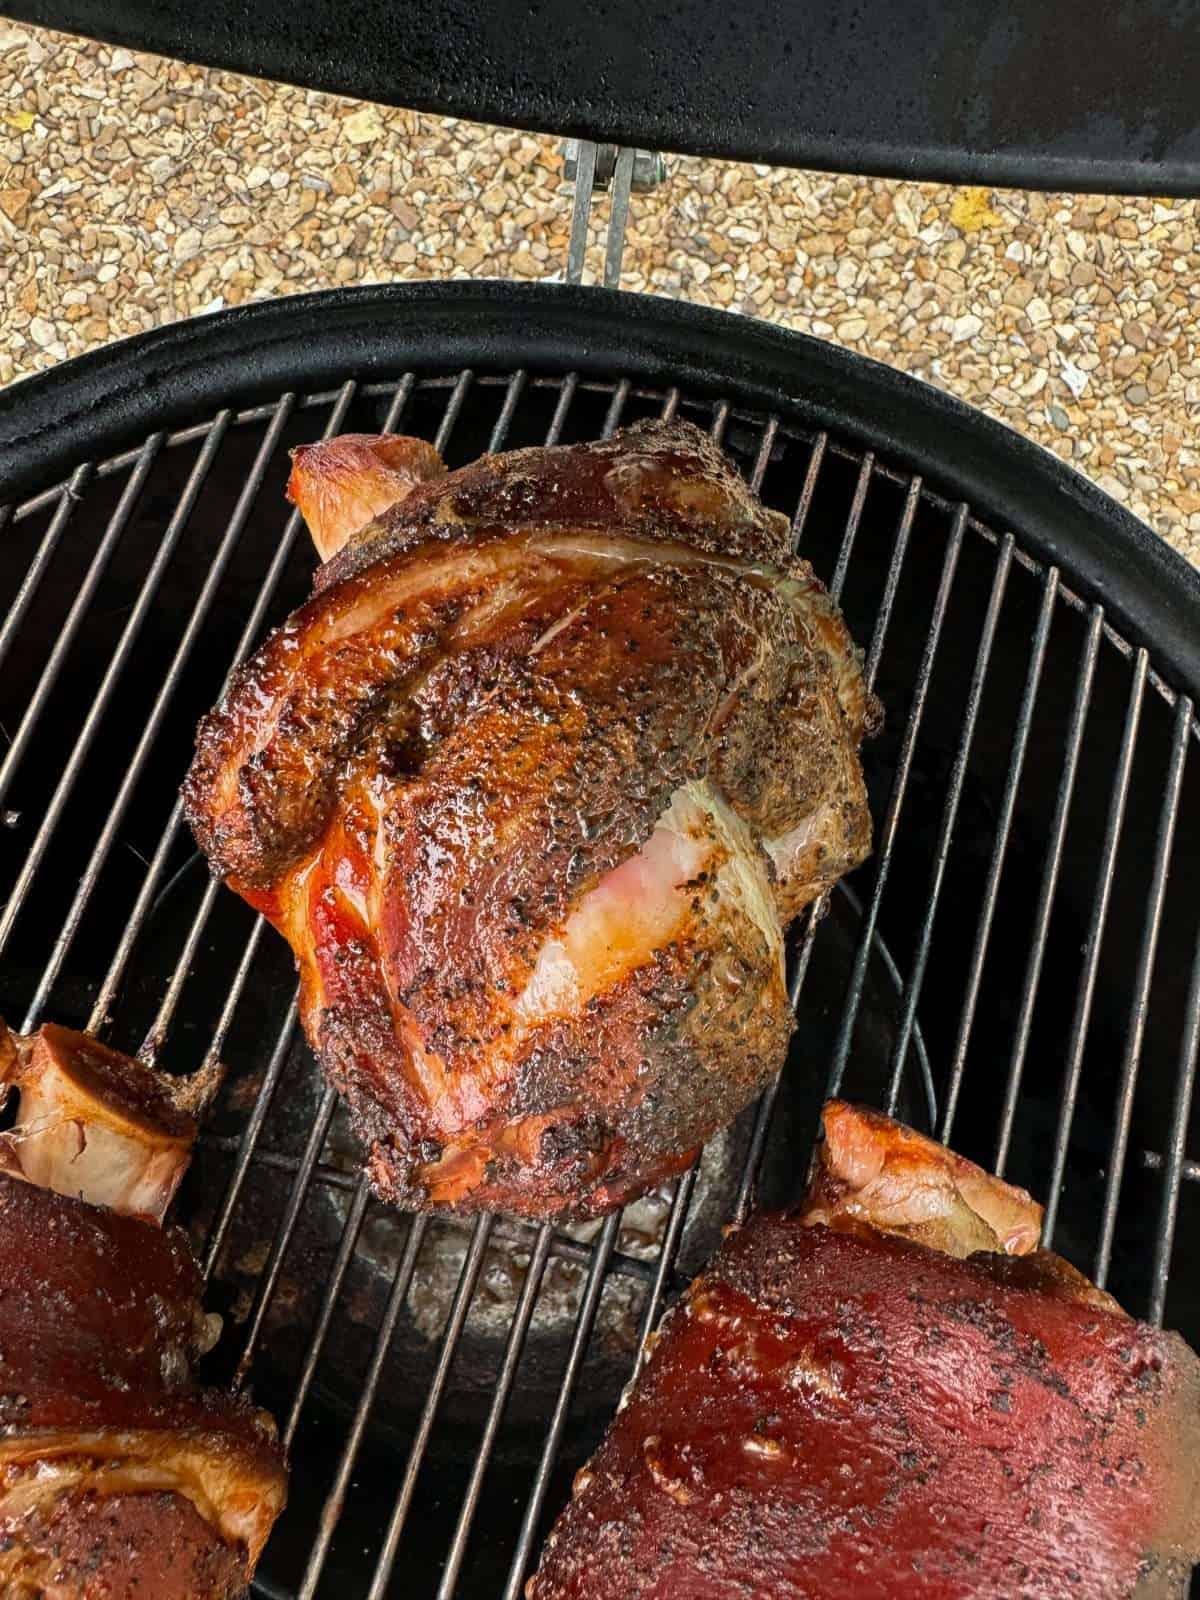
Credit: faithhopeloveandlucksurvivedespiteawhiskeredaccomplice.com
Grilling Techniques For Juicy Ham
Grilling a ham on a charcoal grill can be a delightful way to add smoky flavor and a crispy exterior while keeping the inside tender and juicy. The key lies in controlling the heat and managing the cooking time carefully. Let’s dive into techniques that will help you achieve that perfect balance, so every bite bursts with flavor and moisture.
Maintaining Consistent Heat
Consistent heat is essential to avoid drying out your ham. Arrange your charcoal on one side of the grill for indirect cooking, creating a cooler zone where the ham can cook slowly.
Keep the grill lid closed as much as possible to retain heat and smoke. If you notice hot spots, adjust the vents to regulate airflow and maintain a steady temperature around 250-300°F (120-150°C).
Adding a water pan below the ham can help stabilize the temperature and add moisture to the cooking environment. Have you tried this before? It’s a simple trick that keeps the ham juicy without extra effort.
Timing And Turning
Patience is critical when grilling ham. Plan for about 15-18 minutes per pound, but always rely on your thermometer rather than the clock.
Turn the ham every 20-30 minutes to ensure even cooking and prevent burning on one side. Use tongs or a sturdy spatula instead of piercing the meat, which can release precious juices.
Keep an eye on the internal temperature, aiming for 140°F (60°C) for pre-cooked hams or 160°F (71°C) for fresh ones. Do you monitor the temperature regularly, or do you prefer checking by feel? Temperature checks are your best friend for perfect results.
Adding Flavor With Smoke And Glaze
Adding smoke and glaze to your ham on a charcoal grill transforms it from simple to sensational. The smoke infuses deep, savory notes, while the glaze adds a perfect balance of sweetness and tang. These elements work together to create a rich, memorable flavor that keeps everyone coming back for more.
Using Wood Chips
Wood chips are your best friend for adding that smoky aroma to grilled ham. Soak your chosen wood chips in water for about 30 minutes before placing them on hot coals. This slows down burning and creates a steady smoke that flavors your meat evenly.
Choose wood types based on the flavor profile you want:
- Applewood:Sweet and mild, great for a subtle smoke.
- Hickory:Strong and hearty, perfect if you want bold smokiness.
- Cherry:Adds a fruity and slightly sweet aroma.
Have you noticed how different woods can change the taste of your grilled dishes? Experimenting with chip varieties can be a fun way to personalize your ham’s flavor.
Basting For Extra Flavor
Basting your ham throughout grilling adds layers of flavor and keeps the meat moist. Use a brush to apply glaze every 15-20 minutes while grilling. This builds a sticky, caramelized crust that enhances both taste and appearance.
Try these glaze ideas to amp up your ham:
- Honey and mustard for a sweet and tangy kick.
- Maple syrup mixed with a touch of bourbon for richness.
- Brown sugar and pineapple juice for a tropical twist.
Remember, the key is patience—letting each layer set before adding the next creates a deep, complex flavor. What unique glaze will you try to make your grilled ham stand out?
Checking Doneness And Resting
Knowing when your grilled ham is perfectly done can be tricky. Overcooking dries it out, while undercooking leaves it tough and chewy. Checking doneness and allowing your ham to rest are crucial steps that ensure juicy, flavorful results every time you grill.
Internal Temperature Guide
Use a reliable meat thermometer to check the ham's internal temperature. Insert it into the thickest part without touching the bone for an accurate reading.
| Type of Ham | Target Internal Temperature | Notes |
|---|---|---|
| Pre-cooked Ham | 140°F (60°C) | Heat through without drying out |
| Uncooked Ham | 145°F (63°C) | Safe to eat with a 3-minute rest |
Always double-check the temperature in a few spots to confirm even cooking. Have you ever cut into a ham too early and found it cold inside? That’s why temperature matters more than time alone.
Resting For Juiciness
Once your ham hits the right temperature, remove it from the grill and let it rest. Tent it loosely with foil to keep warmth in.
Resting allows juices to redistribute, making each slice tender and moist. Skipping this step often leads to dry ham that lacks flavor.
Try resting your ham for at least 15 minutes before slicing. You’ll notice a big difference in taste and texture that will impress your guests.
Serving And Pairing Suggestions
Serving a grilled ham can be a delightful experience. The rich, smoky flavor makes it perfect for any occasion. Pairing it with the right sides and drinks enhances the meal. Let's explore some carving tips and pairing ideas.
Carving Tips
Use a sharp knife for clean slices. Let the ham rest for a few minutes. This keeps the juices inside. Begin carving at the narrow end. Slice against the grain for tender pieces. Serve the slices on a warm platter.
Side Dishes And Beverages
Choose sides that complement the ham's flavors. Roasted vegetables are a great choice. They add a healthy balance to the meal. Potato salad offers a creamy contrast. For a refreshing touch, serve a green salad.
Pair your grilled ham with suitable drinks. A light white wine works well. Lemonade is a refreshing non-alcoholic option. Iced tea with a hint of lemon is another choice. These drinks enhance the ham's smoky taste.
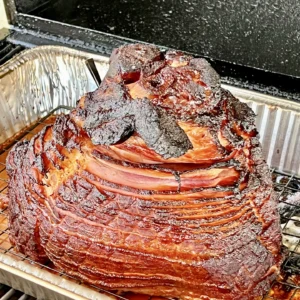
Credit: grillnationbbq.com
Frequently Asked Questions
How Long Should I Grill A Ham On Charcoal?
Grill a ham for about 1. 5 to 2 hours on indirect heat. Maintain a temperature of 250-300°F for even cooking. Use a meat thermometer to check for 140°F internal temperature for pre-cooked ham.
What Charcoal Setup Is Best For Grilling Ham?
Use a two-zone charcoal setup: hot coals on one side and no coals on the other. This indirect heat prevents burning and cooks the ham evenly. Add wood chips for extra smoky flavor.
Should I Glaze Ham Before Or After Grilling?
Apply glaze during the last 20-30 minutes of grilling. This prevents burning and allows the glaze to caramelize nicely. Brush the ham every 10 minutes for the best flavor.
How Do I Prevent Ham From Drying Out On The Grill?
Keep the ham moist by basting it with juice or glaze regularly. Use indirect heat to avoid direct flames. Wrapping the ham in foil during grilling helps retain moisture.
Conclusion
Grilling ham on a charcoal grill brings out rich, smoky flavors. The key is to control the heat and cook slowly. Always keep an eye on the grill to avoid burning. Use a meat thermometer to check doneness for safety.
Let the ham rest before slicing to keep it juicy. Serve with your favorite sides and enjoy a delicious meal. Grilling ham this way makes any gathering special and tasty. Try these steps for your next cookout. Simple, tasty, and satisfying.