
Is your refrigerator leaking water and causing a mess in your kitchen? A leaky fridge is more than just annoying—it can lead to wasted food, higher energy bills, and even damage to your floors.
But don’t worry, fixing it might be easier than you think. You’ll discover simple, step-by-step solutions to stop that leak and keep your fridge running smoothly. By the time you finish reading, you’ll have the confidence to tackle the problem yourself and save money on costly repairs.
Let’s get started and make your fridge leak-free again!
Common Causes Of Refrigerator Leaks
Refrigerator leaks cause water to pool on your kitchen floor. Understanding the common causes helps fix the problem fast. Leaks can result from blockages, wear, or broken parts inside your fridge. Identifying the root cause prevents further damage and keeps your refrigerator working well.
Clogged Defrost Drain
The defrost drain carries melted water to the drain pan. Dirt and food particles often clog this drain. Water then collects inside the fridge or leaks onto the floor. Cleaning the drain with warm water clears the blockage. Regular maintenance stops leaks from this cause.
Damaged Door Seals
Door seals keep cold air inside the refrigerator. Cracks or tears in seals let warm air in. This causes extra condensation and water buildup. Inspect seals for damage and replace if needed. Good seals maintain temperature and prevent leaks.
Leaking Water Filter
The water filter removes impurities from your fridge’s water supply. A loose or cracked filter can leak water. Check for cracks or poor connections around the filter. Tighten or replace the filter to stop leaks quickly.
Cracked Drain Pan
The drain pan collects water from the defrost cycle. Cracks or holes in the pan cause water to drip on the floor. Inspect the pan for damage under the fridge. Replace a cracked pan to keep water contained and avoid leaks.
Tools And Materials Needed
Fixing a leaky refrigerator requires having the right tools and materials at hand. Without them, the repair process can become frustrating and time-consuming. Preparing your toolkit before you start ensures you can tackle the problem efficiently and effectively.
Basic Tools
- Screwdrivers:Both flathead and Phillips screwdrivers are essential for removing panels and accessing components.
- Pliers:Useful for gripping and twisting parts, especially when dealing with clamps or hoses.
- Multimeter:Helps you check electrical connections if you suspect an electrical issue causing the leak.
- Towel or bucket:To catch any water that might spill during the repair process.
- Flashlight:Provides extra light inside the fridge, making it easier to see hard-to-reach areas.
Having these tools ready saves you from unnecessary trips to the hardware store mid-repair. Do you have all these basics in your toolbox already?
Replacement Parts
- Drain pan:Often cracked or damaged pans cause leaks. Having a replacement ready can quickly solve the problem.
- Drain tube:If clogged or broken, the drain tube may need swapping out to restore proper water flow.
- Door gasket:A worn-out gasket can cause condensation and leaks. Replacing it keeps your fridge sealed tight.
- Water filter:If your fridge has a water dispenser or ice maker, a new filter might be necessary to prevent leaks.
Identifying the exact part that needs replacement can be tricky. Do you know how to spot the faulty component in your fridge?
Cleaning Supplies
- Mild detergent:Use this to clean the drain pan and surrounding areas without causing damage.
- Soft brush or cloth:Helps remove dirt and debris from small crevices and the drain tube.
- Vinegar or baking soda:Natural cleaners that can dissolve buildup in the drain system.
- Paper towels:For wiping up spills quickly during and after the repair.
Keeping these cleaning supplies nearby ensures you can maintain a clean environment while fixing the leak. What cleaning method has worked best for you in tight spots?
Fixing A Clogged Defrost Drain
A clogged defrost drain is a common cause of water leaking inside your refrigerator. This drain carries away the water produced during the defrost cycle, and when it gets blocked, water has nowhere to go but inside your fridge. Fixing this issue not only stops leaks but also prevents mold and unpleasant odors.
Locating The Drain
First, find the defrost drain inside your fridge. It’s usually at the back of the freezer or refrigerator section, near the bottom. Check for a small hole or channel where water can flow out.
If you’re unsure, consult your fridge’s manual or look online for a model-specific guide. Sometimes the drain is hidden behind a panel that you need to remove carefully. Once located, you’re ready to clear the blockage.
Clearing The Blockage
The blockage is often caused by food debris or ice buildup. Use warm water to melt any ice clogging the drain. You can pour the water slowly down the drain hole to help clear it.
If water alone doesn’t do the trick, use a pipe cleaner, turkey baster, or a flexible brush to gently remove debris. Avoid sharp objects that could damage the drain. Patience is key—sometimes repeating the process a few times is necessary.
Testing The Drain
After clearing the blockage, test the drain by pouring a small amount of water into the drain hole. Watch to see if it flows freely into the drain pan below the fridge.
If water drains quickly without pooling, you fixed the problem. If it still backs up, double-check for any remaining debris or ice. Keeping an eye on this drain regularly can save you from future leaks and costly repairs.
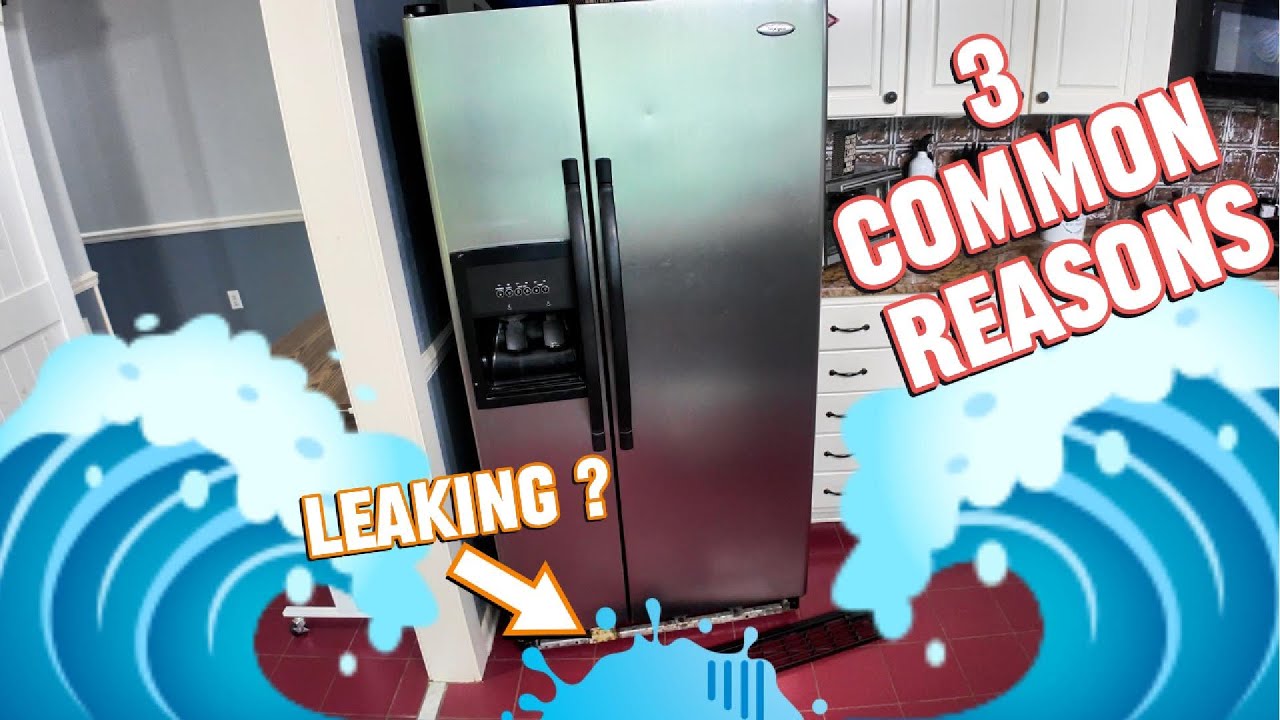
Credit: www.youtube.com
Replacing Damaged Door Seals
Replacing damaged door seals is a key step to stop your refrigerator from leaking. These seals keep the cold air inside and prevent moisture buildup that leads to water puddles. If your fridge door doesn’t close tightly, cold air escapes, forcing the compressor to work harder and causing condensation.
Removing Old Seals
Start by carefully pulling the old seal away from the door. Most seals are held in place by clips or a groove, so you can usually peel them off by hand. If the seal is stuck, use a flat tool like a plastic spatula to gently loosen it without damaging the door.
Make sure to clean the area thoroughly after removing the seal. Dirt and leftover adhesive can stop the new seal from sticking properly. Wipe the door edge with warm, soapy water and dry it completely before moving on.
Installing New Seals
Align the new seal around the door edge, starting at one corner. Press it firmly into the groove or clip it in place, working your way around the door. Some seals need to be warmed up slightly with a hairdryer to become more flexible, making installation easier.
If your seal has screw holes, tighten the screws carefully to avoid warping the seal. Avoid stretching the seal too much—it should fit snugly but not be under tension. A properly installed seal fits flush against the door without gaps.
Ensuring A Tight Seal
Close the door and check for gaps by running your hand around the edges. Feel for any spots where cold air might escape or where the seal doesn’t touch the fridge body. You can also place a piece of paper between the door and fridge; if you can pull it out easily, the seal isn’t tight enough.
Adjust the seal by repositioning it or tightening screws if needed. Over time, seals can lose their shape, so consider replacing them every few years to maintain efficiency. A tight seal not only stops leaks but saves energy and keeps your food fresh longer.
Checking And Replacing The Water Filter
Fixing a leaky refrigerator can be simple. One key step is checking the water filter. A clogged filter might cause leaks. Regularly replacing it ensures smooth operation. This section guides you through locating, removing, and installing the filter.
Locating The Filter
The filter is often inside the fridge. Check the upper right corner or back panel. Some models place it at the bottom grille. Consult your refrigerator's manual for exact location. This step is crucial for easy access.
Removing The Old Filter
Turn off the water supply. Twist the filter counterclockwise. Gently pull it out. Be cautious of dripping water. Have a towel ready to catch spills. Dispose of the old filter properly.
Installing A New Filter
Unpack the new filter. Align it with the slot. Push it in and twist clockwise. Ensure it's secure and snug. Turn the water supply back on. Run water through the dispenser for a few minutes. This flushes out any air or debris.
Repairing Or Replacing The Drain Pan
The drain pan in your refrigerator plays a crucial role in collecting excess water from the defrost cycle. If you notice water pooling under your fridge, the drain pan might be cracked or clogged. Fixing or replacing this component can stop leaks and prevent water damage in your kitchen.
Inspecting The Drain Pan
Start by unplugging your refrigerator for safety. Locate the drain pan, usually found underneath the fridge at the back or bottom. Pull it out carefully and check for any visible cracks, holes, or excessive dirt buildup.
Look closely at the edges where cracks often develop. If the pan looks warped or brittle, it might not hold water properly. Ask yourself: Could a small crack be the cause of the water pooling on my floor?
Cleaning Minor Cracks
If you spot minor cracks, cleaning the pan thoroughly can help you decide if a repair is possible. Use warm water and mild soap to remove grease and debris. Dry it completely before attempting any fixes.
For small cracks, waterproof epoxy or silicone sealant can work well. Apply the sealant evenly and let it cure as per the instructions. This fix might save you time and money, but keep an eye on the pan to ensure it holds up over time.
Replacing The Pan If Needed
Sometimes, damage is too severe for repairs to hold. If the pan is cracked beyond repair or warped, replacement is your best bet. Check your refrigerator’s model number and purchase an exact match to ensure proper fit and function.
Replacing the drain pan is straightforward: remove the old one, slide in the new pan, and secure it as needed. Have you ever delayed replacing a part, only to face bigger problems later? Don’t let a small leak turn into a costly repair.
Preventive Tips To Avoid Future Leaks
Preventing leaks in your refrigerator saves you time, money, and frustration. Small issues often lead to bigger problems if not caught early. Taking simple preventive steps can keep your fridge running smoothly and your kitchen dry.
Regular Maintenance Schedule
Set a routine to check and clean your refrigerator every month. Remove dust from coils, clear the drain hole, and wipe up any spills inside. This simple habit can stop clogs and leaks before they start.
I once ignored a clogged drain for months, thinking it was harmless. Eventually, water pooled under the fridge, causing damage to my floor. Regular maintenance could have avoided that mess entirely.
Proper Refrigerator Leveling
Check if your fridge sits evenly on the floor. Use a level tool to make sure it’s not tilted forward or backward. An unlevel fridge can cause water to pool in the wrong places and leak.
Adjust the front legs or wheels to keep your refrigerator balanced. This ensures water flows to the drain pan instead of spilling inside your kitchen. Have you ever noticed water pooling after a door closes? Leveling might be the hidden fix.
Monitoring Door Seal Condition
Inspect the rubber gaskets around your fridge doors regularly. Look for cracks, tears, or dirt buildup that can prevent a tight seal. Poor seals let warm air in, causing condensation and leaks.
Clean the seals with warm, soapy water and replace them if damaged. A well-sealed door keeps your fridge’s temperature steady and reduces moisture buildup. When was the last time you checked your door seals?

Credit: www.sloanappliance.com

Credit: www.youtube.com
Frequently Asked Questions
Why Is My Refrigerator Leaking Water Inside?
A leaky refrigerator often has a clogged or frozen defrost drain. Clean the drain hole and tube to fix it. Check the door seal for damage that might cause condensation and leaks. Properly level the fridge to ensure water flows to the drain.
How Do I Unclog A Refrigerator Drain Tube?
Unclog the drain tube by flushing it with warm water using a turkey baster or pipe cleaner. Remove any debris or ice blocking the tube. Regular cleaning prevents future blockages and leaks. Always unplug the fridge before starting maintenance.
Can A Faulty Door Gasket Cause Leaks?
Yes, a damaged door gasket lets warm air inside, causing condensation and leaks. Inspect the seal for cracks or tears. Replace the gasket if it’s worn out to maintain a tight seal and prevent water buildup.
What Role Does Fridge Leveling Play In Leaks?
If a refrigerator isn’t level, water may not flow properly to the drain pan. This causes pooling and leaks inside or outside the fridge. Use a spirit level to adjust the fridge feet and ensure proper drainage.
Conclusion
Fixing a leaky refrigerator saves money and prevents damage. Check the door seal and clean the drain hole first. Clear any blockages to keep water flowing correctly. Replace worn parts to stop future leaks. Regular care helps your fridge work well longer.
Small fixes avoid big problems later. Keep your fridge dry and running smoothly every day. Simple steps make a big difference in home maintenance. Stay proactive to protect your food and kitchen space.