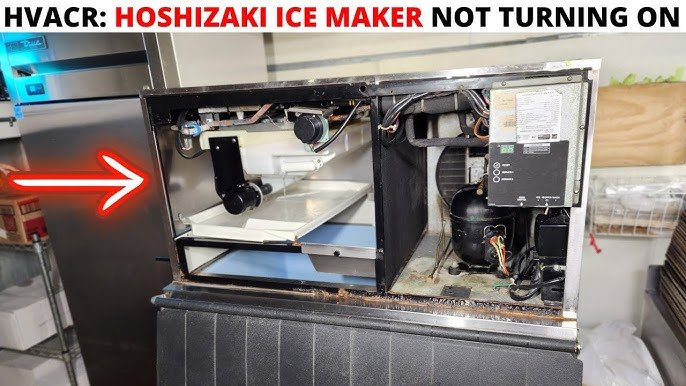
Is your ice maker not working as well as it used to? If your ice cubes are smaller, slower to form, or have a strange taste, it might be time to descale your ice maker.
Hard water minerals can build up inside, causing blockages and affecting performance. But don’t worry—descaling your ice maker is easier than you think. In this guide, you’ll learn simple, step-by-step methods to get your ice maker running smoothly again. Keep reading to discover how a clean ice maker can save you time, improve ice quality, and extend your machine’s life.
Importance Of Descaling Your Ice Maker
Keeping your ice maker free from scale buildup is more important than you might think. Scale, made from minerals in water, can clog the machine and reduce its efficiency. Ignoring this can lead to poor ice quality and even damage your appliance over time.
Protecting Your Ice Quality
Scale buildup affects the taste and clarity of your ice. Have you ever noticed your ice tasting odd or looking cloudy? That’s often due to mineral deposits. Descaling ensures your ice stays fresh and pure, making your drinks taste better.
Maintaining Efficiency And Saving Energy
When scale builds up, your ice maker works harder to produce the same amount of ice. This extra effort wastes energy and can raise your utility bills. Regular descaling keeps your machine running smoothly and saves money in the long run.
Extending The Lifespan Of Your Ice Maker
Think about how much you invested in your ice maker. Scale can cause corrosion and block water flow, leading to costly repairs or the need for replacement. By descaling regularly, you protect your investment and avoid unexpected breakdowns.
Preventing Health Issues
Mineral deposits can harbor bacteria and mold if left unchecked. This contamination may affect your health and the safety of your ice. Descaling helps maintain a clean environment inside your machine, keeping your ice safe to consume.

Credit: www.youtube.com
Signs Your Ice Maker Needs Descaling
Knowing when your ice maker needs descaling can save you time and prevent costly repairs. Scale buildup inside the machine affects its performance and the quality of your ice. Being able to spot the signs early means you can act quickly and keep your ice fresh and clear.
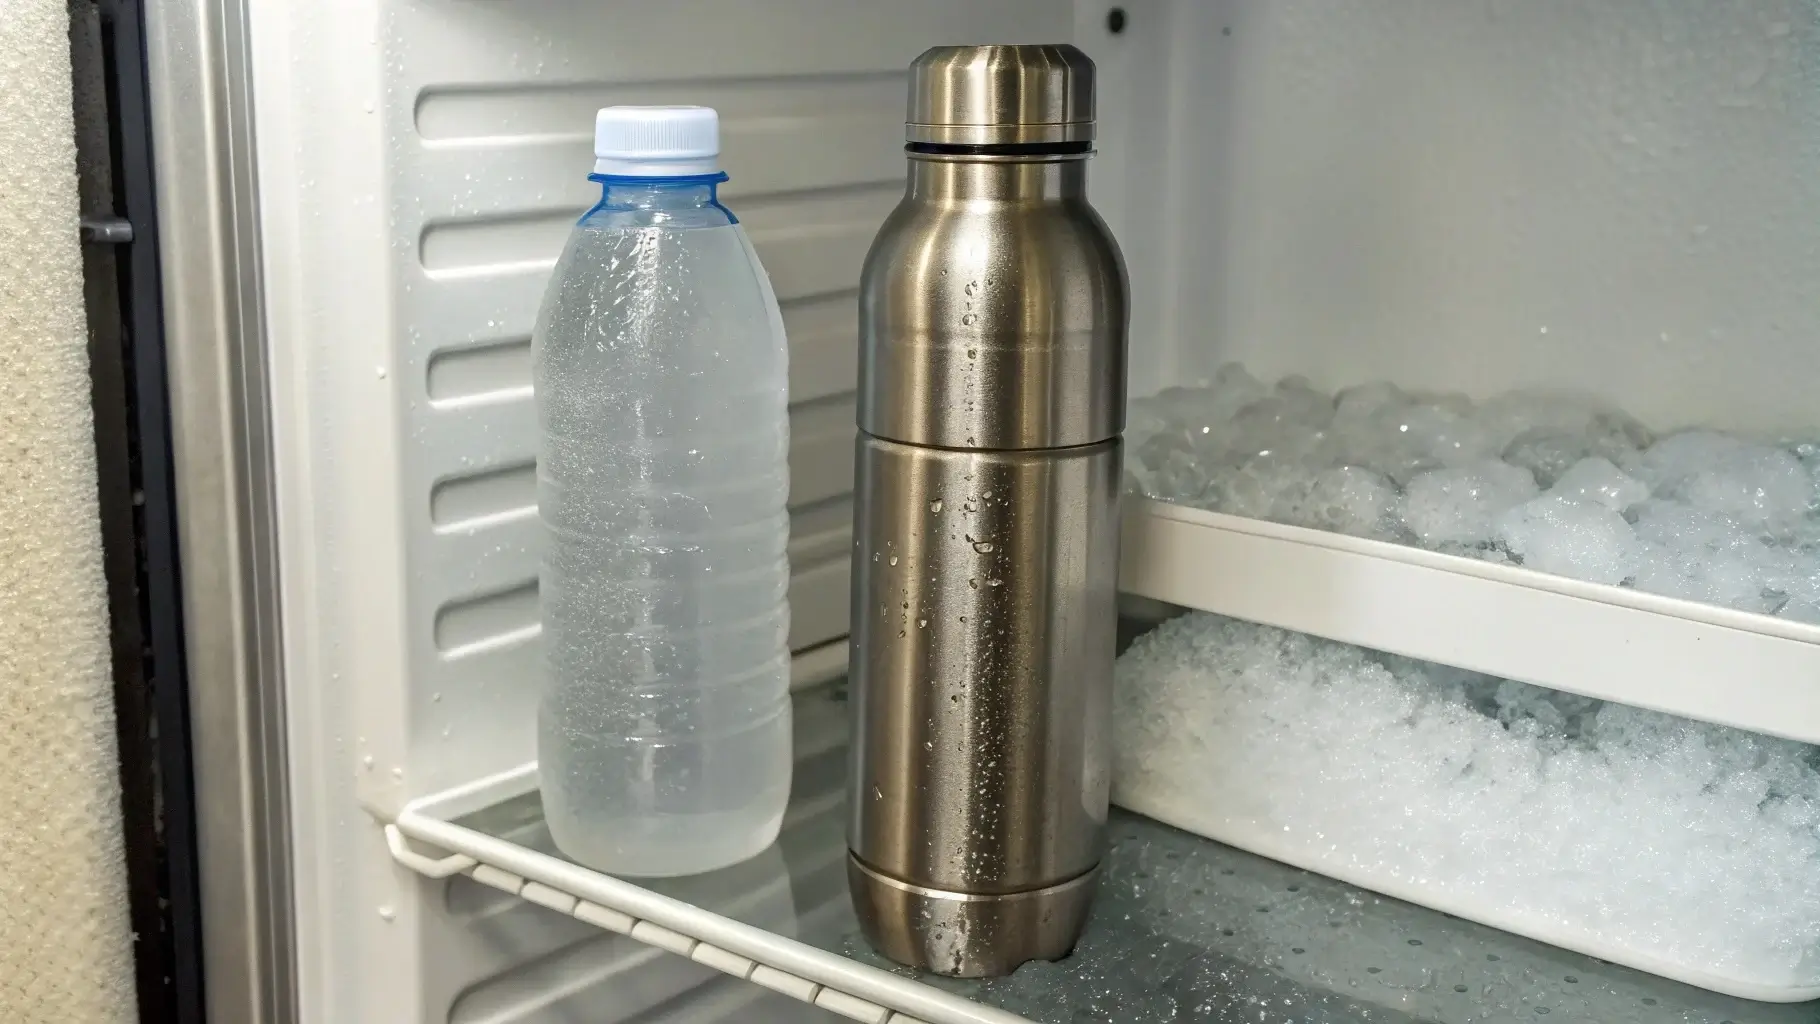
Visible White Or Cloudy Ice
Have you noticed your ice cubes looking cloudy or white instead of clear? This often signals mineral deposits building up inside the ice maker. Hard water minerals like calcium and magnesium cause this cloudiness, indicating it’s time to descale.
Slow Ice Production
If your ice maker is taking longer than usual to produce ice, scale deposits might be restricting water flow or cooling efficiency. You might find yourself waiting longer for a full tray, which can be frustrating during gatherings or hot days.
Strange Taste Or Odor In Ice
Does your ice taste off or have a weird smell? Scale buildup can trap bacteria and impurities, affecting the flavor of your ice. If you notice this, descaling will help restore clean-tasting ice cubes.
Water Leakage Or Overflow
Unexpected leaks around your ice maker could signal clogged or damaged internal parts due to mineral buildup. If water pools around the unit, it’s a clear sign that descaling is overdue to prevent more serious issues.
Frequent Error Messages Or Malfunctions
Your ice maker might show error codes or stop working properly if scale disrupts sensors and mechanical parts. Are you getting unusual alerts? These are your machine’s way of asking for maintenance.
- Check for cloudy or white ice regularly.
- Monitor how long it takes to make ice.
- Pay attention to any off tastes or smells.
- Look out for leaks or water pooling.
- Note any error messages or unusual behavior.
Have you experienced any of these signs with your ice maker? Identifying them early can keep your ice maker running smoothly and your ice crystal clear.
Gathering Necessary Supplies
Before starting to descale your ice maker, gather all necessary supplies. Having everything ready saves time and avoids interruptions. Each item plays a key role in the cleaning process.
Prepare a clean workspace near the ice maker. This area should have good lighting and enough room for tools and liquids.
Descaling Solution
Choose a suitable descaling agent. You can use a commercial ice maker cleaner or a homemade mixture like white vinegar and water. Make sure the solution is safe for your machine.
Soft Cloths And Brushes
Use soft cloths to wipe surfaces gently. A small brush helps reach tight spaces and removes stubborn scale without scratching.
Measuring Tools
Measure liquids accurately. Use a measuring cup or spoon to mix the descaling solution correctly. Proper ratios ensure effective cleaning.
Protective Gloves
Wear gloves to protect your hands from chemicals. Gloves also keep your skin dry during the process.
Bucket Or Large Container
Have a bucket ready to catch water and cleaning solution drained from the ice maker. This keeps the area clean and prevents spills.
Clean Water Supply
Access to fresh water is important for rinsing. Use clean water to flush out the descaling solution thoroughly after cleaning.
Preparing The Ice Maker For Descaling
Preparing your ice maker for descaling is a crucial step that ensures the process goes smoothly and effectively. Before introducing any cleaning agents, you need to create a safe environment for both you and the appliance. Taking these preparatory actions also helps avoid any potential damage or mess.
Turning Off And Unplugging
Always start by turning off your ice maker. This stops any ice production and prevents water flow during cleaning. Unplugging the unit is essential to avoid electrical hazards—safety should never be an afterthought.
Have you ever tried cleaning a plugged-in appliance and ended up with a shock or a ruined machine? I learned this the hard way, and since then, unplugging is my first move every time. It’s a simple action that saves you a lot of trouble.
Emptying The Ice Bin
Next, remove all the ice from the bin. Leftover ice can dilute your descaling solution or cause blockages. Use a clean container to store the ice if you plan to use it, or simply discard it if it's old or cloudy.
Make sure to check every corner of the bin; ice can hide in unexpected places. This step might seem small, but it makes the descaling more thorough and effective. Would you want to clean your kitchen but leave crumbs behind? Think of it the same way.
Creating A Descaling Solution
Creating a descaling solution is a crucial step in keeping your ice maker running smoothly. Without the right mix, you risk damaging the machine or leaving behind residue that affects ice quality. Let’s look at how to choose and prepare a solution that works effectively and safely.
Choosing The Right Descaler
Not all descalers are made equal. Some products are specifically designed for ice makers, while others are more general-purpose. Using a descaler made for coffee machines or kettles might seem convenient, but it could harm your ice maker’s internal parts.
Look for a descaler that is:
- Food-safe and non-toxic
- Recommended by your ice maker’s manufacturer
- Effective against limescale and mineral buildup
Have you checked your ice maker’s manual lately? It often lists compatible descaling agents to avoid any guesswork.
Mixing The Solution
Once you have the right descaler, mixing the solution properly is vital. Too strong a concentration can damage your machine, while too weak won’t remove the scale effectively. Usually, manufacturers provide clear instructions on dilution ratios.
Follow these tips:
- Use clean, lukewarm water to dissolve the descaler
- Mix thoroughly until the solution is clear and uniform
- Measure carefully with a kitchen scale or measuring cup for accuracy
Keep in mind, your goal is a balanced solution that cleans without risking harm. Have you ever tried mixing descaler without measuring? You’ll notice how much easier the process is when you take the time to get it right.
Running The Descaling Cycle
Running the descaling cycle is a key step to keep your ice maker working well. It removes mineral buildup that can block water flow. Regular descaling ensures clean ice and a longer machine life.
This process involves adding a descaling solution and running a cleaning cycle. Follow each step carefully to avoid damage and improve performance.
Adding Solution To The Ice Maker
Start by preparing the descaling solution. Use a product made for ice makers or a mix of water and white vinegar. Pour the solution into the water reservoir of your ice maker. Do not overfill; check the manufacturer’s guide for the right amount. Ensure the solution covers the parts where scale builds up.
Starting The Cleaning Process
Power on the ice maker and select the cleaning or descaling mode. If the machine lacks this mode, run a normal cycle with the solution inside. Let the machine run fully to circulate the solution. This action dissolves the limescale and flushes it out. After the cycle, drain the solution completely. Rinse the reservoir with fresh water. Run one or two cycles with clean water to remove any leftover solution taste.
Rinsing And Cleaning The Ice Maker
Rinsing and cleaning the ice maker is key to keeping it working well. This process removes mineral build-up and dirt. Clean ice tastes better and machines last longer. It is important to clean both inside and outside parts carefully.
Flushing The System
Flushing clears out old water and scale inside the machine. Use a descaling solution or a mix of vinegar and water. Pour the solution into the water reservoir or follow the machine’s instructions. Run the machine to let the solution flow through pipes and the ice tray.
After running the solution, flush the system with clean water. Repeat this step until no smell or taste remains. This prevents any leftover cleaning liquid from affecting ice quality.
Cleaning The Exterior And Interior
Wipe the outside of the ice maker with a soft cloth and mild detergent. Avoid harsh cleaners that can damage the surface. Clean buttons, handles, and vents gently to remove dust and grime.
Open the ice bin and remove any ice. Use a clean cloth or sponge with warm soapy water to clean inside. Pay special attention to corners and crevices where mold can grow. Rinse with a damp cloth to remove soap residue.
Dry all parts completely before reassembling. This stops mold and mildew from forming inside the machine.
Reassembling And Testing The Ice Maker
Reassembling and testing the ice maker is a crucial step after descaling. This ensures your machine works smoothly and produces clean ice. Careful attention during this phase helps avoid leaks or mechanical issues. Follow each part carefully to get your ice maker running again.
Reconnecting And Turning On
Start by reconnecting all parts removed during descaling. Ensure water lines, electrical connections, and panels are secure. Double-check hoses for tight fits to prevent leaks. Once everything is back, turn on the ice maker’s power switch. Listen for any unusual sounds that might indicate loose parts.
Testing For Proper Operation
Allow the ice maker to run through a full cycle. Watch for proper water flow and ice formation. Check the ice size and clarity for any signs of remaining scale. If the ice looks clear and the machine runs quietly, the process is successful. Clean any spills and monitor the machine over the next few hours for consistent performance.
Tips For Maintaining A Clean Ice Maker
Keeping an ice maker clean helps it work well and last longer. Dirt and minerals can build up inside. This can make ice taste bad and stop the machine from making ice quickly. Follow simple tips to keep your ice maker fresh and efficient. Clean parts and use fresh water often. Check the machine for signs of buildup or damage. Taking care of your ice maker avoids costly repairs and improves ice quality.
Regular Cleaning Schedule
Set a regular time to clean your ice maker. Clean it every few weeks or as the manual suggests. Wipe down surfaces and remove old ice. Use warm water and mild soap for cleaning. Rinse well to remove soap taste. Dry parts completely before putting them back. Regular cleaning stops germs and mold growth. Keep the ice maker smelling fresh and looking good.
Preventing Mineral Buildup
Minerals in water cause hard white deposits in the machine. Use filtered or soft water if possible. This lowers mineral content and keeps the machine cleaner. Run a descaling solution through the ice maker as recommended. This removes mineral deposits and keeps parts working smoothly. Check water lines and filters often. Replace filters to keep water clean. These steps help your ice maker make clear, fresh ice.

Credit: www.youtube.com

Credit: parade.com
Frequently Asked Questions
How Often Should I Descale My Ice Maker?
You should descale your ice maker every 3 to 6 months. Frequent use or hard water may require more frequent cleaning. Regular descaling prevents mineral buildup and ensures efficient ice production.
What Is The Best Solution To Descale An Ice Maker?
Use a mixture of equal parts white vinegar and water. This natural solution effectively dissolves mineral deposits. Avoid harsh chemicals that can damage the machine or contaminate ice.
Can I Descale My Ice Maker Without Removing It?
Yes, many ice makers can be descaled in place. Follow the manufacturer’s instructions to run the descaling solution through the system. This method saves time and prevents disassembly.
How Do I Know If My Ice Maker Needs Descaling?
Signs include slow ice production, smaller ice cubes, or unusual taste. White or chalky deposits inside the machine also indicate mineral buildup. Regular checks help maintain ice quality.
Conclusion
Descaling your ice maker keeps it working well and makes ice taste better. Clean it regularly to stop build-up of minerals and dirt. Use the right cleaner and follow simple steps carefully. This helps your machine last longer and saves money on repairs.
A clean ice maker means fresh, clear ice every time. Take a little time now to avoid big problems later. Easy care makes a big difference.