
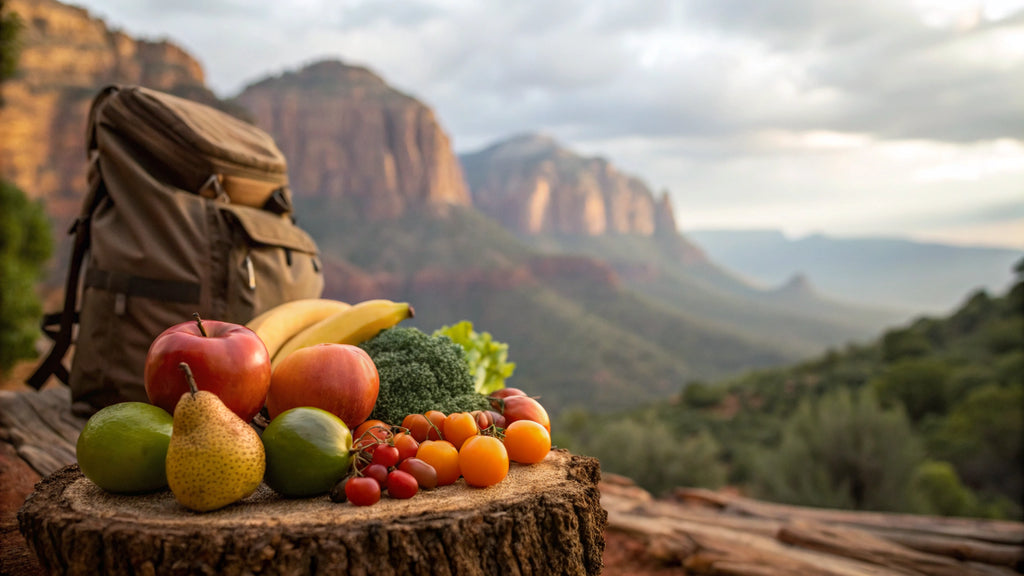
Imagine setting off on your next backpacking adventure with meals that are lightweight, nutritious, and customized to your taste. Dehydrating food for backpacking is not just a skill; it's a game-changer for your outdoor experience.
You can pack delicious meals without carrying extra weight, and best of all, you have control over what you eat. No more relying on store-bought options that may not suit your dietary needs or flavor preferences. This guide will reveal the secrets of how you can prepare your own dehydrated meals, ensuring you have energy-boosting food at your fingertips.
Ready to transform your backpacking trips with easy, homemade meal solutions? Keep reading to discover how you can master the art of food dehydration.
Benefits Of Dehydrated Food
Dehydrated food offers many benefits for backpackers. It makes carrying food easier and keeps meals fresh for a long time. This method removes moisture, which helps preserve food without losing its taste or nutrients. Understanding these benefits can help you plan better trips and enjoy your meals outdoors.
Weight Reduction
Removing water from food cuts down its weight significantly. Backpackers carry less load, saving energy on long hikes. Lighter packs improve balance and reduce fatigue. This allows you to travel farther and faster with less effort.
Extended Shelf Life
Dehydrated food lasts much longer than fresh food. Without moisture, bacteria and mold cannot grow easily. This means your food stays safe to eat for months or even years. It is perfect for trips without access to refrigeration.
Nutrient Preservation
Drying food keeps most vitamins and minerals intact. It locks in the natural flavors and nutrients your body needs. Dehydrated fruits and vegetables provide healthy energy during your journey. This helps maintain strength and stamina on the trail.
Essential Equipment For Dehydrating
Having the right tools can make dehydrating food for backpacking simple and effective. The equipment you choose affects drying time, food quality, and your overall experience. Whether you want convenience, precision, or a budget-friendly approach, there’s an option that fits your needs.
Food Dehydrators
Food dehydrators are designed specifically for drying foods evenly and quickly. They use low heat and a fan to circulate air, which helps preserve nutrients and flavors. Many models come with adjustable temperature controls, allowing you to dry fruits, vegetables, and meats with ease.
If you plan to dehydrate food often, investing in a good dehydrator can save time and hassle. Some popular brands offer stackable trays, making it easy to dry large batches for multiple backpacking trips. Have you ever tried drying jerky or apple slices? A dehydrator can make those snacks perfectly chewy or crisp.
Oven Techniques
Your home oven can double as a food dryer if you don’t own a dehydrator. Set it to the lowest temperature—usually between 130°F and 170°F—and leave the door slightly open for ventilation. This helps moisture escape and speeds up the drying process.
Using an oven requires more attention to avoid overcooking or burning your food. It’s best to spread items thinly on baking sheets or wire racks to allow air circulation. Have you noticed how your oven can dry herbs or fruit, but with less control? Patience and checking frequently can make a big difference.
Alternative Methods
If you’re in a pinch or prefer an energy-free approach, sun drying and air drying are worth considering. Sun drying works well in hot, dry climates and can be as simple as placing food on a screen in direct sunlight.
Air drying is common for herbs and some cured meats, but it takes longer and requires good airflow to prevent mold. These methods won’t be as fast or reliable as a dehydrator or oven, but they do connect you with traditional food preservation techniques.
What’s your backpacking style? Choosing the right equipment could save you time and help you enjoy homemade trail snacks even more.
Best Foods To Dehydrate
Choosing the right foods to dehydrate can make your backpacking meals both nutritious and delicious. Not all foods dry well, so knowing which ones hold flavor and texture after dehydration is key. Let’s look at some of the best options to keep your trail snacks light and tasty.
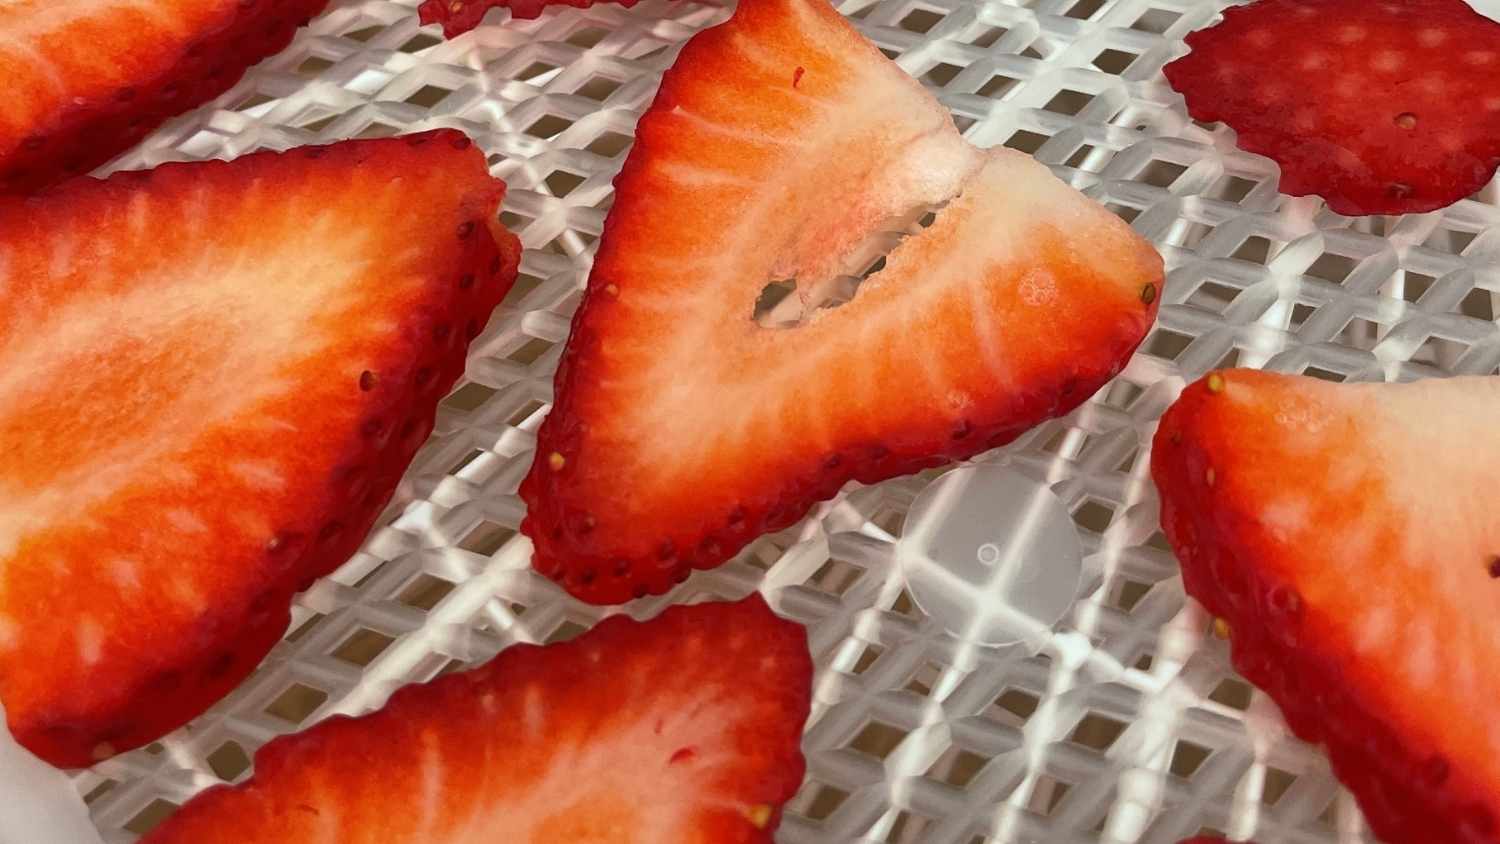
Fruits And Vegetables
Fruits and vegetables are a staple for dehydrating because they retain most of their nutrients and natural sweetness. Apples, bananas, and berries dry well and make great snacks or additions to oatmeal. Vegetables like bell peppers, carrots, and tomatoes work perfectly for soups and stews on the trail.
Have you tried dehydrated kale chips? They’re crispy, healthy, and easy to carry. Make sure to slice produce evenly for consistent drying. Avoid watery fruits like watermelon, as they don’t dry efficiently.
Proteins And Meats
Dehydrating proteins is a smart way to pack lightweight, high-energy food. Jerky made from beef, turkey, or chicken is a popular choice that keeps well. You can also dehydrate cooked beans or lentils for a vegetarian protein boost.
Remember to marinate meats before drying to add flavor and tenderize. Have you noticed how homemade jerky tastes better than store-bought? That’s because you control the seasoning and drying time. Always ensure meats are fully dried to avoid spoilage.
Herbs And Spices
Drying herbs like basil, oregano, and thyme intensifies their flavor, making your backpacking meals more enjoyable. Fresh herbs lose potency quickly, but dehydrated ones keep their aroma and taste for months. You can crush them into powders or keep whole leaves depending on your recipe needs.
Try drying your own herb blends at home to customize your trail meals. Does your favorite seasoning blend include garlic or chili flakes? Those dry beautifully and add a punch without extra weight. Using your own dried spices reduces the need to carry bulky seasoning packets.
Credit: backcountryfoodie.com
Step-by-step Dehydration Process
Dehydrating food for backpacking preserves it for long trips. The process removes moisture, preventing spoilage and reducing weight. Follow these clear steps for safe, tasty results. Proper technique keeps nutrients and flavors intact.
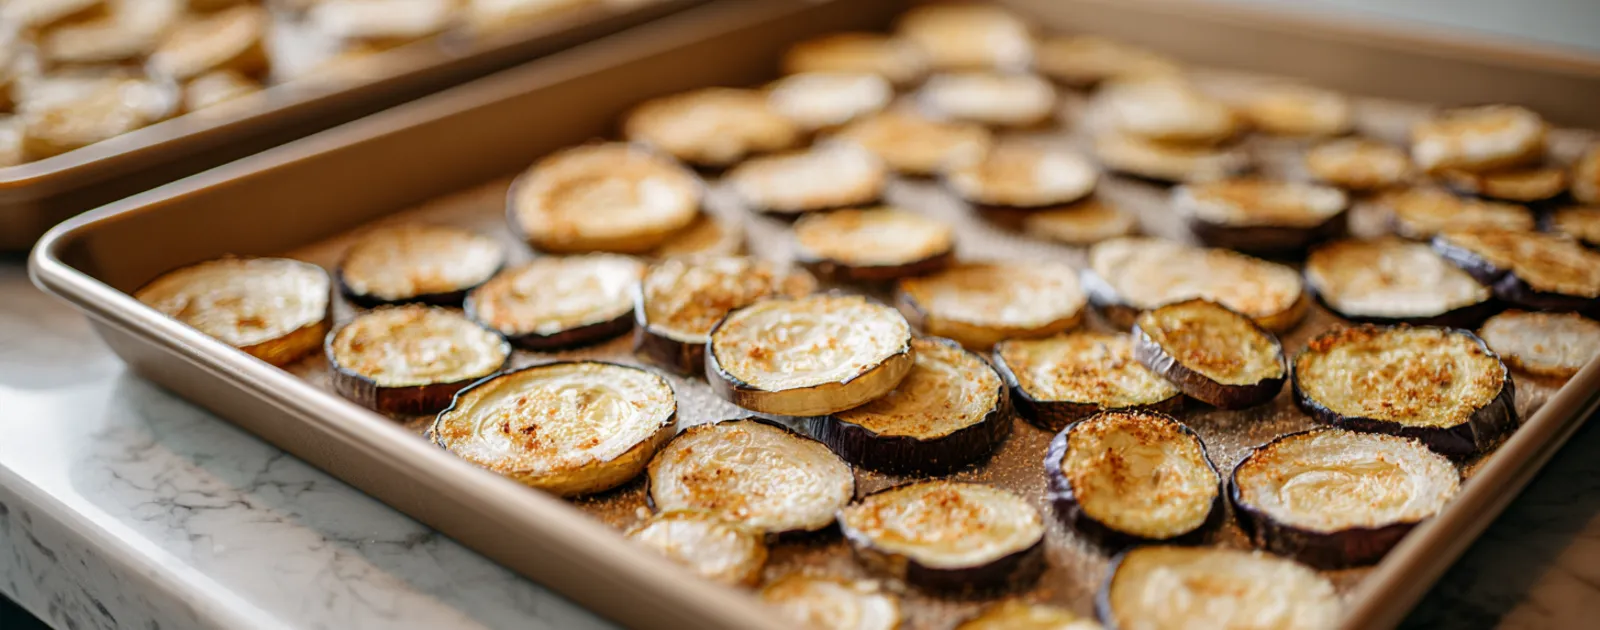
Preparation And Cutting
Start by washing all fruits, vegetables, or meats. Remove any bad spots or bruises. Cut the food into small, even pieces to ensure uniform drying. Thin slices dry faster and more evenly. Keep sizes consistent for best results.
Blanching Techniques
Blanching helps keep color and texture. Boil vegetables for 1 to 3 minutes. Immediately plunge them into ice water to stop cooking. This step slows enzyme activity that causes spoilage. Skip blanching for fruits and herbs.
Drying Times And Temperatures
Set your dehydrator to 125°F to 140°F for most foods. Drying times vary by type and thickness. Fruits usually take 6 to 12 hours. Vegetables need 8 to 14 hours. Meats may require up to 24 hours. Check food regularly for dryness. Food should be leathery or brittle but not sticky.
Packaging And Storage Tips
Packing and storing dehydrated food correctly keeps it fresh and tasty. Proper packaging stops moisture, air, and bugs from spoiling your food. Good storage extends shelf life and saves space in your backpack. Use strong, airtight containers or bags. Label each package with the date and contents. These simple steps help you enjoy your meals on the trail.
Vacuum Sealing
Vacuum sealing removes air from the packaging. This slows down spoilage and prevents freezer burn. Vacuum-sealed bags keep food lightweight and compact. They also protect against moisture and insects. Use a vacuum sealer with durable bags for best results. Make sure the seal is tight and without leaks. It is ideal for long trips and storing large quantities.
Using Mylar Bags
Mylar bags block light, air, and moisture. They are strong and puncture-resistant. Use a heat sealer to close the bags tightly. Add oxygen absorbers inside to keep food fresh longer. Mylar bags work well for grains, fruits, and powders. They are lightweight and flexible for easy packing. Perfect for extended storage and preserving flavor.
Optimal Storage Conditions
Store dehydrated food in a cool, dark, and dry place. Avoid heat and sunlight, which cause spoilage. Keep food away from humidity and pests. A temperature below 70°F (21°C) is best. Use airtight containers or sealed bags for extra protection. Check your food regularly for signs of damage. Good storage keeps your food safe and tasty for months.
Credit: www.battlbox.com
Rehydrating Food On The Trail
Rehydrating food on the trail is a crucial skill that can make your backpacking meals both enjoyable and efficient. Proper rehydration restores texture and flavor, helping you feel satisfied after a long day of hiking. Understanding how to balance water, time, and heat will change your eating experience and save you valuable energy.
Water Ratios
Getting the right water-to-food ratio is key. Too little water leaves your meal dry and tough, while too much can make it soggy and unappetizing. Most dehydrated meals require about 1.5 to 2 times the volume of water compared to the dry food.
For example, if you have 1 cup of dehydrated pasta, start with 1.5 cups of hot water. Adjust the amount based on the ingredients; grains and beans may need more water than fruits or vegetables. Carry a small measuring cup or use a marked water bottle to make this easier on the trail.
Soaking Vs. Cooking
Deciding whether to soak or cook depends on your available time and fuel. Soaking means pouring hot water over your food and letting it sit covered for 10-20 minutes. This method works well for lightweight meals and saves fuel.
Cooking, on the other hand, involves boiling the dehydrated food in water to speed up rehydration and improve texture. It’s ideal for meals with beans, rice, or freeze-dried meats. Have you noticed how a quick boil can make a big difference in taste?
Quick Meal Ideas
- Instant Oatmeal:Add boiling water, stir, cover, and wait 5 minutes for a warm, energizing breakfast.
- Dehydrated Soup Mix:Soak in hot water for 15 minutes, then enjoy a comforting and light dinner.
- Freeze-Dried Chili:Boil with water for 5 minutes to bring back rich flavors and hearty texture.
- Trail Mix with Dried Fruits:No rehydration needed—perfect for quick snacks on the move.
Which meal will you try first on your next hike? Experimenting with rehydration techniques helps you discover what works best for your taste and pace.
Safety And Troubleshooting
Safety and troubleshooting are key when dehydrating food for backpacking. Proper drying prevents health risks and food waste. Understanding common issues helps keep your meals fresh and safe.
Avoiding Mold And Spoilage
Keep food dry and cool after dehydrating. Store in airtight containers to block moisture. Use oxygen absorbers or silica gel packs for longer trips. Check stored food regularly for signs of mold. If you see any white, fuzzy spots, discard the food immediately. Avoid dehydrating in humid conditions; moisture encourages mold growth.
Signs Of Poor Dehydration
- Food feels sticky or soft instead of dry and brittle.
- Discoloration or dark spots appear on the food.
- Odd or sour smell develops, indicating spoilage.
- Food rehydrates unevenly, with soggy parts remaining.
These signs mean food was not dried enough or stored improperly. Recheck drying times and storage methods to fix the problem.
Common Mistakes To Avoid
- Overloading the dehydrator trays reduces airflow and drying quality.
- Using thick slices slows drying and increases spoilage risk.
- Not pre-treating fruits that darken, like apples or bananas.
- Skipping the cool-down phase before storage, trapping moisture inside.
- Ignoring the dehydrator’s temperature guidelines; too low or too high harms food safety.
Recipes For Dehydrated Backpacking Meals
Dehydrating your own backpacking meals lets you control ingredients, save money, and enjoy fresh flavors even miles from civilization. Having a stash of homemade dehydrated dishes means you can mix and match meals to suit your taste and energy needs. Let's look at some tasty recipes you can prepare ahead and carry with you on your next adventure.
Breakfast Options
Start your day with meals that fuel your body and wake up your senses quickly. Oatmeal is a backpacker favorite—dry oats mixed with powdered milk, dried fruits like apples or raisins, and a sprinkle of cinnamon. Just add hot water to enjoy a warm, filling breakfast.
Another great choice is scrambled eggs made with dehydrated egg powder combined with freeze-dried vegetables like bell peppers and spinach. These rehydrate fast and offer a protein boost to keep you energized.
Lunch And Dinner Ideas
For lunches and dinners, think about balanced meals with carbs, protein, and veggies that rehydrate well. Try dehydrated chili made with ground beef or turkey, beans, tomatoes, and spices. It’s hearty, flavorful, and easy to reheat.
Another option is pasta with dehydrated tomato sauce and freeze-dried vegetables like mushrooms and zucchini. Adding powdered cheese or nutritional yeast enhances taste and nutrition.
Snacks And Energy Boosters
Snacks keep your energy steady between meals. Trail mix with homemade dehydrated fruits, nuts, and seeds offers a mix of textures and flavors. You can also make energy bars by blending oats, nut butter, honey, and dried fruits, then dehydrating them into portable squares.
Don’t overlook jerky made from lean meats or tofu strips for a protein-packed snack. These keep well and give you a satisfying chew when you need a quick pick-me-up.
Credit: traileating.com
Frequently Asked Questions
What Foods Are Best For Dehydrating On Backpacking Trips?
Fruits, vegetables, lean meats, and cooked grains dehydrate well. They retain nutrients, reduce weight, and last longer. Avoid high-fat and watery foods, as they don't dry properly and spoil faster.
How Long Does It Take To Dehydrate Food At Home?
Dehydration time varies from 4 to 12 hours depending on food type and thickness. Thin slices dry faster. Use a food dehydrator or oven at 135°F to 145°F for best results.
Can I Dehydrate Cooked Meals For Backpacking?
Yes, cooked meals like stews and pasta dehydrate well. Cool food before dehydrating. Rehydrate with water during your trip for a quick, nutritious meal.
How Should Dehydrated Food Be Stored For Backpacking?
Store dehydrated food in airtight containers or vacuum-sealed bags. Keep them in a cool, dark, and dry place to extend shelf life and prevent moisture absorption.
Conclusion
Dehydrating food saves space and weight for backpacking trips. It keeps food fresh and easy to carry. You can prepare meals ahead and enjoy tasty snacks on the trail. With simple tools and some practice, anyone can dry food at home.
Try different fruits, vegetables, and meats to find what you like. Dehydrated food makes your adventure lighter and more enjoyable. Give it a go and see how it changes your backpacking experience.


