Are you tired of spending extra time cooking Rice-A-Roni on the stove? What if you could make it perfectly every time using your rice cooker?
Imagine having fluffy, flavorful Rice-A-Roni without the hassle or constant stirring. In this guide, you’ll discover simple steps to cook Rice-A-Roni in your rice cooker that save you time and deliver delicious results. Keep reading, and you’ll learn easy tricks that make your meal prep faster and tastier.
Ready to turn your rice cooker into your new secret weapon? Let’s get started!
Choosing The Right Rice
Choosing the right rice is the foundation for cooking a perfect Rice-A-Roni in your rice cooker. The rice you select affects texture, flavor, and how well the seasonings blend. Understanding the types and how to measure them accurately will help you get consistent results every time.
Types Of Rice For Rice-a-roni
Rice-A-Roni traditionally uses long-grain white rice, which offers a light and fluffy texture. You can also try jasmine or basmati rice for a slightly different aroma and softness. Avoid short-grain or sticky rice varieties, as they tend to clump and won’t give you the classic Rice-A-Roni feel.
Thinking about using brown rice? It’s healthier but requires more water and longer cooking time. If you prefer convenience, stick with white rice to match the package instructions closely.
Measuring Rice Accurately
Measuring your rice precisely impacts the final texture. Use a standard measuring cup to scoop the rice—don’t just eyeball it. Too much rice can make the dish dry; too little can make it mushy.
Here’s a simple tip: rinse the rice before measuring if you want less starch and a fluffier result. After measuring, level the cup with a flat edge for accuracy. Have you noticed how even slight changes in rice quantity alter your dish’s consistency?
Preparing Ingredients
Preparing your ingredients before cooking Rice-A-Roni in a rice cooker sets the stage for a tasty and hassle-free meal. The right seasonings and broth can transform a simple box of Rice-A-Roni into a flavorful dish that feels homemade. Taking a moment to gather everything ensures you won’t be scrambling while the rice cooks.
Gathering Seasonings And Broth
Start with the basic seasonings included in the Rice-A-Roni package. These usually contain a mix of salt, spices, and sometimes dehydrated vegetables. However, you can boost the flavor by choosing the right broth.
- Use chicken, beef, or vegetable brothinstead of plain water for richer taste.
- Check the sodium level in your broth to avoid an overly salty dish.
- Consider adding a pinch of garlic powder or onion powder for extra aroma.
Have you tried swapping water with broth before? It instantly makes the rice taste like it’s been simmering for hours.
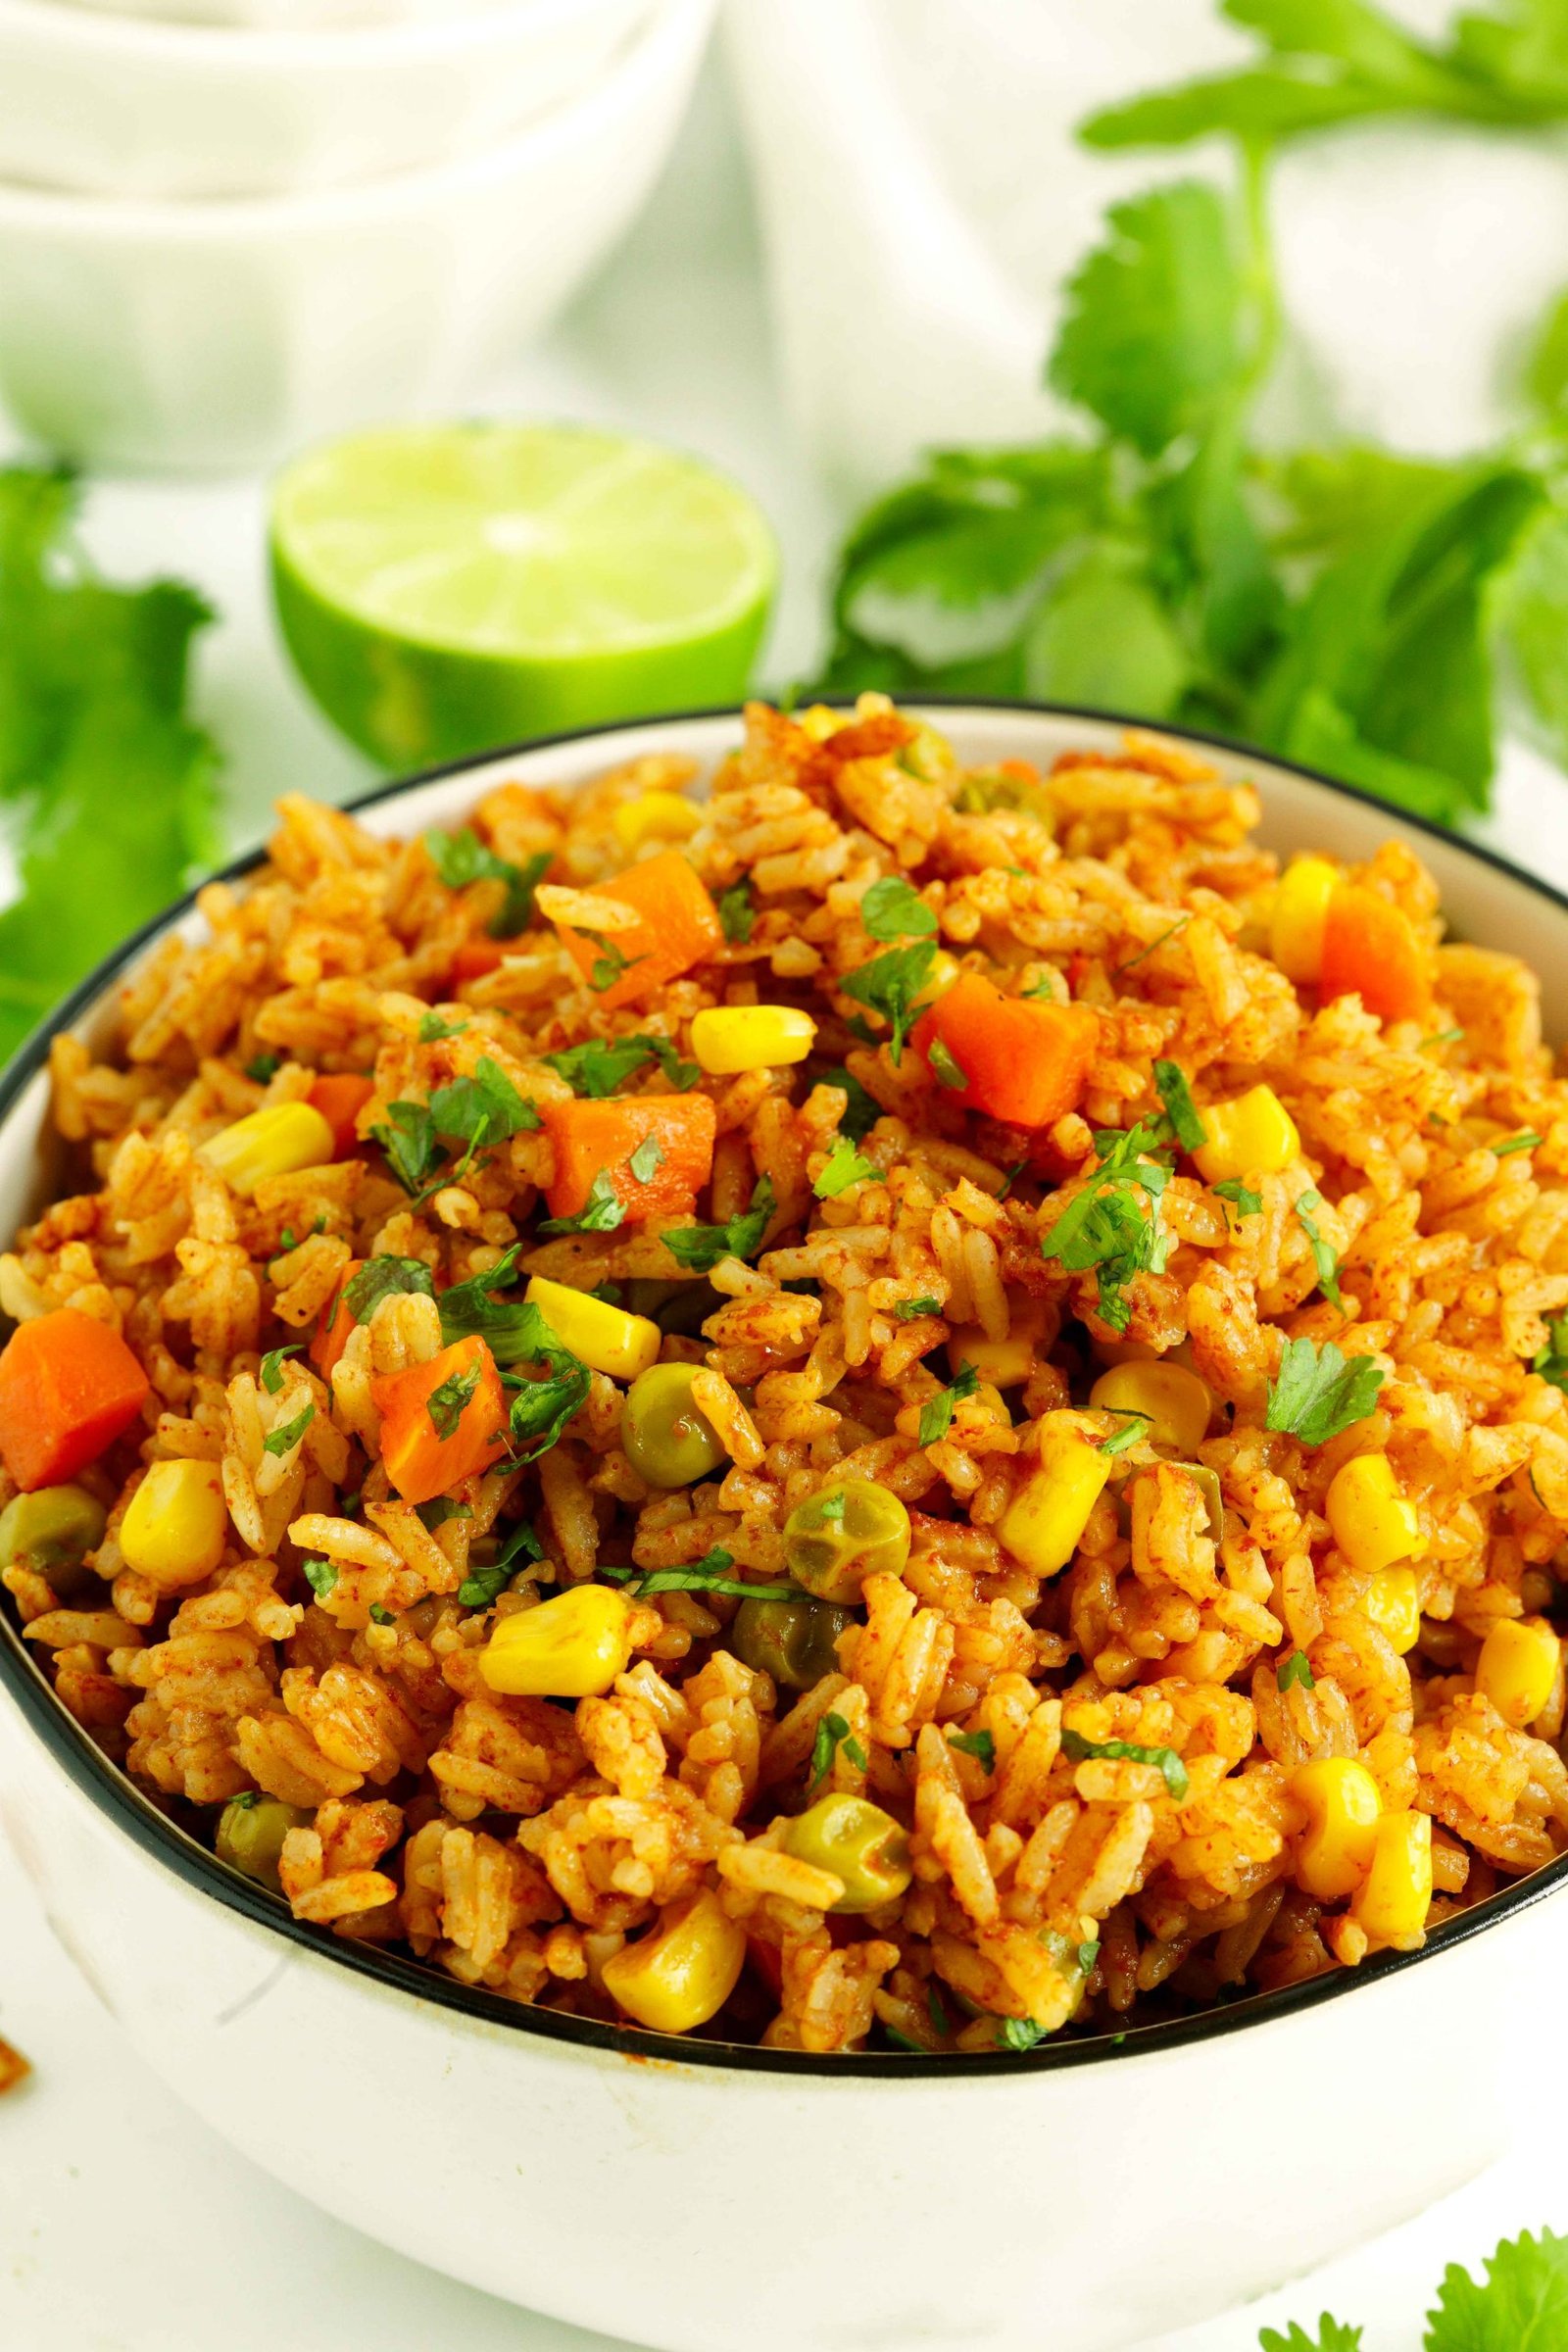
Optional Add-ins For Flavor
To make your Rice-A-Roni even better, think about what extra ingredients you can add. Small additions can elevate the dish without much effort.
- Chopped fresh herbslike parsley or cilantro add a bright, fresh note.
- Sauteed onions or garlicbring depth and a bit of sweetness.
- Frozen peas or corncan add color and texture.
- Cooked chicken pieces or shrimpturn it into a complete meal.
What’s your favorite quick add-in when cooking rice dishes? Trying new combinations can turn a simple side into the star of the plate.
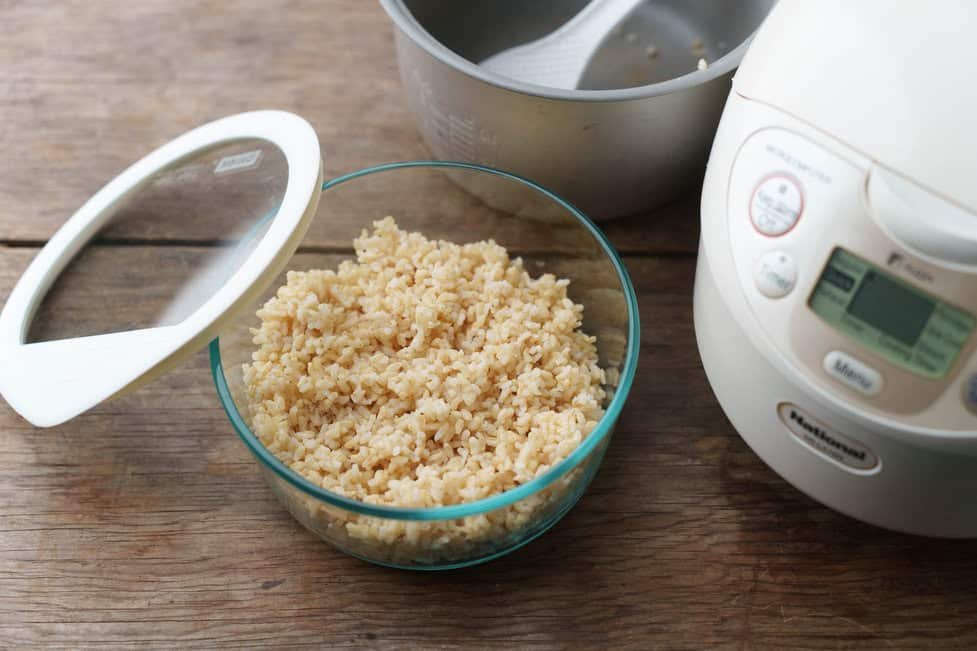
Using The Rice Cooker
Using a rice cooker simplifies making Rice-A-Roni. This appliance cooks rice evenly without much effort. It saves time and reduces the chance of burning the rice. The rice cooker handles both the rice and the seasoning mix well, producing tasty results. Follow these tips for the best Rice-A-Roni in your cooker.
Setting Up The Cooker
First, clean the rice cooker pot with a soft cloth. Make sure it is dry before adding ingredients. Place the pot in the rice cooker base securely. Plug in the rice cooker and check the power switch. Use the correct measuring cup to add rice and water. Measure ingredients carefully for perfect texture. Avoid overfilling the cooker to prevent spills.
Cooking Steps For Rice-a-roni
- Pour the Rice-A-Roni rice and seasoning packet into the cooker pot.
- Add the recommended amount of water or broth stated on the package.
- Close the lid tightly to keep steam inside.
- Press the “Cook” button to start cooking.
- Wait until the cooker switches to “Warm” mode automatically.
- Let the rice sit with the lid closed for 5 minutes after cooking.
- Fluff the rice gently with a fork before serving.

Credit: www.youtube.com
Enhancing Taste And Texture
Enhancing the taste and texture of Rice-A-Roni in your rice cooker makes a big difference in how satisfying your meal will be. Small adjustments and simple tricks can turn a basic side dish into something memorable. Let’s dive into ways you can bring out deeper flavors and perfect the consistency every time.
Toasting The Rice And Vermicelli
Before you add any liquid, try toasting the rice and vermicelli right in the rice cooker if it has a sauté or brown function. This step adds a nutty aroma and rich flavor that’s hard to get otherwise.
Simply add a bit of oil or butter, then stir the dry rice and vermicelli until they turn golden brown. You’ll notice the smell immediately—this is a sign that the flavor is developing.
Have you ever skipped this step and found your rice bland? Toasting makes a difference you can taste.
Adjusting Water And Broth Ratios
The liquid you use is crucial for texture and flavor. Instead of plain water, try using chicken or vegetable broth to boost the taste. This change alone can make your Rice-A-Roni much more savory and satisfying.
Be mindful of the amount of liquid. Too much makes the rice mushy; too little leaves it dry. A good rule is to follow the package instructions but reduce water slightly if you add broth, since broth can be salty and concentrated.
Experiment with adding a splash less water than recommended and topping up with broth. Notice how the rice texture improves—more fluffy and separate grains instead of sticky clumps.
Troubleshooting Common Issues
Common issues with cooking Rice-A-Roni in a rice cooker include undercooked grains and sogginess. Adjusting water amounts and cooking time helps achieve perfect texture. Stirring halfway can prevent sticking and uneven cooking.
Cooking Rice-A-Roni in a rice cooker can be a game-changer. But, like any culinary adventure, it comes with its challenges. You might encounter undercooked grains or a mushy mess. Don't worry, these are common pitfalls that even seasoned cooks face. By understanding these issues, you can turn every Rice-A-Roni dish into a delightful success. Let’s tackle these challenges head-on!
Fixing Undercooked Rice
Undercooked Rice-A-Roni can be disappointing. However, it’s a simple fix. If your rice is still crunchy after the cooking cycle, add a little more water. Start with a couple of tablespoons and let the rice cooker run on the 'warm' setting for about 10 minutes. This gentle heat allows the grains to absorb the water without overcooking. Did you check the water-to-rice ratio? Ensuring the right balance is crucial. Rice-A-Roni requires slightly more water than plain rice. Experiment until you find the sweet spot that suits your cooker.
Avoiding Mushy Texture
No one enjoys a mushy plate of Rice-A-Roni. If your dish turns out too soft, the culprit could be excess water or prolonged cooking time. Double-check your measurements. Consider using a measuring cup for precision. Cooking times can vary between rice cooker models. If you find your Rice-A-Roni consistently mushy, reduce the water slightly or shorten the cooking cycle. Stirring the dish just before it finishes cooking can also help distribute moisture evenly. It's a simple trick that prevents sogginess. Have you ever tried letting it sit for a few minutes after cooking? This resting period allows the steam to settle, enhancing texture.

Credit: elevatedwild.com
Serving Suggestions
Serving Rice-A-Roni cooked in a rice cooker opens many tasty options. It can be a side or a main part of your meal. Simple ideas make your plate look and taste better. Small touches can change the experience completely.
Pairing With Main Dishes
Rice-A-Roni works well with many main dishes. Try these pairings to create balanced meals:
- Grilled chicken or turkey for a protein boost
- Stir-fried vegetables for a healthy option
- Beef or pork chops with a savory sauce
- Seafood like shrimp or salmon for a light taste
- Vegetarian stews or beans for a filling choice
These dishes complement Rice-A-Roni’s nutty flavor and soft texture. They make your meal both tasty and satisfying.
Garnishing Ideas
Garnishes add color and extra flavor to Rice-A-Roni. Try these simple ideas:
- Chopped fresh herbs like parsley or cilantro
- Toasted almonds or pine nuts for crunch
- Grated cheese for a creamy touch
- Thin slices of green onions or chives
- Lemon zest or a squeeze of fresh lemon juice
These small additions brighten the dish and make it more inviting. A well-garnished Rice-A-Roni looks as good as it tastes.

Credit: www.youtube.com
Frequently Asked Questions
How Do I Prepare Rice-a-roni In A Rice Cooker?
Add Rice-a-Roni mix and water to the rice cooker. Stir well. Set it to the white rice setting. Cook until done, then fluff before serving.
Can I Use Less Water For Firmer Rice-a-roni?
Yes, reduce water slightly for firmer texture. Avoid too little water to prevent burning. Adjust water by 1/4 cup if needed.
Should I Rinse Rice-a-roni Before Cooking In Rice Cooker?
No, do not rinse Rice-a-Roni. The flavor packets contain seasoning and coating that should remain intact for best taste.
How Long Does Rice-a-roni Cook In A Rice Cooker?
Rice-a-Roni typically cooks in 20-25 minutes in a rice cooker. Cooking time may vary slightly depending on your model.
Conclusion
Cooking Rice-A-Roni in a rice cooker saves time and effort. You only need a few simple steps. The rice cooker makes the process easy and mess-free. Just add the ingredients and press start. The rice comes out fluffy and tasty every time.
This method suits busy days and beginners alike. Try it once, and you will enjoy the results. Simple, fast, and delicious – that’s how cooking Rice-A-Roni should be.