Looking to make a juicy, flavorful ham that will impress your family and friends? Cooking a ham in a Dutch oven is easier than you might think, and it locks in moisture for a tender, delicious result every time.
Whether you’re preparing for a holiday feast or a simple dinner, this method gives you control and simplicity in one pot. Keep reading, and you’ll discover step-by-step tips to make your ham the star of the table. Your perfect meal starts right here.

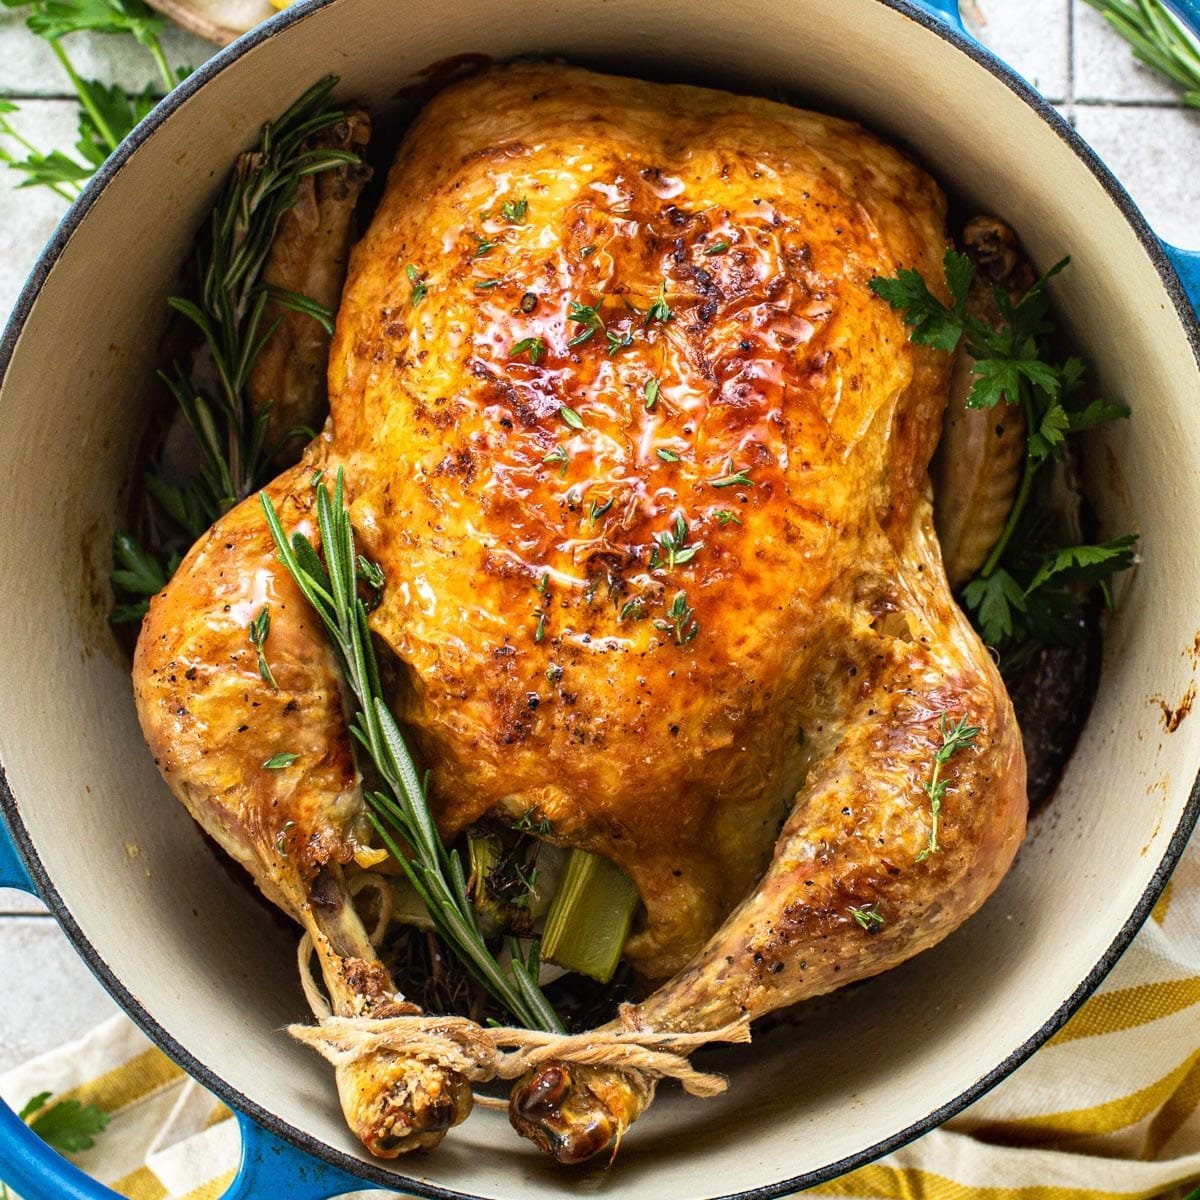
Credit: www.youtube.com
Choosing The Right Ham
Choosing the right ham is crucial before you start cooking in your Dutch oven. The type of ham you pick will influence the cooking time, flavor, and texture of your meal. Taking a moment to understand your options can help you make a confident choice that suits your taste and cooking style.
Types Of Ham
Hams come in various types, each offering a unique flavor and texture. You have fresh ham, which is uncooked and needs thorough cooking, and cured ham, which is salt-treated for preservation.
Other popular options include:
- Bone-in ham:Offers more flavor but takes longer to cook.
- Boneless ham:Easier to carve and quicker to heat through.
- Smoked ham:Adds a rich, smoky flavor that works well in a Dutch oven.
Think about the flavor profile you want to achieve. Do you prefer a smoky taste, or do you want a milder ham that picks up seasoning from your cooking liquids?
Size And Weight Considerations
The size of your ham affects the cooking time and how it fits in your Dutch oven. Measure your Dutch oven’s capacity before buying to avoid a tight squeeze or too much empty space.
Smaller hams (around 3-5 pounds) are easier to handle and cook faster, making them perfect for beginners. Larger hams require longer cooking times and more attention to temperature.
Ask yourself: Are you cooking for a small family or a big gathering? Your answer will help you decide the right size to buy.
Fresh Vs. Pre-cooked
Choosing between fresh and pre-cooked ham changes your cooking approach. Fresh ham demands slow, thorough cooking in the Dutch oven to reach safe temperatures.
Pre-cooked ham, on the other hand, only needs reheating and glazing. It’s a great option if you want to save time and still enjoy a flavorful dish.
Consider your schedule and how much active cooking time you want to spend. Would you prefer a hands-off approach or a hands-on cooking experience?
Selecting A Dutch Oven
Choosing the right Dutch oven can make a big difference in how your ham turns out. The perfect pot will hold heat well, cook evenly, and fit your ham comfortably. Knowing what to look for helps you avoid common cooking headaches and get the most flavor from your meal.
Material Options
Cast iron is a top pick because it distributes heat evenly and retains warmth for a long time. Enameled cast iron adds the benefit of easy cleaning and doesn’t require seasoning. If you prefer something lighter, aluminum Dutch ovens heat quickly but may not keep heat as long.
Think about how you cook—do you want a pot that goes from stovetop to oven easily? Cast iron excels here, while some materials might limit your options.
Size Matters
Your Dutch oven needs to fit your ham comfortably with room to spare for liquids and seasonings. A 5 to 7-quart size usually works well for most hams. Too small, and your ham won’t cook evenly; too big, and heat distribution could suffer.
Ask yourself: how many people are you feeding? A larger pot is better for family gatherings, while a smaller one suits intimate meals.
Lid And Handle Features
A tight-fitting lid traps moisture and keeps your ham juicy. Look for lids that seal well without gaps. Some lids even double as a skillet, adding versatility to your kitchen tools.
Handles should be sturdy and easy to grip, especially if you’ll move the pot from oven to table. Heat-resistant handles or those that fit oven mitts will keep you safe during cooking.
Preparing The Ham
Preparing the ham properly sets the foundation for a delicious meal cooked in your Dutch oven. The way you trim, score, glaze, and season the ham can make all the difference in flavor and texture. Taking a little extra time here ensures your ham is juicy, flavorful, and visually appealing.
Trimming And Scoring
Start by trimming any excess fat or skin from the ham. This helps prevent a greasy result and allows flavors to penetrate better.
Next, score the surface in a diamond pattern with shallow cuts about 1/4 inch deep. This isn’t just for looks—it allows glazes and seasonings to soak in deeply, boosting the taste.
Have you ever noticed how the scored pattern crisps up beautifully? That’s the magic of scoring. It also helps the ham cook evenly in the Dutch oven.
Adding Flavor With Glazes
Glazes are your secret weapon to add a rich, caramelized finish. Use ingredients like brown sugar, honey, mustard, or fruit juices to create a sticky, flavorful coating.
Brush the glaze over the scored ham generously before cooking. As the ham bakes, baste it every 20–30 minutes to build layers of flavor and a glossy crust.
Think about the last time you tasted a ham with a perfect glaze—didn’t it have that irresistible balance of sweet and savory? Your Dutch oven will help lock in those flavors beautifully.
Seasoning Tips
Don’t underestimate simple seasoning. Salt and pepper are basics, but adding herbs like thyme, rosemary, or cloves can elevate the flavor profile.
Rub the ham with your chosen seasonings before glazing. This step ensures every bite has depth.
Wondering how much seasoning to use? Start light—you can always add more next time. Remember, the Dutch oven traps moisture, so intense seasoning can become overpowering.

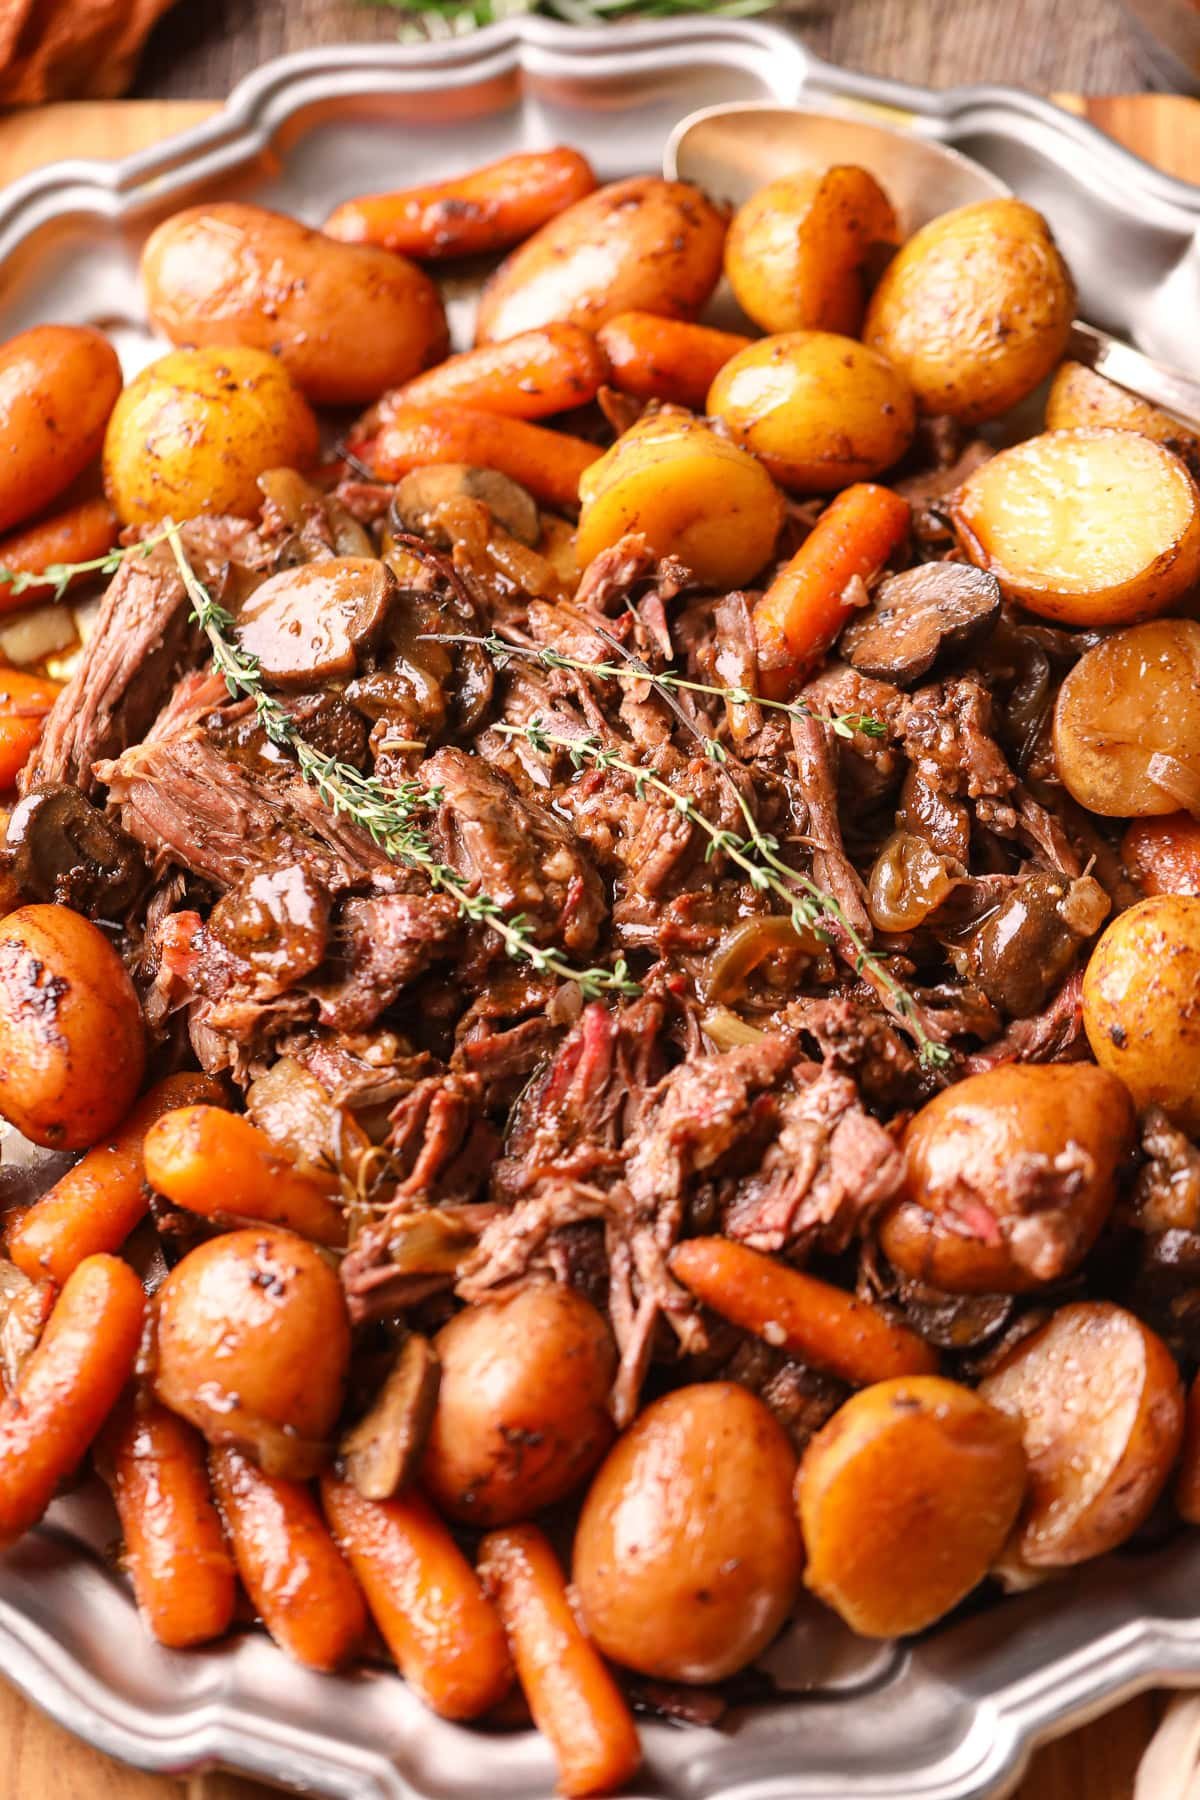
Credit: www.castironskilletcooking.com
Cooking Techniques
Cooking a ham in a Dutch oven requires simple steps. First, preheat the oven and prepare the ham with seasonings. Place it in the Dutch oven, cover, and bake until tender. This method ensures juicy and flavorful meat, perfect for any meal.
Cooking a ham in a Dutch oven is a rewarding experience. This technique ensures the meat is juicy and flavorful. The Dutch oven's heavy lid traps moisture and heat. This creates a perfect environment for cooking ham.
Temperature Settings
Preheat your oven to 325°F (160°C). This moderate heat allows the ham to cook evenly. It prevents the outside from drying out. Use an oven thermometer for accuracy. An even temperature is crucial for a tender ham.
Cooking Time Guidelines
Cooking time depends on the ham's weight. A general rule is 20 minutes per pound. Check the ham’s internal temperature with a meat thermometer. It should reach 145°F (63°C) for safety. Let the ham rest before slicing. This allows the juices to redistribute.
Using Liquid For Moisture
Add liquid to keep the ham moist. Water, broth, or juice are good choices. Pour about half a cup into the Dutch oven. The liquid creates steam. This helps the ham cook evenly and stay tender. The liquid also enhances the flavor profile.
Enhancing Flavor
Enhancing the flavor of ham cooked in a Dutch oven turns a simple meal into something special. The Dutch oven traps moisture and heat, allowing spices and other ingredients to deeply infuse the meat. You can create layers of taste by using herbs, spices, glazes, and vegetables. These additions make the ham juicy and full of rich flavors.
Herbs And Spices
Fresh or dried herbs add a fragrant touch to the ham. Rosemary, thyme, and bay leaves work well together. Sprinkle black pepper and garlic powder for a subtle kick. You can also use ground cloves or cinnamon for a warm, aromatic note. Place these herbs and spices inside the Dutch oven or rub them directly on the ham before cooking.
Sweet And Savory Glazes
Glazes give ham a beautiful, shiny finish and deepen its flavor. Mix honey or brown sugar with mustard or apple cider vinegar for balance. Brush the glaze over the ham several times during cooking. This creates a caramelized, tasty crust. Consider using maple syrup or pineapple juice for a fruity twist. Glazes keep the ham moist and add a delicious contrast to the salty meat.
Adding Vegetables
Vegetables cooked with ham add flavor and make a complete meal. Carrots, onions, and potatoes absorb the ham’s juices and become tender. Cut the vegetables into large chunks and place them around the ham in the Dutch oven. They will roast slowly, soaking up spices and glaze. This method enhances both the ham and the side dishes with rich, savory taste.
Checking For Doneness
Checking for doneness is key when cooking ham in a Dutch oven. It ensures the meat is safe to eat and perfectly cooked. Overcooking can dry it out, while undercooking can be unsafe. Use simple techniques to know when your ham is ready.
Internal Temperature Tips
Use a meat thermometer to check the ham’s internal temperature. Insert it into the thickest part, avoiding bone. The safe temperature for cooked ham is 145°F (63°C). Let the thermometer rest a few seconds for an accurate reading. For reheated ham, the temperature should reach 140°F (60°C).
Visual And Texture Cues
Look for a golden-brown color on the ham’s surface. The skin or glaze should be slightly caramelized. The meat should feel firm but not hard when pressed. Juices running clear is a good sign the ham is cooked. Avoid pink juices, which may mean it needs more time.
Serving And Storing
Serving and storing ham cooked in a Dutch oven is an important part of the meal experience. Proper carving brings out the best flavors and textures. Storing leftovers the right way keeps the ham tasty for days. Reheating must be done carefully to avoid drying out the meat.
Carving Techniques
Let the ham rest before carving. This helps juices stay inside the meat. Use a sharp knife for clean cuts. Slice against the grain to make the meat tender. Cut pieces into bite-sized slices for easy serving. Arrange slices on a warm plate to keep them fresh.
Leftover Storage Ideas
Wrap leftover ham tightly in plastic wrap or foil. Store in an airtight container to keep moisture in. Place the container in the refrigerator within two hours of cooking. Use leftovers within 3 to 5 days for best taste. For longer storage, freeze ham in portions. Label packages with the date to track freshness.
Reheating Tips
Reheat ham slowly to keep it juicy. Use low heat in the oven or microwave. Cover ham with foil or a damp paper towel. Add a splash of water or broth to keep moisture. Heat until the ham is warm but not overcooked. Avoid reheating more than once to maintain flavor.

Credit: campgrilleat.com
Troubleshooting Common Issues
Cooking a ham in a Dutch oven can sometimes bring unexpected challenges. These common issues can affect the texture and flavor of your ham, but they are usually easy to fix. Understanding how to troubleshoot these problems will help you get the most delicious results every time.
Dry Ham Fixes
If your ham turns out dry, don't worry—you can still save it. Adding a splash of liquid like broth, apple juice, or even a bit of cider vinegar during cooking helps keep the meat moist. Covering the ham tightly with foil or a lid traps steam, which naturally hydrates the meat as it cooks.
Another trick is to baste the ham regularly with its own juices or a glaze. This adds moisture and enhances flavor simultaneously. Have you ever noticed how some hams taste better the day after cooking? That’s because resting allows the juices to redistribute, making the meat juicier.
Uneven Cooking Solutions
Uneven cooking often results in some parts being overdone while others remain undercooked. One reason is the size and shape of the ham; thicker sections take longer to cook. Try rotating the ham halfway through cooking to ensure all sides receive even heat.
Using a meat thermometer is essential to avoid guesswork. Aim for an internal temperature of 140°F (60°C) for pre-cooked hams and 160°F (71°C) for fresh ones. If you notice the edges cooking faster, reduce the heat and cook the ham longer at a lower temperature to balance it out.
Preventing Burning
Burning usually happens when the heat is too high or the liquid evaporates too quickly. To prevent this, maintain a low and steady temperature, especially if your Dutch oven has a heavy lid that traps heat. Adding enough liquid at the start keeps the ham from sticking to the bottom and burning.
Keep an eye on the liquid level during cooking. If it starts to dry out, add more broth or water in small amounts. Have you ever caught a hint of bitterness from burnt glaze? That’s your cue to lower the heat or shield the ham with foil to protect the surface.
Frequently Asked Questions
How Long To Cook Ham In A Dutch Oven?
Cook ham in a Dutch oven for about 1. 5 to 2 hours. Ensure the internal temperature reaches 140°F (60°C) for fully cooked ham. Cooking time depends on ham size and oven temperature, usually set at 325°F (163°C).
Can I Add Vegetables To Dutch Oven Ham?
Yes, adding vegetables like carrots and potatoes enhances flavor. Place them around the ham before cooking. They absorb the ham’s juices, creating a tasty side dish.
Should I Cover The Ham While Cooking?
Always cover the Dutch oven with its lid. This traps moisture, keeping the ham tender and juicy. Uncover near the end to brown the ham’s surface if desired.
What Liquids Work Best For Dutch Oven Ham?
Use broth, apple juice, or a mix of water and brown sugar. These liquids keep the ham moist and add a sweet, savory flavor during cooking.
Conclusion
Cooking a ham in a Dutch oven is simple and rewarding. The pot keeps the meat juicy and tender. You only need a few ingredients and some patience. This method saves time and makes cleanup easy. Serve your ham with favorite sides for a tasty meal.
Try this way next time you want a warm, delicious dish. Enjoy the rich flavors and soft texture every bite offers. A Dutch oven can make your cooking more fun and stress-free. Give it a go and taste the difference yourself.