Thinking about switching your natural gas grill to propane? You’re not alone.
Many grill owners want the flexibility and convenience that propane offers. But the idea of converting your grill might feel tricky or confusing. Don’t worry—this guide will walk you through every step, making the process simple and safe. By the end, you’ll know exactly how to make the switch and enjoy your backyard cooking even more.
Ready to get started? Let’s dive in!

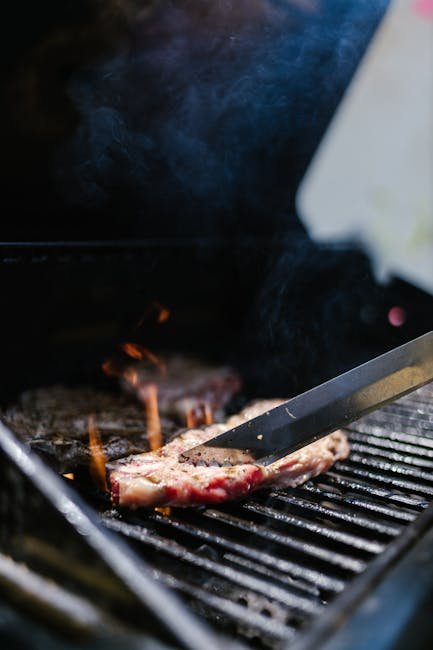
Credit: www.bogleheads.org
Safety Precautions
Converting a natural gas grill to propane requires careful attention to safety. Ignoring safety rules can cause leaks, fires, or serious injuries. Follow key precautions to protect yourself and your home during this process.
Turn Off Gas Supply
Always shut off the natural gas supply before starting any work. This prevents gas from escaping and creating a fire hazard. Double-check that all valves are closed tightly. Use a wrench if needed to secure connections.
Work In A Ventilated Area
Perform the conversion outdoors or in a place with good airflow. Fresh air helps disperse any gas that might leak. Avoid enclosed spaces like garages or basements. This reduces the risk of inhaling harmful fumes or explosions.
Wear Protective Gear
Use gloves to protect your hands from sharp parts and chemicals. Safety glasses shield your eyes from debris and gas sprays. Wear long sleeves and closed shoes to avoid burns or cuts. Proper gear keeps you safe throughout the job.
Gathering Tools And Materials
Before you start converting your natural gas grill to propane, you need to gather the right tools and materials. Having everything on hand saves time and prevents frustration during the process. It also ensures the conversion is safe and done correctly.
Required Tools
- Adjustable wrench:Essential for loosening and tightening gas fittings without damaging them.
- Screwdrivers:Both Phillips and flathead types to remove panels and screws.
- Pipe thread sealant or gas-rated Teflon tape:Important to seal gas connections and prevent leaks.
- Socket set:Helps with bolts and nuts that are hard to reach or require extra torque.
- Leak detection solution or soapy water:To check for any gas leaks after installation.
Think about your last DIY project. Did you ever realize halfway through that you didn’t have the right wrench or screwdrivers? Avoid that pitfall by checking your tool kit now.
Necessary Replacement Parts
- Propane regulator:Natural gas grills use different pressure regulators, so you’ll need one designed for propane.
- Propane hose:A flexible, high-pressure hose suitable for propane connections.
- Propane orifice and burner kit:The orifice controls gas flow, and propane requires a different size compared to natural gas.
- Conversion kit:Many grill manufacturers offer specific kits that include all necessary parts for your grill model.
Not every grill conversion is the same. Using the wrong orifice size can lead to poor performance or even unsafe conditions. Have you checked if your grill brand offers a conversion kit? It can make the process much smoother.
Disconnecting Natural Gas
Disconnecting the natural gas supply is a crucial step before converting your grill to propane. Handling gas lines requires care and attention to safety. Taking the right precautions ensures you avoid leaks or accidents during the switch.
Shut Off Gas Valve
Locate the gas valve connected to your natural gas grill. This valve controls the flow of gas, so turning it off stops the supply completely.
Make sure you turn the valve clockwise until it is fully closed. You might hear a faint click or feel resistance indicating it’s shut tight.
Have you checked if the gas smell disappears after shutting the valve? If not, don’t proceed until you confirm no gas is flowing.
Detach Gas Line
Before detaching, double-check that the gas valve is off and no gas is escaping. Use a wrench to carefully loosen the connection between the grill and the natural gas line.
Keep a cloth handy to catch any residual gas that might leak during this process. Slowly unscrew the fitting without forcing it to avoid damaging the threads.
Once detached, cap or plug the natural gas line to prevent dirt or pests from entering. This small step protects your home’s gas system and keeps everything clean.
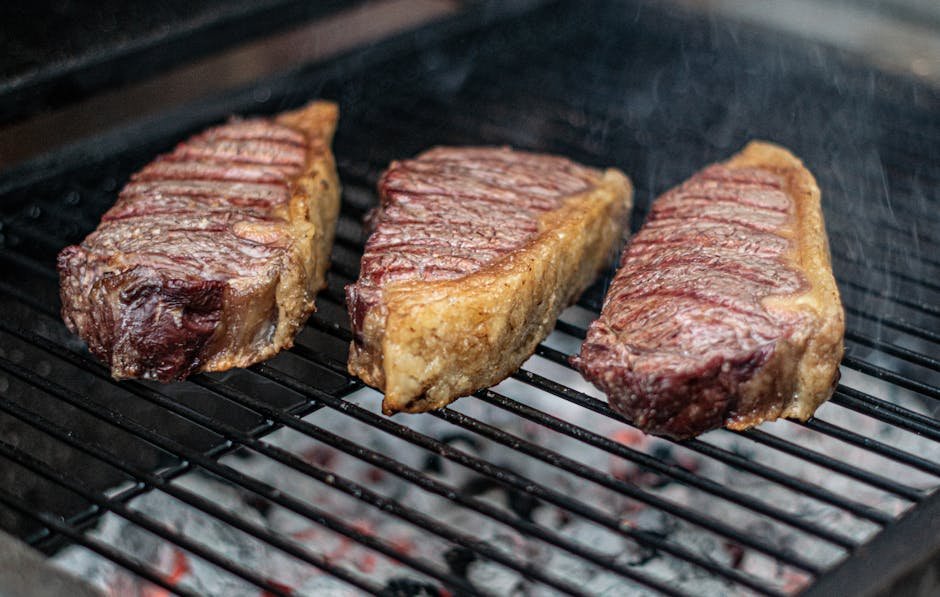
Credit: blackstoneproducts.com
Installing Propane Components
Installing propane components is a key part of converting your natural gas grill. It ensures the grill operates safely and efficiently with propane. You’ll need to swap out parts that are specific to natural gas and add new ones designed for propane’s higher pressure and different flow characteristics.
Replace Gas Orifices
Propane needs smaller orifices than natural gas because it burns differently. The orifices control the gas flow to the burners, so using the right size is crucial. You can usually find replacement orifice kits made for your grill model, which makes the swap straightforward.
Remove each burner and carefully replace the natural gas orifices with the propane ones. If you skip this step, the grill might burn too hot or not light properly. Have you checked if your grill’s manual lists orifice sizes? That can save you from guesswork.
Install Propane Regulator
The regulator controls gas pressure coming from your propane tank to the grill. Natural gas and propane use different regulators due to their pressure differences. Installing the correct propane regulator keeps your grill safe and running smoothly.
Detach the natural gas regulator and connect the propane one to your grill’s gas inlet. Make sure all fittings are tight to avoid leaks. You might want to test the connection with soapy water—if bubbles form, you’ve found a leak to fix before lighting up.
Connect Propane Hose
The propane hose links the tank to the regulator and grill. It must be compatible with propane and rated for outdoor use. Using the wrong hose can cause dangerous leaks or poor gas flow.
Attach the hose securely between your propane tank and the regulator. Double-check that all connections are sealed and that the hose isn’t kinked or damaged. Have you ever inspected your hose for cracks before a barbecue? It’s a simple check that can prevent accidents.
Testing The Grill
Test the grill carefully after converting to propane to ensure proper gas flow and ignition. Watch for any leaks and adjust the flame for safe cooking. Check all connections to keep your grill working smoothly and safely.
Testing your grill after conversion is crucial for safety and performance. Ensuring everything works correctly prevents accidents and enhances your grilling experience. Follow these steps to make sure your grill is ready for use.
Check For Leaks
Safety first. Use a soap and water solution to test for leaks. Apply it to all connections and joints. Watch for bubbles, which indicate gas escaping. Tighten connections if bubbles appear. Repeat the test until no bubbles form. This step ensures a safe grilling environment.
Ignite Burners
Turn on the propane tank valve slowly. Ignite the burners using the grill's ignition system. Observe the flame. It should be blue with yellow tips. A consistent flame indicates proper gas flow. Listen for unusual sounds. These could signal issues. Turn off the burners if something seems wrong.
Adjust Flame Settings
Fine-tune the flame for optimal cooking. Use the control knobs to adjust the flame height. Flames should be steady and blue. If they flicker or produce soot, adjustments are needed. This ensures even cooking and fuel efficiency. Enjoy the perfect grilling experience with these settings.
Maintenance Tips
Maintaining your propane grill after converting it from natural gas is essential for safety and performance. Regular upkeep keeps your grill working well and extends its life. Simple steps can prevent problems and ensure every cookout goes smoothly.
Regular Leak Inspections
Check for gas leaks often. Use a soap and water mix on all connections. Bubbles show a leak. Tighten fittings or replace damaged parts immediately. Never ignore the smell of gas or hissing sounds. Safety first.
Cleaning Burners
Burners can get clogged with grease and dirt. Remove them and brush away debris with a soft brush. Use a toothpick or small wire to clear burner holes. Clean burners help flames burn evenly and prevent flare-ups.
Proper Storage Of Propane Tank
Store propane tanks in a cool, dry, and well-ventilated area. Keep them upright and away from direct sunlight or heat sources. Close the valve tightly when not in use. Proper storage reduces risks and keeps your tank safe.

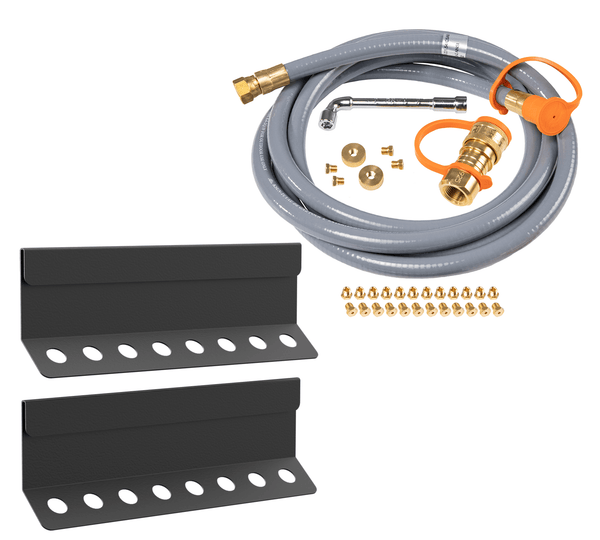
Credit: www.amazon.com
Frequently Asked Questions
How Do I Convert A Natural Gas Grill To Propane?
To convert, replace the natural gas regulator with a propane regulator. Install a propane-compatible hose and adjust burner orifices. Always follow manufacturer guidelines and safety measures to ensure proper installation and function.
What Tools Are Needed For Grill Conversion?
You’ll need a wrench, screwdriver, propane regulator, propane hose, and orifice kit. A leak detector or soapy water helps check for leaks. Having these tools ensures a smooth, safe conversion process.
Is Converting A Natural Gas Grill To Propane Safe?
Yes, if done correctly by following manufacturer instructions and safety protocols. Ensure all connections are tight and leak-free. If unsure, consult a professional to avoid risks and ensure safe operation.
Can I Use The Same Grill Burners With Propane?
Sometimes yes, but often burners need orifice replacement. Propane requires smaller orifices due to higher pressure. Check your grill manual or ask the manufacturer for compatible parts before conversion.
Conclusion
Converting a natural gas grill to propane is simple with the right steps. Always check safety rules before starting. Use proper tools and parts for a smooth change. Take your time to avoid mistakes and leaks. Test the grill carefully after conversion.
Enjoy cooking with your new propane grill setup. This change gives you more grilling options at home. Keep your grill clean and maintained for long use. Now, you can grill anytime with propane’s convenience.