If you love cooking at home, you know how important a clean meat grinder is. But cleaning it can feel tricky and time-consuming.
What if you could learn a simple, step-by-step way to make your grinder spotless and safe to use every time? You’ll discover easy tips and tricks that save you time and keep your meat fresh and tasty. Keep reading—you’ll never dread cleaning your meat grinder again!
Tools And Supplies Needed
Cleaning a meat grinder is easier with the right tools and supplies. Preparing these items before you start saves time and effort.
Using proper cleaning materials ensures your grinder stays in good condition. It also keeps your food safe and fresh.
Basic Cleaning Tools
- Soft-bristle brush to remove meat bits
- Small cleaning brush for tight spaces
- Cloth or sponge for wiping surfaces
- Toothbrush for detailed scrubbing
Cleaning Supplies
- Warm soapy water to dissolve grease
- White vinegar to sanitize parts
- Baking soda for removing odors
- Food-safe mineral oil to protect metal
Additional Items
- Plastic or wooden scraper to loosen stuck meat
- Rubber gloves to protect your hands
- Drying rack or clean towel for air drying
- Container to soak removable parts
Disassemble The Grinder
Disassembling your meat grinder is the first crucial step toward a thorough cleaning. It might seem tricky at first, but taking it apart carefully will help you reach all the hidden parts where meat and fat can get stuck. Doing this right ensures your grinder stays in good shape and works smoothly every time.
Remove The Hopper And Feed Tube
Start by detaching the hopper, the tray where you place the meat. It usually lifts off or unscrews easily. Next, pull out the feed tube, which guides the meat into the grinder. These parts often hold bits of meat, so removing them lets you clean thoroughly.
Take Out The Auger And Blade
Inside the grinder, you'll find the auger—a spiral piece that pushes the meat forward. Carefully slide it out, then remove the blade that chops the meat. Be cautious with the blade; it’s sharp and can cut you if you're not careful.
Separate The Grinding Plate
The grinding plate is where the meat gets pushed through to come out ground. This part usually unscrews or pulls away from the rest of the assembly. Cleaning this plate well is key because leftover meat can clog the holes and affect performance.
Keep Track Of Small Parts
Meat grinders have small screws, washers, and rings that you don’t want to lose. Place all small pieces in a bowl or on a clean towel while you clean. This simple step saves you time and frustration when it’s time to put the grinder back together.
Have you ever lost a tiny part and ended up with a grinder that didn’t work right? Taking time to organize your pieces can prevent that hassle and make cleaning more efficient.
Remove Meat Residue
Removing meat residue from your meat grinder is essential for hygiene and performance. Leftover bits can spoil and cause odors or contamination. Cleaning residue helps keep the grinder safe and working smoothly.
Disassemble The Grinder Carefully
Start by unplugging the grinder. Take apart all removable pieces like the hopper, blade, and plate. This makes it easier to reach trapped meat pieces.
Use A Brush To Scrape Off Residue
Use a stiff brush or old toothbrush to scrub away meat scraps. Focus on small crevices and corners where residue hides. Avoid using metal tools that might damage the parts.
Rinse With Warm Water
Rinse each part under warm running water. Warm water helps loosen fats and proteins stuck to the surface. Do not soak parts with wooden handles or electric components.
Apply Soap For Deep Cleaning
Use mild dish soap on a sponge or brush to clean each piece. Soap removes grease and tiny meat particles. Rinse thoroughly to remove all soap traces.
Dry Parts Completely Before Reassembling
Use a clean towel or air dry parts fully. Moisture can cause rust or mold. Reassemble only when everything is dry to keep the grinder in good shape.

Credit: www.amazon.com
Soak And Scrub Components
Cleaning your meat grinder thoroughly is crucial to keep it working efficiently and to avoid any contamination. Soaking and scrubbing the components is a simple yet effective way to remove stuck-on meat and fat. This process helps maintain hygiene and prolongs the life of your grinder.
Prepare A Warm Soapy Water Bath
Fill a basin or your kitchen sink with warm water and add a few drops of dish soap. Make sure the water is warm enough to loosen grease but not so hot that it damages any plastic parts. Submerge all removable components like the blade, plate, and feed tube in the soapy water.
Let them soak for at least 20-30 minutes. This soaking time softens dried meat residues and fat, making them easier to scrub away. Have you noticed how soaking can cut down your scrubbing time dramatically?
Use The Right Tools To Scrub
After soaking, grab a soft brush or an old toothbrush to scrub each part gently. Avoid abrasive sponges that could scratch metal or plastic surfaces. Focus on areas where meat tends to get trapped, like the holes of the grinding plate and the blade edges.
For stubborn spots, a toothpick or a small wooden skewer can help reach tight spaces. Scrubbing thoroughly ensures you remove all leftover particles that could cause unpleasant smells or bacterial growth.
Rinse And Dry Completely
Rinse all components under running water to wash away soap and loosened debris. Pay attention to any corners or crevices where residue might still hide. Dry each piece thoroughly with a clean towel or let them air dry on a drying rack.
Moisture left on parts can lead to rust, especially on metal components. Have you ever noticed rust forming after leaving parts damp? Drying well prevents this and keeps your grinder in top shape.
Clean The Grinder Body
Remove all parts from the grinder body and wipe it clean with a damp cloth. Make sure to dry it fully to prevent rust. Regular cleaning keeps the grinder working smoothly and safe to use.
Cleaning the grinder body is an essential step in maintaining your meat grinder. It's not just about ensuring hygiene; it's about extending the life of your equipment. A clean grinder body means better performance and tastier results.
Disconnect And Disassemble
Start by unplugging your meat grinder to ensure safety. Carefully disassemble the grinder, paying attention to how each part connects. This will make reassembly a breeze later on.
Wipe Down The Exterior
Use a damp cloth to wipe down the exterior of the grinder body. For stubborn stains, a little dish soap can do wonders. Avoid using abrasive materials that might scratch the surface.
Clean The Interior
With the grinder disassembled, you can now clean the interior. Use a soft brush or cloth to reach into nooks and crannies. This prevents leftover meat from spoiling inside.
Check For Hidden Residue
Inspect the grinder body for hidden residue, especially around seams and corners. A flashlight can help you spot hard-to-see areas. Removing all residue prevents bad odors and bacterial growth.
Dry Thoroughly
Once cleaned, ensure the grinder body is thoroughly dried. Moisture can lead to rust or corrosion over time. Use a dry cloth or let it air dry completely before reassembling.
Reassemble With Care
When reassembling, double-check all parts are dry and clean. Align each piece correctly to ensure smooth operation. This step is crucial for maintaining the efficiency of your grinder. Cleaning your grinder body might seem like a chore, but it’s a small task that offers great returns. Keeping it spotless guarantees delicious and safe results every time you use it. So, next time you’re cleaning, think of it as an investment in your cooking success.

Credit: www.amazon.com
Dry And Reassemble Parts
After thoroughly cleaning your meat grinder, the next crucial step is drying and reassembling the parts. Moisture left on the components can lead to rust and affect the grinder’s performance. Taking your time to dry each piece carefully ensures your grinder stays in top shape for future use.
How To Dry Meat Grinder Parts Properly
Start by patting each part dry with a clean, soft towel. Avoid using abrasive cloths that could scratch the metal surfaces. For hard-to-reach areas, using a hairdryer on a low heat setting can speed up drying without damaging the parts.
Make sure to air-dry the pieces completely before moving on. Leaving even a small amount of moisture inside the blades or plates can cause rust to develop quickly.
Tips For Reassembling Your Meat Grinder
Once all parts are dry, lay them out in the order they need to be reassembled. This helps prevent confusion and ensures nothing gets left behind. Begin with the main screw, then add the blade, plate, and finally the retaining ring.
As you fit the parts together, check that each piece is seated firmly but don’t force anything. Over-tightening can damage threads or distort the plates.
Why Proper Assembly Matters
Have you ever noticed your grinder working slower or producing uneven meat texture? Often, this is because the parts weren’t assembled correctly. Proper assembly ensures smooth operation and consistent grinding results.
Take a moment to test the grinder by hand after assembly. Does it turn smoothly without resistance? If not, recheck your assembly to avoid damage during use.
Sanitize For Safety
Sanitizing a meat grinder is essential to prevent bacteria growth. It keeps your food safe and fresh. Proper sanitization stops cross-contamination and foodborne illnesses. Always clean the grinder thoroughly before and after use.
Disassemble The Meat Grinder
Take apart all removable parts carefully. This allows better access to all surfaces. Separate the blade, plates, and feed tube. Check the manual for guidance on disassembly.
Use Hot, Soapy Water
Wash each part with hot water and dish soap. Hot water kills many germs and dissolves fat. Scrub with a brush to remove meat residue. Rinse parts well to remove soap.
Apply Food-safe Sanitizer
Choose a sanitizer safe for kitchen tools. Dilute it according to package instructions. Soak or spray all parts thoroughly. Let them air dry to avoid contamination.
Clean The Main Body
Wipe the grinder’s main body with a damp cloth. Use a mild cleaner safe for appliances. Avoid soaking electrical parts in water. Dry it completely before reassembling.
Dry And Store Properly
Dry all parts completely to stop rust and mold. Use a clean towel or air dry. Store the grinder in a dry place. Keep parts together to avoid loss or damage.
Tips To Maintain Cleanliness
Cleaning a meat grinder after each use keeps it safe and working well. Remove all parts, wash with warm soapy water, and dry thoroughly to stop rust and bacteria growth. Regular care makes grinding meat easier and healthier.
Keeping your meat grinder clean is essential for both the longevity of the machine and the safety of your food. A well-maintained grinder ensures that your ground meats are fresh and free from contaminants. Let’s explore some practical tips to maintain cleanliness and keep your grinder in top condition.
Use Bread To Clean Residual Meat
After grinding meat, run a slice of bread through the grinder. The bread acts like a sponge, absorbing any remaining meat particles. This simple step makes the subsequent cleaning process a breeze.
Disassemble And Wash Immediately
Always disassemble the grinder as soon as you're done using it. This prevents any meat residue from drying out and sticking to the parts. Use warm, soapy water to wash each component thoroughly.
Dry Parts Thoroughly Before Assembly
Moisture can lead to rust, especially on metal parts. Use a clean towel to dry each piece completely. If possible, let the parts air dry for a few minutes to ensure no moisture remains.
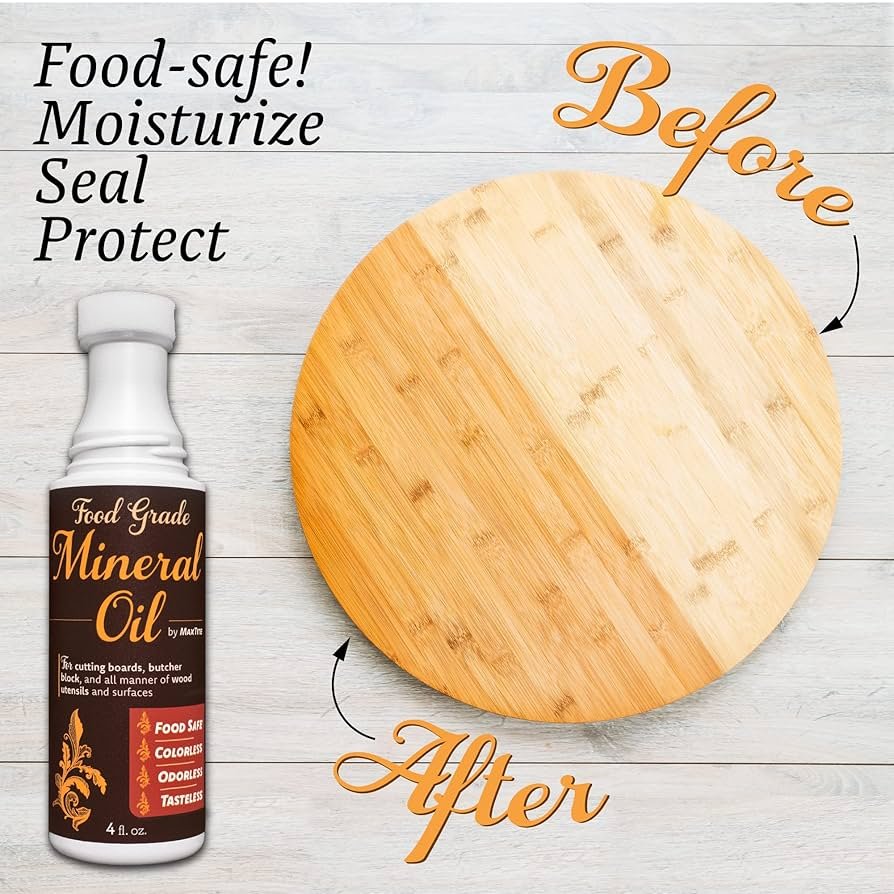
Use Food Grade Lubricants
Apply a light coat of food-grade mineral oil on metal parts to prevent rust. This is especially important if you don't use the grinder frequently. Make sure to wipe off any excess oil before reassembling.
Store In A Dry Place
Store your grinder in a dry, well-ventilated area. Consider using a cloth or cover to protect it from dust. This simple practice will keep it ready for the next use.
Regularly Inspect For Wear And Tear
Regularly check the blades and plates for any signs of wear. Dull blades can affect the quality of your meat grinding. Replace worn-out parts promptly to maintain efficiency and hygiene. Implementing these tips will not only keep your meat grinder clean but also enhance its performance. Are there any tips you swear by when maintaining your kitchen gadgets? Share your thoughts in the comments!

Credit: maxima.com
Frequently Asked Questions
How Often Should I Clean My Meat Grinder?
Clean your meat grinder after every use to prevent bacteria buildup. Regular cleaning ensures hygiene and maintains grinder performance.
What Is The Best Way To Disassemble A Meat Grinder?
Refer to your grinder’s manual for disassembly. Usually, remove the blade, plate, and hopper carefully to clean thoroughly.
Can I Use Dishwasher To Clean Meat Grinder Parts?
Most metal parts are dishwasher safe, but hand washing is recommended. Hand cleaning prevents rust and prolongs the grinder’s life.
How Do I Remove Meat Residue Stuck In Grinder Blades?
Soak parts in warm, soapy water, then use a brush. This softens residue and helps clean hard-to-reach areas effectively.
Conclusion
Cleaning your meat grinder keeps it safe and working well. Take it apart carefully and wash all parts with warm water and soap. Dry everything completely to stop rust and bad smells. Clean your grinder after every use to avoid old meat buildup.
A clean grinder makes fresh food and lasts longer. Small steps make a big difference in kitchen hygiene. Keep your meat grinder clean, and enjoy better cooking every time. Simple care saves you time and trouble later.