Your cutting mat works hard every day, protecting your surfaces and keeping your cuts precise. But over time, it can get sticky, stained, and filled with tiny bits of debris that affect your work.
If you’ve ever struggled with a messy mat that just won’t cooperate, you’re not alone. Cleaning your cutting mat the right way can make a huge difference—not only will it look better, but it will also last longer and help you achieve cleaner cuts.
Ready to discover simple, effective steps to bring your mat back to life? Keep reading, and you’ll learn exactly how to clean your cutting mat like a pro.

Credit: www.patchworkposse.com
Choosing The Right Cleaning Tools
Choosing the right tools to clean your cutting mat can make a huge difference in maintaining its condition and longevity. Using the wrong items might damage the surface or leave behind residues that interfere with your cutting projects. Let’s look at some practical tools and tips that ensure your mat stays clean without any harm.
Soft Brushes And Cloths
Soft brushes and microfiber cloths are your best friends when cleaning a cutting mat. They gently remove dust, lint, and small debris without scratching the surface. A soft toothbrush or a paintbrush with fine bristles works well for getting into grooves and textured areas.
Try wiping your mat with a damp microfiber cloth after brushing to pick up any leftover particles. Avoid rough scrubbing tools like steel wool or abrasive sponges—they can leave permanent marks. Have you noticed how a gentle touch often cleans better than aggressive scrubbing?
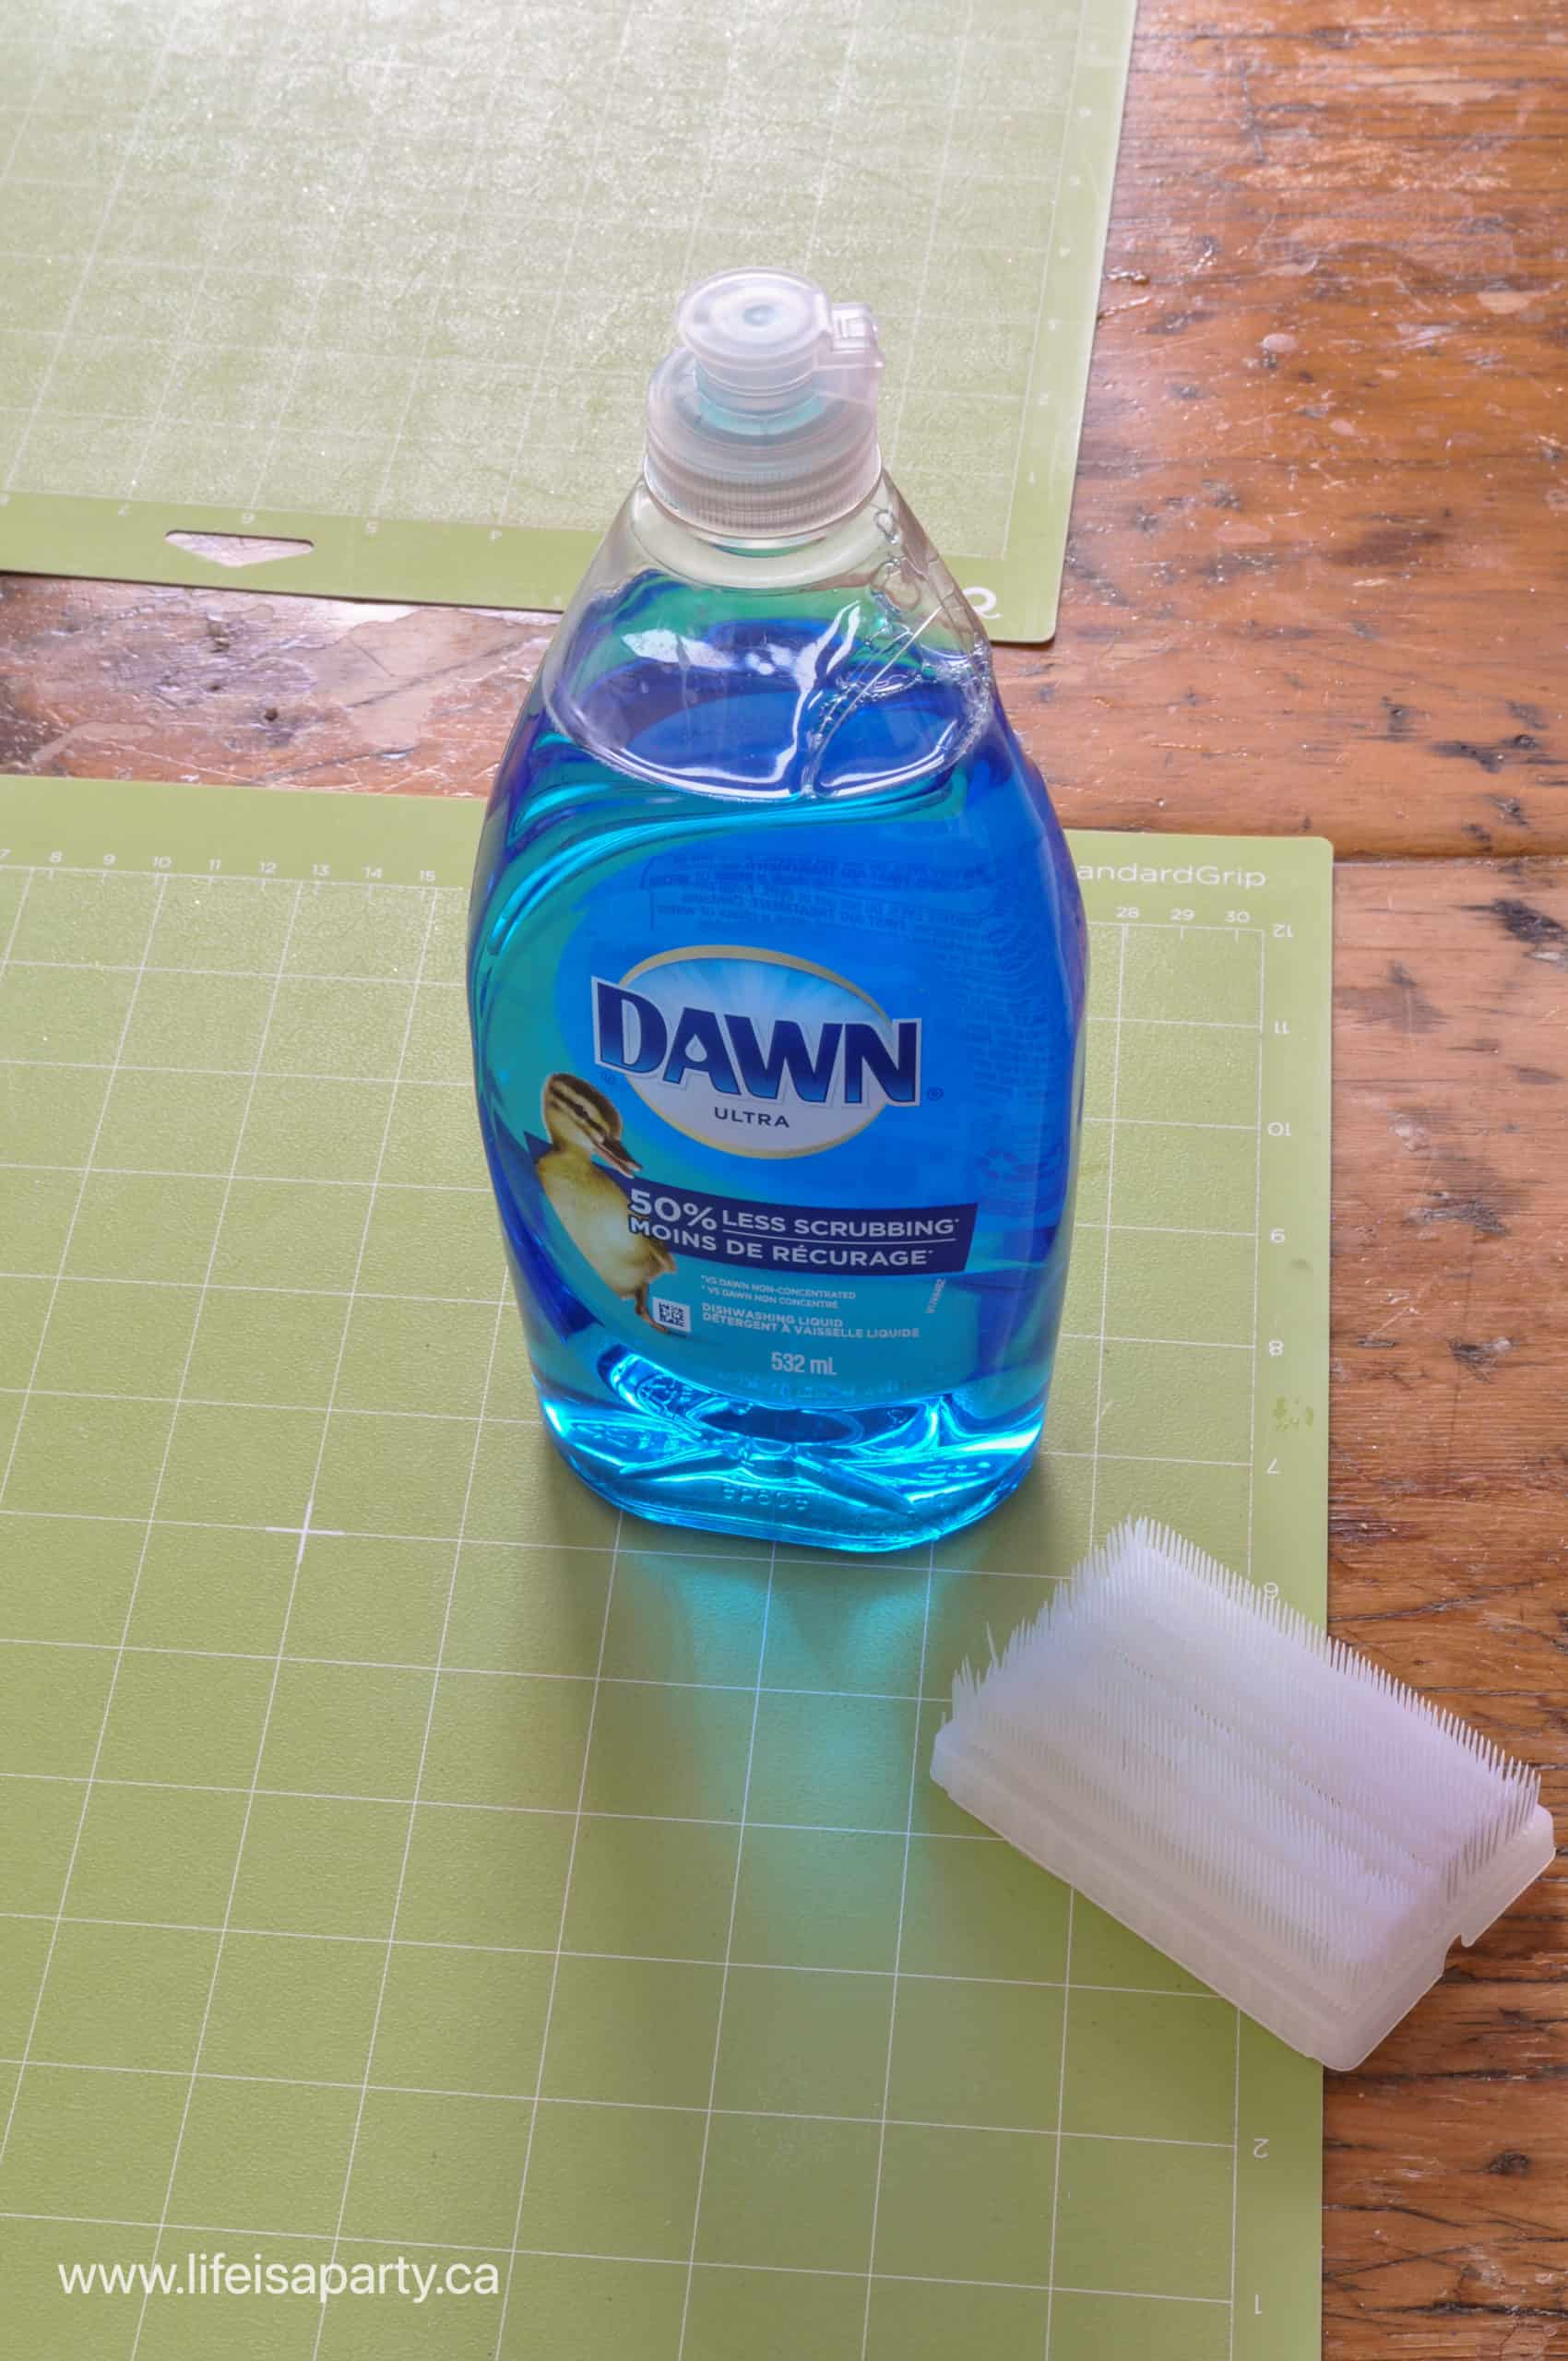
Safe Cleaning Solutions
Using safe cleaning solutions is key to protecting your cutting mat’s surface. Mild soap mixed with warm water is usually enough to loosen dirt and sticky residue. You can also use gentle dishwashing liquid, but be sure to rinse thoroughly to avoid any slippery film.
If you encounter stubborn stains, a small amount of isopropyl alcohol on a cloth can help, but test it on a corner first to make sure it doesn’t affect the mat’s finish. Keep your cleaning solutions diluted and mild—strong chemicals aren’t necessary and often cause more harm than good.
Avoiding Harsh Chemicals
Harsh chemicals like bleach, ammonia, or acetone can quickly ruin your cutting mat. They break down the plastic surface, leading to cracks, discoloration, and reduced lifespan. Even if they promise quick cleaning results, the long-term damage isn’t worth it.
Think about how often you want to replace your cutting mat—using harsh chemicals might force you to buy a new one sooner than expected. Instead, stick to gentle cleaning agents and tools that respect the mat’s material. Have you ever experienced damage from a cleaning product you thought was safe?
Basic Cleaning Steps
Keeping your cutting mat clean is essential for its long life and smooth use. Basic cleaning steps help remove dirt and small bits that stick to the surface. These steps are easy to follow and take only a few minutes. Regular cleaning keeps your mat ready for any project and prevents damage.
Removing Surface Debris
Start by clearing loose dirt and scraps from the mat. Use a soft brush or a dry cloth to sweep away tiny pieces. Avoid sharp tools that might cut the mat. Gently brush the surface in one direction to lift debris without scratching.
Wiping Down The Mat
Use a damp cloth to wipe the mat's surface. Mild soap mixed with water works well for cleaning. Dip the cloth in the solution, wring it out, and wipe the mat gently. Avoid soaking the mat, as too much water can cause damage. Focus on stained or sticky spots with light pressure.
Drying Techniques
After cleaning, dry the mat with a clean towel. Pat the surface to remove moisture without rubbing hard. Let the mat air dry flat in a cool, shaded area. Avoid direct sunlight or heat sources, which can warp or crack the mat. Make sure the mat is fully dry before storing or using it again.
Deep Cleaning Methods
Deep cleaning a cutting mat restores its surface and extends its life. Dirt, glue, and paint build up over time. Simple daily cleaning may not remove tough grime. Use deep cleaning methods to keep your mat in top shape.
Soaking And Scrubbing
Fill a basin with warm water. Add a small amount of mild soap. Submerge the cutting mat fully and let it soak for 10-15 minutes. This loosens dirt stuck deep in the grooves.
After soaking, use a soft brush or sponge. Gently scrub the surface in circular motions. Focus on areas with visible dirt. Avoid harsh scrubbing to prevent damage.
Using Mild Detergents
Choose a gentle detergent or dish soap. Avoid strong chemicals or bleach. Mix detergent with warm water to create a cleaning solution.
Dip a cloth or sponge into the solution. Wipe the mat thoroughly on both sides. Rinse with clean water to remove soap residue. Dry with a soft towel or air dry flat.
Tackling Stubborn Stains
For tough stains, try a baking soda paste. Mix baking soda with a little water until it forms a paste. Apply the paste to stained spots and let it sit for 5 minutes.
Use a soft brush to scrub gently. Wipe away the paste with a damp cloth. Repeat if needed but avoid harsh tools that can scratch the mat.
Credit: www.lifeisaparty.ca
Maintaining Mat Longevity
Maintaining the longevity of your cutting mat is key to keeping it functional and looking good over time. A well-cared-for mat saves you money and frustration by avoiding premature wear and tear. Simple habits can make a big difference in how long your mat stays in top shape.
Proper Storage Tips
Storing your cutting mat flat is crucial. Rolling or bending can cause permanent warps or cracks, which affect your cutting accuracy.
Keep the mat away from direct sunlight and heat sources. Exposure to heat can warp the surface and make it less effective.
Consider placing your mat between two flat, rigid boards if you don’t have drawer space. This prevents bending and keeps it safe from accidental damage.
Regular Cleaning Schedule
Cleaning your mat regularly removes residue and helps prevent cuts from becoming filled with debris. A soft brush or cloth with mild soap and water works well.
Never use harsh chemicals or abrasive scrubbers; they can damage the surface and shorten your mat’s life.
Ask yourself: how often do you clean your mat? Setting a schedule, like once a month or after heavy use, keeps the mat fresh and ready for your next project.
Avoiding Damage From Cutting Tools
Using the right blade pressure is more important than you might think. Pressing too hard can leave deep cuts that shorten your mat’s lifespan.
Rotate your mat regularly to distribute cuts evenly. This simple step prevents one area from wearing out too quickly.
Also, check your blades often. Dull blades require more force and cause more damage, so replace them as soon as you notice dullness.
Troubleshooting Common Issues
Maintaining a cutting mat is essential for its longevity. Sometimes, common issues can arise. These problems might affect your cutting experience. Understanding how to troubleshoot them can extend your mat's life.
Dealing With Warping
Warping is a common issue with cutting mats. It can occur due to heat or improper storage. To fix warping, place a heavy book on the mat. This will help flatten it. Keep it in a cool, flat area to prevent future warping.
Minimizing Cut Marks
Cut marks are inevitable with regular use. A self-healing mat can minimize these. Rotate your mat often to avoid deep grooves. For existing marks, place a warm, damp cloth over them. The heat will help the mat heal itself.
Restoring Surface Grip
Loss of grip can affect cutting precision. To restore it, clean the mat with soapy water. Rinse thoroughly and let it dry flat. This will remove residues and improve grip. Ensure your mat is completely dry before use.
Credit: faithandfabricdesign.com
Frequently Asked Questions
How Often Should I Clean My Cutting Mat?
Clean your cutting mat after every few uses to maintain its surface. Regular cleaning prevents residue buildup and keeps cuts precise.
What Is The Best Way To Remove Glue From Cutting Mats?
Use a gentle adhesive remover or rubbing alcohol on a soft cloth. Avoid harsh chemicals to protect the mat’s surface.
Can I Use Water To Clean My Cutting Mat?
Yes, mild soap and lukewarm water work well for routine cleaning. Avoid soaking the mat to prevent warping or damage.
How Do I Remove Ink Stains From A Cutting Mat?
Apply a small amount of rubbing alcohol on a cloth and gently rub. Test on a small area first to avoid discoloration.
Conclusion
Cleaning your cutting mat keeps it safe and useful for longer. Use gentle soap and water to remove dirt and glue. Avoid harsh tools that can damage the surface. Let the mat dry flat before storing it. Regular cleaning helps your mat stay smooth and ready for work.
Small steps make a big difference. Keep your cutting mat neat and enjoy easier, safer cutting every time. Simple care saves money and improves your craft experience.