Is your Maytag refrigerator’s water tasting off or the filter indicator light on? It’s time to change your water filter.
But don’t worry—this task is simpler than you might think. By following a few easy steps, you can ensure clean, fresh water for you and your family. Keep reading, and you’ll learn exactly how to replace your Maytag water filter quickly and without hassle.
Your fridge—and your taste buds—will thank you!
Signs To Replace The Filter
Knowing when to replace your Maytag refrigerator’s water filter can save you from unexpected issues and keep your water tasting fresh. Filters don’t last forever, and ignoring the signs can affect your water quality and appliance performance. Watch for these clear indicators that it’s time for a new filter.
Reduced Water Flow
Have you noticed your water dispenser slowing down? Reduced water flow is a common sign that your filter is clogged. Over time, particles build up and block the filter, making water come out slower than usual.
If you feel like you’re waiting longer for a glass of water, don’t ignore it. This slowdown means the filter is struggling and needs replacement to restore normal flow.
Unpleasant Taste Or Odor
Water should taste clean and fresh. If it starts tasting odd or has a strange odor, your filter might be past its prime. Filters trap contaminants, but once full, they can no longer do their job effectively.
Imagine drinking water that smells like plastic or tastes metallic—that’s a clear warning. Changing your filter will bring back the clean taste you expect from your refrigerator.
Filter Indicator Light
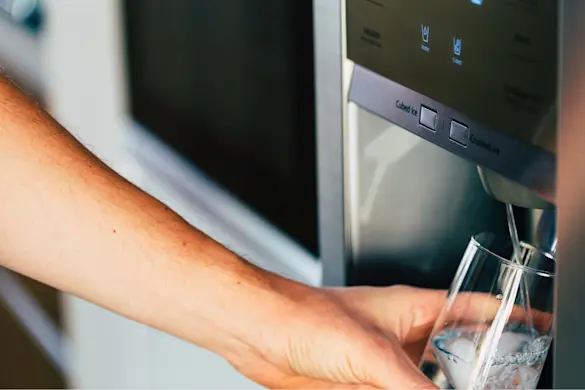
Many Maytag refrigerators have a built-in filter indicator light to help you stay on track. This light usually changes color or blinks when it’s time to replace the filter. Ignoring it can lead to poor water quality or damage to your fridge’s water system.
Do you pay attention to this small light? It’s an easy way to know exactly when to act, so keep an eye on it and replace the filter promptly when it signals.
Credit: www.searspartsdirect.com
Tools And Materials Needed
Before you start changing the water filter on your Maytag refrigerator, gathering the right tools and materials can make the process smooth and hassle-free. Having everything ready saves time and prevents frustration in the middle of the task. Let’s look at what you really need to get the job done efficiently.
Replacement Filter Type
Choosing the correct replacement filter is crucial. Maytag refrigerators often use specific filter models, so check your user manual or the existing filter for a model number.
Common types include the UKF8001, UKF7003, or the MSWF. Using the wrong filter can cause leaks or poor water quality, so don’t guess—verify the exact type your fridge requires.
Optional Tools
While many Maytag filters twist in and out by hand, having a few optional tools can make the job easier, especially if the filter is stuck.
- Filter wrench:A plastic or rubber wrench designed for water filters can provide extra grip without damaging the filter.
- Towel or cloth:Useful to catch any drips or spills during removal and installation.
- Gloves:If you prefer to keep your hands clean or if the filter area is hard to reach.
Do you have these tools on hand? Sometimes a simple towel and your hands are enough, but having a filter wrench ready can save you from a stuck filter frustration.
Locating The Water Filter
Finding the water filter in your Maytag refrigerator is the first step to changing it. Knowing its exact spot saves time and avoids confusion. Maytag models have the filter placed in a few common locations. Recognizing these spots helps you access it quickly and replace the filter smoothly.
Common Filter Locations In Maytag Models
Maytag refrigerators usually have the water filter in one of these areas:
- Inside the fresh food compartment, near the top right corner
- At the base grille, near the bottom front of the fridge
- In the back, inside the refrigerator wall
Check your model’s user manual for the exact location. The filter often has a label or cover that stands out.
Accessing The Filter Compartment
The filter compartment may have a twist or push-to-release design. Some filters have a cover that flips down or slides out.
Use gentle force to avoid damage. If the filter is inside the fridge, open the door fully. Clear any items blocking your access.
For filters in the base grille, pull the grille out carefully. Some models require pressing tabs or buttons to release the filter housing.
Credit: www.maytag.ca
Removing The Old Filter
Removing the old water filter from your Maytag refrigerator is a straightforward task, but it requires a bit of care to avoid any spills or damage. Knowing how to properly release and handle the filter ensures a smooth replacement process and keeps your refrigerator running efficiently. Let’s look at the key steps involved in safely taking out the old filter.
Releasing The Filter
Start by locating the water filter compartment. It’s usually inside the refrigerator, near the top right or left corner.
To release the filter, push or twist it gently depending on your model. Some filters require a quarter turn to unlock, while others simply push in and pull out.
If it doesn’t budge easily, check your user manual to avoid forcing it. Have you ever struggled with a stuck filter and accidentally spilled water? Taking your time here prevents that messy scenario.
Handling The Old Filter
Once the filter is released, pull it straight out carefully to avoid water dripping. Keep a towel handy just in case.
Dispose of the old filter according to your local recycling guidelines. Some Maytag filters are recyclable, and proper disposal helps the environment.
Don’t forget to inspect the filter housing for any debris or mold. Cleaning the compartment before inserting the new filter can improve water quality.
Installing The New Filter
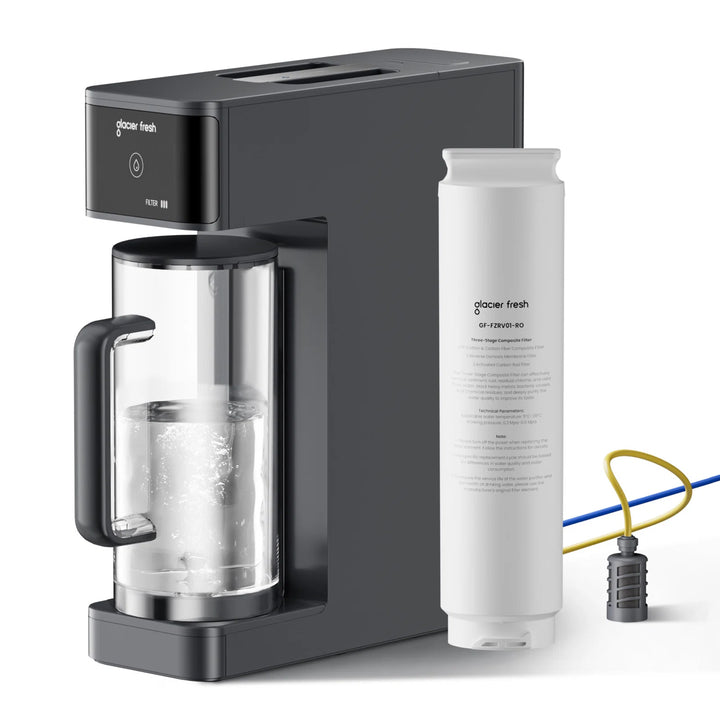
Installing the new water filter on your Maytag refrigerator is a simple process. Proper installation ensures clean water and smooth operation. Take your time to align and insert the filter correctly. Then secure it firmly to avoid leaks or errors.
Aligning And Inserting The Filter
Hold the new filter with the arrows or notches facing the correct direction. Look inside the filter slot for matching guides. Gently push the filter straight into the slot. Do not force it. It should slide in smoothly. Align the filter until it fits snugly inside the housing.
Securing The Filter In Place
Turn the filter clockwise to lock it in place. You will feel resistance as it tightens. Keep turning until it stops firmly. Check for a secure fit by gently pulling the filter. It should not move or wiggle. Wipe away any water drips around the filter area. Your new filter is now ready to use.
Credit: glacierfreshfilter.com
Resetting The Filter Indicator
Resetting the filter indicator on a Maytag refrigerator helps track water filter usage. It ensures the display shows the correct status after installing a new filter. This process keeps the water filter alert system accurate. Resetting is simple and can be done through the control panel or manually. Each method only takes a few seconds.
Using The Control Panel
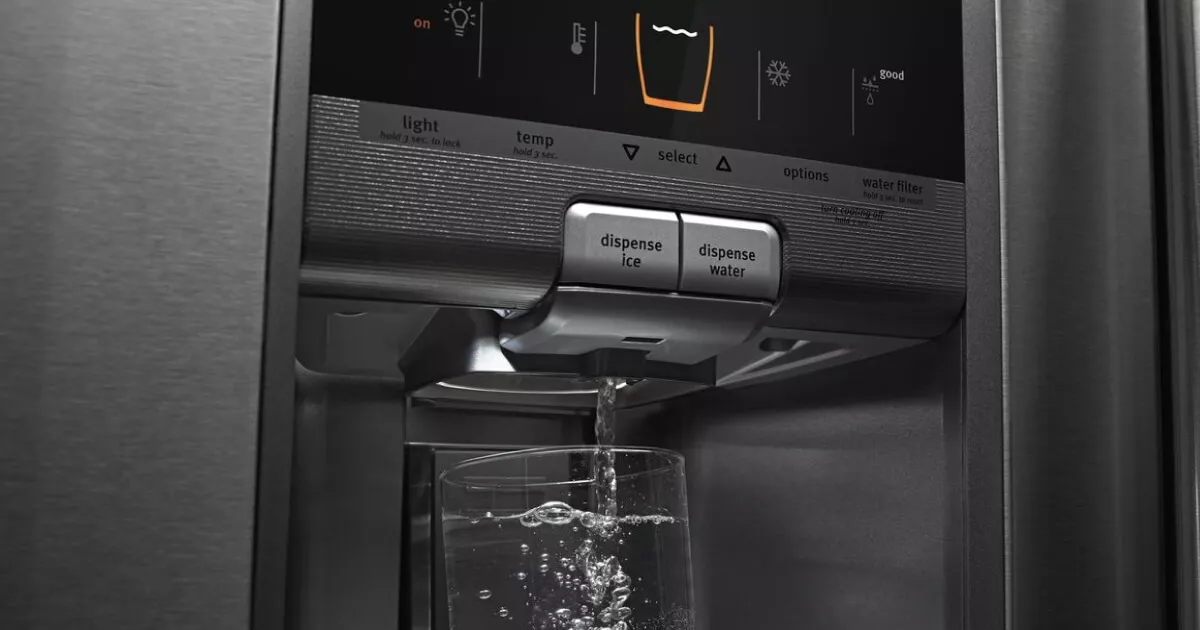
Locate the control panel on the front of the refrigerator. Find the water filter reset button or icon. Press and hold the reset button for about 3 seconds. Watch the filter indicator light turn off or change color. This means the filter status has reset successfully. Release the button once the light changes. The control panel will now track the new filter usage.
Manual Reset Methods
Some Maytag models allow manual resets without the control panel. Open the refrigerator door and find the filter indicator light. Press and hold the reset button near the light. Hold for 3 to 5 seconds until the light blinks or turns off. In some cases, unplugging the fridge for a minute can reset the indicator. Plug it back in and check if the light has reset. This method works well if the control panel is unresponsive.
Flushing The New Filter
Flush the new filter by running water through it for several minutes. This removes air and loose carbon particles. Clear water flow ensures better taste and filter performance.
Flushing the new filter is an essential step to ensure your Maytag refrigerator dispenses clean, fresh-tasting water. Neglecting this process can lead to unpleasant flavors and potential clogging. Let’s explore how to effectively flush your new water filter, ensuring optimal performance.
Running Water Through The Filter
Once your new filter is securely installed, it’s crucial to run water through it to clear out any loose carbon particles. These particles are harmless but can cloud your water. Begin by placing a container under the water dispenser and run about two to three gallons of water through the system. Running water helps you witness the transformation as the water turns crystal clear. It’s a simple yet satisfying process that ensures your family enjoys the purest water. Plus, it’s a great way to verify that the filter is correctly installed without leaks.
Removing Air Bubbles And Debris
Air bubbles can cause sputtering when you first use the dispenser. To avoid this, continue to run water through until the stream is steady and bubble-free. This step eliminates any trapped air in the lines. You might notice initial spurts of water mixed with air, which is completely normal. Just keep going until you achieve a smooth flow. This ensures that no debris or air pockets remain, providing you with uninterrupted access to fresh water. Have you ever noticed any unusual taste or cloudiness in your water after replacing a filter? Flushing thoroughly can prevent these minor issues, giving you peace of mind with every sip.
Maintenance Tips
Regular maintenance of your Maytag refrigerator ensures optimal performance. Changing the water filter is a key part of this upkeep. By following these maintenance tips, you can keep your fridge running smoothly and your water tasting fresh.
Filter Replacement Frequency
Check your Maytag refrigerator manual for filter replacement guidelines. Typically, replace the filter every six months. If your water has a strong taste or smell, change it sooner. Frequent replacements ensure clean and safe drinking water.
Keeping The Filter Area Clean
Maintain cleanliness around the filter area to prevent debris buildup. Before installing a new filter, wipe down the compartment with a damp cloth. This prevents dust and particles from contaminating your water supply. Regular cleaning enhances the filter's efficiency and lifespan.
Frequently Asked Questions
How Often Should I Change Maytag Refrigerator Water Filter?
You should change the water filter every 6 months. This ensures clean, fresh-tasting water and optimal refrigerator performance. Regular changes prevent clogs and maintain water flow.
Where Is The Water Filter Located On Maytag Fridge?
The water filter is usually inside the refrigerator, near the top right corner or bottom grille. Check your model’s manual for exact location to access it easily.
How Do I Reset The Water Filter Indicator Light?
Press and hold the reset button for 3 seconds after replacing the filter. This resets the indicator light, signaling the filter change is complete.
What Type Of Water Filter Fits Maytag Refrigerators?
Use only manufacturer-recommended filters for your Maytag model. Genuine filters ensure proper fit, effective filtration, and maintain warranty coverage.
Conclusion
Changing the water filter on a Maytag refrigerator is simple and quick. Regular filter changes keep water fresh and clean. Follow the steps carefully to avoid any mistakes. Clean water means better taste and healthier drinks. Don’t wait until the water tastes bad or the light turns on.
Doing this task yourself saves time and money. Stay refreshed with clear, filtered water every day. Taking care of your fridge helps it last longer. Now, enjoy pure water with confidence and ease.