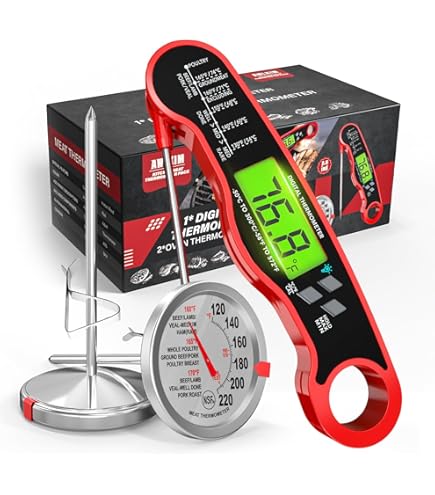
You rely on your meat thermometer to cook your food safely and perfectly every time. But what if your thermometer only starts reading at 120°F?
That can make it tricky to know if it’s accurate, especially when you need precise temperatures for certain recipes. Don’t worry—calibrating your meat thermometer is easier than you think. You’ll learn simple steps to make sure your thermometer gives you the right reading, so you can cook with confidence and avoid overcooked or undercooked meals.
Keep reading to master this quick fix and take your cooking to the next level.

Credit: www.amazon.com
Why Calibration Matters
Calibration is key for any meat thermometer. It ensures the device shows the correct temperature. Without calibration, readings can be off. This affects cooking results and food safety. Regular calibration keeps your thermometer reliable and trustworthy.
Ensuring Accurate Temperature Readings
A calibrated meat thermometer gives precise temperature readings. This helps cook meat to the right doneness. It stops overcooking or undercooking. Accuracy matters especially for recipes requiring exact temperatures. Calibration prevents guesswork and improves cooking confidence.
Avoiding Food Safety Risks
Meat must reach safe temperatures to kill harmful bacteria. An uncalibrated thermometer can mislead you with false readings. This may cause undercooked meat and foodborne illness. Calibration protects your health by confirming safe cooking temperatures. It reduces risks of contamination and sickness.
Tools Needed For Calibration
Calibrating a meat thermometer that starts at 120°F needs the right tools. These tools help check if the thermometer shows the correct temperature. Using simple items found at home makes the process easy and effective.
Having the right setup ensures accurate readings for safe cooking. Here is what you need to prepare for calibration.
Ice Water Setup
- Clean glass or cup
- Crushed ice or ice cubes
- Cold water
- Thermometer
This setup helps test the thermometer at 32°F (0°C), the freezing point of water. Ice water must be pure and cold for best results.
Boiling Water Method
- Pot or kettle for boiling water
- Heat source (stove or electric kettle)
- Thermometer
Boiling water tests the thermometer at 212°F (100°C) at sea level. This method checks if the thermometer reads high temperatures correctly.
Additional Supplies
- Small towel or cloth to hold the thermometer
- Timer or watch to track time
- Pen and paper to note the readings
These extra items make the calibration process smoother and safer. They help you handle the thermometer and record results easily.
Preparing Your Thermometer
Preparing your meat thermometer before calibration is essential to get accurate readings. A clean, well-reset device ensures that the temperature measurements you take will be reliable and safe for cooking. Taking a few moments to prepare your thermometer properly can save you from costly mistakes and undercooked meals.
Cleaning The Probe
Start by cleaning the probe with warm, soapy water. Avoid using abrasive materials that could scratch or damage the sensor.
Rinse the probe thoroughly and dry it with a soft cloth. A clean probe removes any residue or grease that might affect temperature readings.
Have you noticed inconsistent readings during your last cookout? Dirt or food particles on the probe could be the culprit.
Resetting The Device
Once the probe is clean, reset your thermometer to clear any previous temperature settings or errors.
Check the user manual for the exact reset process—it usually involves pressing a reset button or removing and reinserting the battery.
Resetting helps your thermometer start fresh, which is critical when calibrating devices that start at 120°F. This step ensures your readings are not influenced by past calibrations or battery fluctuations.
Calibrating With Ice Water
Calibrating your meat thermometer using ice water is a simple and reliable way to ensure accurate temperature readings. This method is especially useful for thermometers that start at 120°F, as it helps verify the baseline accuracy without needing to rely on higher temperature settings. Let’s walk through the process so you can trust every reading when cooking.
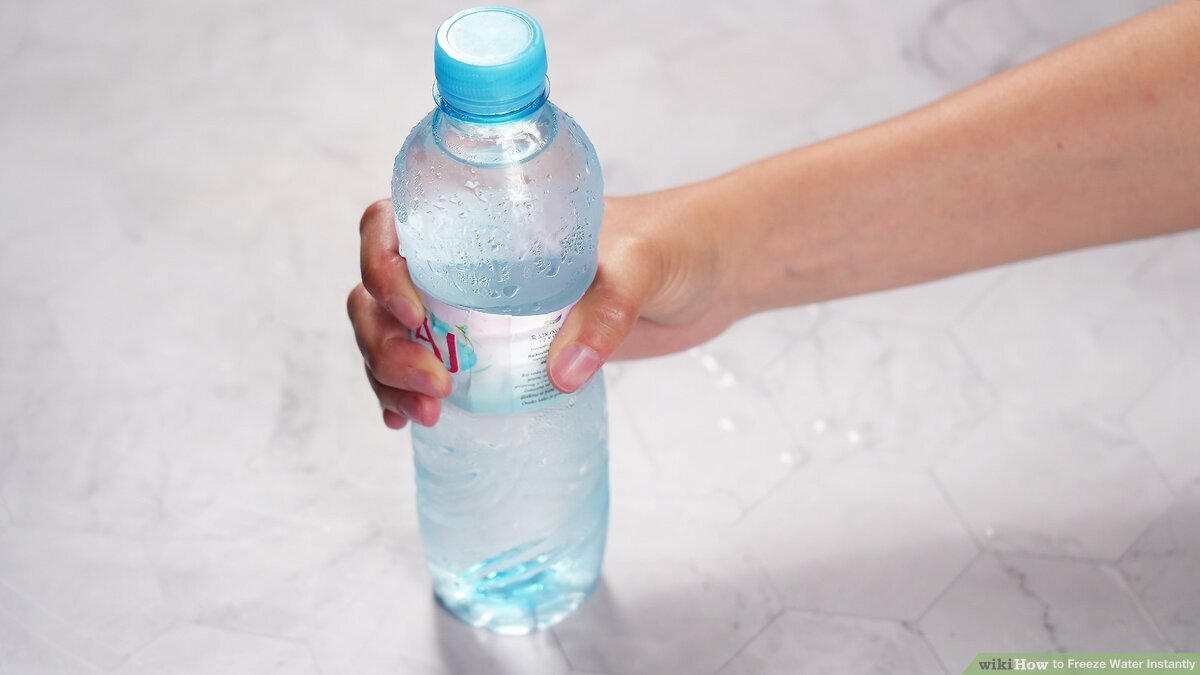
Creating The Ice Bath
Start by filling a tall glass or a small container with crushed ice. Add cold water just enough to fill the gaps between the ice, but don’t let the ice float on top. The goal is to create a slushy mix where the temperature remains stable at 32°F (0°C).
Make sure to stir the ice water gently to keep it consistent. This ice bath is your calibration reference point, so avoid using warm tap water as it will throw off the accuracy.
Taking The Reading
Insert the metal probe of your meat thermometer into the ice water, making sure it doesn’t touch the sides or bottom of the container. Those contact points can give false readings. Leave it in the ice bath for about 30 seconds to let the temperature stabilize.
Check the reading carefully. It should read 32°F (0°C). If your thermometer shows something different, note how far off it is. Have you ever noticed your thermometer giving odd numbers during cooking? This step explains why that might happen.
Adjusting The Thermometer
If your thermometer has a calibration nut or screw near the probe, use a small wrench or pliers to adjust it. Turn the nut until the display reads exactly 32°F (0°C) while still in the ice bath. This mechanical adjustment realigns the thermometer’s sensor with the true freezing point.
For digital thermometers without adjustable screws, check your user manual for reset or calibration options. Some models let you calibrate through a button press or software reset. Accurate calibration means more reliable cooking results, so don’t skip this step.
Calibrating With Boiling Water
Calibrating a meat thermometer with boiling water ensures accuracy. Boil water and insert the thermometer. It should read 212°F (100°C) at sea level. Adjust accordingly if it starts at 120°F.
Calibrating a meat thermometer ensures accurate temperature readings. This is vital for food safety and cooking precision. One effective method is using boiling water. This method is simple and requires minimal tools. It helps adjust your thermometer to provide accurate results. Let's explore the steps involved in this calibration process.
Boiling Water Preparation
Begin by filling a pot with water. Place it on the stove and turn on the heat. Allow the water to reach a rolling boil. Use a pot that’s large enough for easy immersion. This helps in obtaining an accurate temperature reading.
Measuring Temperature
Once the water boils, insert the thermometer. Ensure it does not touch the pot’s sides or bottom. This prevents false readings. Immerse the probe into the boiling water. Wait a few seconds for the reading to stabilize.
Making Necessary Adjustments
Check the thermometer’s reading. It should display 212°F (100°C) at sea level. If it doesn't, adjust the thermometer accordingly. Some thermometers have an adjustable nut. Turn it until the correct temperature is shown. This ensures your thermometer is properly calibrated.
Credit: www.amazon.com
Troubleshooting Calibration Issues
Calibrating a meat thermometer that starts at 120°F can sometimes present challenges. Troubleshooting calibration issues ensures accurate temperature readings for safe cooking. Identifying common problems quickly saves time and prevents cooking errors.
Understanding how to fix calibration problems helps maintain your thermometer’s reliability. Simple checks and adjustments often restore accuracy without needing replacements.
Common Errors To Avoid
- Not using ice water or boiling water for calibration checks.
- Ignoring manufacturer instructions for calibration steps.
- Failing to clean the probe before calibration.
- Calibrating in an environment with fluctuating temperatures.
- Allowing the probe to touch the container sides during calibration.
- Using the thermometer immediately after exposure to extreme heat or cold.
When To Replace Your Thermometer
Replace the thermometer if calibration attempts fail repeatedly. Persistent inaccurate readings suggest internal damage or sensor failure. Look for physical damage like cracks or loose parts on the probe.
Thermometers older than several years may lose accuracy. New models often provide better precision and durability.
Consistent errors over 3°F (1.5°C) after calibration also indicate replacement need. Investing in a new thermometer ensures food safety and proper cooking results.
Maintaining Your Thermometer
Maintaining your meat thermometer is key to getting accurate readings every time. A well-kept thermometer ensures safe cooking and perfect results. Simple care habits keep your device working correctly and lasting longer.
Regular Calibration Schedule
Check your thermometer’s accuracy at least once a month. Use the ice water method to test calibration. Fill a glass with ice and water, then insert the probe. The thermometer should read 32°F (0°C). If not, adjust it according to the manufacturer’s instructions.
Regular calibration avoids cooking mistakes. Record your calibration dates to track maintenance. Replace the thermometer if it fails calibration repeatedly.
Proper Storage Tips
Store your thermometer in a dry, cool place to protect it. Avoid areas near heat or moisture, which can damage the sensor. Use a protective case or sheath to prevent bending or breaking the probe.
Keep the battery compartment closed tightly to avoid corrosion. Clean the probe with warm soapy water after each use. Dry it completely before storing to prevent rust and bacteria growth.

Credit: www.amazon.com
Frequently Asked Questions
How Do You Calibrate A Meat Thermometer Starting At 120°f?
To calibrate, use the ice water method. Insert the thermometer into ice water. Adjust the dial to read 32°F (0°C). This ensures accurate readings even if it starts at 120°F.
Why Is Thermometer Calibration Important For Cooking Meat?
Calibration ensures precise temperature readings. Accurate temperatures prevent undercooking or overcooking meat. It promotes food safety and enhances taste by confirming doneness.
Can I Use Boiling Water To Calibrate My Thermometer?
Yes, boiling water calibration works too. Insert the thermometer in boiling water and adjust to 212°F (100°C). This method verifies accuracy at high temperatures.
How Often Should I Calibrate My Meat Thermometer?
Calibrate before first use and regularly after. Frequent calibration maintains accuracy. Check calibration if readings seem off or after dropping the thermometer.
Conclusion
Calibrating a meat thermometer that starts at 120 is simple. Use the ice water method to check accuracy. Adjust the thermometer if needed. This ensures safe cooking and perfect results. Regular checks keep your thermometer reliable. Enjoy cooking with confidence and precision every time.