If you want to keep your peas fresh and tasty for months, blanching is the secret step you can’t skip. It’s simple, quick, and locks in the flavor and nutrients your peas deserve.
Imagine reaching into your freezer and pulling out perfectly preserved peas that taste just like fresh-picked. In this guide, you’ll learn exactly how to blanch peas for the freezer, so you can enjoy garden-fresh goodness any time you want. Ready to make your peas last longer and taste better?
Let’s get started!
Why Blanch Peas
Blanching peas is a simple but important step before freezing. It helps keep peas fresh, tasty, and healthy for a long time. Without blanching, peas can lose their bright color, soft texture, and valuable nutrients. It also stops enzymes that cause spoilage.
Preserving Color And Texture
Blanching stops the natural enzymes in peas from working. These enzymes can make peas turn dull and mushy. Quick boiling and cooling keep peas bright green and firm. Frozen peas look and feel fresh after blanching.
Maintaining Nutrient Value
Peas have vitamins and minerals that are good for health. Blanching slows down nutrient loss during freezing. It helps peas keep more vitamins, especially vitamin C and folate. This means frozen peas stay healthy and nutritious.
Preventing Spoilage
Raw peas can spoil fast even in the freezer. Blanching kills bacteria and stops enzyme action that causes decay. This process helps peas last longer without bad smells or flavors. Frozen peas stay safe and tasty for many months.

Credit: www.padhuskitchen.com
Choosing Fresh Peas
Choosing fresh peas is the first crucial step to ensure your frozen peas taste as vibrant as the day you picked them. Freshness impacts texture, sweetness, and overall quality after blanching and freezing. Paying attention to the pods and peas themselves can make a noticeable difference in your final dish.
Selecting The Best Pods
Look for pods that are bright green and firm to the touch. Avoid any that appear dull or have yellow spots, as these indicate older peas. The pods should snap easily when bent—this freshness means the peas inside will be sweet and tender.
Check the size of the pods; medium-sized pods often contain the best balance of flavor and tenderness. Smaller pods can be underdeveloped, while overly large pods may have starchy peas inside. Your goal is a crisp pod that feels plump but not swollen.
Avoiding Overripe Or Damaged Peas
Inspect the pods carefully for any signs of damage like holes, bruises, or mold. Peas inside damaged pods can spoil your batch quickly once frozen. Also, peas that rattle inside the pod are likely overripe and tough.
Overripe peas lose their sweetness and develop a starchy taste that doesn’t improve with blanching. If you find peas that are dull or shriveled, it’s best to skip them. Fresh peas should look smooth and vibrant, promising a sweet crunch after freezing.
Preparing Peas For Blanching
Preparing peas properly before blanching is essential to preserve their color, flavor, and texture. Taking time to handle them correctly makes a big difference in how they taste after freezing. Let’s look at how to get your peas ready for the blanching process.
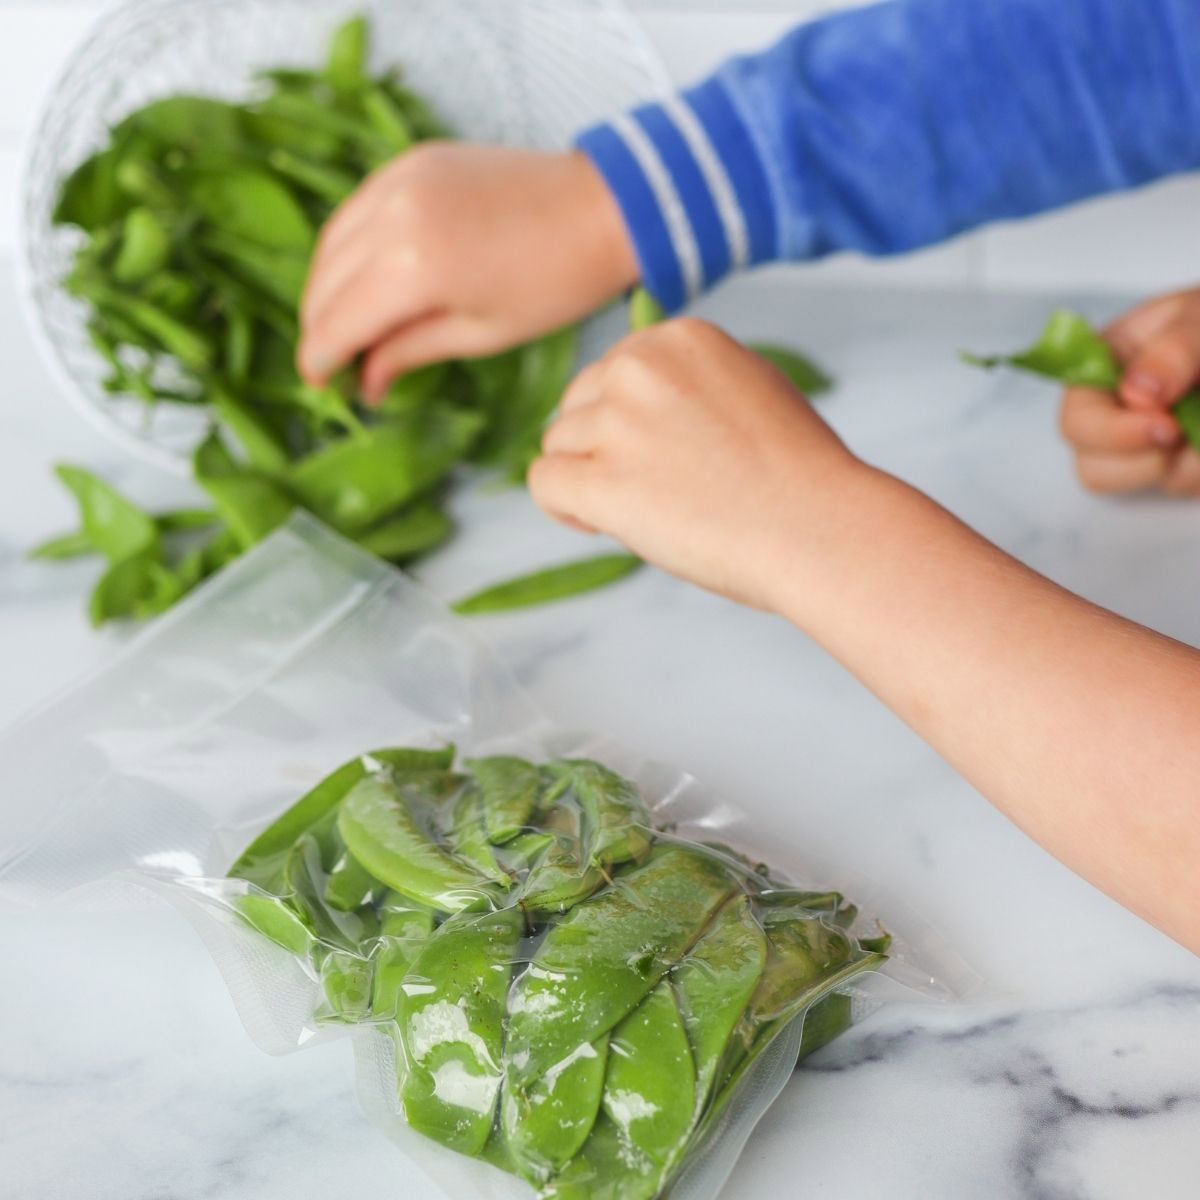
Shelling The Peas
Start by removing the peas from their pods. Fresh peas snap easily out of the shell with a gentle squeeze or pressure along the seam. If you’ve ever rushed this step, you might have noticed some peas crushed or left behind—take your time to avoid waste.
Use a bowl to collect the shelled peas as you go. This keeps your workspace tidy and makes it easier to inspect the peas for any damaged ones. Have you noticed how fresh peas almost pop when shelled correctly? That’s a sign of their freshness.
Rinsing And Cleaning
After shelling, rinse the peas thoroughly under cold running water. This step removes any dirt, bits of pod, or tiny debris. Running your fingers through the peas while rinsing helps ensure every pea gets cleaned.
Drain the peas well using a colander or fine mesh sieve. Excess water can affect the blanching process and lead to freezer burn later on. Do you have a salad spinner? It works great to dry peas quickly without bruising them.
Credit: saltinmycoffee.com
Blanching Techniques
Blanching peas before freezing is key to preserving their vibrant color, fresh flavor, and nutritional value. The technique you choose affects the texture and how well the peas hold up after freezing. Understanding the best blanching methods ensures your peas taste just-picked even months later.
Boiling Water Method
This classic approach involves plunging peas into boiling water for a brief time. Boil a large pot of water and prepare a bowl of ice water nearby to stop the cooking immediately. Drop the peas into the boiling water for about 1 to 2 minutes depending on their size.
Once the time is up, quickly transfer the peas to the ice bath. This halts the cooking process, locking in freshness and color. Have you ever noticed peas turning dull or mushy after freezing? Skipping the ice bath is often the culprit.
This method works well if you want a quick way to blanch a large batch. Make sure to stir gently to prevent peas from sticking or cooking unevenly. Your frozen peas will thank you with a sweet, crisp bite.
Steaming Method
Steaming is a gentler option that uses hot steam instead of boiling water. Set up a steamer basket over simmering water and add your peas. Cover tightly to trap the steam and cook for around 2 to 3 minutes.
Steaming minimizes nutrient loss and reduces the risk of overcooking. The peas retain a firmer texture and vibrant green color. Have you tried steaming peas before freezing? It often yields a fresher taste compared to boiling.
After steaming, plunge the peas into ice water just like with boiling. This step is non-negotiable to stop the cooking immediately. Steaming is especially useful if you’re blanching delicate or small batches and want to keep maximum flavor.
Timing The Blanching Process
Timing is key when blanching peas for the freezer. The right duration keeps peas fresh, tasty, and bright green. Too little time leaves enzymes active, causing spoilage. Too long softens peas and wastes nutrients. Precise timing locks in flavor and texture, making your frozen peas a delight to use later.
Ideal Blanching Duration
Fresh peas need a short blanching time. Usually, 1.5 to 2 minutes in boiling water works best. Use a timer to avoid guesswork. After blanching, cool peas quickly in ice water. This stops cooking and preserves color and crunch.
Signs Peas Are Ready
- Peas turn bright, vibrant green.
- Texture feels tender but firm.
- Skin looks smooth and fresh.
- Peas float easily in water.
Watch the clock and these signs for perfect blanching every time.
Cooling And Draining
Cooling and draining are crucial steps in blanching peas for the freezer. These steps help preserve color, texture, and nutrients. Proper cooling stops the cooking process quickly, while effective draining prevents freezer burn.
Ice Bath Cooling
After boiling, transfer peas to an ice bath. Fill a bowl with cold water and ice cubes. Submerge the peas completely in the ice bath. This cools them rapidly, locking in freshness. Let them sit for about two to three minutes. Ensure the water stays cold by adding more ice if needed.
Effective Draining Tips
Remove peas from the ice bath with a slotted spoon. Shake off excess water gently. Spread peas on a clean kitchen towel. Pat them dry to remove lingering moisture. Excess water can cause ice crystals in the freezer. Ensure peas are dry before packing them in freezer bags or containers.
Freezing Blanched Peas
Freezing blanched peas is a simple way to keep their fresh flavor and vibrant color all year round. Once you’ve blanched them properly, the next step is to freeze them in a way that preserves their quality and makes them easy to use later. How you store your peas in the freezer can make a big difference when you want to grab just the right amount for a recipe.
Choosing Freezer Containers
Select containers that fit your freezer space and usage habits. Rigid plastic containers with airtight lids work well to prevent freezer burn. Alternatively, heavy-duty freezer bags save space and allow you to press out excess air easily.
I prefer using freezer bags because I can flatten them, which helps the peas freeze quickly and stack neatly. Make sure the containers or bags are labeled with the date to track freshness. Would you rather use reusable containers or disposable bags? Both have pros depending on your priorities.
Portioning For Convenience
Think about how much you typically use in one cooking session. Portioning peas into meal-sized amounts saves you from thawing and refreezing. For example, pack peas in half-cup or one-cup portions depending on your cooking needs.
Using a measuring cup to scoop peas before freezing helps keep portions consistent. This small step speeds up meal prep later, especially on busy days. Have you noticed how much easier cooking gets when ingredients are pre-portioned and ready to go?
Thawing And Using Frozen Peas
Thawing and using frozen peas is easy and quick. Proper thawing keeps peas fresh and tasty. Frozen peas can be added straight to many dishes without thawing. Knowing the right way to thaw helps keep their texture perfect.
Best Thawing Methods
- Place peas in the fridge overnight for slow thawing.
- Run peas under cold water in a colander to thaw fast.
- Add frozen peas directly to hot soups or stews to thaw while cooking.
- Use a microwave on low power for a quick thaw, stirring often.
Cooking Tips For Frozen Peas
- Do not overcook peas; a few minutes is enough.
- Add peas near the end of cooking to keep their color and crunch.
- Season peas after cooking to enhance their natural sweetness.
- Use frozen peas in salads, stir-fries, and pasta dishes for convenience.
Common Mistakes To Avoid
Blanching peas before freezing keeps them fresh and vibrant. Yet, many make mistakes. Avoiding these errors ensures your peas stay delicious and nutritious. Let's explore common pitfalls when blanching peas for freezing.
Overblanching Issues
Overblanching peas affects their taste and texture. Cooking them too long makes them mushy. Overcooked peas lose their bright green color. They may also lose important nutrients. It's crucial to blanch peas for the right amount of time.
Keep a timer handy. Most peas need just 1-2 minutes in boiling water. Timing ensures they are perfectly blanched. Overblanching is a common mistake. Avoid it to preserve the quality of your peas.
Skipping The Ice Bath
After blanching, peas need a quick cool down. Skipping the ice bath is a mistake. The ice bath stops the cooking process immediately. Without it, peas continue to cook and become soft.
Prepare a bowl of ice water before blanching. As soon as peas finish blanching, move them to the ice bath. This step is crucial. It keeps peas firm and vibrant for the freezer.

Credit: www.youtube.com
Frequently Asked Questions
How Long Should I Blanch Peas For Freezing?
Blanch peas for 1. 5 to 2 minutes in boiling water. This stops enzyme action, preserving color, texture, and flavor. Immediate cooling in ice water follows to halt cooking.
Why Is Blanching Peas Before Freezing Important?
Blanching kills bacteria and stops enzymes that cause spoilage. It maintains peas’ freshness, color, and nutritional value during freezing and storage.
Can I Freeze Peas Without Blanching First?
Freezing peas without blanching can cause loss of flavor, color, and texture. Blanching preserves quality and extends freezer life.
How Do I Cool Peas After Blanching?
Immediately transfer blanched peas to an ice water bath. This stops cooking and preserves firmness and color before freezing.
Conclusion
Blanching peas before freezing keeps them fresh and tasty. It stops enzymes that cause spoilage. You only need a few simple steps to blanch peas properly. This method saves time when cooking later. Frozen peas stay bright green and crisp longer.
Use cold water to cool peas quickly after blanching. Store them in airtight bags to avoid freezer burn. Now, you can enjoy garden-fresh peas any time of year. Simple, quick, and effective—blanching is worth the effort. Try it and taste the difference!