If you want to impress your family and friends with a juicy, flavorful ham, grilling it on your gas grill is a fantastic way to do it. But how do you get that perfect balance of smoky taste and tender texture without overcooking or drying it out?
You’re about to discover simple, step-by-step tips that make BBQing a ham on a gas grill easy and foolproof. By the end of this guide, you’ll have the confidence to serve a mouthwatering ham that everyone will rave about. Ready to become the grill master at your next cookout?
Let’s dive in!

Credit: www.youtube.com
Choosing The Right Ham
Choosing the right ham is the foundation of a great BBQ experience on your gas grill. The type of ham you pick will influence the flavor, cooking time, and overall outcome. It’s essential to consider what kind of taste and texture you want before firing up the grill.
Types Of Ham For Grilling
Not all hams are created equal, especially when it comes to grilling. You can select from fresh, cured, or pre-cooked hams, each offering different benefits and challenges.
- Fresh Ham:This is uncooked and needs slow, careful cooking. It lets you control the seasoning fully but requires more attention to avoid dryness.
- Cured Ham:These hams are treated with salt and sometimes smoked. They offer a richer flavor and are usually ready to cook or eat after heating.
- Pre-cooked Ham:Easiest to grill because they just need warming up. Perfect for quick BBQs, but you’ll want to add glazes or seasonings for extra flavor.
Think about how much time you have and how involved you want to be in the process. Which type matches your BBQ style?
Size And Preparation Tips
The size of your ham affects cooking time and how evenly it cooks. A whole ham can take several hours, while smaller cuts like half or shank hams grill faster.
- Smaller Hams:Easier to manage and quicker to grill. Ideal if you’re new to BBQ or cooking for a smaller group.
- Larger Hams:Great for gatherings but require consistent temperature control. You may want to invest in a meat thermometer to avoid overcooking.
Before placing the ham on the grill, trim excess fat but leave a thin layer to keep it juicy. Score the surface to help marinades and glazes soak in better.
Have you tried scoring your ham before? It’s a simple trick that can transform how the flavors develop during grilling.
Preparing The Gas Grill
Preparing your gas grill correctly is key to achieving that perfect BBQ ham—juicy on the inside with a beautiful smoky finish. Before you even place the ham on the grill, you need to set it up to cook gently and evenly. This prevents burning the outside while leaving the center undercooked.
Setting Up For Indirect Heat
Indirect heat is essential for cooking a ham on a gas grill. Instead of placing your ham directly over the flame, turn on only one or two burners and leave the others off. This creates a cooler area where the ham can cook slowly without charring.
Arrange a drip pan under the grill grates where the ham will sit. This catches the drippings and prevents flare-ups. Plus, it helps keep the grill cleaner.
Have you ever noticed how direct heat often cooks the outside too quickly? Using indirect heat solves that problem and helps the ham cook evenly all the way through.
Temperature Control Basics
Maintaining the right temperature is crucial. Aim for a consistent grill temperature around 250°F to 300°F. This allows the ham to heat through without drying out.
Use your grill’s built-in thermometer if it has one, or invest in a reliable grill thermometer. Monitoring the temperature frequently will help you adjust the burners to keep things steady.
Don’t forget to preheat the grill for 10-15 minutes before cooking. A well-heated grill ensures stable temperatures from the start, which is vital for slow cooking your ham.
Seasoning And Glazing
Seasoning and glazing are key to making a ham flavorful and juicy on a gas grill. The right dry rub enhances the natural taste of the meat. A well-made glaze adds a shiny, tasty coating that caramelizes during cooking.
These simple steps bring out the best in your BBQ ham. They create a balance of sweet, salty, and spicy flavors. This section shows easy ways to season and glaze your ham for the perfect BBQ.
Simple Dry Rubs
A dry rub is a mix of spices and herbs. It sticks to the ham’s surface and gives a tasty crust. Use these easy rub ideas for a flavorful ham:
- Brown sugar, paprika, salt, black pepper
- Garlic powder, onion powder, chili powder, salt
- Mustard powder, ground cinnamon, ground cloves, brown sugar
Pat the ham dry. Rub the spice mix all over the ham. Let it rest for at least 30 minutes. This helps the flavors soak in before grilling.
Sweet And Savory Glaze Recipes
Glazing adds a glossy finish and extra flavor to your ham. Brush the glaze on during the last 30 minutes of grilling. This prevents burning and builds layers of taste.
Try these easy glaze recipes:
| Glaze | Ingredients | Taste |
|---|---|---|
| Honey Mustard | Honey, Dijon mustard, apple cider vinegar | Sweet and tangy |
| Brown Sugar Pineapple | Brown sugar, pineapple juice, soy sauce | Sweet and savory |
| Maple Bourbon | Maple syrup, bourbon, ground cloves | Rich and warm |
Brush the glaze every 10 minutes while grilling. This layers the flavor and makes a sticky, delicious finish.
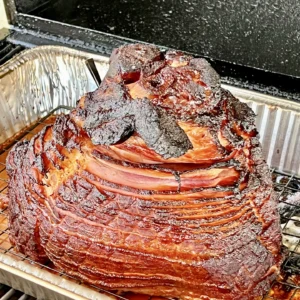
Credit: grillnationbbq.com
Grilling The Ham
Place the ham on the gas grill over indirect heat to cook slowly and evenly. Baste with glaze often for a sweet, smoky flavor and juicy texture. Monitor the temperature to avoid drying out the meat.
Grilling the ham on a gas grill is an art that combines careful timing and technique. It’s a process that takes patience and precision to bring out the best flavors. Whether you’re a seasoned griller or a novice, understanding these steps can elevate your BBQ game.
Placing Ham On The Grill
First, ensure your grill is preheated to around 325°F. A consistent temperature is key to evenly cooking the ham. Place your ham on the grill over indirect heat. This means positioning it away from direct flames to prevent burning. Have you ever noticed how a slightly charred crust enhances the flavor? That's the magic of indirect grilling. Use a drip pan underneath to catch any juices, adding moisture and preventing flare-ups.
Timing And Turning Techniques
The timing is crucial. For a ham weighing around 10 pounds, aim for about 12-15 minutes per pound. This ensures a juicy interior without drying out the edges. Use a meat thermometer to check the internal temperature, aiming for 145°F. When it comes to turning, less is more. Rotate the ham approximately every 30 minutes to ensure even cooking. Do you remember the last time you flipped meat too often and it lost its juices? Avoid that by being patient and strategic with your turns.
Checking Doneness
Checking doneness is crucial to ensure your BBQ ham is juicy and safe to eat. Overcooked ham can become dry, while undercooked ham risks foodborne illness. Proper doneness means the ham is tender, flavorful, and has a perfect texture. Use simple tools and observe key signs to know when your ham is ready.
Using A Meat Thermometer
A meat thermometer is the best way to check your ham’s doneness. Insert it into the thickest part of the ham without touching the bone. The ideal internal temperature for fully cooked ham is 140°F (60°C). For uncooked or partially cooked ham, heat it to 145°F (63°C) and then let it rest for a few minutes.
Keep the thermometer clean and accurate. Avoid guessing doneness by time alone. Temperature gives you a safe and precise measure every time.
Signs Of Perfectly Cooked Ham
Besides temperature, watch for these signs of a perfectly cooked ham:
- The surface is golden brown and slightly caramelized.
- The juices run clear when you cut into the ham.
- The meat is firm but still moist and tender.
- The aroma is rich and inviting, not raw or overly smoky.
These signs help confirm the ham is ready to serve. Use them together with a thermometer for best results.
Serving Suggestions
Serving your perfectly grilled ham is just as important as cooking it right. How you rest the meat and what you serve alongside can elevate your BBQ experience from good to unforgettable. Let’s talk about how to make your meal complete and satisfying.
Resting The Ham
Once you take your ham off the grill, don’t rush to slice it. Letting it rest for about 15 to 20 minutes allows the juices to redistribute evenly throughout the meat.
If you cut too soon, the juices will spill out and leave the ham dry. Use this time to prepare your sides or set the table.
Side Dishes That Complement
Think about flavors and textures that balance the smoky, sweet taste of your BBQ ham. Crisp, fresh salads or tangy coleslaw add a refreshing contrast.
- Grilled vegetables like asparagus or bell peppers bring a nice char and earthy flavor.
- Mashed sweet potatoes add sweetness that pairs perfectly with ham’s saltiness.
- Baked beans give a hearty, smoky side that matches the BBQ vibe.
- Fresh fruit salads with pineapple or apple slices can brighten the whole plate.
Have you tried pairing your ham with a mustard-based sauce or a honey glaze on the side? These add an extra layer of flavor that your guests will remember.
Troubleshooting Common Issues
Grilling a ham on a gas grill can sometimes bring unexpected challenges. Troubleshooting common issues helps keep the meat juicy and evenly cooked. Knowing simple fixes can save your barbecue from disappointment.
Avoiding Dryness
Dry ham ruins the experience. Keep moisture locked inside by using a two-zone cooking setup. Place the ham away from direct heat. Use a drip pan with water or apple juice under the ham to add humidity.
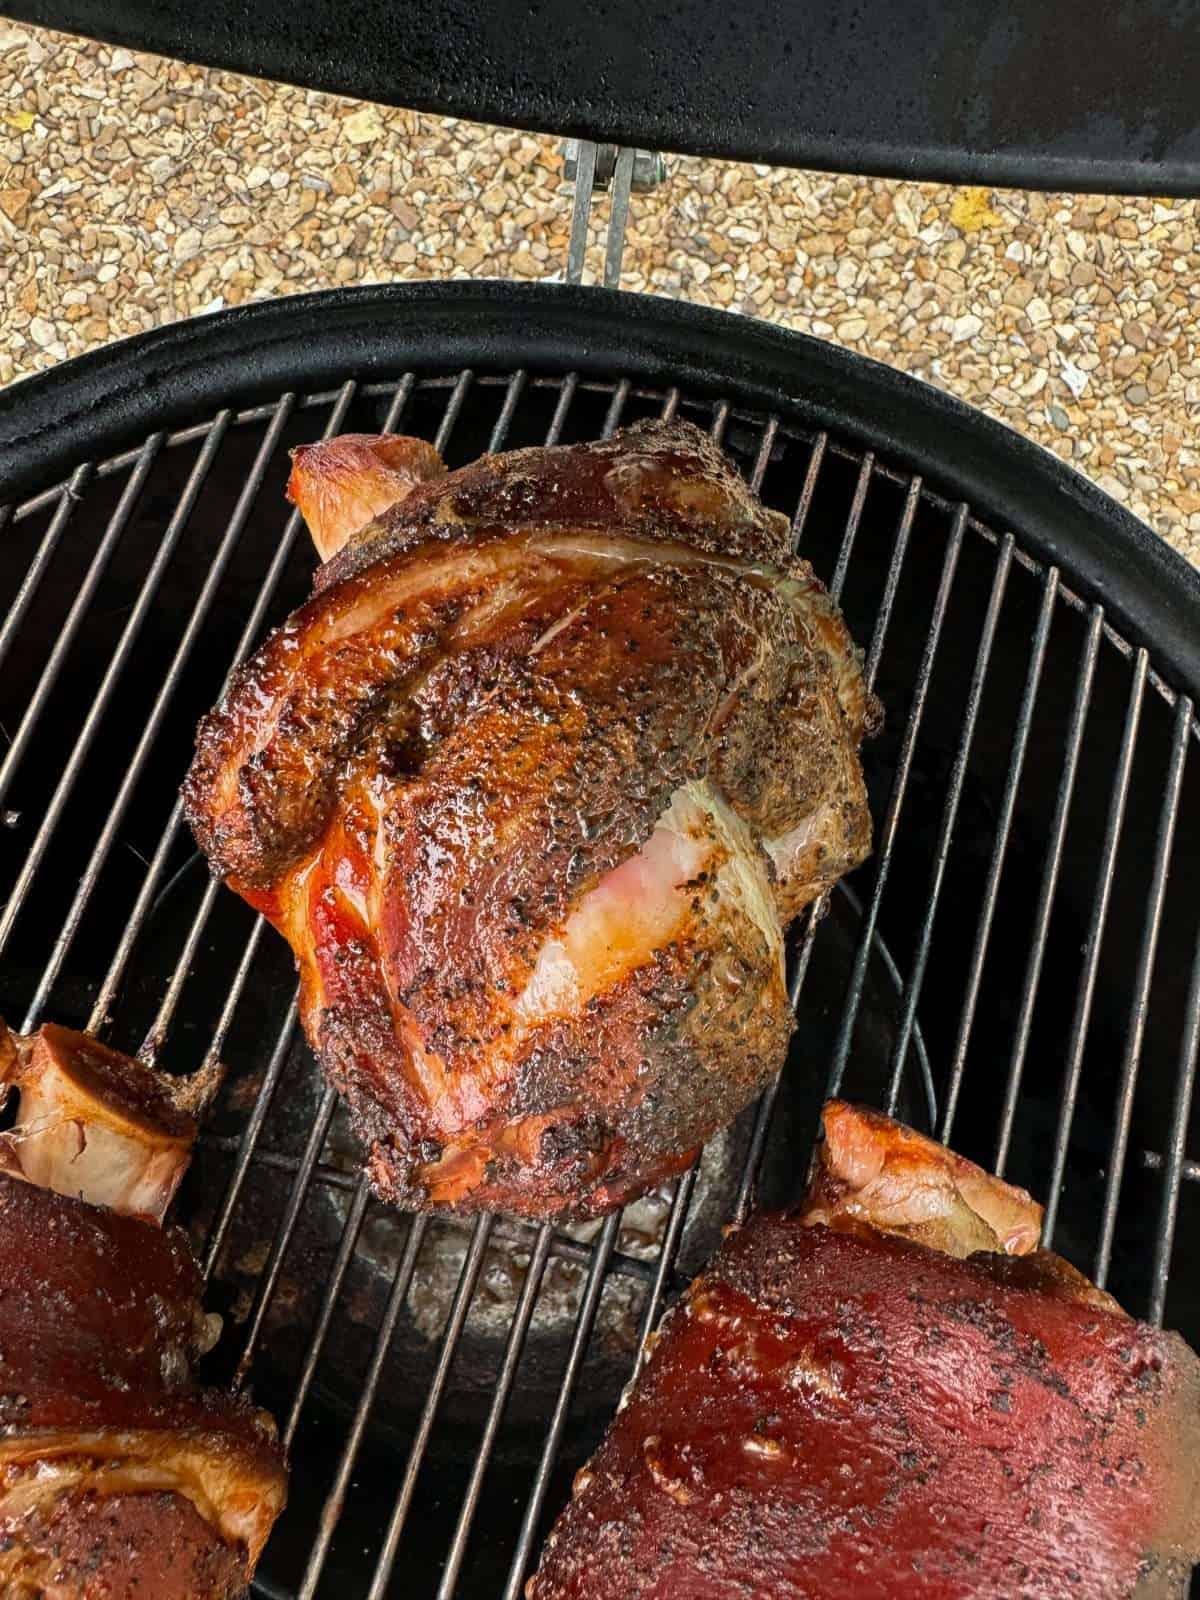
Wrap the ham in foil during grilling. This traps steam and keeps the meat tender. Baste the ham every 20 minutes with glaze or marinade. It prevents the surface from drying out.
Fixing Uneven Cooking
Uneven cooking leads to tough or raw spots. Rotate the ham regularly to cook all sides equally. Check the grill temperature often; adjust burners to maintain steady heat.
Use a meat thermometer to monitor internal temperature in several places. Remove the ham from the heat once it reaches 140°F for pre-cooked hams. Let it rest covered for 10-15 minutes to finish cooking evenly.
Credit: saltbuttersmoke.com
Frequently Asked Questions
How Long Does It Take To Bbq A Ham On A Gas Grill?
Cooking a ham on a gas grill typically takes 1. 5 to 2 hours. Maintain a grill temperature of 325°F. Use indirect heat to ensure even cooking without burning the glaze. Always check internal temperature to confirm doneness.
What Temperature Should The Gas Grill Be For Ham?
Set your gas grill to 325°F for best results. This moderate heat cooks the ham evenly. Avoid higher temperatures to prevent drying out the meat. Use a thermometer to maintain consistent heat throughout grilling.
Should I Use Direct Or Indirect Heat For Grilling Ham?
Use indirect heat when grilling ham on a gas grill. Place the ham away from direct flames to cook it slowly. This method prevents burning and ensures the ham stays juicy and tender.
How Do I Glaze A Ham On A Gas Grill?
Apply glaze during the last 20 to 30 minutes of cooking. Brush the glaze on the ham every 10 minutes to build flavor. Avoid glazing too early to prevent burning due to sugar content.
Conclusion
Grilling a ham on a gas grill is simple and fun. Keep the heat low and cook slowly for best taste. Use a good glaze to add flavor and shine. Check the ham often to avoid overcooking. Serve warm and enjoy with family or friends.
This method saves time and gives juicy, tasty results. Try it at your next cookout and see how easy it is. Grilled ham can be a delicious main dish anytime.