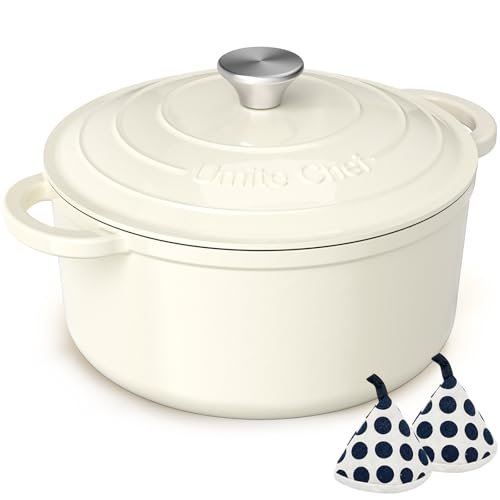
Baking a perfect sourdough loaf at home is easier than you think—even if you don’t have a Dutch oven. You might believe that a Dutch oven is a must-have for that crispy crust and soft inside, but there are simple tricks you can use with everyday kitchen items to get great results.
Imagine pulling a golden, fragrant loaf from your oven that makes your whole house smell amazing. Ready to discover how you can bake your own delicious sourdough without special gear? Keep reading, and you’ll learn easy steps that anyone can follow.

Credit: www.youtube.com
Choosing The Right Ingredients
Choosing the right ingredients is key to baking a delicious sourdough loaf without a Dutch oven. The quality and type of flour, starter, and water affect the bread's texture and flavor. Knowing what to pick helps you make a loaf with a good rise and a crisp crust.
Flour Types For Sourdough
Flour forms the base of your sourdough loaf. Different flours give different results. Strong bread flour has more protein, which helps develop gluten. This makes the loaf chewy and airy. Whole wheat flour adds a nutty flavor and denser crumb. Rye flour improves fermentation and adds a tangy taste.
Try mixing flours for balance:
- 70% bread flour and 30% whole wheat for flavor and structure
- Use rye flour in small amounts for better fermentation
- All-purpose flour works but gives less chewiness
Selecting Starter And Water
Your sourdough starter drives the fermentation process. A healthy, active starter creates good bubbles and rise. Feed your starter regularly and use it when it’s bubbly and doubled in size. This ensures strong yeast activity.
Water quality matters too. Use filtered or spring water if possible. Chlorinated tap water can weaken the starter. Room temperature water helps the dough ferment evenly. Avoid very hot or cold water for better control over fermentation speed.

Credit: www.emmafontanella.com
Preparing The Dough
Preparing the dough is the first key to a great sourdough loaf. It shapes the texture and flavor of your bread. Good preparation helps the dough develop strength and rise well, even without a Dutch oven. Attention to mixing and fermentation creates a strong foundation for baking.
Mixing And Hydration
Start by combining flour, water, salt, and sourdough starter. Use cool water to control fermentation speed. Mix until no dry flour remains. The dough should feel sticky but manageable. Hydration affects crumb texture. Higher water content creates a more open crumb but needs careful handling.
Rest the dough for 30 minutes after mixing. This helps the flour absorb water fully. It also makes kneading easier and improves gluten development. Avoid overmixing to keep the dough airy.
Bulk Fermentation Tips
Bulk fermentation is when the dough rises and develops flavor. Keep the dough at room temperature, about 70°F (21°C). This allows the yeast and bacteria to work steadily. During this time, perform stretch and folds every 30 minutes for the first 2 hours. This strengthens the dough and traps air inside.
Fermentation time varies. Watch for the dough to nearly double in size and feel soft. Overfermentation can cause the dough to collapse. Underfermentation results in a dense loaf. Use visual cues rather than strict timing.
Shaping And Proofing
Shaping and proofing your sourdough loaf properly sets the foundation for a great crust and crumb. These steps control the dough’s final structure and how it expands during baking. Even without a Dutch oven, mastering shaping and proofing can lead to impressive results.
Techniques For A Tight Shape
A tight shape traps air inside the dough, helping your loaf rise well and develop a chewy texture. To achieve this, start by gently folding the dough over itself on a lightly floured surface. Use your hands to pull the dough taut, creating surface tension.
Try this: cup one hand over the dough and use small, circular motions to tighten the outer layer. This feels a bit like spinning a ball of clay. Avoid pressing too hard—your goal is tension, not squashing the dough.
Do you notice how a well-shaped dough holds its form better during baking? That’s the power of tight shaping at work. It can make the difference between a flat loaf and one with a beautiful, rounded top.
Proofing Without A Banneton
If you don’t have a banneton, don’t worry—there are simple alternatives. A bowl lined with a clean, well-floured kitchen towel works perfectly. The towel prevents sticking while giving the dough gentle support as it rises.
Make sure to flour the towel generously—rice flour works great because it’s less likely to absorb moisture. Place your shaped dough seam-side up in the bowl and cover it with a plastic bag or damp cloth to keep it from drying out.
Wondering how long to proof? Watch the dough, not the clock. It should puff up noticeably and feel light when gently pressed. This visual cue beats any timer and ensures your loaf is ready for the oven, even without fancy tools.
Alternatives To A Dutch Oven
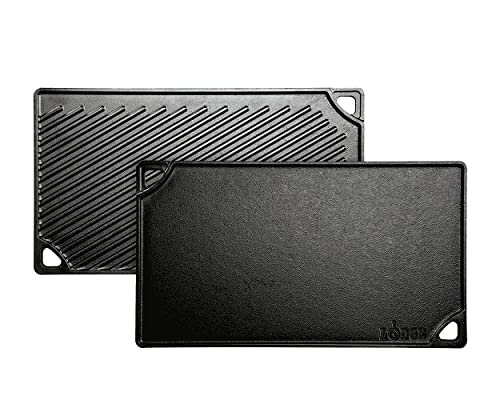
A cast iron skillet with a lid can mimic a Dutch oven’s heat retention. A heavy baking dish covered with foil also traps steam well for sourdough baking.
Baking a sourdough loaf without a Dutch oven might sound daunting, but there are several effective alternatives that can yield equally satisfying results. The key to a well-baked sourdough is achieving the right crust and texture. While a Dutch oven is known for its ability to trap steam and create a perfect baking environment, you can still achieve this with a few clever tricks and tools found in most kitchens.
Using A Baking Sheet And Cast Iron Skillet
One of the simplest methods involves using a baking sheet paired with a cast iron skillet. Preheat your oven with the cast iron skillet inside, allowing it to get hot. Place your shaped dough on a parchment-lined baking sheet. When you're ready to bake, quickly transfer the dough into the hot skillet. The cast iron holds heat well, helping the dough rise and develop a beautiful crust. This setup mimics the effect of a Dutch oven by providing a hot surface and some retention of heat around the bread.
Creating Steam In Your Oven
Steam is crucial for a crispy crust, and it's easy to create even without a Dutch oven. Fill a metal baking dish with hot water and place it on the bottom rack of your oven as you preheat. The steam generated will envelop your bread as it bakes. Another method is to spritz the inside of your oven with water from a spray bottle just before closing the door. This simple trick can dramatically improve the quality of your crust. Have you ever noticed how bakery loaves have that perfect crackly exterior? That’s the magic of steam at work! Experimenting with these methods can lead to delightful discoveries in your baking routine. Who knew that resourcefulness in the kitchen could lead to such delicious outcomes?
Baking Process
Baking sourdough without a Dutch oven means you need to rethink the way heat and steam interact with your dough. The baking process is where your dough transforms into a beautiful loaf with a crusty exterior and a soft crumb inside. Understanding how to manage oven temperature and timing, along with techniques for a crispy crust, will help you get that bakery-quality loaf right at home.
Oven Temperature And Timing
Start by preheating your oven to a high temperature, around 450°F (230°C). This initial heat kick is crucial for oven spring—the final rise your loaf gets in the oven.
Place your dough on a baking stone or a heavy baking sheet to mimic the heat retention of a Dutch oven. Bake at this temperature for the first 20 minutes to set the crust.
After 20 minutes, lower the oven temperature to 400°F (200°C) and continue baking for another 20 to 30 minutes. This slower phase ensures the inside cooks fully without burning the crust.
Achieving A Crispy Crust
Without a Dutch oven trapping steam, you have to create steam manually to get that crispy crust. Place a metal pan on the oven floor while preheating and pour a cup of hot water into it right after putting your dough in.
The steam helps the crust stay soft initially, allowing the bread to expand. As the steam dissipates, the crust hardens and crisps up beautifully.
Another trick is to mist your dough lightly with water before baking. This adds moisture to the surface and contributes to crust development.
Have you tried using a lid or a large bowl to cover your dough during the first 20 minutes of baking? This can also trap steam and improve your crust without needing specialized equipment.
Cooling And Storing
After baking your sourdough loaf without a Dutch oven, the way you cool and store it makes a huge difference in flavor and texture. Cooling is not just about waiting; it's about letting your bread finish its transformation. Storing properly keeps your loaf fresh longer, so you enjoy every bite as if it just came out of the oven.
Proper Cooling Methods
Once your sourdough is out of the oven, place it on a wire rack. This allows air to flow all around the loaf, preventing sogginess on the bottom. Avoid wrapping the bread while it’s still warm; doing so traps steam and softens the crust.
Let the bread cool completely—this can take up to two hours. During this time, the crumb sets and the moisture inside redistributes evenly. Have you noticed how bread tastes different when eaten right away versus after cooling? That’s the science at work.
Storing For Freshness
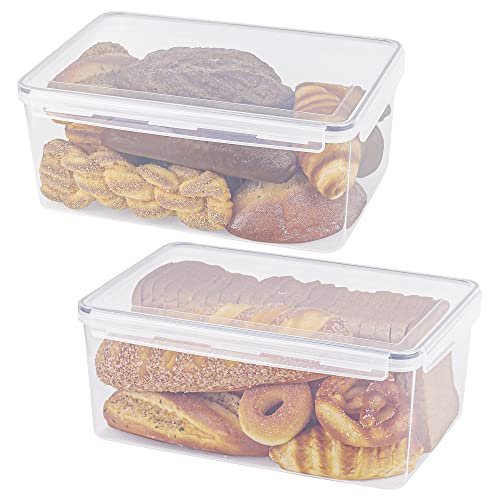
To keep your sourdough fresh, store it in a paper bag or wrap it loosely in a clean kitchen towel. This allows the crust to stay crisp while preventing the crumb from drying out. Plastic bags might keep moisture in but will also soften the crust quickly.
If you don’t plan to eat the loaf within two days, slice it and freeze the pieces in an airtight container or freezer bag. Toast or warm frozen slices to revive that fresh-baked feeling. How often have you wished your bread could stay fresh just a bit longer? This simple trick helps solve that.
Troubleshooting Common Issues
Baking sourdough without a Dutch oven can cause some common problems. Knowing how to fix these issues helps make better bread. Troubleshooting saves time and improves results. Focus on two big problems: dense loaves and soggy crusts.
Fixing Dense Loaves
Dense bread means the dough did not rise well. Check if your starter is active and bubbly. Use warm water to help yeast grow faster. Do not add too much flour; it makes dough heavy. Knead the dough enough to build gluten. Let the dough rise until it doubles in size. Avoid rushing the fermentation process. Use a light touch when shaping the dough to keep air inside. Bake at a high temperature to help the bread rise quickly.
Preventing Soggy Crusts
Soggy crust means too much moisture stays on the bread. Avoid covering the bread with a lid that traps steam. Use a baking sheet or a hot cast-iron pan instead. Place a tray with water in the oven for steam only during the first 10 minutes. Remove the water tray early to dry the crust. Bake the bread directly on a preheated stone or steel for better heat. Let the bread cool on a wire rack. This stops steam from making the crust soft. Adjust oven temperature to avoid underbaking the bread.

Credit: m.youtube.com
Frequently Asked Questions
How Can I Bake Sourdough Without A Dutch Oven?
You can bake sourdough by using a baking stone or steel. Preheat your oven with a tray of water for steam. Use a covered metal bowl or roasting pan to trap moisture. This mimics the Dutch oven’s environment for a crispy crust.
What Alternatives Work Instead Of A Dutch Oven?
A heavy cast-iron skillet with a lid works well. You can also use a deep baking dish covered with foil. A covered clay baker or a large metal bowl inverted over the dough can also retain steam effectively.
How Do I Create Steam Without A Dutch Oven?
Place a metal pan with hot water on the oven’s bottom rack. Spray water inside the oven with a spray bottle during baking. Use a covered dish over the dough to trap moisture, ensuring a crispy crust and good oven spring.
What Temperature Is Best For Baking Sourdough Without A Dutch Oven?
Preheat your oven to 450°F (232°C) for a hot start. Bake with steam for the first 20 minutes. Then, remove the cover or tray to finish baking at the same temperature for a golden crust.
Conclusion
Baking sourdough without a Dutch oven is simple and fun. Use a baking sheet or a covered pot to keep steam inside. This helps create a crispy crust and soft inside. Practice makes perfect, so don’t worry about mistakes. Enjoy the smell of fresh bread filling your kitchen.
Your homemade loaf will taste great, even without special tools. Try different methods and find what works best for you. Baking sourdough can be easy and rewarding for everyone. Give it a try and enjoy every bite.