Is your Whirlpool refrigerator door not closing properly or looking uneven? When your bottom freezer door is misaligned, it can cause cold air to escape and increase your energy bills.
But don’t worry—you can fix this yourself, quickly and easily. In this guide, you’ll learn simple steps to adjust your Whirlpool refrigerator doors with a bottom freezer. By the end, your fridge will look neat, work efficiently, and keep your food fresher for longer.
Keep reading to discover how a few small tweaks can make a big difference in your kitchen.
Tools Needed
Before you start adjusting your Whirlpool refrigerator doors with a bottom freezer, gathering the right tools is essential. Having everything at hand makes the process smoother and saves you from unnecessary trips to the store. You’ll also feel more confident tackling the adjustments yourself.
Basic Hand Tools
- Screwdriver:A Phillips-head screwdriver is usually required for loosening and tightening screws on the door hinges.
- Socket wrench or nut driver:These help with bolts and nuts that secure the door components. Sizes 3/8 inch and 7/16 inch are common.
- Adjustable wrench:Handy for bolts that need a firm grip and can’t be reached with a socket wrench.
Having these basic tools ready ensures you won't get stuck halfway through. I once started an adjustment without checking my tools and had to pause multiple times—definitely a time sink you want to avoid.
Measuring And Leveling Tools
- Level:A small carpenter’s level helps you check if the doors are perfectly aligned horizontally and vertically.
- Tape measure:Useful for confirming door spacing and clearance on both sides.
Doors that are off-level can cause sealing issues and extra wear. Are your doors closing smoothly or do they seem off-balance? Measuring first can save frustration later.
Optional Tools For Easier Adjustment
- Rubber mallet:Useful for gently tapping hinges or door parts without causing damage.
- Flashlight:Helps illuminate hinge areas that can be dark or hard to see.
These extras aren’t mandatory but can make the job easier and protect your fridge from accidental marks or scratches. Think about how much easier it would be to see tight spaces clearly—wouldn’t that speed things up?
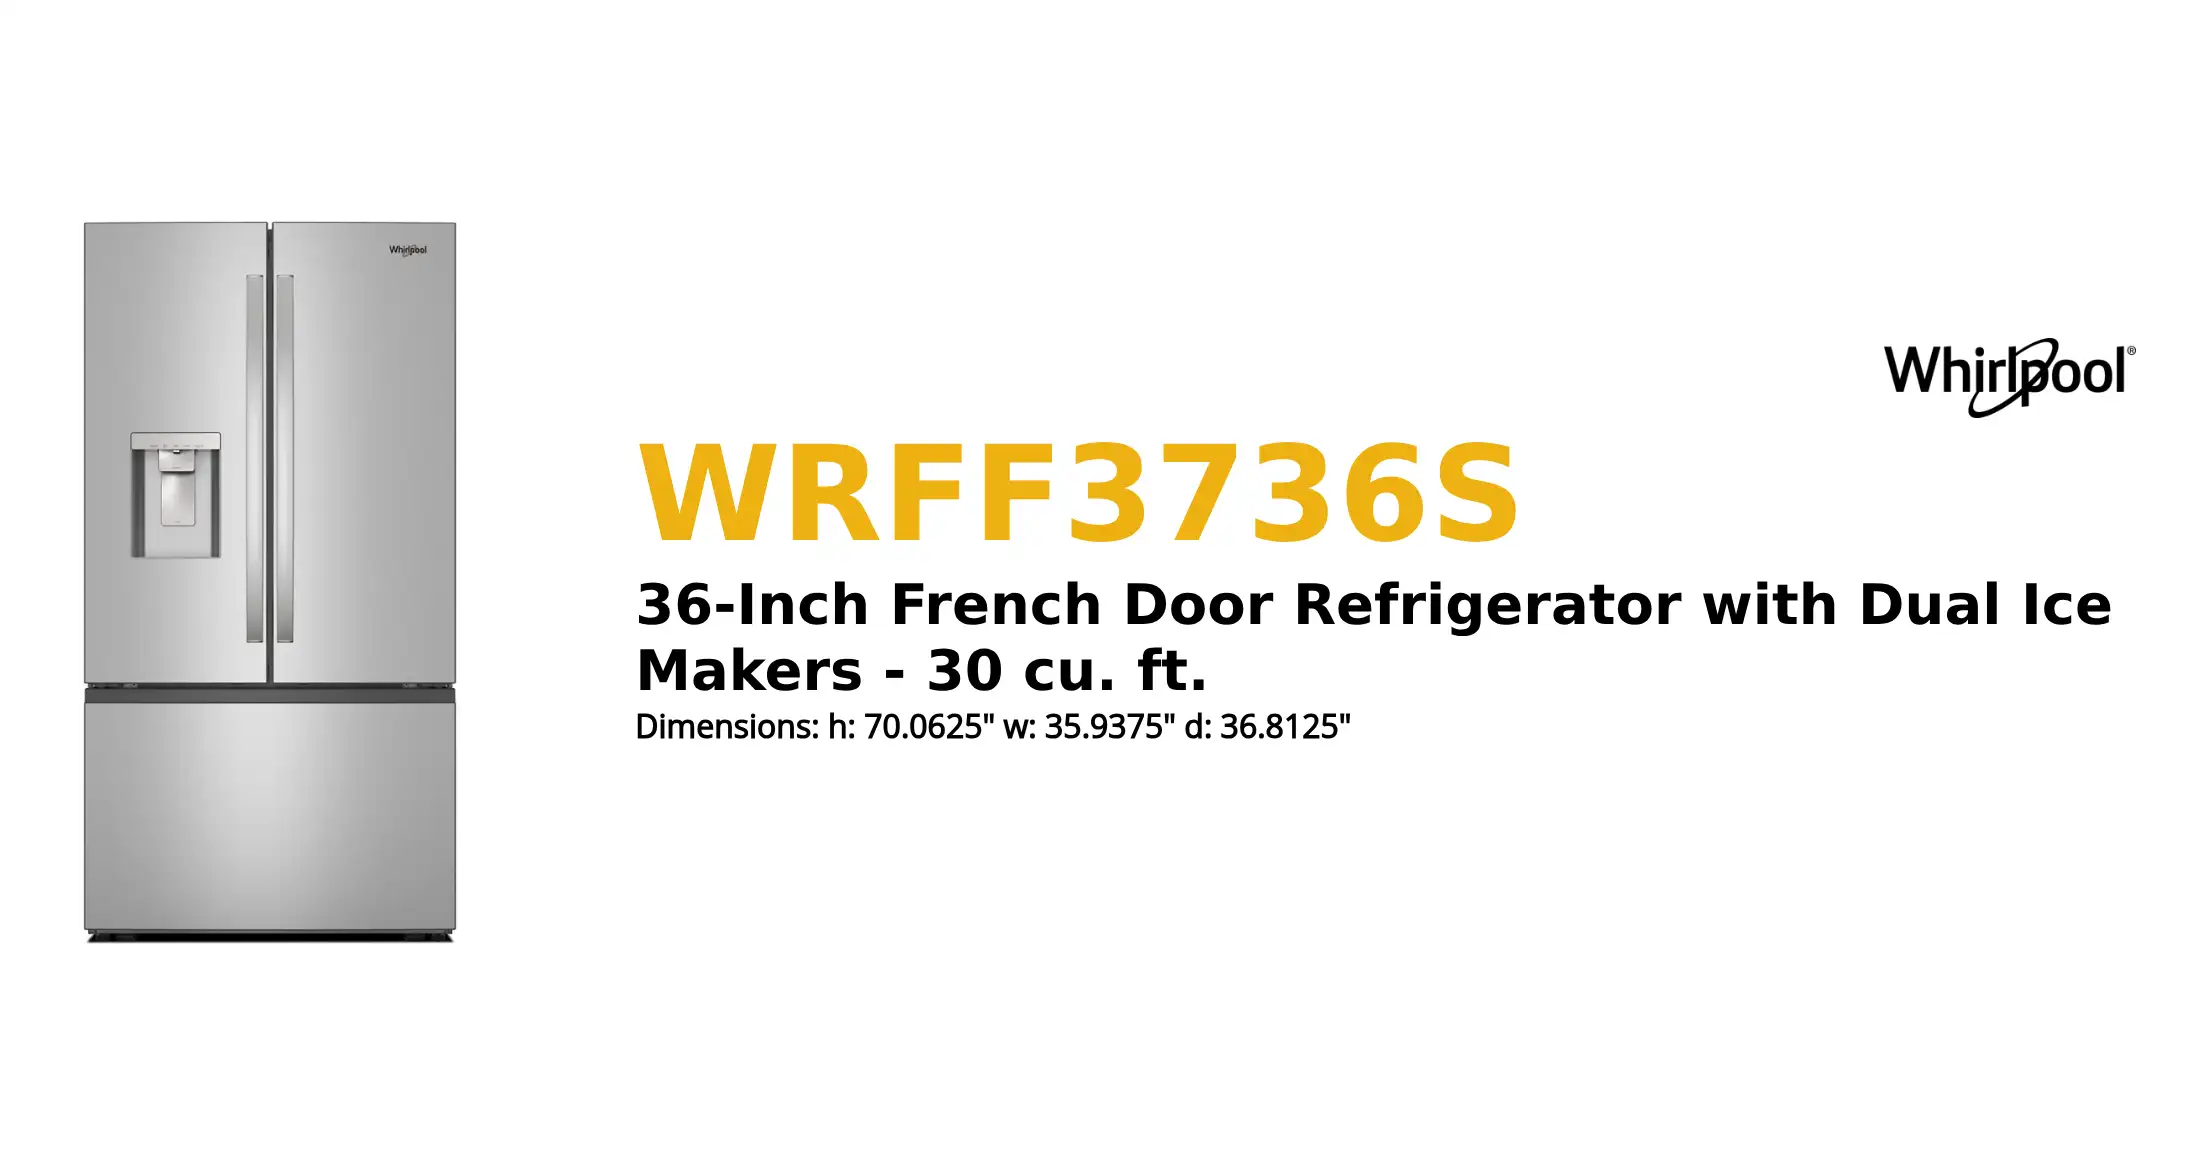
Credit: learnwhirlpool.com
Identifying Door Alignment Issues
Properly aligned doors on a Whirlpool refrigerator with a bottom freezer are vital. Misaligned doors can cause cold air to escape, leading to higher energy bills and food spoilage. Identifying door alignment issues early helps maintain efficiency and prolong the appliance's life.
Check the refrigerator and freezer doors carefully. Notice any gaps between the door edges and the refrigerator body. Uneven gaps often signal alignment problems that need correction.
Visual Signs Of Misalignment
- Doors do not sit flush against the fridge frame
- Uneven gaps between doors and the refrigerator body
- One door appears higher or lower than the other
- Doors not closing fully or popping open easily
Physical Indicators To Watch For
- Difficulty in opening or closing the doors smoothly
- Unusual noises when closing doors
- Cold air leaking around door edges
- Visible wear or damage on door seals
Tools To Assist In Inspection
- Level tool to check door alignment horizontally and vertically
- Flashlight to spot gaps or seal damage clearly
- Measuring tape to compare door heights and distances
Preparing The Refrigerator
Before adjusting the doors on your Whirlpool refrigerator with a bottom freezer, it’s important to get everything ready properly. Taking time to prepare the refrigerator ensures the process goes smoothly and prevents any damage or safety issues. Let’s focus on what you need to do first to set the stage for a successful door adjustment.
Safety Precautions
Always start by unplugging your refrigerator from the power outlet. This step protects you from electrical shocks while you work on the doors. Have a helper nearby if possible; refrigerator doors can be heavy and awkward to handle alone.
Wear gloves to protect your hands from sharp edges or metal parts. Keep small tools and screws organized in a container to avoid losing them during the adjustment. Have a flashlight handy if your kitchen lighting is dim—clear visibility is key.
Clearing The Area
Clear space around your refrigerator to allow easy access to the doors and hinges. Remove any objects or furniture that might block your movement or fall during the adjustment. This also reduces the risk of tripping or knocking things over.
Open the freezer and fridge doors fully to check for any items inside that might fall out. Take out any loose food or containers near the door edges to avoid spills. A clean and open work area helps you focus on the task without distractions.
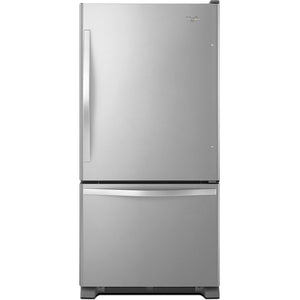
Credit: www.taappliance.com
Leveling The Refrigerator
Leveling your Whirlpool refrigerator with a bottom freezer is key for smooth door operation. Uneven refrigerators can cause doors to misalign or not close properly. A level fridge also helps the appliance run efficiently and keeps food fresh longer.
This section covers how to check and adjust the refrigerator’s level. Focus on the front legs and the surface the fridge sits on. Both must be stable and even for best results.
Adjusting Front Legs
The front legs support the fridge’s weight and control its tilt. Adjusting these legs balances the refrigerator from front to back and side to side.
- Locate the front leveling legs at the fridge base.
- Use a wrench or pliers to turn the legs clockwise to raise the fridge.
- Turn the legs counterclockwise to lower the fridge.
- Adjust both legs evenly to keep the fridge stable.
- Check the fridge’s tilt by placing a level on top.
- Make small adjustments until the bubble centers between the lines.
Ensuring Even Surface
The floor must be flat and strong to support the refrigerator’s weight. Uneven or soft flooring can cause the fridge to lean or wobble.
- Inspect the floor area for bumps, cracks, or soft spots.
- Use a level to test the surface where the fridge stands.
- Place shims under the fridge legs if the floor is uneven.
- Shims prevent rocking and improve stability.
- Confirm the fridge does not move when pushed gently.
Adjusting Door Height
Adjusting the door height on a Whirlpool refrigerator with a bottom freezer ensures the doors close evenly. Proper alignment prevents cold air leaks and keeps your fridge working efficiently. This process involves small adjustments using specific screws found on the door hinges.
Make sure the refrigerator is on a level surface before starting. Slight door height changes can improve both appearance and function. The adjustment takes only a few minutes but makes a big difference.
Locating The Adjustment Screws
Open the refrigerator door fully. Look at the bottom hinge area for screws or bolts. These screws control the vertical position of the door. They are usually hidden behind a small cover or trim piece.
Remove any covers carefully with a flat tool. Check both the fridge and freezer doors, as each has separate adjustment points. Identifying the right screws is key to a smooth adjustment.
Using The Wrench For Adjustment
Use a wrench or socket that fits the adjustment screws. Turn the screws slowly to raise or lower the door. Turn clockwise to lift the door, counterclockwise to lower it.
- Adjust a little at a time for best results.
- Close the door gently after each adjustment to check alignment.
- Repeat until doors are level and close easily.
Keep safety in mind. Do not force the screws or door hinges. Proper adjustment keeps your refrigerator working well and looking good.

Credit: www.mybudgetappliance.com
Aligning The Doors
Properly aligned doors keep your Whirlpool refrigerator working well. Misaligned doors cause cold air to escape. This wastes energy and can spoil food. Aligning the doors helps the fridge seal tightly. It also improves the appliance’s look. Below are clear steps to align each door perfectly.
Aligning The Fresh Food Door
Start by checking the fresh food door’s position. It should sit flush with the freezer door. Close the door slowly and watch for gaps or uneven edges. If the door is too low or high, adjust the hinges.
- Open the fresh food door fully.
- Locate the top hinge cover and remove it.
- Use a wrench to loosen the hinge screws slightly.
- Lift or lower the door to align it with the freezer door.
- Tighten the screws once the door is even.
- Close the door to check the seal and alignment.
Repeat these steps as needed until the door closes smoothly and seals well. Proper adjustment prevents air leaks and keeps the fridge cool.
Aligning The Freezer Door
The freezer door should align with the fresh food door at all edges. Check for gaps or uneven spacing. Small misalignments cause poor sealing and frost buildup.
- Open the freezer door fully.
- Remove the bottom hinge cover carefully.
- Loosen the hinge bolts slightly with a wrench.
- Move the door up or down to match the fresh food door level.
- Tighten the bolts to secure the door in place.
- Close the freezer door and check for gaps.
Adjust until the doors meet evenly and seal tightly. Well-aligned doors save energy and keep food fresh longer.
Testing Door Seal
Testing the door seal of your Whirlpool refrigerator with a bottom freezer is essential. It ensures the fridge stays cold and saves energy. A poor seal can cause warm air to enter. This makes the fridge work harder and increases electricity bills. Use simple tests to check the seal’s condition. Spotting a weak seal early helps avoid food spoilage and costly repairs.
Checking For Gaps
Look closely along the edge of the door seal. Check for any gaps or cracks between the seal and the fridge body. Gently press the seal with your fingers to see if it feels loose. Open and close the door slowly. Watch if the seal touches the fridge frame evenly. Uneven contact means there may be a problem. A good seal fits snugly all around the door.
Performing The Dollar Bill Test
Take a dollar bill or any thin paper. Place it between the fridge door and the body, near the seal. Close the door slowly, holding the paper in place. Try to pull the paper out gently. If the paper slides out easily, the seal is weak at that spot. Repeat this test at several points around the door. A strong seal will hold the paper tightly in place.
Final Checks
Final checks are crucial after adjusting your Whirlpool refrigerator doors with a bottom freezer. These last steps ensure your fridge operates efficiently and maintains the perfect seal. Skipping them can lead to energy loss or uneven cooling.
Ensuring Proper Door Closure
Check if the doors close smoothly without any gaps. A door that doesn’t shut properly can let cold air escape, causing your fridge to work harder.
Try closing the door gently and see if it stays closed without pushing. If it swings open, you might need to tweak the hinges or door alignment again.
Use a piece of paper to test the seal—close the door on the paper and pull it out. If the paper slides out easily, the seal isn’t tight enough. Adjust the door or gasket until the paper is held firmly.
Verifying Refrigerator Leveling
Leveling your refrigerator is more important than many realize. A fridge that isn’t level can cause doors to misalign and not close properly.
Place a level tool on top of the refrigerator to check both front-to-back and side-to-side alignment. Adjust the leveling legs until the bubble is centered.
After leveling, open and close the doors again to confirm smooth operation. Have you noticed your fridge door sticking or swinging open? Leveling could be the simple fix.
Maintenance Tips
Proper maintenance helps keep your Whirlpool refrigerator doors working smoothly. Small efforts prevent bigger problems. Regular care ensures the doors stay aligned and seal properly. This saves energy and keeps food fresh longer.
Regular Cleaning
Clean the door seals with a soft cloth and warm water. Avoid harsh chemicals that can damage the rubber gasket. Dirt and debris can cause poor sealing and door misalignment. Wipe the hinges and edges to remove dust and grease. Clean both inside and outside surfaces regularly. This helps maintain smooth door movement and tight sealing.
Periodic Checks
Check the door alignment every few months. Look for gaps or uneven spacing between doors. Test the seal by closing the door on a piece of paper. If the paper slides out easily, the seal may be weak. Tighten loose screws on hinges and handles. Inspect the bottom freezer door for any damage or wear. Early detection of issues prevents costly repairs later.
Frequently Asked Questions
How Do I Realign Whirlpool Bottom Freezer Doors?
To realign Whirlpool bottom freezer doors, first loosen the hinge screws. Adjust the door position until it aligns evenly. Tighten screws carefully to secure the door. Check for smooth closing and consistent gaps around the edges.
What Tools Are Needed To Adjust Refrigerator Doors?
You will need a Phillips screwdriver, a socket wrench, and sometimes an Allen wrench. These tools help loosen and tighten hinge screws for proper door adjustment. Having a level can also ensure accurate door alignment.
Why Is My Whirlpool Fridge Door Not Sealing Properly?
A misaligned door often causes poor sealing. Adjusting the door hinges to ensure even gaps fixes this. Also, check door gaskets for damage or dirt. Clean or replace the gasket to restore a proper seal.
Can I Adjust The Freezer Door Separately?
Yes, Whirlpool bottom freezer doors can be adjusted independently. Loosen the specific hinge screws on the freezer door. Shift the door position to fix alignment issues. Tighten screws once the door fits perfectly.
Conclusion
Adjusting your Whirlpool refrigerator doors with a bottom freezer keeps your appliance working well. Small tweaks can stop gaps and uneven closing. Tight doors save energy and keep food fresh longer. Use the steps carefully and take your time. Regular checks help avoid bigger problems later.
A well-adjusted fridge means less noise and better cooling. Simple fixes can make a big difference every day. Keep your kitchen running smoothly with these easy door adjustments.