Are you wondering how long to cook pork loin in a Dutch oven to get it perfectly tender and juicy? Cooking pork loin can be tricky—too little time, and it’s tough; too long, and it dries out.
But don’t worry, you’re about to discover the ideal cooking times and tips that will help you nail this delicious dish every time. Keep reading, and you’ll learn exactly how to make your pork loin melt-in-your-mouth good with your Dutch oven.
Choosing The Right Pork Loin
Choosing the right pork loin is key to a delicious meal. The type and size affect cooking time and flavor. Picking the perfect cut ensures tender, juicy results in your Dutch oven.
Types Of Pork Loin Cuts
Pork loin comes in several cuts. Each has different textures and fat levels. The main types are:
- Whole Pork Loin:A large cut including both the rib and sirloin sections.
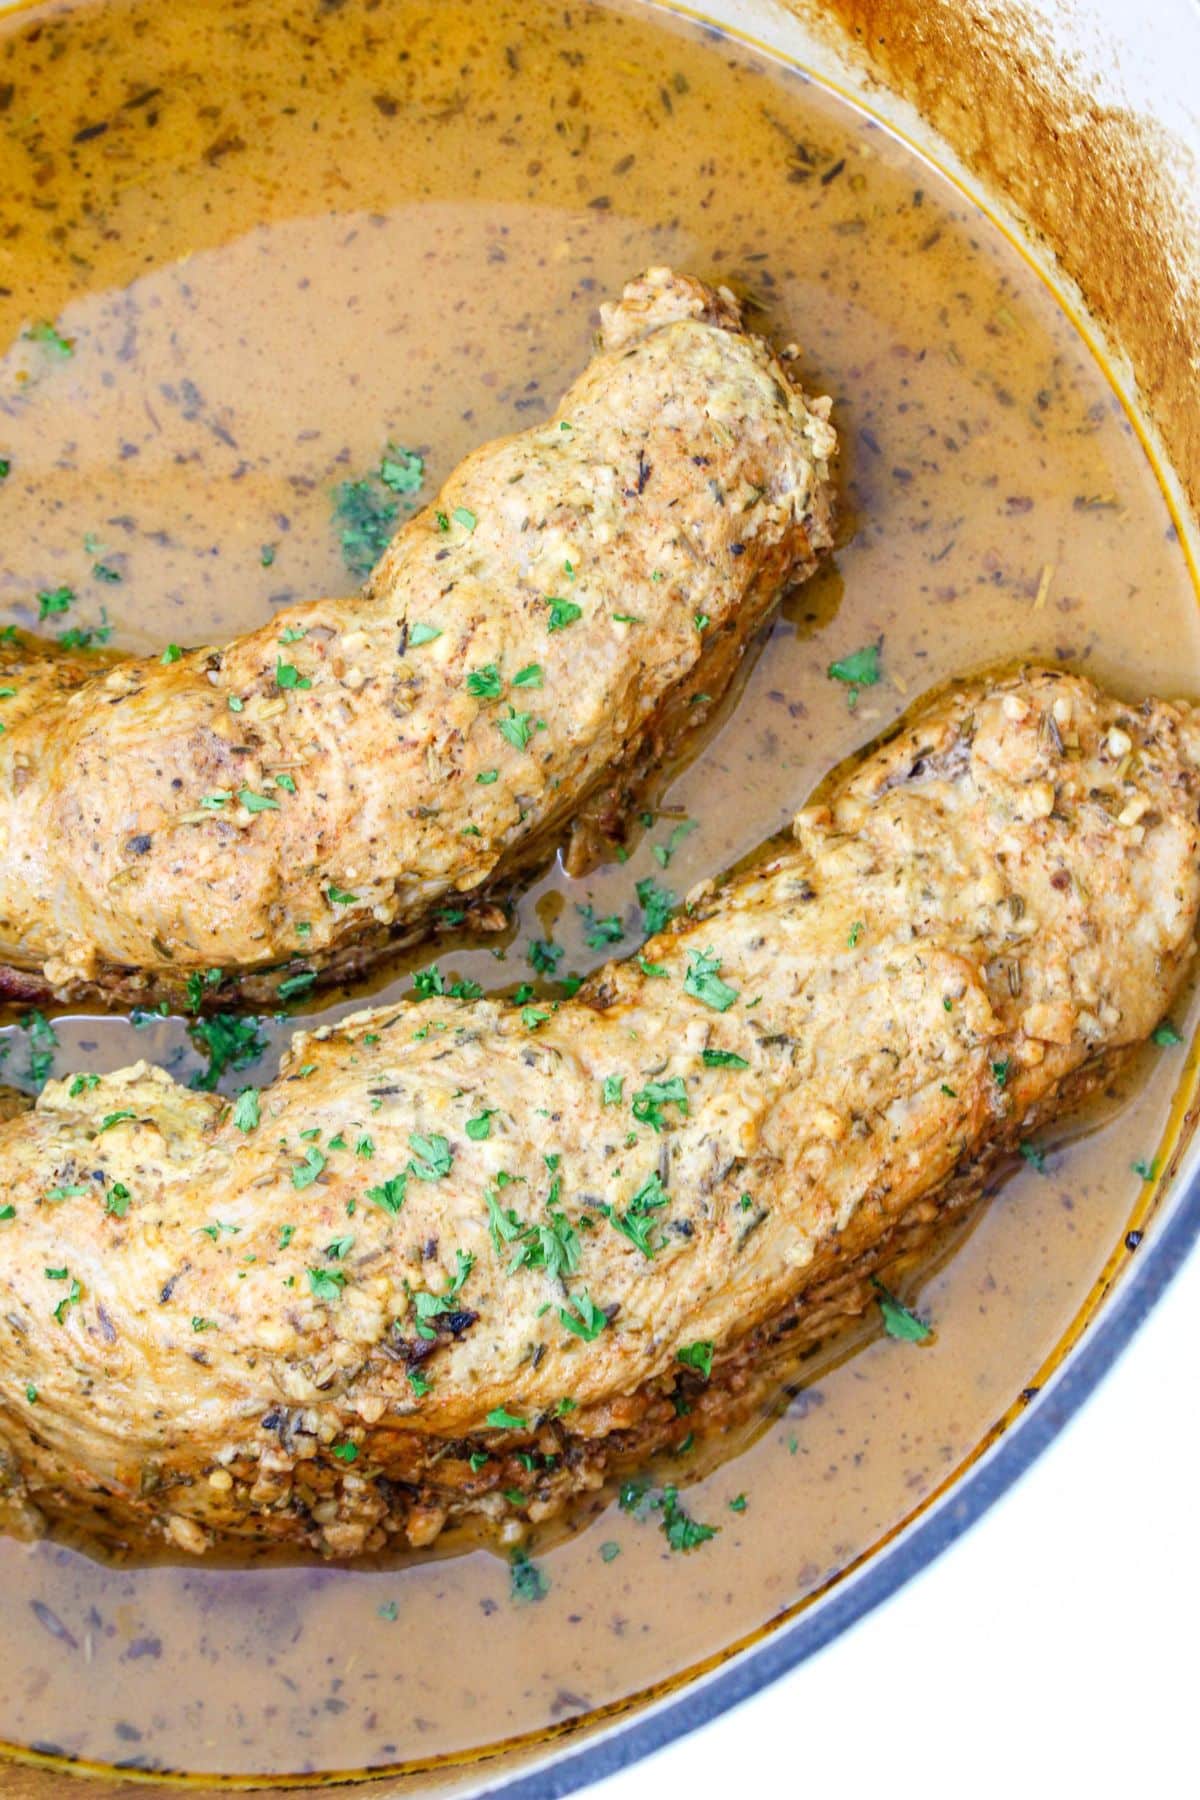
- Pork Tenderloin:Smaller, lean, and very tender. Cooks faster.
- Boneless Pork Loin Roast:Easy to cook and carve. Moderate fat.
- Bone-in Pork Loin:Contains the rib bones. Adds flavor but takes longer to cook.
Choosing between these depends on your recipe and cooking time.
Size And Thickness Considerations
Size impacts cooking time a lot. Thicker pieces need longer in the Dutch oven.
Smaller cuts cook quickly and stay juicy. Large loins require more heat and time to cook through.
| Size (lbs) | Thickness (inches) | Cooking Time Estimate |
|---|---|---|
| 2-3 | 2-3 | 1.5 - 2 hours |
| 4-5 | 3-4 | 2 - 2.5 hours |
| 6+ | 4+ | 2.5 - 3 hours |
Measure your pork loin before cooking. Adjust time based on thickness for best results.
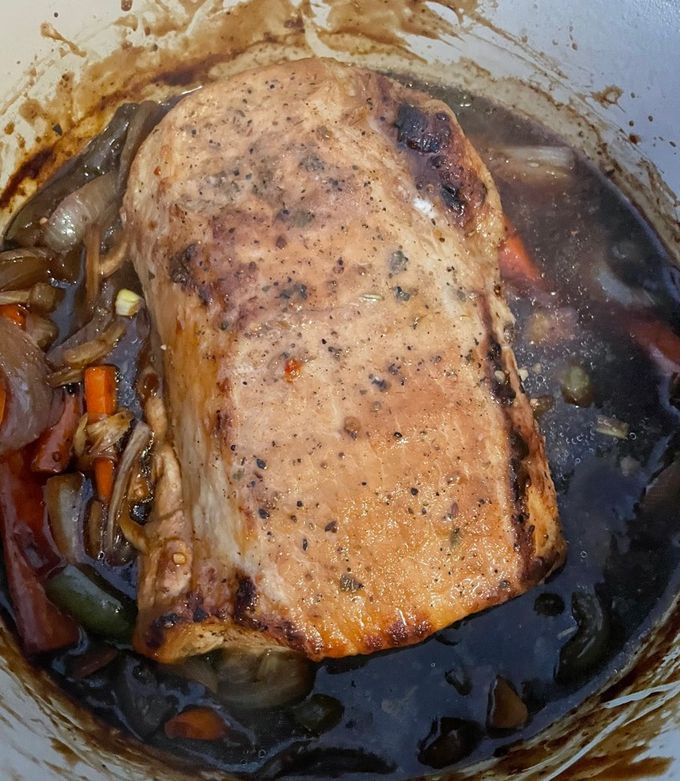
Preparing The Pork Loin
Preparing pork loin correctly sets the stage for a tender, flavorful meal. This step ensures the meat cooks evenly and absorbs spices well. Proper preparation also helps retain moisture during cooking in your Dutch oven.
Trimming And Seasoning
Start by trimming excess fat from the pork loin. Leave a thin layer to keep the meat juicy. Remove any silver skin or tough parts that won’t soften during cooking.
Season the pork loin generously. Use salt and pepper as a base. Add herbs like rosemary or thyme for aroma. Garlic powder and paprika enhance flavor without overpowering.
Marinating Tips
Marinating boosts flavor and tenderness. Use a mix of oil, acid, and spices. Olive oil, lemon juice, or vinegar work well as acids. Add garlic, herbs, and a pinch of salt for taste.
Let the pork loin marinate for at least 2 hours. Overnight marinating is best for deeper flavor. Keep it covered in the fridge during this time.
Setting Up The Dutch Oven
Setting up your Dutch oven correctly is essential for cooking pork loin to juicy perfection. The right preparation influences heat distribution and prevents sticking, ensuring your pork cooks evenly. Let’s look at how to choose and prepare your Dutch oven before you start cooking.
Selecting The Right Dutch Oven
Pick a Dutch oven that fits your pork loin comfortably. A 5 to 7-quart size usually works well for most pork loins, giving enough room for heat circulation without overcrowding.
Consider the material—enameled cast iron is a favorite because it holds heat evenly and cleans up easily. If you have a seasoned cast iron Dutch oven, it can add a nice sear to your pork, but be sure it’s well-maintained to avoid sticking.
Do you own a Dutch oven with a tight-fitting lid? This feature traps moisture and helps keep the pork loin tender during slow cooking.
Preheating And Oil Use
Always preheat your Dutch oven before adding pork loin. Heating it slowly over medium heat prevents thermal shock and allows you to achieve a good sear right away.
Use an oil with a high smoke point, like vegetable or canola oil. Add just enough to coat the bottom thinly; too much oil can cause frying rather than searing.
Have you noticed how a properly heated and lightly oiled Dutch oven makes the pork loin develop that beautiful golden crust? That initial sear locks in flavor and juices, setting the stage for a delicious roast.
Cooking Times And Temperatures
Understanding the right cooking times and temperatures for pork loin in a Dutch oven can transform your meal from ordinary to exceptional. The cooking method you choose will influence the texture, flavor, and juiciness of your pork. Let's break down how different approaches affect your cooking process and results.
Low And Slow Method
Cooking pork loin low and slow means gently heating the meat over an extended period. This approach allows the connective tissues to break down, making the pork tender and juicy.
Typically, you’ll cook the pork loin at around 275°F (135°C) for 2 to 3 hours, depending on its size. This method is perfect if you want a melt-in-your-mouth texture without drying out the meat.
Have you ever noticed how slow-cooked pork loin can almost fall apart? That’s the magic of patience and steady heat working together.
High Heat Searing And Roasting
Starting with a high heat sear locks in the juices and creates a flavorful crust on your pork loin. Use your Dutch oven on the stovetop at medium-high heat to brown all sides for about 3-4 minutes per side.
After searing, transfer the Dutch oven to an oven preheated to 400°F (205°C) and roast the pork loin for 20 to 30 minutes. This method gives you a beautiful contrast between a crispy exterior and tender interior.
Have you tried this sear-then-roast technique? It’s a great way to impress guests with a perfectly browned, juicy pork loin.
Internal Temperature Guidelines
Using a meat thermometer is the best way to ensure your pork loin is cooked safely yet remains juicy. Aim for an internal temperature of 145°F (63°C) followed by a 3-minute rest.
This temperature guarantees the pork is safe to eat while keeping it moist and tender. Overcooking beyond 160°F (71°C) often results in dry, tough meat.
Do you check the internal temperature every time you cook pork? If not, starting this habit can really improve your results.
Step-by-step Cooking Process
Begin by seasoning the pork loin and heating the Dutch oven. Cook covered on low heat for about 1. 5 to 2 hours. Check the internal temperature to ensure it reaches 145°F for safe, juicy meat.
Cooking a pork loin in a Dutch oven can transform a simple meal into a delightful feast. The key is to follow a step-by-step process that ensures the meat is tender, juicy, and infused with flavor. Let’s dive into the details to make your pork loin dish a memorable experience.
Searing The Pork Loin
Begin by preheating your Dutch oven on medium-high heat. This step is crucial because a hot surface will give your pork loin a beautiful, golden-brown crust. Add a tablespoon of oil to the pot, then place the pork loin in, fat-side down. Sear each side for about 3-4 minutes until it develops a rich color. This not only locks in the juices but also adds a depth of flavor.
Adding Aromatics And Liquids
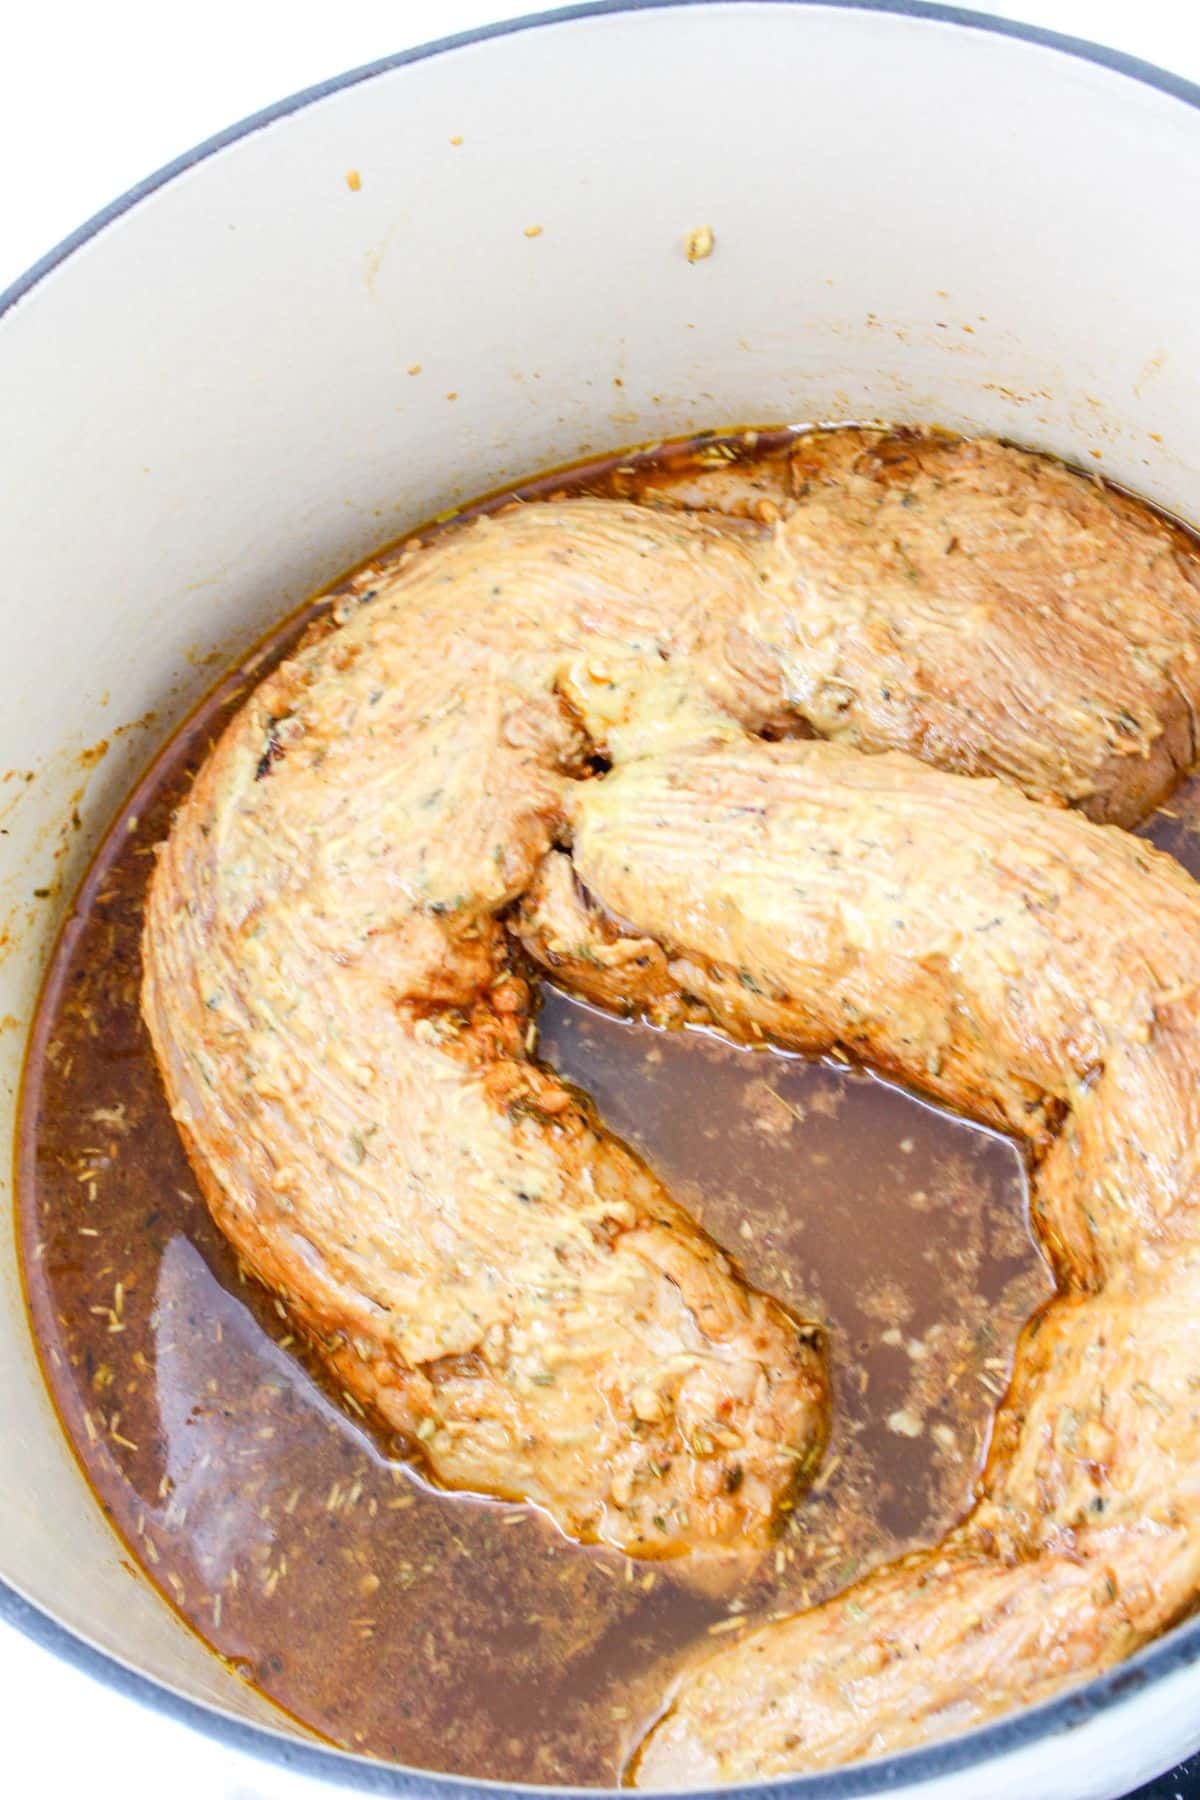
Once your pork is seared, remove it temporarily and add aromatics like onions, garlic, and perhaps a sprig of rosemary to the pot. Sauté them briefly to release their flavors. Next, return the pork loin to the Dutch oven and add your choice of liquids. Consider using chicken broth, apple cider, or even a splash of white wine for extra taste. The liquid should cover about a third of the pork loin.
Oven Cooking Duration
Transfer the Dutch oven to a preheated oven set at 325°F (165°C). The slow cooking process in the oven is what makes the pork loin tender and flavorful. Cook the pork loin for about 20-25 minutes per pound. So, if you have a 3-pound loin, it should take around 60-75 minutes. Use a meat thermometer to check the internal temperature, aiming for 145°F (63°C) for perfect doneness. By following these steps, you can create a succulent pork loin that will impress your family and friends. Have you ever tried adding a unique ingredient to your braising liquid? Experimenting could lead to your own signature dish!
Checking For Doneness
Checking for doneness is a key step in cooking pork loin in a Dutch oven. It ensures the meat is safe to eat and perfectly juicy. Overcooking can dry the meat, while undercooking can be unsafe. Knowing how to check doneness helps achieve great results every time.
Using A Meat Thermometer
A meat thermometer gives the most accurate result. Insert it into the thickest part of the pork loin, avoiding bones. The safe internal temperature for pork is 145°F (63°C). Once the thermometer reads this, remove the pork from the heat. Let it rest for 3 to 5 minutes to let juices settle. This step helps keep the meat tender and moist.
Visual And Texture Cues
Visual signs help confirm doneness if no thermometer is available. The outside should be golden brown and slightly crisp. Cut into the pork loin; the inside should be pale pink or white. Juices running clear is a good sign the pork is done. The texture should feel firm but springy to the touch. Press the meat gently—if it feels soft or mushy, it needs more cooking.
Resting And Serving
Resting and serving pork loin cooked in a Dutch oven is an important step. It lets the meat finish cooking evenly and stay juicy. Skipping this step can cause the juices to escape, making the pork dry. Proper resting improves flavor and texture. Serving it well makes your meal look and taste better.
Resting Time Benefits
Rest the pork loin for 10 to 15 minutes after cooking. This allows the juices to redistribute inside the meat. The pork becomes more tender and moist. The temperature evens out, so the meat is not too hot or cold. Resting also makes slicing easier and cleaner. Never cut the pork right after cooking.
Slicing And Presentation Tips
Use a sharp knife to slice the pork loin against the grain. This makes the pieces tender and easy to chew. Cut the slices about half an inch thick for best texture. Arrange the slices neatly on a warm plate. Garnish with fresh herbs or roasted vegetables for a colorful presentation. Serve with your favorite sauce on the side.
Troubleshooting Common Issues
Common problems include undercooked or dry pork loin. Check internal temperature often to ensure proper cooking time. Adjust heat and cooking duration based on the meat’s size and oven type.
Cooking pork loin in a Dutch oven is a delightful experience, but it can come with its set of challenges. Whether it's ending up with a dry piece of meat or realizing it's undercooked, these common issues can be frustrating. Let's dive into some practical solutions to ensure your pork loin is always perfect.
Avoiding Dryness
Dry pork loin can ruin a meal, but it's easy to prevent with a few simple tips. First, consider marinating your pork loin in a mix of olive oil, garlic, and herbs for at least an hour. This adds moisture and flavor. While cooking, keep an eye on the internal temperature. Use a meat thermometer and aim for an internal temperature of 145°F (63°C). Remember to let it rest for a few minutes after cooking; this lets the juices redistribute.
Handling Undercooked Pork
Realizing your pork loin is undercooked can be concerning, but it's fixable. If you cut into the meat and see it's pinker than desired, return it to the Dutch oven. Cover it with a lid and cook on low heat. This gentle heat helps cook the pork evenly without drying it out. Do you find yourself frequently checking the pork's doneness? Using a timer and thermometer can save you from this hassle. Always start checking a bit earlier than your expected cooking time.
Frequently Asked Questions
How Long Should I Cook Pork Loin In A Dutch Oven?
Cook pork loin in a Dutch oven for about 25 minutes per pound. Use 350°F (175°C) for roasting. Always check internal temperature for doneness.
What Is The Ideal Internal Temperature For Pork Loin?
The ideal internal temperature for pork loin is 145°F (63°C). Use a meat thermometer to ensure it’s safe and juicy.
Can I Cook Pork Loin Covered Or Uncovered In Dutch Oven?
Cook pork loin covered in a Dutch oven to retain moisture. Uncover during last 10 minutes for a crispy crust.
Should I Sear Pork Loin Before Using A Dutch Oven?
Yes, sear pork loin first for 3-4 minutes per side. It adds flavor and locks in juices before slow cooking.
Conclusion
Cooking pork loin in a Dutch oven takes time and patience. Aim for about 20 minutes per pound at 350°F. Use a meat thermometer to check for 145°F inside. Let the pork rest before slicing to keep it juicy. This method gives tender, flavorful results every time.
Try it for a simple, tasty meal that feels special. Easy and satisfying cooking that anyone can do.