Cooking pork chops in a Dutch oven can give you juicy, flavorful results every time. But if you’re wondering how long to cook pork chops to get them just right, you’re in the right place.
Too little time and your chops might be dry or undercooked; too long and they can turn tough. This guide will help you master the perfect cooking time, so your pork chops come out tender, juicy, and full of taste.
Keep reading, and you’ll never second-guess your cooking again.
Credit: mamasonabudget.com
Choosing The Right Pork Chops
Choosing the right pork chops is key to cooking them perfectly in a Dutch oven. The cut and thickness affect cooking time and flavor. Picking the right type helps achieve juicy, tender results every time.
Bone-in Vs Boneless
Bone-in pork chops have a bone running through the meat. This bone adds flavor and keeps the chop moist during cooking. They take a bit longer to cook than boneless chops but often taste richer.
Boneless pork chops cook faster and are easier to slice. They work well for quick meals. The downside is they can dry out more easily without the bone to protect them.
Thickness Matters
Thicker pork chops need more time in the Dutch oven to cook through. They stay juicy inside but require careful heat control to avoid burning outside.
Thin pork chops cook quickly but dry out fast. They suit fast recipes or when layering with sauces.
Use a meat thermometer to check doneness. Aim for 145°F (63°C) inside for safe, tender pork.

Credit: cookathomemom.com
Preparing Pork Chops For Cooking
Preparing pork chops properly before cooking makes a big difference in taste and texture. It helps the meat stay juicy and flavorful during cooking. Taking time to season or brine pork chops sets the stage for a delicious meal. Simple steps can bring out the best in your pork chops cooked in a Dutch oven.
Seasoning Techniques
Seasoning pork chops enhances their natural flavors. Start with salt and pepper for basic seasoning. Use herbs like thyme, rosemary, or sage to add aroma and depth. Garlic powder and paprika add a smoky, savory touch. Rub the spices evenly on both sides of the pork chops. Let them sit for at least 15 minutes before cooking. This allows the flavors to penetrate the meat. For extra flavor, mix olive oil with spices and coat the pork chops. This helps the seasoning stick and promotes even browning.
Brining Benefits
Brining keeps pork chops juicy and tender. It involves soaking the meat in a saltwater solution. The salt helps the meat hold more moisture during cooking. Use a simple brine with water, salt, and sugar. Optional additions include bay leaves, peppercorns, and garlic. Soak the pork chops for 30 minutes to 2 hours in the fridge. Rinse off the brine before cooking to avoid too much salt. Brining also improves the texture and reduces dryness. It is especially helpful for lean pork chops cooked in a Dutch oven.
Setting Up Your Dutch Oven
Setting up your Dutch oven correctly ensures even cooking and rich flavors. Preparing the pot before adding pork chops helps avoid sticking and burning. It also helps the meat cook thoroughly and stay juicy. Two key parts are preheating the Dutch oven and choosing the right cooking fat.
Preheating Tips
Preheat the Dutch oven over medium heat for about 5 minutes. This step helps the pot reach an even temperature. Avoid overheating to prevent burning the fat or meat. A hot Dutch oven sears pork chops better, locking in juices. Use a dry pot at first, then add fat once it’s warm.
Selecting Cooking Fats
Choose cooking fats that handle high heat well. Oils like canola, vegetable, or avocado oil work best. Butter adds flavor but burns faster, so mix it with oil. Avoid olive oil as it smokes quickly at high temperatures. The right fat gives pork chops a crispy, golden crust without burning.
Credit: realsimplegood.com
Cooking Times For Different Chop Thicknesses
Cooking pork chops in a Dutch oven requires different times based on thickness. Thin chops need about 15 minutes, while thicker ones might take up to 30 minutes. Ensure the internal temperature reaches 145°F for safe consumption.
Cooking pork chops in a Dutch oven requires attention to thickness. The thickness of your pork chops affects cooking time. Understanding this ensures juicy, flavorful meat.
Thin Pork Chops
Thin pork chops cook quickly in a Dutch oven. They are typically about half an inch thick. Start by preheating the Dutch oven over medium heat. Add a bit of oil to prevent sticking. Sear each side of the pork chop for about 2 minutes. This seals in moisture and adds flavor. Reduce the heat to low. Cover the Dutch oven with its lid. Let the pork chops cook for an additional 5 to 7 minutes. Check for doneness with a meat thermometer. It should read 145°F for safe consumption.
Thick Pork Chops
Thick pork chops need more time to cook through. These are usually about one inch thick. Begin by heating the Dutch oven over medium heat. Add oil to the pot to coat the bottom. Sear each side of the chops for 3 to 4 minutes. This helps lock in juices and flavors. Lower the heat to a simmer. Cover the Dutch oven and let them cook for 10 to 15 minutes. Use a meat thermometer to ensure they reach 145°F. This ensures the pork chops are safe to eat and juicy.
Cooking Methods In A Dutch Oven
Cooking pork chops in a Dutch oven offers versatility that can suit different tastes and schedules. You can choose a quick, high-heat approach or a slow, tenderizing method. Understanding these techniques helps you control the texture and flavor of your pork chops perfectly.
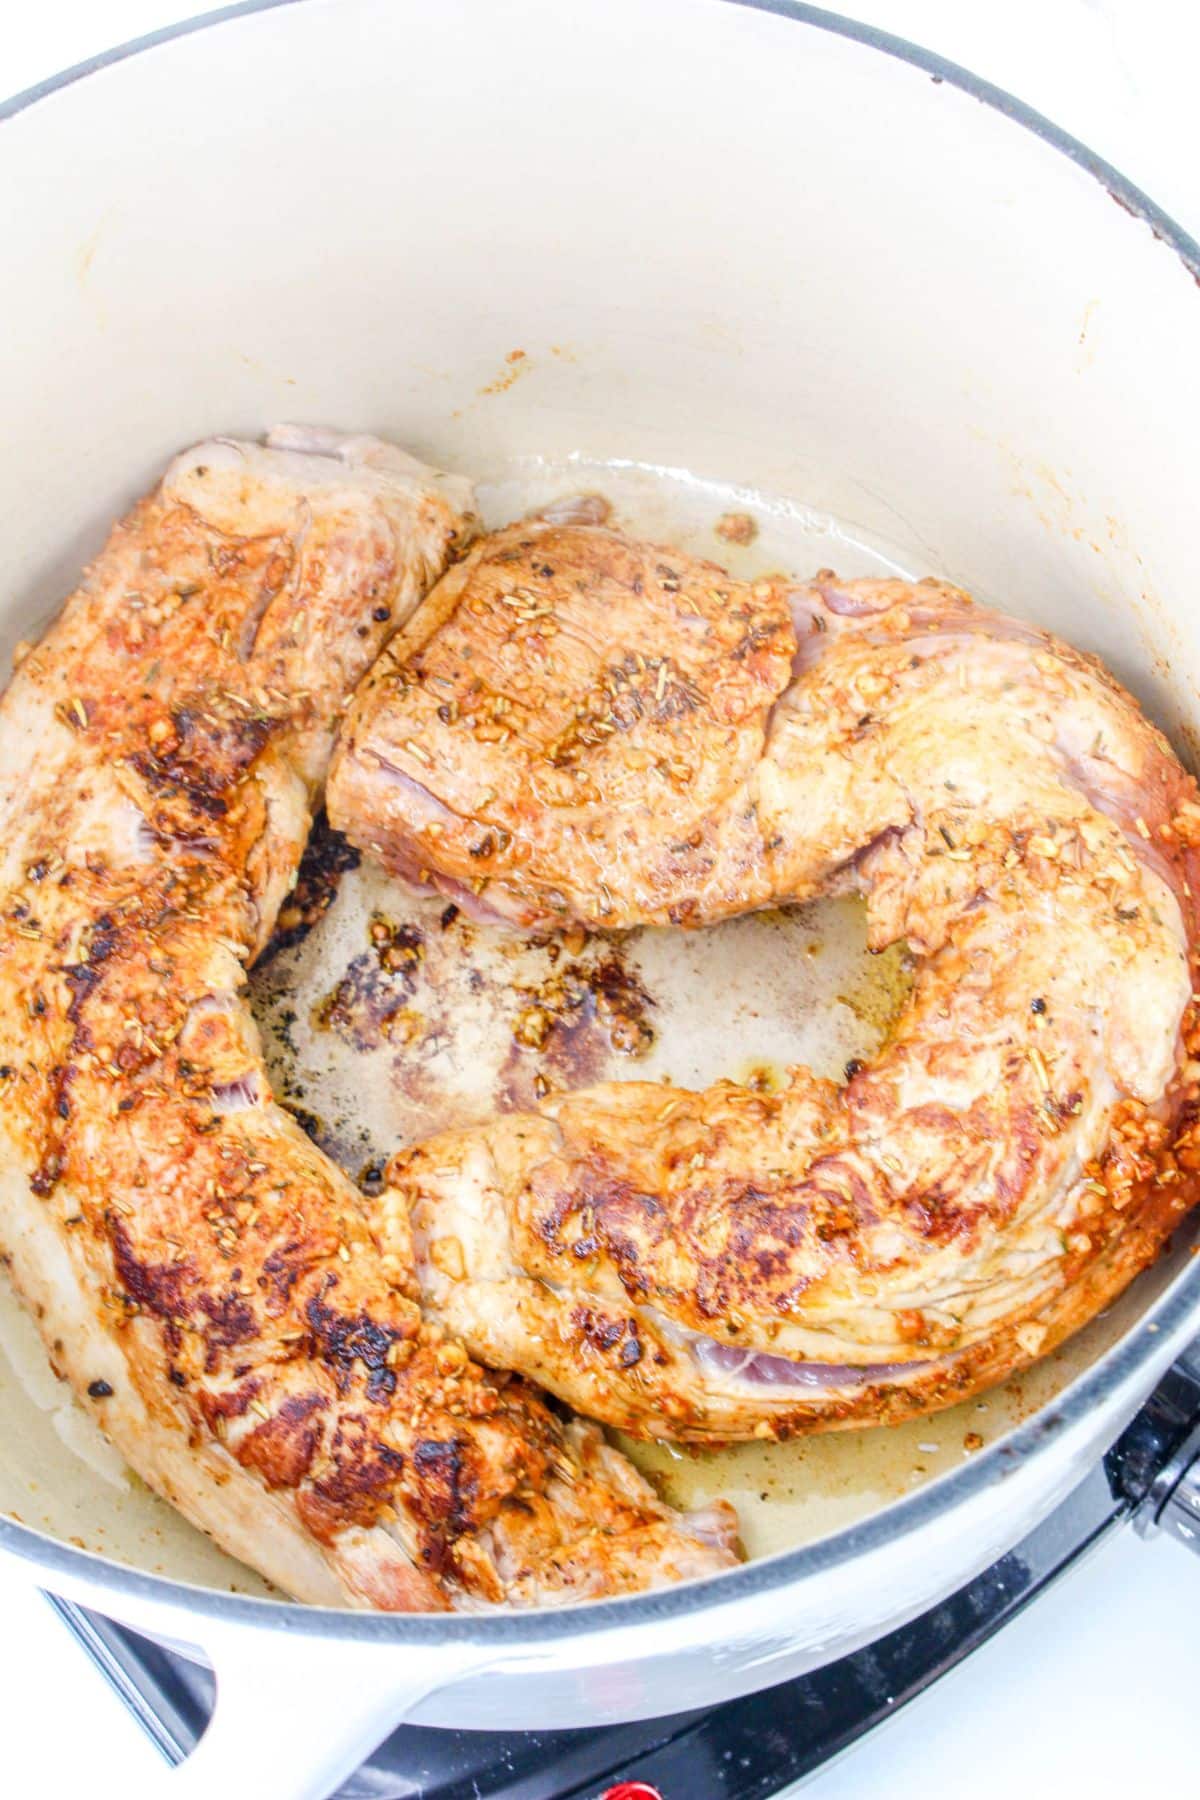
Searing And Baking
Searing pork chops in a Dutch oven locks in juices and creates a delicious crust. Heat the Dutch oven on medium-high, add a little oil, and brown the chops for about 3-4 minutes per side. This step adds flavor and texture before you transfer the pot to the oven for baking.
After searing, bake the pork chops at 350°F (175°C) for about 15-20 minutes, depending on thickness. This method cooks them evenly without drying out the meat. Have you noticed how searing first makes the final dish taste richer?
Slow Cooking Option
Slow cooking pork chops in your Dutch oven is perfect when you want tender, fall-off-the-bone meat. Add broth or sauce, cover the pot, and cook on low heat for 1.5 to 2 hours. This gentle heat breaks down connective tissues and infuses the meat with flavor.
This method requires less attention, making it ideal for busy days. Do you prefer a fork-tender chop or one with a bit of bite? Your choice here can change the entire eating experience.
Checking Pork Chop Doneness
Knowing when your pork chops are perfectly cooked in a Dutch oven can be tricky. Overcooking leads to dryness, while undercooking poses health risks. Checking doneness carefully ensures juicy, safe, and flavorful pork every time you cook.
Using A Meat Thermometer
A meat thermometer is the most reliable way to check pork chop doneness. Insert it into the thickest part of the chop without touching bone. The USDA recommends an internal temperature of 145°F (63°C) followed by a 3-minute rest for safe consumption.
Many home cooks skip this step but trust me, a quick temperature check prevents guesswork and disappointment. If your thermometer reads below 140°F, keep cooking and check again every few minutes. It’s a small tool that makes a big difference in your meal’s success.
Visual And Texture Cues
If you don’t have a thermometer handy, look at the pork chop’s color and feel. Properly cooked pork chops turn from pinkish to a light white or beige inside. Juices should run clear, not red or pink.
Press the chop gently with your finger or a fork. If it feels firm but still springy, it’s ready. Soft and jiggly means it needs more time, while very firm indicates it might be overcooked.
Have you noticed how some chops look dry on the edges but are still juicy inside? That’s why relying on texture alone can be tricky. Combining visual checks with a touch test gives you a better idea of doneness without cutting into the meat prematurely.
Resting And Serving Tips
Resting and serving pork chops cooked in a Dutch oven can make a big difference in flavor and juiciness. After all the time and care you put into cooking, the final moments before serving are just as important. Taking a few extra minutes to rest your pork chops will help you enjoy every bite to its fullest.
Resting Time Importance
Resting allows the juices inside the pork chops to redistribute evenly. If you cut into them immediately, all the flavorful juices will spill out onto the plate. Let your pork chops rest for about 5 to 10 minutes after cooking.
Cover them loosely with foil to keep warm without steaming. You’ll notice the meat becomes more tender and moist. Have you ever wondered why some restaurant pork chops taste so juicy? Resting is the secret.
Serving Suggestions
Think about pairing your pork chops with sides that soak up their savory juices. Creamy mashed potatoes, sautéed green beans, or a crisp apple slaw work beautifully. You can even drizzle the pan sauce over the chops and sides for extra flavor.
- Serve with a fresh herb garnish like chopped parsley or thyme for a pop of color.
- Offer mustard or a tangy chutney on the side to brighten the dish.
- Consider warm crusty bread to mop up every bit of sauce left on the plate.
How do you like to serve your pork chops? Experimenting with different accompaniments can turn a simple meal into a memorable experience.
Common Mistakes To Avoid
Cooking pork chops in a Dutch oven can be simple with the right approach. Avoiding common mistakes helps keep the meat juicy and tender. Many cooks make small errors that affect the final dish. Knowing what to avoid improves your cooking results.
Overcooking
Overcooking pork chops dries them out quickly. The Dutch oven traps heat, so cooking time matters a lot. Pork chops need just enough time to reach the safe internal temperature of 145°F (63°C). Watch the clock and use a meat thermometer. Pull the chops off the heat as soon as they are done. Overcooked pork becomes tough and chewy.
Skipping Rest Time
Resting the meat after cooking is essential. Skipping rest time causes juices to run out when you cut the chops. Let pork chops rest for 5 to 10 minutes inside the Dutch oven or on a plate. This allows juices to redistribute inside the meat. The result is more flavor and moist pork chops.
Frequently Asked Questions
How Long To Cook Pork Chops In A Dutch Oven?
Cook pork chops in a Dutch oven for 25-30 minutes. Use medium heat and flip halfway for even cooking. Ensure the internal temperature reaches 145°F for safe consumption.
What Is The Best Temperature For Dutch Oven Pork Chops?
Cook pork chops at medium heat, around 325°F on stovetop or oven. This ensures even cooking without drying out the meat. Maintain gentle heat for tender, juicy pork chops.
Should Pork Chops Be Covered When Cooking In Dutch Oven?
Yes, cover pork chops with the Dutch oven lid while cooking. This traps moisture and heat, helping chops cook evenly and stay juicy. Uncover near the end to brown if desired.
How Thick Should Pork Chops Be For Dutch Oven Cooking?
Choose pork chops about 1 to 1. 5 inches thick for best results. Thicker chops stay moist during longer cooking, while thinner ones cook too fast and can dry out.
Conclusion
Cooking pork chops in a Dutch oven takes time and care. Usually, 25 to 30 minutes works well for tender, juicy meat. Keep the heat low and check often. Use a meat thermometer to be sure it reaches 145°F. Let the pork chops rest a few minutes before serving.
This helps the juices stay inside. Follow these simple steps for a tasty meal every time. Enjoy cooking and sharing your delicious pork chops with family and friends.