
Are you wondering how long to cook chicken in a Dutch oven to get that perfect, juicy result every time? Cooking chicken in a Dutch oven is a fantastic way to lock in flavor and moisture, but timing is everything.
If you cook it too little, your chicken might be underdone; too long, and it could dry out. You’ll discover the ideal cooking times, helpful tips, and tricks that make your chicken tender, flavorful, and mouthwatering. Keep reading to unlock the secrets to mastering Dutch oven chicken cooking with confidence.
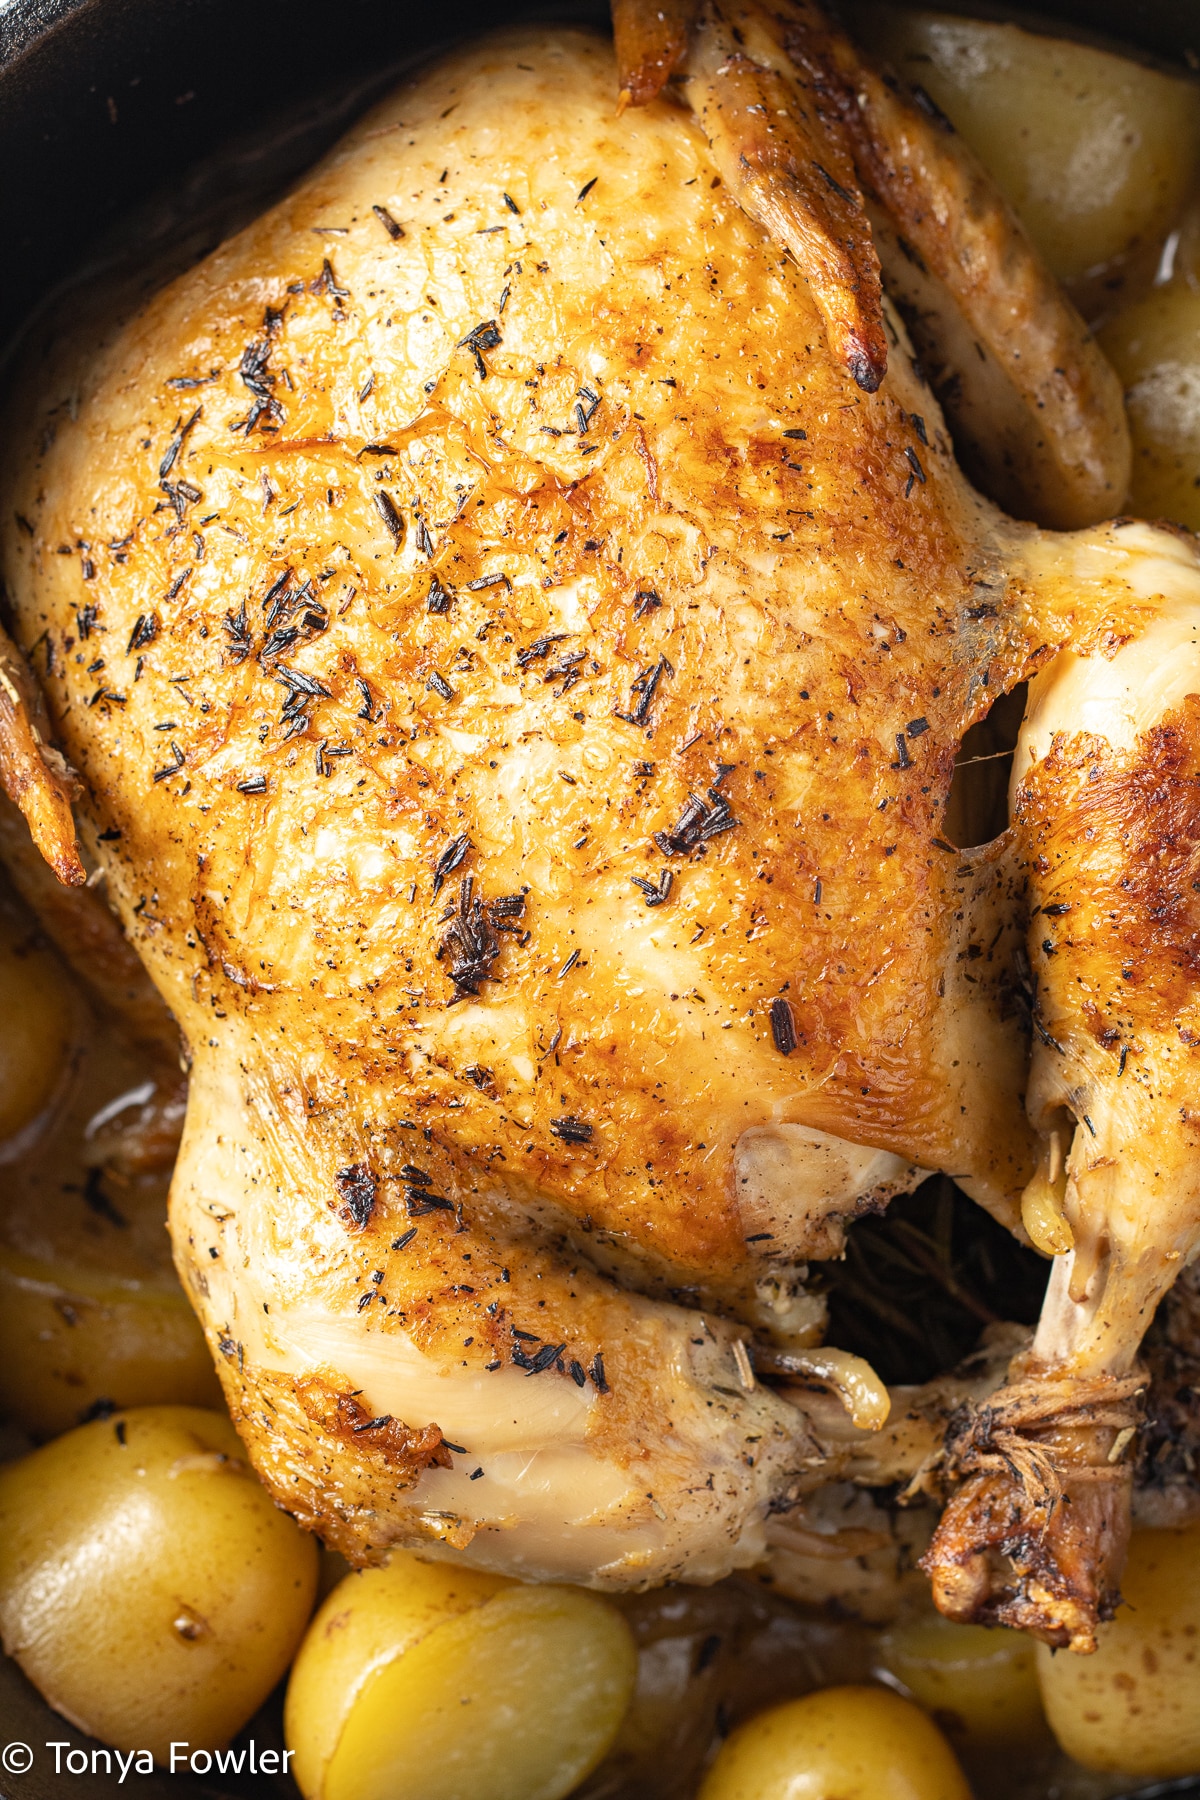
Credit: www.themidwestkitchenblog.com
Choosing The Right Chicken Cut
Choosing the right chicken cut is key for perfect Dutch oven cooking. Different cuts affect cooking time and texture. Some cuts cook faster, while others need slow heat to stay tender.
Understanding these differences helps you plan your meal better. It also ensures the chicken stays juicy and flavorful.
Whole Chicken Vs. Pieces
A whole chicken cooks evenly but takes longer. It needs slow, steady heat to cook through without drying out. Cooking a whole bird in a Dutch oven creates rich, deep flavors.
Chicken pieces cook faster and offer more flexibility. You can use thighs, breasts, or drumsticks. Pieces allow for quicker meals and easy portioning. Dark meat pieces like thighs stay moist longer than breasts.
Bone-in Or Boneless Options
Bone-in chicken adds flavor and helps keep meat juicy. Bones also slow cooking a bit, making the meat tender. Bone-in cuts are ideal for slow cooking in a Dutch oven.
Boneless chicken cooks faster and is easier to eat. It is perfect for quick recipes or when you want less prep. Boneless breasts may dry out faster, so watch the cooking time closely.
Preparing Chicken For The Dutch Oven
Getting your chicken ready for the Dutch oven sets the stage for a delicious meal. Proper preparation ensures even cooking and enhances flavor, making your dish truly memorable. Let’s break down how to season and sear your chicken before it hits the pot.
Seasoning Tips
Seasoning your chicken well is key. Use a simple mix of salt, pepper, and garlic powder for a classic taste. Adding herbs like rosemary or thyme can elevate the flavor and bring freshness to your dish.
Don’t forget to season under the skin if possible. This step lets the spices penetrate deeper, giving you a richer flavor. A light drizzle of olive oil before seasoning helps the spices stick better and promotes a nice crust during cooking.
Searing Before Cooking
Searing your chicken before placing it in the Dutch oven locks in juices and adds a beautiful golden color. Heat some oil over medium-high heat, then carefully place the chicken skin-side down.
Let it cook without moving it for 4 to 5 minutes until the skin turns crisp and brown. This step not only improves taste but also creates a flavorful base for your sauce or broth.
Have you noticed how skipping this step can leave your chicken a bit bland or pale? Taking the extra few minutes to sear makes a noticeable difference in texture and taste.
Cooking Times By Chicken Type
Different chicken types need different cooking times in a Dutch oven. Bone-in pieces take longer than boneless ones. Adjust the time based on size and type to ensure juicy, cooked-through chicken every time.
Cooking chicken in a Dutch oven can elevate your meals to a whole new level of flavor and tenderness. But how do you know the right cooking time for different types of chicken? The answer lies in understanding the specific needs of each chicken cut. Let's explore how long each type should be cooked to perfection in your trusty Dutch oven.
Whole Chicken Cooking Time
Cooking a whole chicken in a Dutch oven can be a delightful experience. The enclosed environment ensures even cooking and retains moisture. A medium-sized whole chicken (around 4-5 pounds) typically requires about 1.5 to 2 hours at 375°F (190°C). Ensure the internal temperature reaches 165°F (74°C) to guarantee it's fully cooked. Basting occasionally with its own juices can enhance flavor and texture.
Chicken Thighs And Drumsticks
Chicken thighs and drumsticks are favorites for their rich flavor and tenderness. They generally cook faster than a whole chicken. In a Dutch oven, they need about 40 to 50 minutes at 375°F (190°C). You might find it helpful to brown them on the stovetop first. This step not only adds depth of flavor but also gives them a beautiful golden crust.
Chicken Breasts Timing
Chicken breasts are leaner and can dry out if overcooked. For juicy results, cook them for approximately 25 to 30 minutes at 375°F (190°C). Using a meat thermometer to check for an internal temperature of 165°F (74°C) is crucial. Adding a splash of broth or a few slices of lemon can prevent the breasts from drying out and infuse them with extra flavor. Cooking times may vary based on the size and thickness of the chicken, as well as your oven's efficiency. How do you ensure your chicken is cooked just right? Share your tips and tricks below!

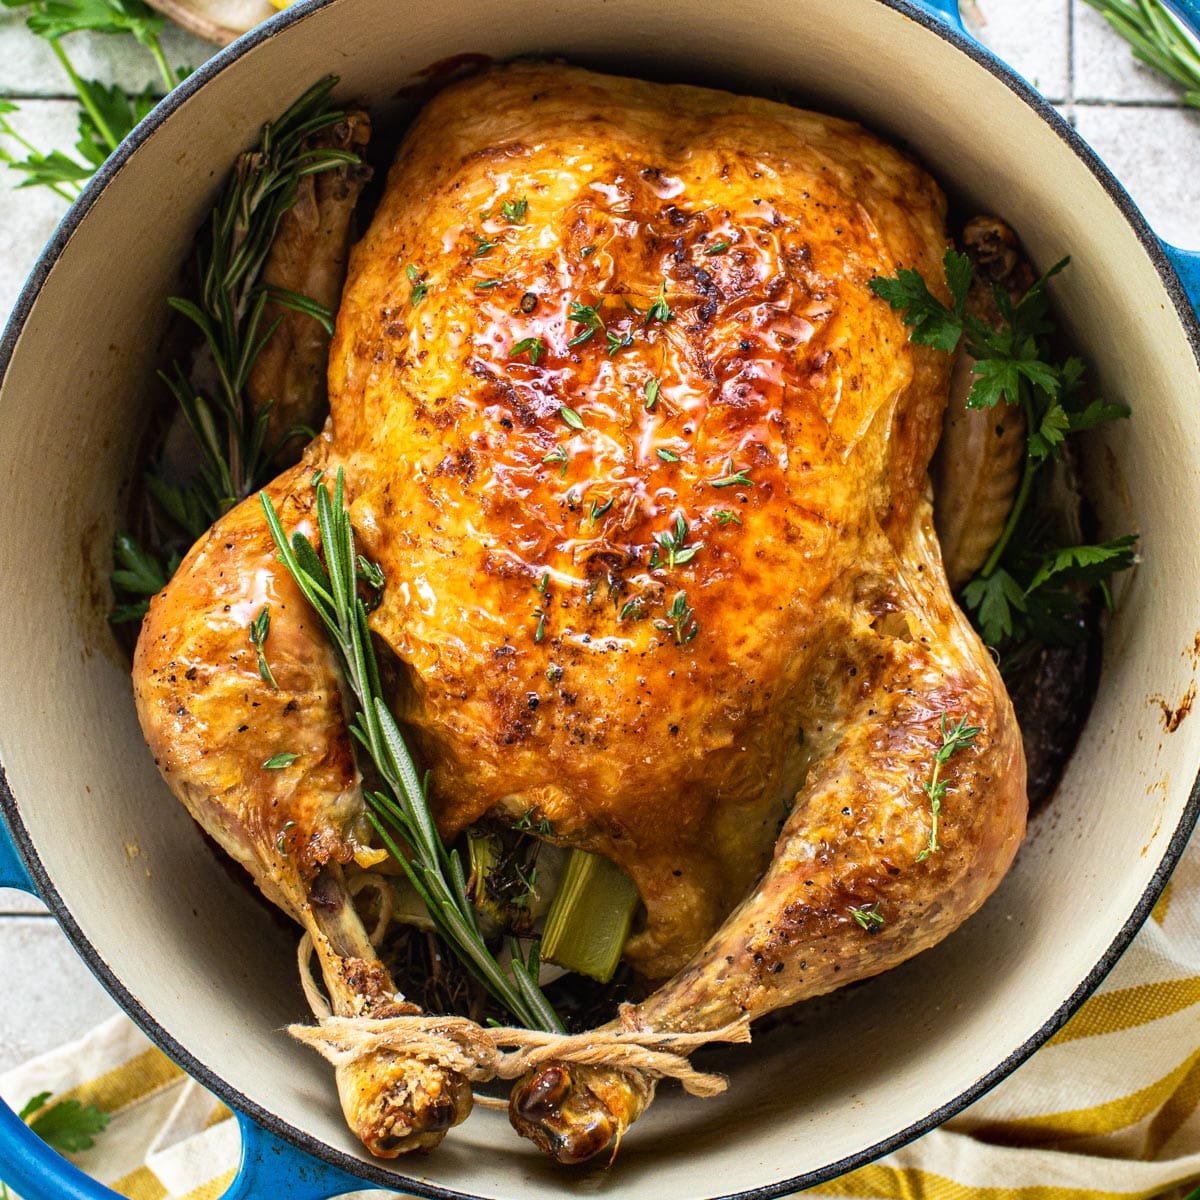
Credit: food52.com
Temperature Settings For Tenderness
Temperature settings play a key role in cooking chicken in a Dutch oven. The right heat level affects tenderness and flavor. Too hot can dry out the meat. Too low can leave it undercooked. Choosing the right temperature depends on how you want your chicken cooked. Slow cooking yields soft, juicy meat. High heat cooks faster but needs careful attention.
Low And Slow Method
Cooking chicken slowly at low heat keeps it moist and tender. Set your oven to 275°F to 300°F (135°C to 150°C). This temperature allows the chicken to cook evenly inside the Dutch oven. It breaks down collagen in the meat, making it soft. Expect cooking times between 1.5 to 3 hours, depending on chicken size.
This method suits whole chickens or larger cuts. Add vegetables and broth for more flavor. Check the chicken after 1.5 hours. Use a meat thermometer to ensure the internal temperature hits 165°F (74°C). Slow heat also helps the spices and herbs infuse deeply.
High Heat Quick Cooking
High heat cooks chicken faster but needs careful timing. Set the oven between 375°F and 425°F (190°C to 220°C). Cooking time shortens to about 45 minutes to 1 hour. This method is best for smaller pieces like thighs or breasts.
High heat creates a crispy skin and seals in juices. Watch closely to avoid burning or drying out the chicken. Turn the chicken halfway through cooking for even browning. Use a thermometer to confirm the inside reaches 165°F (74°C). This quick way suits busy days and still delivers tasty results.
Moisture Management
Moisture management plays a key role in cooking chicken in a Dutch oven. It keeps the meat juicy and tender throughout the cooking process. Without proper moisture control, chicken can dry out quickly, losing flavor and texture.
Using the right liquids and sealing techniques helps trap steam and distribute heat evenly. This creates a moist cooking environment, perfect for slow cooking or braising chicken. Moisture management also affects cooking time and final taste.
Using Broth Or Water
Adding broth or water to the Dutch oven prevents chicken from drying out. These liquids create steam that surrounds the meat during cooking. Broth adds extra flavor while water keeps the chicken moist without changing taste.
Fill the Dutch oven with enough liquid to cover the bottom by about one inch. This allows steam to rise and cook the chicken gently. Avoid adding too much liquid; it should not submerge the chicken completely.
Covering And Sealing Techniques
Covering the Dutch oven tightly traps steam inside. This helps keep moisture close to the chicken. Use the lid that fits well or cover with aluminum foil before placing the lid on top.
Sealing the pot ensures even cooking and prevents moisture loss. Check for any gaps between the lid and pot. A good seal keeps the chicken juicy and reduces cooking time.
Checking Doneness
Checking the doneness of chicken cooked in a Dutch oven is key to a safe and tasty meal. Overcooking can dry out the meat, while undercooking risks food safety. Use clear signs to know when your chicken is perfectly cooked. This section helps you identify those signs easily.
Internal Temperature Guide
Use a meat thermometer for accurate results. Insert it into the thickest part of the chicken without touching bone.
- Chicken is safe to eat at 165°F (74°C).
- For dark meat, cooking up to 175°F (79°C) can improve tenderness.
- Check temperature in multiple spots for even cooking.
Thermometers give the best doneness check. Avoid guessing by time alone.
Visual And Texture Cues
Look at the chicken’s color and texture after cooking.
- Juices should run clear, not pink or red.
- The meat should be white or light brown, not translucent.
- The texture should be firm but still moist, not rubbery or dry.
Cut a small piece to inspect inside. These clues help confirm doneness without tools.
Common Mistakes To Avoid
Cooking chicken in a Dutch oven can yield juicy, flavorful results, but there are common mistakes that can spoil your effort. Avoiding these pitfalls ensures your chicken comes out perfectly every time. Let’s look at what to watch out for to keep your dish on point.
Overcooking Risks
Overcooking chicken is a frequent issue that turns tender meat into a dry, tough disappointment. Dutch ovens retain heat well, so it’s easy to leave chicken cooking too long if you’re not paying attention.
Keep an eye on the cooking time and temperature. Using a meat thermometer to check for an internal temperature of 165°F (74°C) helps prevent overcooking. Have you ever cut into your chicken only to find it stringy and dry? That’s the result of too much heat.
Another tip: avoid cooking on excessively high heat. Low and steady heat allows the chicken to cook evenly without drying out. Remember, patience pays off when using a Dutch oven.
Undercooking Dangers
Undercooked chicken is a serious safety hazard. The risk of foodborne illness makes it crucial to cook chicken thoroughly.
Sometimes, the outside may look done while the inside remains raw. This happens when the heat is too high or cooking time is too short. Always check the thickest part of the chicken with a thermometer to confirm it's safe to eat.
Also, be mindful of stuffing or thick cuts, which require longer cooking. Don’t assume your chicken is ready just because the skin is golden brown. Would you risk serving undercooked chicken to your family?
Enhancing Flavor And Tenderness
Cooking chicken slowly in a Dutch oven locks in juices and deepens its taste. The heat spreads evenly, making the meat soft and full of flavor. This method ensures tender, delicious chicken every time.
Enhancing the flavor and tenderness of chicken in a Dutch oven transforms a simple meal into a culinary delight. The Dutch oven's heavy lid and cast iron build create a consistent cooking environment that locks in moisture. This means your chicken can be both juicy and bursting with flavor.
Adding Aromatics And Herbs
Aromatics and herbs elevate the taste of your chicken significantly. Consider adding onions, garlic, and carrots to the Dutch oven. These vegetables not only add flavor but also create a fragrant base for the chicken to cook in. Herbs like rosemary, thyme, and bay leaves can enhance the aroma and taste. Fresh herbs work wonders, but dried ones are also effective in infusing flavor. Experiment with different combinations to discover your favorite mix.
Using Marinades And Rubs
Marinades and rubs play a crucial role in tenderizing and flavoring chicken. A simple marinade of olive oil, lemon juice, and salt can do wonders. Let the chicken soak in the marinade for at least an hour before cooking. Rubs offer another layer of flavor. A mix of paprika, cumin, and chili powder can give your chicken a smoky, spicy edge. Don't be afraid to get creative and tailor the rub to your taste preferences. Cooking chicken in a Dutch oven with these techniques ensures a dish that's both flavorful and tender. How will you enhance your next chicken recipe?
Resting And Serving Tips
Resting and serving chicken cooked in a Dutch oven is key for a tasty meal. Proper resting lets juices settle, making the meat tender and juicy. Serving it right enhances flavors and makes your dish more appealing.
Importance Of Resting
Resting chicken after cooking helps the juices redistribute inside the meat. This keeps the chicken moist and prevents dryness. Let the chicken rest for 10 to 15 minutes under a loose foil cover. Avoid cutting the chicken too soon. This ensures every bite is juicy and flavorful.
Serving Suggestions
Serve Dutch oven chicken with simple sides to complement its rich flavor. Try mashed potatoes, steamed vegetables, or a fresh salad. Garnish with fresh herbs like parsley or thyme for color and aroma. For a cozy meal, add warm bread or rice on the side. Keep portions balanced for a healthy plate.
Credit: www.theseasonedmom.com
Frequently Asked Questions
How Long Does Chicken Take To Cook In A Dutch Oven?
Chicken usually takes 45 to 60 minutes to cook in a Dutch oven. Cooking time depends on the size and cut of the chicken. Always check the internal temperature reaches 165°F (74°C) for safe consumption. Adjust time for bone-in or boneless pieces accordingly.
What Temperature Should I Cook Chicken In A Dutch Oven?
Cook chicken in a Dutch oven at 325°F to 350°F (163°C to 177°C). This temperature range ensures even cooking without drying out the meat. Use a moderate oven heat to maintain moisture and develop a tender texture.
Can I Cook Frozen Chicken In A Dutch Oven?
It is not recommended to cook frozen chicken directly in a Dutch oven. Thaw chicken first for even cooking and food safety. Cooking frozen chicken can lead to uneven heat distribution and longer cooking times.
How Do I Know When Chicken Is Done In A Dutch Oven?
Use a meat thermometer to check if chicken reaches 165°F (74°C). The juices should run clear, and meat should be opaque and tender. Proper temperature ensures the chicken is safe to eat and perfectly cooked.
Conclusion
Cooking chicken in a Dutch oven takes time and care. The key is to keep the heat steady and check often. Usually, chicken cooks well in 45 to 60 minutes. Use a meat thermometer to be sure it is safe.
The chicken should reach 165°F inside. Let the chicken rest a few minutes before serving. This method makes the meat tender and juicy. Enjoy your meal with confidence, knowing you cooked it right. Cooking with a Dutch oven is simple and rewarding.
Try it and see how good homemade chicken can be.


