Are you ready to make a roast that’s tender, juicy, and full of flavor? Cooking a roast in a Dutch oven is one of the best ways to achieve that perfect, melt-in-your-mouth texture.
But how long should you actually cook it? Too short, and your roast might be tough; too long, and it could dry out. You’ll discover the simple timing secrets that ensure your roast turns out just right every time. Keep reading, and you’ll never worry about overcooking or undercooking your Dutch oven roast again.

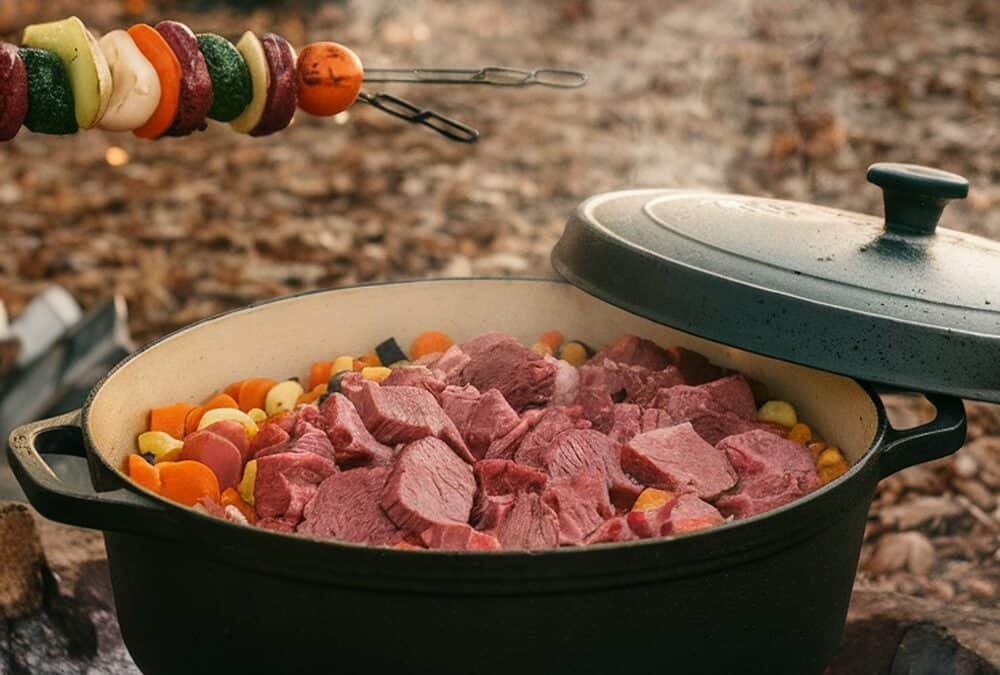
Credit: pinkowlkitchen.com
Choosing The Right Roast
Choosing the right roast is a crucial step for a perfect Dutch oven meal. The type of roast you select impacts cooking time, flavor, and tenderness. Understanding what works best helps you avoid a tough or undercooked result.
Types Of Roasts For Dutch Oven
Some cuts are better suited for the slow, even heat of a Dutch oven. Chuck roast is a popular choice because it becomes tender and flavorful after slow cooking. Brisket is another great option, especially if you want a rich, hearty meal.
Other cuts like rump roast or bottom round can also work well if cooked low and slow. These cuts tend to be leaner, so watch your cooking time closely to prevent dryness. Think about the texture you prefer—do you want melt-in-your-mouth softness or a firmer bite?
Size And Weight Considerations
The size of your roast affects cooking time and how it fits in your Dutch oven. A roast that's too large may not cook evenly, while one that's too small might dry out quickly.
A good rule is to choose a roast that fits comfortably with some space around it for heat circulation. Typically, a 3 to 5-pound roast works well for most standard Dutch ovens.
Have you checked your Dutch oven's capacity before buying meat? This simple step can save you from guessing cooking times and ensure better results.

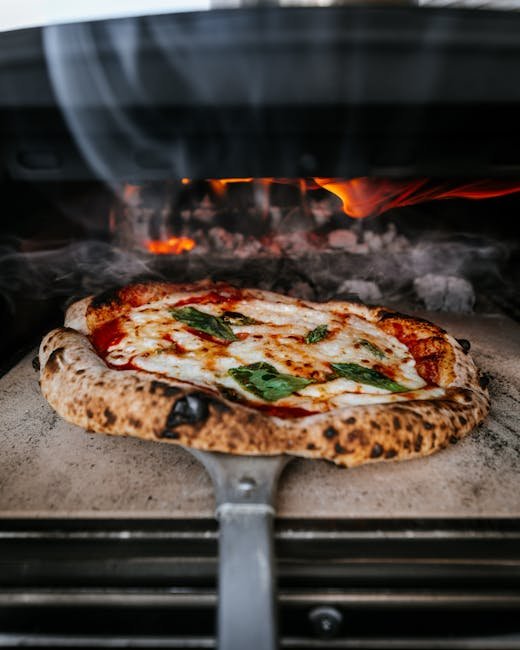
Credit: jawnsicooked.com
Preparing The Roast
Preparing your roast properly is key to achieving a tender, flavorful meal from your Dutch oven. The steps you take before cooking can transform a simple piece of meat into a standout dish. Paying attention to seasoning and searing sets a strong foundation for the cooking process.
Seasoning And Marinating
Seasoning your roast well is the first step to enhancing its natural flavors. Use a mix of salt, pepper, garlic powder, and herbs like rosemary or thyme to create a balanced taste profile.
Marinating adds an extra layer of flavor and can help tenderize tougher cuts. Consider marinating your roast for at least a few hours or overnight in a mixture of olive oil, vinegar, soy sauce, and your favorite spices.
Have you tried dry brining? Simply salting the meat and letting it rest uncovered in the fridge for a day can improve moisture retention and flavor depth.
Searing Techniques
Searing the roast before cooking locks in juices and creates a rich, caramelized crust. Heat your Dutch oven over medium-high heat and add a small amount of oil with a high smoke point, like canola or avocado oil.
Place the roast carefully in the pot, and resist the urge to move it around too soon. Let it brown on one side for 3-5 minutes, then rotate to sear all sides evenly.
Searing not only adds flavor but also improves the roast’s texture. Don’t skip this step; it’s a game-changer for your final dish.
Dutch Oven Cooking Basics
Cooking with a Dutch oven is a rewarding experience that brings out the rich flavors and tender textures in a roast. This versatile piece of cookware can be used both on the stovetop and in the oven, making it a favorite among home cooks. Understanding the basics of using a Dutch oven can elevate your cooking game and ensure your roast turns out perfectly every time.
Temperature Settings
The right temperature setting is crucial when cooking a roast in a Dutch oven. Typically, a slow and steady heat works wonders, as it allows the flavors to meld and the meat to become tender. For most roasts, a temperature of 325°F to 350°F works best.
Adjusting the heat can have a significant impact on the outcome. A higher temperature might speed up the cooking but could result in a tougher texture. On the other hand, a lower temperature might take longer but yields a juicy, melt-in-your-mouth roast.
Using Oven Vs. Stovetop
Deciding between the oven and the stovetop is often a matter of preference and the specific recipe you're following. The oven provides a more even and controlled heat, which is ideal for larger roasts. It ensures that the meat cooks uniformly without the need for constant supervision.
The stovetop, however, offers greater control over the cooking process. You can easily adjust the heat and check the roast's progress. It’s perfect for smaller cuts or when you want to sear the meat before slow-cooking it.
Consider your kitchen setup and the time you have. Do you prefer the hands-off approach of the oven, or do you like to be more involved with a stovetop method? Each has its advantages, and experimenting with both can help you find what works best for you and your culinary style.
Timing Guidelines
Knowing the right timing to cook your roast in a Dutch oven can make all the difference between a dry, tough meal and a tender, juicy masterpiece. Timing depends on several factors, including the type of roast and its size. Getting this right ensures your meat reaches the perfect tenderness without losing flavor or moisture.
Cooking Times By Roast Type
Different cuts of meat need different cooking times because of their texture and fat content. Here’s a simple guide to help you plan:
| Roast Type | Cooking Time (at 325°F / 160°C) | Notes |
|---|---|---|
| Chuck Roast | 2.5 to 3 hours | Best for slow braising to break down tough fibers |
| Rump Roast | 2 to 2.5 hours | Cook until tender but not falling apart |
| Brisket | 3 to 4 hours | Needs long, slow cooking for tenderness |
| Round Roast | 1.5 to 2 hours | Lean and benefits from careful timing to avoid dryness |
Have you noticed how some roasts become more flavorful the longer they cook? That’s the magic of slow heat breaking down collagen into gelatin, creating a rich, silky texture.
Adjusting For Roast Size
Size matters when timing your roast. Larger roasts need more time, but it’s not a simple linear increase. A 4-pound roast won’t take exactly twice as long as a 2-pound one.
- Smaller roasts (under 3 pounds) usually cook faster—check for doneness early to avoid overcooking.
- Medium roasts (3 to 5 pounds) follow standard timing but monitor tenderness as oven temperatures can vary.
- Large roasts (over 5 pounds) require longer cooking, often with periodic checks to prevent drying out.
Think about the last time you cooked a larger roast. Did you keep poking it to test tenderness or did you rely on the clock? Trusting your instincts along with timing guidelines often leads to the best results.
Checking Doneness
Knowing when your roast is perfectly cooked is key to a delicious meal. Overcooking can dry it out, while undercooking leaves it tough or unsafe to eat. Checking doneness helps you serve a roast that’s juicy, tender, and cooked just right.
Using A Meat Thermometer
A meat thermometer is the most reliable way to check doneness. Insert it into the thickest part of the roast, avoiding bone or fat for an accurate reading. Different roasts have specific temperature targets, such as 130°F (54°C) for medium-rare beef or 165°F (74°C) for pork.
Remember to let the roast rest after cooking; the internal temperature can rise a few degrees during this time. This resting period locks in juices and improves tenderness. Do you own a good meat thermometer? It can make all the difference in your cooking confidence.
Visual And Texture Cues
Not everyone has a thermometer handy, so visual and texture cues are your next best tools. Look for a rich brown crust on the outside, indicating good caramelization. The roast should feel firm but still have some spring when you press it with your finger.
Cutting into the roast can help, but only if you don’t mind losing some juices. The color inside varies by meat type and doneness level — pink for medium beef, white for well-done pork. Trust your senses, but combine them with temperature checks for the best results.

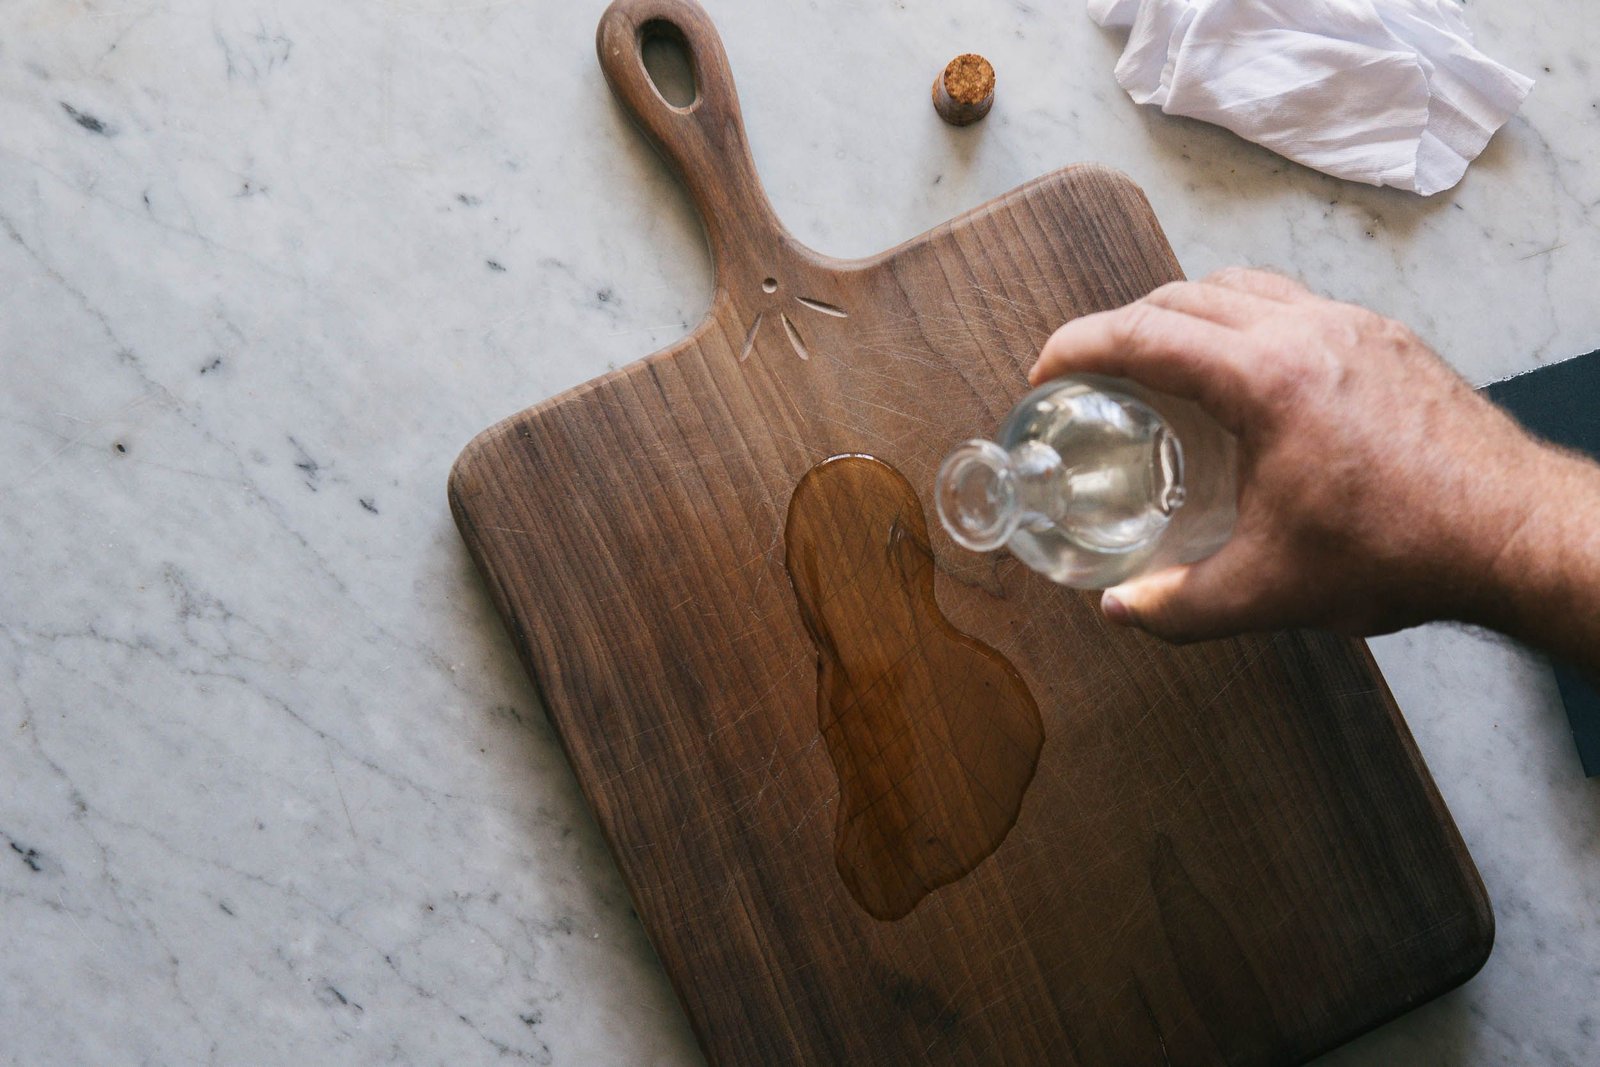
Credit: gratefulgrits.com
Resting And Serving
Resting and serving a roast cooked in a Dutch oven is crucial for the best taste and texture. Letting the roast rest allows juices to redistribute. This makes the meat tender and juicy. Proper carving and presentation make the meal inviting and enjoyable. These steps enhance the overall dining experience.
Resting Time Tips
Rest the roast for about 15 to 20 minutes after cooking. Cover it loosely with foil to keep warm. Avoid cutting the meat immediately. This keeps the juices inside. A rested roast is easier to carve and tastes better.
Carving And Presentation
Use a sharp knife for clean slices. Cut against the grain to keep meat tender. Arrange slices neatly on a warm platter. Garnish with fresh herbs or vegetables for color. Serve with side dishes to complete the meal.
Troubleshooting Common Issues
Cooking a roast in a Dutch oven can be rewarding, but sometimes things don’t go as planned. Troubleshooting common issues helps you adjust and improve your technique for the next time. Let’s look at how to handle problems like overcooking, undercooking, and dryness to get the perfect roast every time.
Overcooked Or Undercooked Roast
Have you ever pulled your roast out only to realize it’s either too tough or still raw inside? Overcooking happens when the roast stays in the oven too long or the heat is too high. Undercooking usually means the roast didn’t have enough time to reach the right internal temperature.
Using a meat thermometer is your best friend here. Aim for these internal temperatures:
- Medium-rare: 130°F to 135°F (54°C to 57°C)
- Medium: 140°F to 145°F (60°C to 63°C)
- Well done: 160°F and above (71°C+)
If you notice the roast is overcooked, try lowering your oven temperature by 25°F next time and check the temperature earlier. If undercooked, simply put it back in the oven and monitor the temperature closely every 10-15 minutes.
Dryness And How To Prevent It
Dry roast is a common disappointment, especially with lean cuts. The secret to avoiding dryness is moisture retention and gentle cooking. Adding liquid like broth, wine, or water in the Dutch oven keeps the environment humid and the meat juicy.
Another tip is to sear the roast before slow cooking. Searing locks in juices and adds flavor. Also, don’t rush the cooking time—low and slow helps break down connective tissue, making the roast tender and moist.
Ask yourself: Are you checking the roast’s internal temperature or just relying on time? Time varies with roast size, so temperature is a more reliable guide. And remember, letting the roast rest for 10-15 minutes before slicing helps redistribute juices, so don’t skip this step.
Frequently Asked Questions
How Long Does It Take To Cook A Roast In A Dutch Oven?
Cooking time depends on roast size and temperature. Generally, a 3-4 pound roast takes 2. 5 to 3 hours at 325°F. Use a meat thermometer to ensure an internal temperature of 145°F for medium-rare or 160°F for medium doneness.
What Temperature Is Best For Dutch Oven Roasting?
Set the oven to 325°F for even cooking. This moderate heat allows the roast to cook slowly and stay tender. Avoid high temperatures to prevent drying out or burning the meat during Dutch oven roasting.
Can I Cook Different Cuts Of Roast In A Dutch Oven?
Yes, Dutch ovens are versatile for all roast cuts. Tough cuts like chuck or brisket benefit from slow cooking. Tender cuts like ribeye cook faster. Adjust cooking time based on the cut’s thickness and fat content for best results.
Should I Cover The Dutch Oven While Roasting?
Always cover the Dutch oven with its lid to retain moisture. Covering helps create steam, keeping the roast juicy and tender. Removing the lid can cause the meat to dry out and lose flavor during cooking.
Conclusion
Cooking a roast in a Dutch oven takes time and patience. The right temperature and cooking duration make the meat tender and juicy. Most roasts need about 2 to 3 hours in the oven. Check the roast often to avoid overcooking.
Rest the meat after cooking to keep it flavorful. Use these tips for a perfect roast every time. Enjoy a warm, tasty meal made with care. Simple steps lead to great results.