If you’ve ever wondered how long to cook a chicken on a rotisserie, you’re in the right place. Getting that perfectly juicy, golden-brown chicken can feel tricky.
Cook it too little, and it’s underdone; too long, and it turns dry. But don’t worry—this guide will help you nail the timing every time. You’ll learn exactly how long your chicken needs to spin to reach delicious, safe-to-eat perfection.
Keep reading, and soon you’ll impress everyone with your rotisserie skills!
Selecting The Right Chicken
Choosing the right chicken is the first step toward a perfectly cooked rotisserie meal. The size, type, and freshness of the chicken directly affect cooking time and flavor. Picking the right bird saves you from guesswork and ensures juicy, evenly cooked meat every time.
Selecting The Ideal Size
Smaller chickens cook faster but may dry out if overcooked. Larger chickens take longer, but they tend to stay moist and develop deeper flavors. Aim for a bird between 3 to 5 pounds for a balanced cooking time and tenderness.
Have you noticed how a chicken that’s too big often leads to uneven cooking? Choosing the right size helps avoid that problem and keeps your rotisserie turning smoothly.
Choosing Between Fresh And Frozen
Fresh chickens often taste better and cook more evenly than frozen ones. If you use frozen, make sure to thaw it completely before cooking. Thawing ensures the heat penetrates the meat uniformly, avoiding dry spots or undercooked areas.
Think about how thawing affects your cooking schedule. It may add time, but it’s crucial for the best results.
Considering Organic And Free-range Options
Organic or free-range chickens usually have firmer meat and richer flavor. They might cost more, but many find the taste worth the extra expense. These chickens often have less fat, which means you may need to watch the cooking time more closely to keep them juicy.
Would you trade a little extra cooking attention for a healthier, tastier meal? It’s a choice that can elevate your rotisserie experience.
Inspecting For Quality
Look for chickens with smooth, unbroken skin and a fresh smell. Avoid birds with discoloration or an off odor, as these signs indicate poor quality. A quality chicken feels firm, not slimy or soft when pressed.
Have you ever noticed how a good-quality chicken feels and smells? Trusting your senses here will pay off in taste and safety.

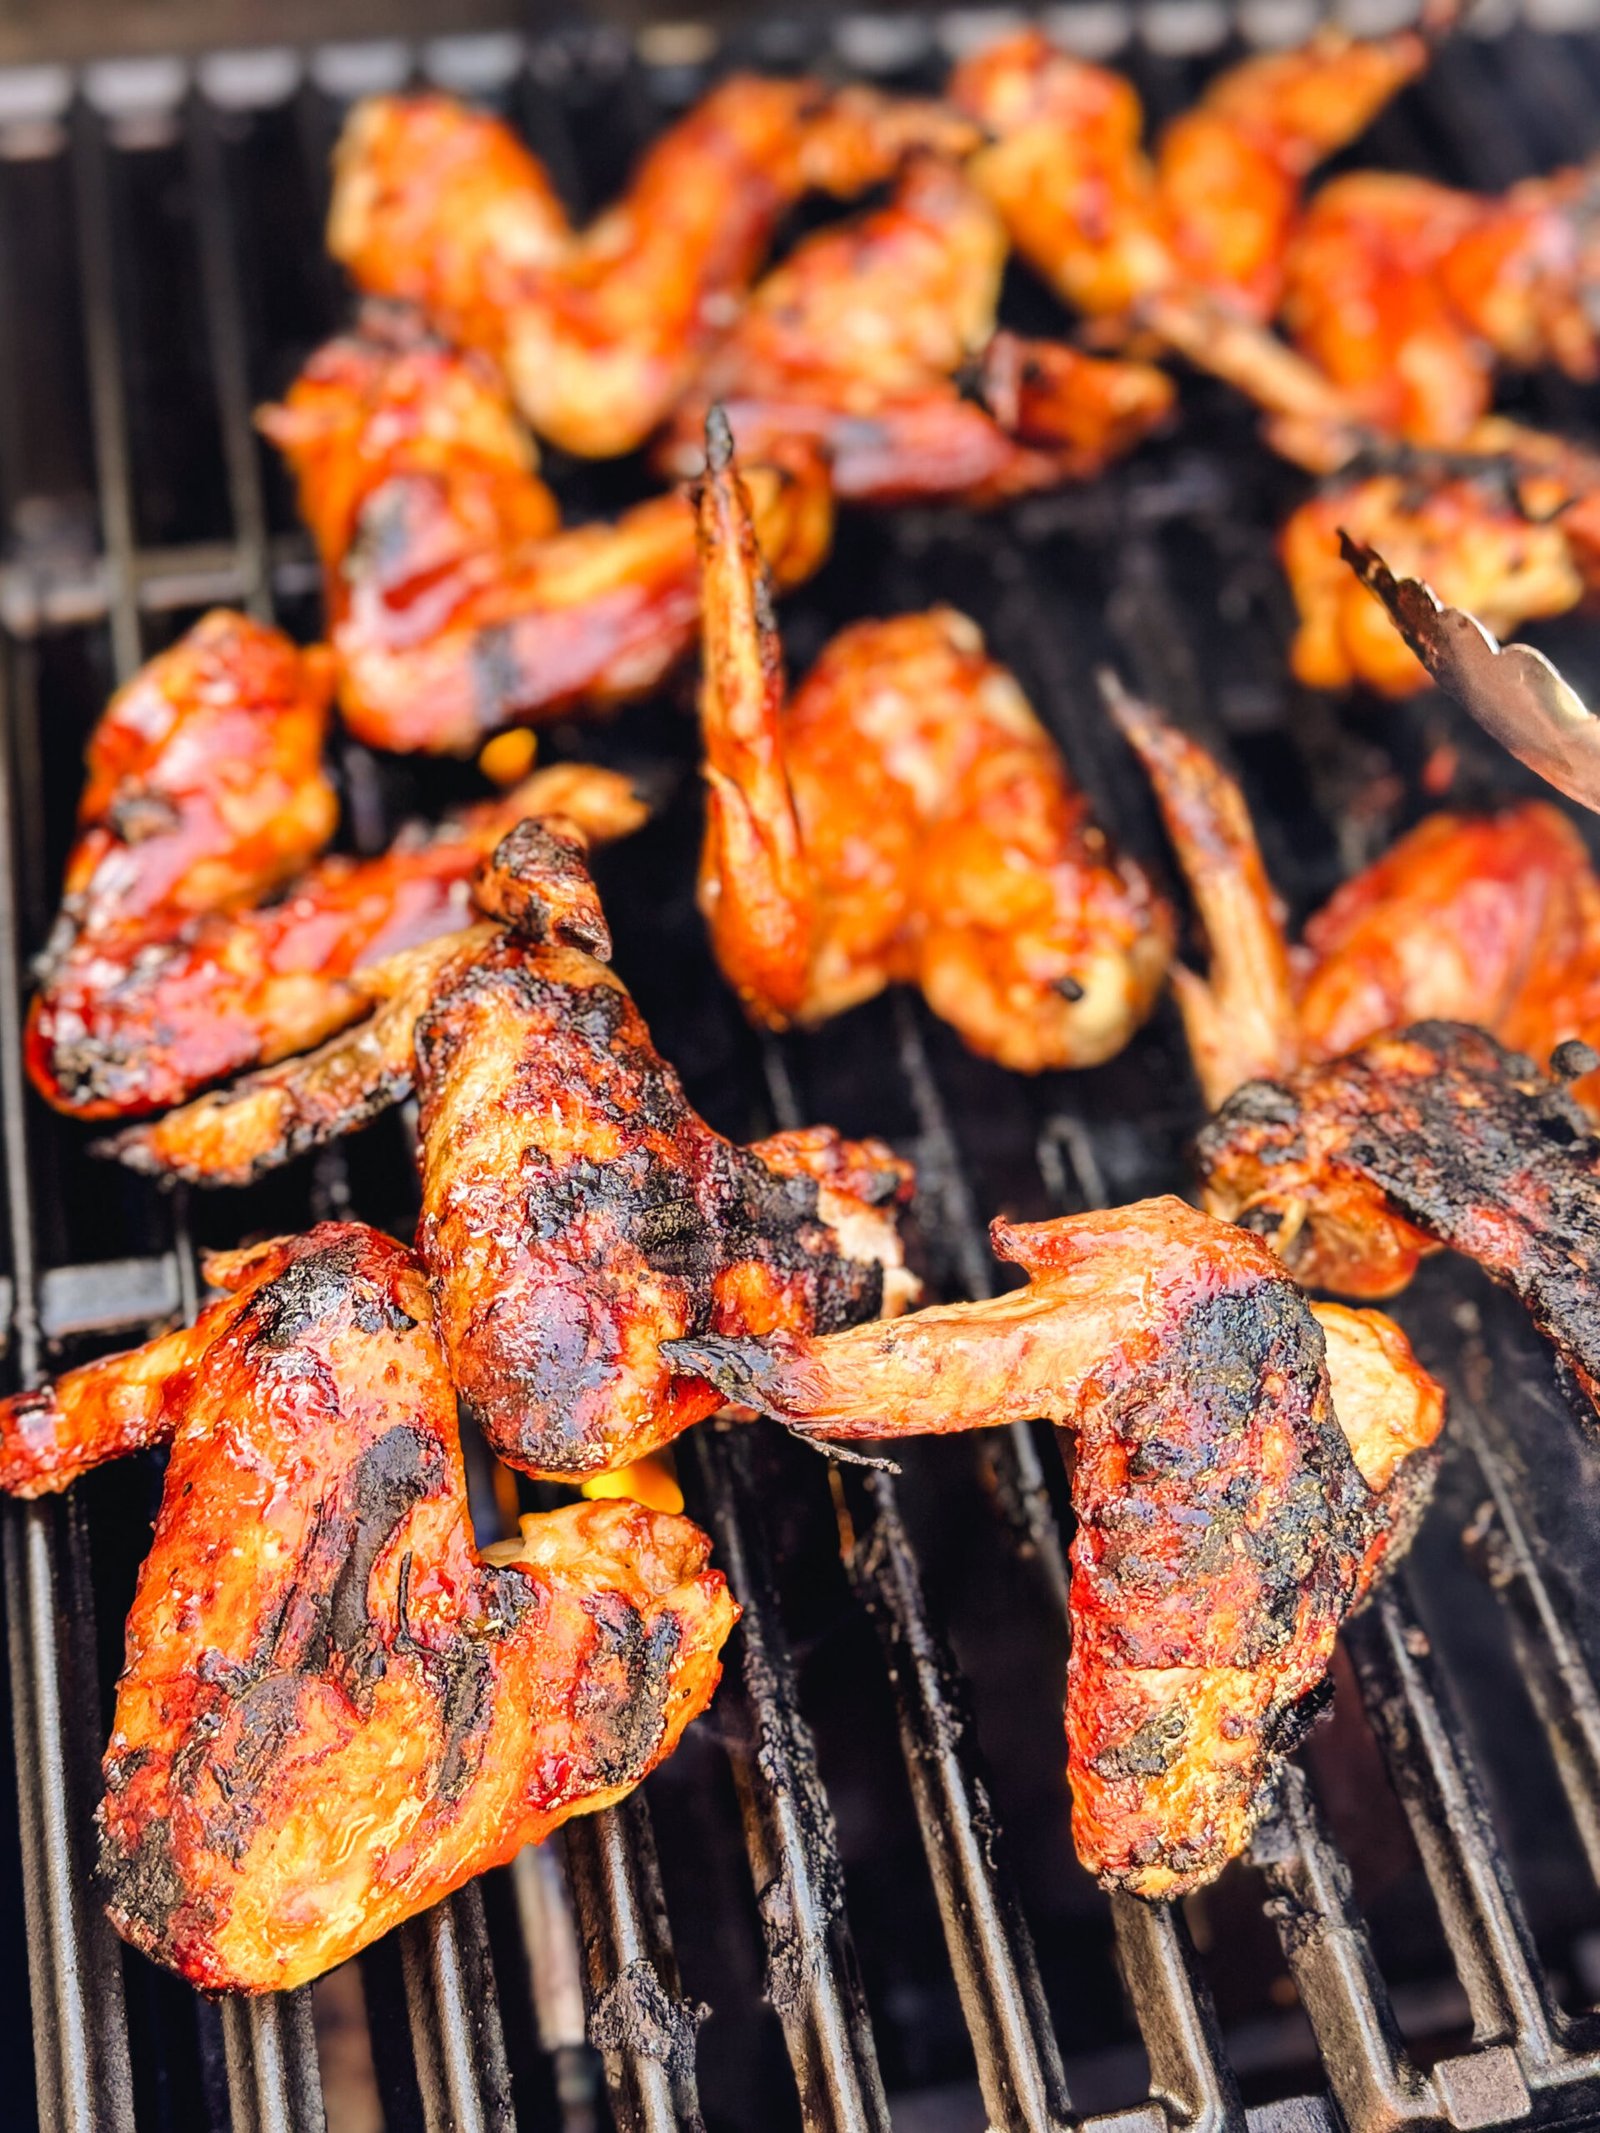
Credit: hankstruebbq.com
Preparing The Chicken For Rotisserie
Getting your chicken ready for the rotisserie is a crucial step that sets the stage for juicy, evenly cooked results. How you clean, prepare, and season the bird can transform the final flavor and texture. Let’s dive into the essentials that will make your rotisserie chicken a showstopper.
Cleaning And Trussing
Start by rinsing your chicken under cold water to remove any residue or loose bits. Pat it dry with paper towels—this helps the skin crisp up beautifully during cooking. Don’t skip this step; moisture on the skin can lead to sogginess instead of that perfect golden crust.
Trussing the chicken keeps it compact and ensures it cooks evenly. Use kitchen twine to tie the legs together and tuck the wings under the body. Have you noticed how a loosely tied chicken often ends up with unevenly cooked parts? Trussing prevents this by stabilizing the bird on the rotisserie spit.
Seasoning Options
Seasoning is your chance to infuse flavor deep into the meat. You can keep it simple with salt, pepper, and garlic powder or experiment with herbs like rosemary, thyme, and paprika for a smoky kick. Don’t forget to season inside the cavity too; it’s a common spot that people overlook but makes a big difference.
For added moisture and flavor, rub the chicken with olive oil or melted butter before seasoning. This not only helps the spices stick but also promotes a crispy, flavorful skin. Think about what flavors you enjoy most—do you want a spicy punch or a classic herb aroma? Your seasoning choices can turn a basic chicken into a personalized feast.
Setting Up The Rotisserie Equipment
Setting up your rotisserie equipment correctly is essential for cooking a perfectly juicy and evenly roasted chicken. The right setup ensures the bird cooks at a steady pace and the flavors develop beautifully. Let's look at how to choose the best rotisserie and balance your chicken for ideal results.
Choosing The Right Rotisserie
Not all rotisseries are created equal. You want one that fits your grill and can support the weight of your chicken without wobbling.
- Check the motor power; a stronger motor handles heavier birds better.
- Look for adjustable spits that can fit different sizes of chicken or other meats.
- Consider a rotisserie with sturdy forks that hold the chicken securely in place.
I once used a cheap rotisserie that couldn’t handle a large bird, and it slowed down mid-cook, ruining the even roasting. Investing in a reliable model saves you from unevenly cooked meat and frustration.
Balancing The Chicken
Balancing your chicken on the spit is crucial. An unbalanced load can strain your motor and cause uneven cooking.
Start by trussing the chicken tightly with kitchen twine to keep the wings and legs close to the body. This helps the bird rotate smoothly.
- Insert the spit rod through the center of the chicken, from neck to tail.
- Secure the chicken with forks on both ends, tightening the screws firmly.
- Try spinning the spit by hand before cooking; it should rotate evenly without wobbling.
Have you ever noticed your chicken spinning unevenly or the motor struggling? Balancing the bird well fixes that and ensures every side gets that golden-brown crisp.
Determining Cooking Time
Knowing how long to cook a chicken on a rotisserie can make the difference between a juicy, flavorful meal and a dry, overcooked bird. The cooking time isn’t fixed; it depends on several factors that influence how heat penetrates the chicken. Understanding these will help you nail the perfect timing every time you use your rotisserie.
Factors Influencing Cooking Duration
The size and weight of your chicken play a major role in how long it needs to cook. A larger bird takes longer to heat through, while a smaller one cooks faster.
Temperature settings on your rotisserie also matter. Cooking at a higher heat shortens the time but risks drying out the chicken if not monitored carefully.
Don’t forget about the stuffing. A stuffed chicken requires more time to reach a safe internal temperature than an unstuffed one.
Finally, how evenly your rotisserie rotates affects cooking time. Consistent rotation ensures the chicken cooks uniformly, reducing the chance of hot or cold spots.
General Timing Guidelines
| Chicken Weight | Cooking Time at 300°F (150°C) | Internal Temperature Goal |
|---|---|---|
| 3 to 4 lbs | 1 to 1.5 hours | 165°F (74°C) |
| 4 to 5 lbs | 1.5 to 2 hours | 165°F (74°C) |
| 5 to 6 lbs | 2 to 2.5 hours | 165°F (74°C) |
Use a meat thermometer to check the internal temperature, especially in the thickest part of the thigh. Reaching 165°F (74°C) ensures the chicken is safe to eat and juicy.
Have you ever guessed the time and ended up with a chicken that’s either undercooked or overdone? Monitoring these factors and timing guidelines can save you from that frustration and guarantee delicious results.
Checking Doneness
Checking the doneness of a rotisserie chicken is key to a perfect meal. The chicken must be cooked thoroughly for safety and taste. Undercooked chicken can be unsafe, while overcooked chicken becomes dry. Use simple ways to check if the chicken is ready to serve.
Using A Meat Thermometer
A meat thermometer gives the most accurate result. Insert it into the thickest part of the chicken, usually the thigh. Avoid touching the bone, as it gives a false reading. The safe internal temperature for chicken is 165°F (75°C). Once the thermometer reads this, the chicken is done. Always clean the thermometer after use.
Visual And Texture Indicators
Look at the chicken’s skin and juices for clues. The skin should be golden brown and crispy. Juices running clear means the chicken is cooked. Pink or red juices indicate more cooking is needed.
Touch the chicken to check texture. The meat should feel firm, not soft or rubbery. The legs should move easily in the joint but not feel loose. Use these signs together with a thermometer for best results.
Resting The Chicken
After cooking a chicken on a rotisserie, the resting period is just as important as the cooking itself. This step allows the juices to redistribute evenly throughout the meat, making every bite juicy and flavorful. Skipping or rushing this process can leave your chicken dry and less enjoyable.
Importance Of Resting
Resting lets the muscle fibers relax and reabsorb the juices pushed out during cooking. If you cut into the chicken immediately, those flavorful juices will spill out onto the cutting board instead of staying in the meat. This simple pause can be the difference between a dry meal and a perfectly moist chicken.
I once rushed to carve my rotisserie chicken right after it came off the grill. The meat was tough, and the juices ran clear. After learning to wait, the difference was night and day—juicy, tender, and packed with flavor.
Optimal Resting Time
Generally, resting your rotisserie chicken for about 10 to 15 minutes works best. This timeframe is long enough for the juices to settle but short enough to keep the chicken warm and ready to serve. Cover it loosely with foil to maintain heat without trapping steam, which can make the skin soggy.
If you’re cooking a larger bird, like a whole turkey or a big chicken, you might want to extend the resting time to 20 minutes. Smaller pieces need less time, around 5 to 10 minutes. Have you noticed how much easier it is to slice through rested meat? That’s your cue to wait patiently.
Common Mistakes To Avoid
Cooking chicken on a rotisserie can be simple and delicious. Avoiding common mistakes helps achieve juicy, flavorful meat every time. Small errors can ruin the texture and taste. Understanding these errors improves your cooking results.
Overcooking
Overcooking dries out the chicken. The meat becomes tough and less enjoyable. Check the internal temperature with a meat thermometer. Aim for 165°F (74°C) for safe, juicy meat. Remove the chicken promptly to avoid extra cooking from residual heat.
Improper Seasoning
Not seasoning well leads to bland chicken. Use salt, pepper, and herbs evenly for rich flavor. Marinate or rub spices before cooking for deeper taste. Avoid seasoning too late, as it won’t penetrate the meat properly.

Credit: whatsgabycooking.com
Tips For Enhanced Flavor
Enhancing the flavor of your rotisserie chicken is key to making it memorable and delicious. Simple adjustments can elevate the taste without adding extra cooking time. Let's look at some practical ways to boost flavor that you can easily try at home.
Using Marinades
Marinating your chicken before cooking adds depth and moisture. A good marinade balances acidity, sweetness, and herbs to tenderize the meat and infuse flavor.
Try a mix of olive oil, lemon juice, garlic, and rosemary for a fresh, bright taste. Let the chicken soak for at least 2 hours, or overnight if you have time. This not only improves flavor but also helps the skin crisp up beautifully on the rotisserie.
Adding Aromatics
Stuffing your chicken cavity with aromatics releases savory scents and flavors during cooking. Think about fresh herbs like thyme or sage, along with quartered onions, garlic cloves, or citrus wedges.
These ingredients infuse the meat from the inside out and create a natural seasoning. Do you usually add anything inside your chicken? Experimenting with different combinations can surprise your taste buds in a good way.
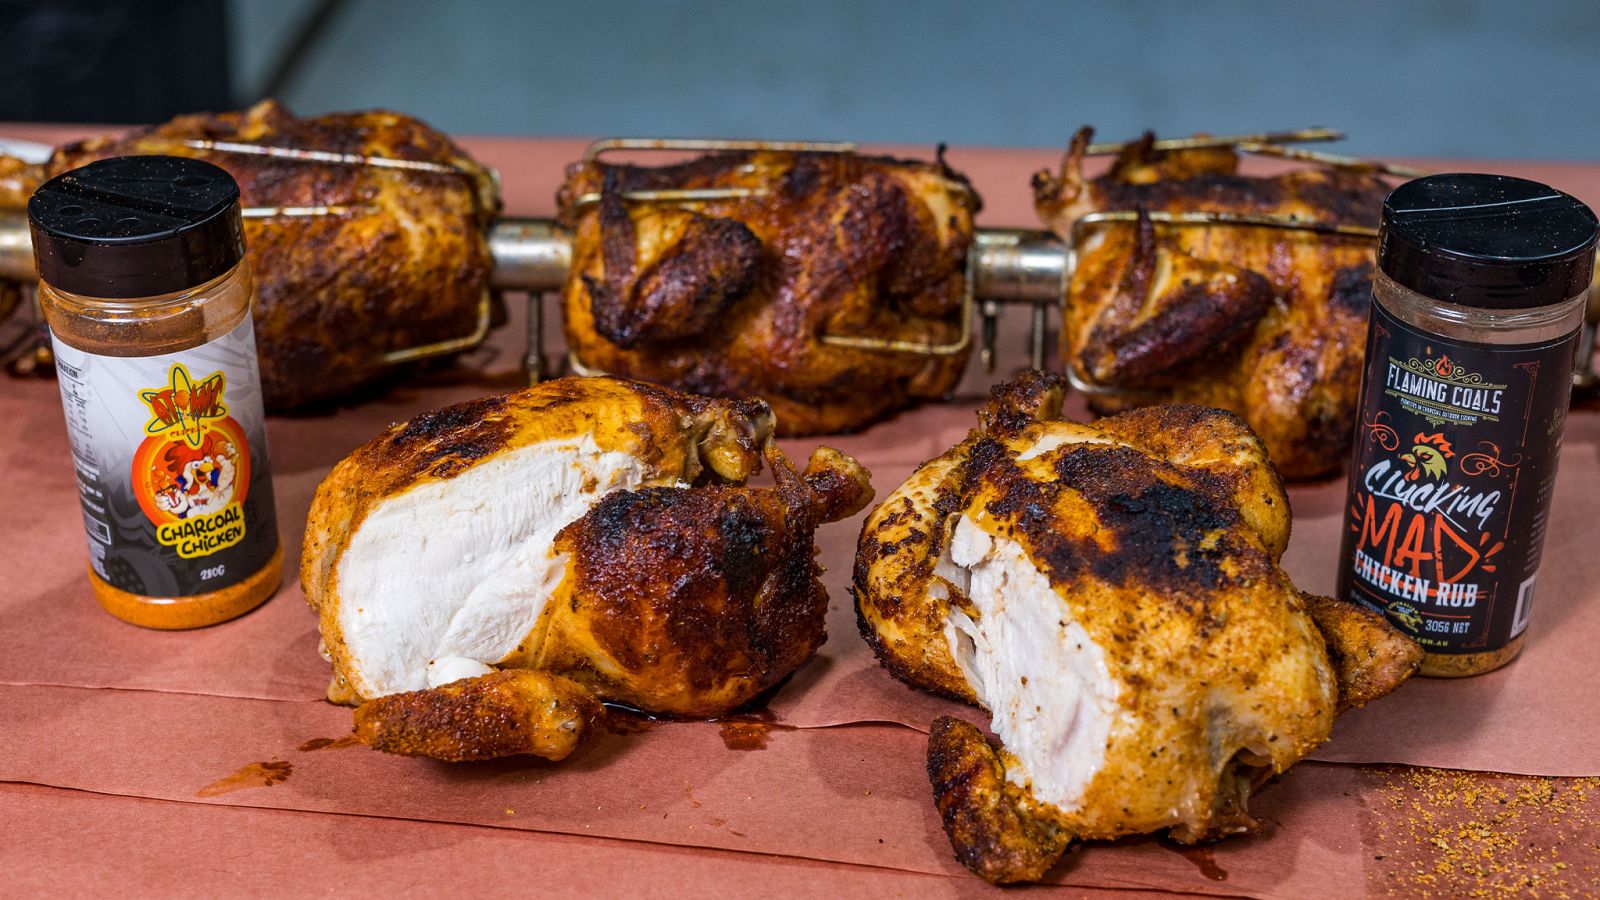
Credit: www.bbqspitrotisseries.com.au
Frequently Asked Questions
How Long Does It Take To Cook Chicken On A Rotisserie?
Cooking a whole chicken on a rotisserie typically takes 1 to 1. 5 hours. Time depends on chicken size and heat level. Use a meat thermometer to ensure the internal temperature reaches 165°F (74°C) for safe consumption.
What Temperature Is Best For Rotisserie Chicken Cooking?
Set the rotisserie heat to medium-high, around 300°F to 350°F (150°C to 175°C). This temperature cooks the chicken evenly, keeping it juicy with crispy skin. Avoid high heat to prevent burning outside before the inside cooks fully.
How Do I Know When Rotisserie Chicken Is Done?
Check for an internal temperature of 165°F (74°C) in the thickest part of the chicken. The juices should run clear, and the skin must be golden brown. Use a reliable meat thermometer for precise results.
Should I Baste Chicken While Cooking On A Rotisserie?
Basting is optional but recommended for extra flavor and moisture. Use a marinade or melted butter every 20 minutes. Basting helps the skin crisp up and adds a delicious glaze to the chicken.
Conclusion
Cooking chicken on a rotisserie takes time and care. Usually, it needs about 15 to 20 minutes per pound. Check the chicken’s temperature to be sure it is safe to eat. The meat should reach 165°F inside. Turning the chicken evenly helps it cook well.
Rest the chicken after cooking to keep it juicy. Enjoy your tasty, evenly cooked rotisserie chicken with family or friends. Simple steps lead to great results every time.