Are you ready to cook a juicy, tender chicken that melts in your mouth? Using a Dutch oven is one of the best ways to achieve that perfect texture and flavor.
But the big question is: how long should you cook your chicken to get the best results? If you’ve ever wondered about the ideal cooking time, you’re in the right place. You’ll discover simple tips and clear answers to ensure your chicken turns out just right every time.
Keep reading, and you’ll never worry about undercooked or dried-out chicken again!

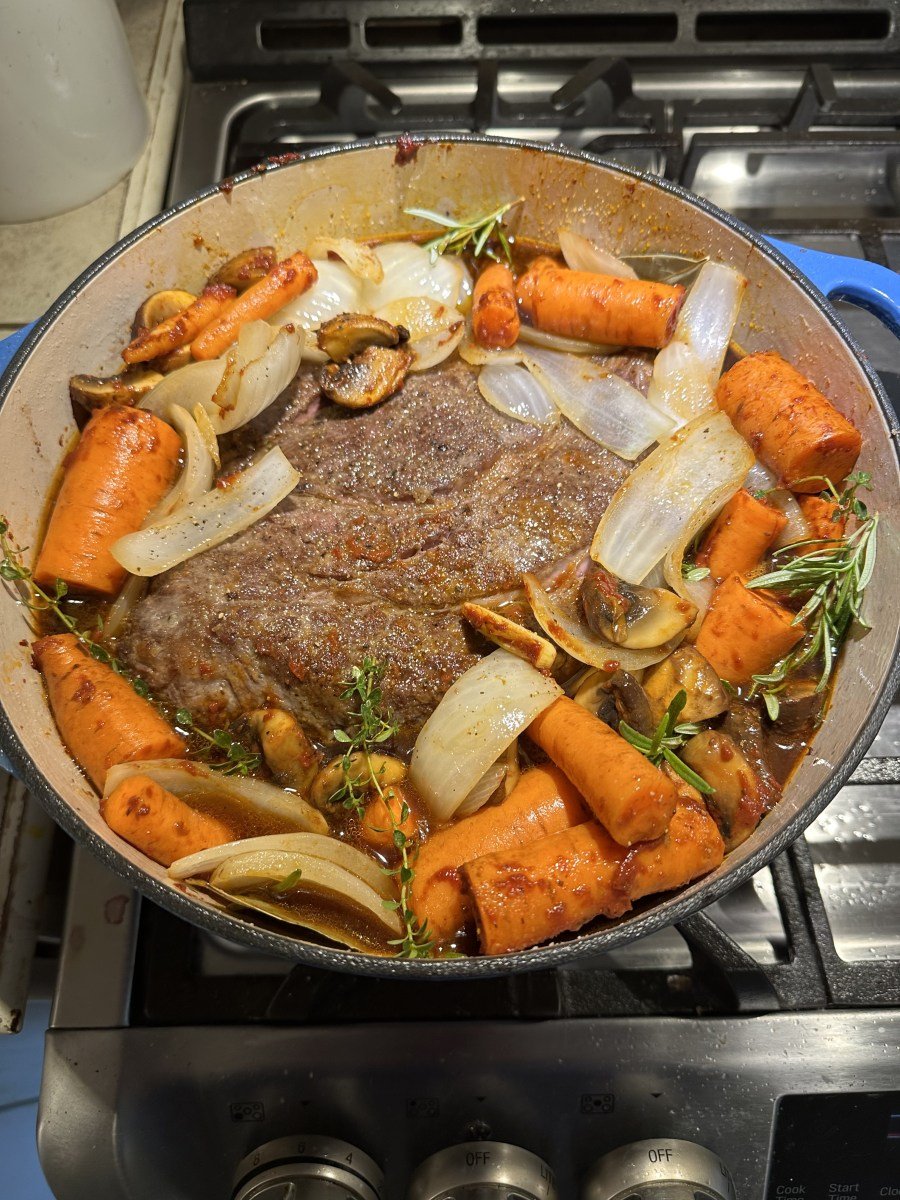
Credit: food52.com
Choosing The Right Chicken
Choosing the right chicken is key to a perfect Dutch oven meal. Different types affect cooking time and flavor. Understanding these options helps get the best results.
Whole Vs. Cut Pieces
Whole chickens cook evenly and hold moisture well. They take longer to cook but offer juicy meat throughout. Cut pieces, like thighs or breasts, cook faster. They allow more even seasoning and easier portion control. Choose whole for a classic roast. Pick cut pieces for quicker meals or varied textures.
Fresh Or Frozen Options
Fresh chicken offers the best texture and flavor. It cooks more evenly in a Dutch oven. Frozen chicken needs full thawing before cooking. Cooking from frozen can lead to uneven results and longer times. Fresh chicken is ideal for consistent cooking and taste.
Weight Considerations
Chicken weight directly impacts cooking time. Larger birds require more time to cook through. Smaller chickens or pieces finish faster and stay tender. Weigh your chicken before cooking. Adjust cooking times based on size to avoid dry or undercooked meat.
Preparing The Chicken
Preparing the chicken properly sets the stage for a tender and flavorful meal. Taking time to season, truss, and add the right vegetables and aromatics enhances both taste and cooking efficiency. These steps help the chicken cook evenly inside the Dutch oven, locking in moisture and aroma. Let’s explore each part of the preparation to ensure the best results.
Seasoning And Marinades
Seasoning the chicken well is key to deep flavor. Use salt and pepper generously on the skin and inside the cavity. For extra taste, try a simple marinade with olive oil, garlic, lemon juice, and herbs like rosemary or thyme. Let the chicken rest in the marinade for at least 30 minutes or overnight in the fridge. This softens the meat and boosts flavor throughout.
Trussing Techniques
Trussing means tying the chicken legs and wings close to the body. It helps the bird cook evenly and keeps the shape neat. Use kitchen twine to wrap the legs tightly together and tuck the wings under the body. Trussing prevents the tips from burning and helps the heat reach the thickest parts more evenly. The result is juicy meat and crispy skin all around.
Adding Vegetables And Aromatics
Adding vegetables and aromatics in the Dutch oven creates a rich base for cooking. Common choices include onions, carrots, celery, and garlic. Place these in the bottom of the Dutch oven before setting the chicken on top. Fresh herbs like thyme, rosemary, and bay leaves add fragrance. These ingredients release flavor as the chicken roasts and can be served as a side or made into a sauce.
Setting Up The Dutch Oven
Setting up the Dutch oven correctly helps cook chicken evenly and retain moisture. Preparing the pot right ensures your chicken gets the perfect texture and flavor. Small details in setup can affect cooking time and results.
Preheating Tips
Preheat the Dutch oven before adding the chicken. This step helps the heat spread evenly. Place the pot on low to medium heat for 5 to 10 minutes. Avoid overheating to prevent burning. A warm pot creates a nice sear on the chicken skin.
Using A Rack Or Direct Placement
Choose whether to place the chicken directly on the Dutch oven bottom or on a rack. Using a rack lifts the chicken, allowing air circulation and even cooking. It also prevents the chicken from sitting in its juices. Direct placement gives a crispier bottom but needs more attention to avoid sticking.
Selecting The Right Size
Pick a Dutch oven that fits your chicken comfortably. Too small will crowd the chicken and slow cooking. Too large may dry out the meat. A pot about 5 to 7 quarts works well for most whole chickens. Ensure the lid fits tightly to keep moisture inside.
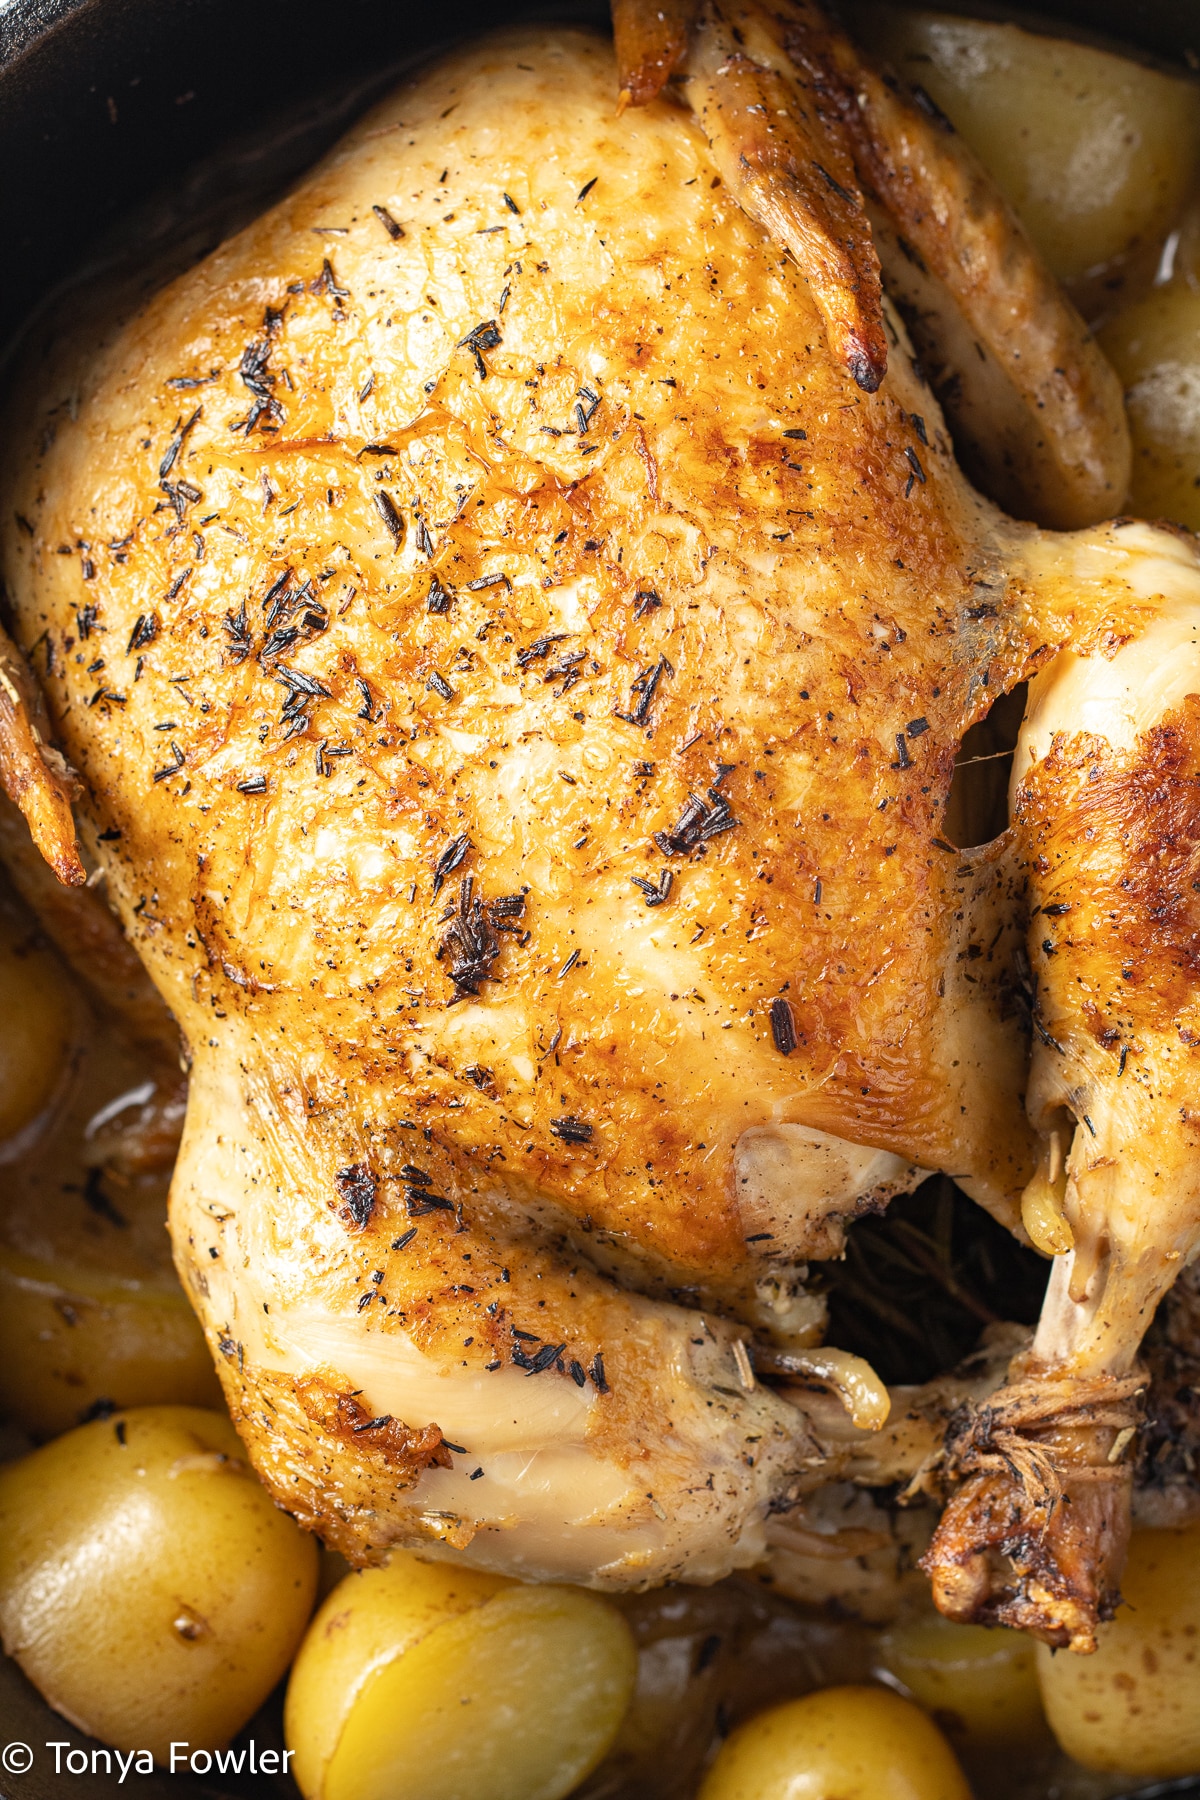
Credit: www.themidwestkitchenblog.com
Cooking Times For Different Chicken Types
Different chicken types need different cooking times in a Dutch oven. Whole chickens usually take about 1 to 1. 5 hours. Chicken pieces cook faster, often within 30 to 45 minutes, depending on size.
Cooking a chicken in a Dutch oven is a rewarding experience that can transform your meal into a flavorful delight. Whether you're preparing a whole chicken, individual breasts and thighs, or starting with frozen pieces, understanding the correct cooking times is crucial. Let's explore how you can achieve perfectly cooked chicken every time.
Whole Chicken Timing
For a whole chicken, the cooking time can vary depending on the size. A general rule of thumb is to roast at 375°F (190°C) for about 20 minutes per pound. A 4-pound chicken, for instance, will need approximately 1 hour and 20 minutes. However, always check for doneness by ensuring the internal temperature reaches 165°F (74°C).
Chicken Breasts And Thighs
Chicken breasts and thighs cook differently due to their varying thickness and fat content. Breasts generally require less time, about 30-40 minutes at 375°F (190°C). Thighs, being juicier and thicker, benefit from a slightly longer time, around 40-50 minutes. A quick tip: sear them first for a golden crust, then finish baking in the Dutch oven.
Frozen Chicken Cooking Time
Cooking frozen chicken in a Dutch oven is entirely feasible but requires a bit more patience. Increase your cooking time by approximately 50% compared to fresh chicken. For instance, if a fresh chicken breast takes 30 minutes, plan for about 45 minutes when frozen. Always use a meat thermometer to ensure it reaches 165°F (74°C) to guarantee safety and juiciness. Have you ever tried cooking chicken in a Dutch oven? It not only locks in moisture but also infuses your bird with rich, savory flavors. What’s your go-to method for ensuring perfectly cooked chicken?
Temperature Guidelines
Understanding temperature guidelines is key to cooking chicken perfectly in a Dutch oven. Proper heat ensures juicy, tender meat and safe cooking. It also helps avoid undercooked or dry chicken. Follow these temperature tips for best results.
Oven Temperature Settings
Set the oven between 325°F and 375°F for cooking chicken in a Dutch oven. Lower temperatures cook chicken evenly and keep it moist. Higher temperatures create a crispy skin but need careful monitoring. Most recipes suggest 350°F as the ideal balance.
Internal Chicken Temperature
Chicken must reach a safe internal temperature to be safe to eat. The USDA recommends 165°F as the minimum safe temperature. Check the thickest part of the chicken, usually the breast or thigh. Cooking beyond 165°F ensures doneness but avoid overcooking to keep meat juicy.
Using A Meat Thermometer
A meat thermometer is essential for checking chicken doneness accurately. Insert it into the thickest part without touching bone. Wait a few seconds for a stable reading. Remove the chicken once it hits 165°F. This tool prevents guesswork and improves cooking confidence.
Cooking Techniques
Cooking a chicken in a Dutch oven offers many options. The technique you choose impacts the texture and flavor deeply. Understanding the differences helps you get the best result every time. Below are key cooking methods and tips to guide your process.
Braising Vs. Roasting
Braising means cooking the chicken slowly in a small amount of liquid. This keeps the meat moist and tender. The Dutch oven’s heavy lid traps steam, perfect for braising. Roasting, on the other hand, cooks the chicken with dry heat. This method gives a crispy skin and golden color. You can roast the chicken uncovered or with the lid off toward the end to brown the skin.
Covering And Uncovering
Covering the Dutch oven traps steam and heat inside. This helps cook the chicken evenly and keeps it juicy. Uncovering allows moisture to escape, which crisps the skin. Start covered for tender meat. Remove the lid near the end to brown the chicken. Timing this right balances moistness and crispiness.
Adjusting Time For High Altitudes
At high altitudes, water boils at lower temperatures. This slows the cooking process. Add extra cooking time to ensure the chicken cooks fully. Check the internal temperature to be safe. Use a meat thermometer to confirm it reaches 165°F (74°C). Adjust heat and timing in small steps for best results.
Resting And Serving
After cooking your chicken in a Dutch oven, the final steps of resting and serving can make a huge difference in flavor and texture. Patience here rewards you with a juicy, tender meal that’s easy to carve and pleasing to the eye. Let’s look at how to handle this crucial phase.
Resting Time For Juiciness
Let your chicken rest for at least 10 to 15 minutes after taking it out of the Dutch oven. This pause allows the juices to redistribute throughout the meat instead of spilling out when you cut it. Skipping this step often leads to dry chicken, which no one wants.
Cover the chicken loosely with foil to keep it warm without trapping steam that can soften the skin. Ever wondered why some roasted chickens look drier? It’s often because they were carved too soon.
Carving Tips
Start by removing the legs and thighs; these dark meat pieces are easier to separate and serve first. Use a sharp knife to cut along the joints rather than through the bone to keep your slices clean. Slicing against the grain ensures tender bites.
Don’t rush—take your time to carve neatly. A well-carved chicken looks inviting and makes your meal feel special, even on a busy weeknight.
Serving Suggestions
- Serve the chicken with roasted vegetables cooked in the same Dutch oven for an easy, flavorful side.
- Add a fresh green salad with a light vinaigrette to balance the richness of the meat.
- Consider a simple sauce like pan drippings mixed with a splash of white wine or broth to drizzle over the chicken.
Think about what you enjoy most alongside your chicken. Do you prefer something light or hearty? Your choice can enhance the overall meal experience.
Troubleshooting Common Issues
Cooking chicken in a Dutch oven is simple, yet some common problems may arise. Recognizing and fixing these issues saves time and prevents wasted food. Knowing what to watch for helps achieve tender, juicy chicken every time.
Undercooked Chicken Signs
Check for pink meat near the bone. Juices should run clear, not red or pink. The texture feels soft but not rubbery. Use a meat thermometer to confirm the temperature. The safe internal temperature is 165°F (74°C). If below, cook longer in the Dutch oven.
Dry Or Overcooked Meat
Overcooked chicken looks pale and feels tough. It may shrink and lose moisture. Avoid high heat for too long. Dutch ovens trap steam, so adjust cooking time. Remove chicken as soon as it reaches 165°F. Resting the meat for 5-10 minutes helps juices redistribute.
Fixing Tough Or Chewy Texture
Tough chicken means it needs more slow cooking. Add a little broth or water to the Dutch oven. Cover tightly to keep moisture inside. Cook on low heat for a longer time. This breaks down muscle fibers and softens the meat. Slice against the grain to make bites easier to chew.
Safety Tips For Cooking Chicken
Cooking chicken in a Dutch oven requires careful timing to ensure it is fully cooked and safe. Always check the internal temperature, which should reach 165°F (75°C) to kill harmful bacteria. Proper cooking prevents foodborne illness and keeps your meal tasty.
Cooking chicken in a Dutch oven offers delicious flavors and tender meat. But ensuring safety is crucial. Proper handling and cooking methods prevent foodborne illnesses. Let's explore essential safety tips for cooking chicken effectively.
Avoiding Cross-contamination
Prevent bacteria spread by using separate cutting boards. One for raw chicken, another for vegetables. Wash hands thoroughly after handling raw chicken. Clean all surfaces touched by raw meat. Use hot, soapy water.
Proper Storage Before Cooking
Store chicken in the refrigerator at 40°F or below. Use it within two days of purchase. For longer storage, freeze it. Thaw frozen chicken in the fridge, never on the counter.
Safe Handling Practices
Use a meat thermometer to check chicken temperature. Ensure it reaches 165°F. Cook chicken immediately after thawing. Avoid leaving it at room temperature for long periods.

Credit: www.itisakeeper.com
Frequently Asked Questions
How Long Does A Whole Chicken Take In A Dutch Oven?
A whole chicken usually takes 1 to 1. 5 hours in a Dutch oven at 350°F. Cooking time varies by chicken size and oven temperature.
What Temperature Is Best For Cooking Chicken In A Dutch Oven?
The ideal temperature is 350°F (175°C). This ensures even cooking and juicy meat without drying it out.
Should I Cover The Dutch Oven While Cooking Chicken?
Yes, cover the Dutch oven to trap heat and moisture. This helps the chicken cook evenly and stay tender.
How Can I Tell When Dutch Oven Chicken Is Done?
Use a meat thermometer; the internal temperature should reach 165°F (74°C). This guarantees the chicken is fully cooked and safe to eat.
Conclusion
Cooking chicken in a Dutch oven takes time and care. Usually, it needs about 1 to 1. 5 hours at a steady temperature. Check the chicken’s internal temperature to be sure it’s done. A juicy, tender chicken comes from slow, even cooking.
Use this method to enjoy a simple, tasty meal. Try it often to get familiar with your oven’s heat. Cooking this way saves effort and brings great flavor. Your family will love the results every time.